Developing a Master-Detail View with Eclipse, Spring, the EclipseLink Java Persistence API, and JavaServer Faces
This tutorial provides step-by-step instructions for creating a Web application that uses the Java Persistence API (JPA) with Oracle WebLogic Server 11g Release 1 (10.3.2), Spring, EclipseLink, JavaServer Faces (JSF), and Oracle Database, Express Edition. You will develop this application using Oracle Enterprise Pack for Eclipse 11g R1 (11.1.1.5).
Application Description
The Web application you will develop in this tutorial is designed for a company that sells a variety of products. The application will maintain a list of products for sale as well as a list of customers who placed orders.
In this tutorial, you will develop modules for the Web application. The Add Customer module will add a customer to the database. The View Orders module will display a list of customers who have placed orders, as well as an overview of each order.
Application Components
The following software components are separate downloads; they are not generated by the tool during this tutorial and do not replace generated files in some cases.
Oracle SQL scripts:
- SalesDB.sql—Oracle SQL file for the SalesDB database. This script creates the tables and populates the database. You will need to create this schema and a database user with connect and resource permission on your local Oracle Database, Express Edition 10g.
Spring beans:
- SpringCustomerManagedBean—Queries and updates a customer file using generated Spring service beans
- SpringCustomerListManagedBean—Ensures that all customer files are using generated Spring service beans
HTML and CSS files:
- addCustomer.jsp—Provides a form to add a new customer file and sends a request to the addCustomer( ) method
- viewAllCustomers.jsp—Displays a complete list of customers and provides facility to view the orders of specific customers
- viewOrders.jsp—Displays a list of orders placed by specific customers
- stylesheet.css—CSS file to customize appearance of JSP pages
Backing bean class:
- CustomerManagedBean.java—Contains action methods that are responsible for adding the customer to the data store and retrieving orders of a specific customer
Other files:
- MessageFactory.java—Retrieves localized messages from the application resource file
- application.properties—Contains a series of keywords and values
- faces.config.xml—Defines JSF components
- web.xml—Defines Web container components
- weblogic.xml—Defines Web container components specific to Oracle WebLogic Server
Software Requirements
Oracle Enterprise Pack for Eclipse 11g R1 (11.1.1.5)
Oracle WebLogic Server 11g Release 1 (10.3.2)
Oracle Database, Express Edition 10g
Step 1. Set Up Web Project and Connect to Database
Time to complete this step: 15 minutes
In this step, you will create a new Web project and connect to a database. A Web Project is an Eclipse Java project that contains the source code, Web pages, images, resources, and configuration files for building a Web application.
Launch Oracle Enterprise
Double click your Eclipse icon, or, from the command line, navigate to your eclipse installation and run eclipse.exe. Close the welcome screen, and open the JPA perspective from the Window > Open Perspective > Other... > JPA menu.
Define a target runtime
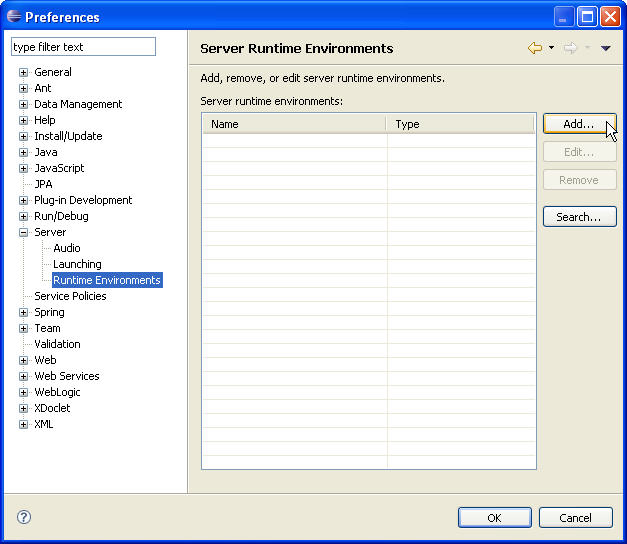
To define a target runtime, click Window > Preferences > Server > Runtime Environments and choose Add...
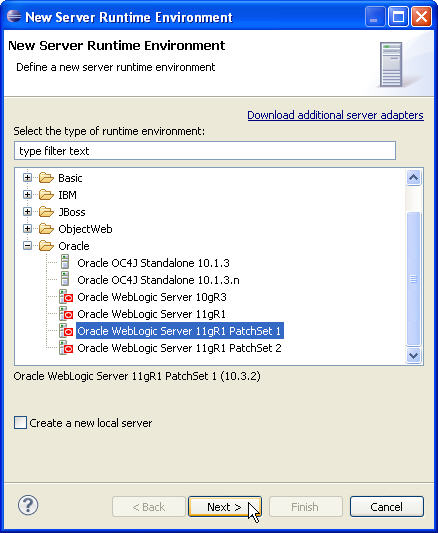
Choose the Oracle > Oracle WebLogic Server 11gR1 PatchSet 1 and click next.
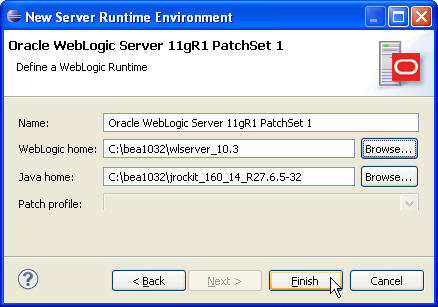
Specify the path to your C:/<middleware home>/wlserver_10.3 directory and click finish. Then click OK in the preferences window.
There are two tasks in this step to accomplish:
· To create the oepe-jpa-tutorial project
· To browse Database Artifacts using Data Source Explorer
Create the oepe-jpa-tutorial project
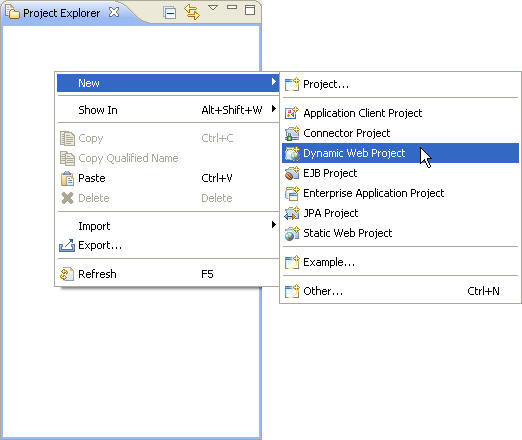
1. Right click in the Project Explorer and choose New > Dynamic Web Project
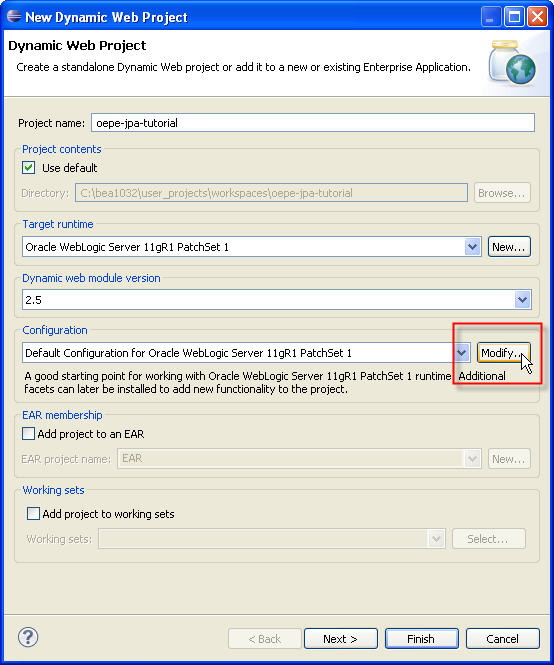
2. Name the project oepe-jpa-tutorial. The tutorial code expects this name. Then click Modify.. as shown below.
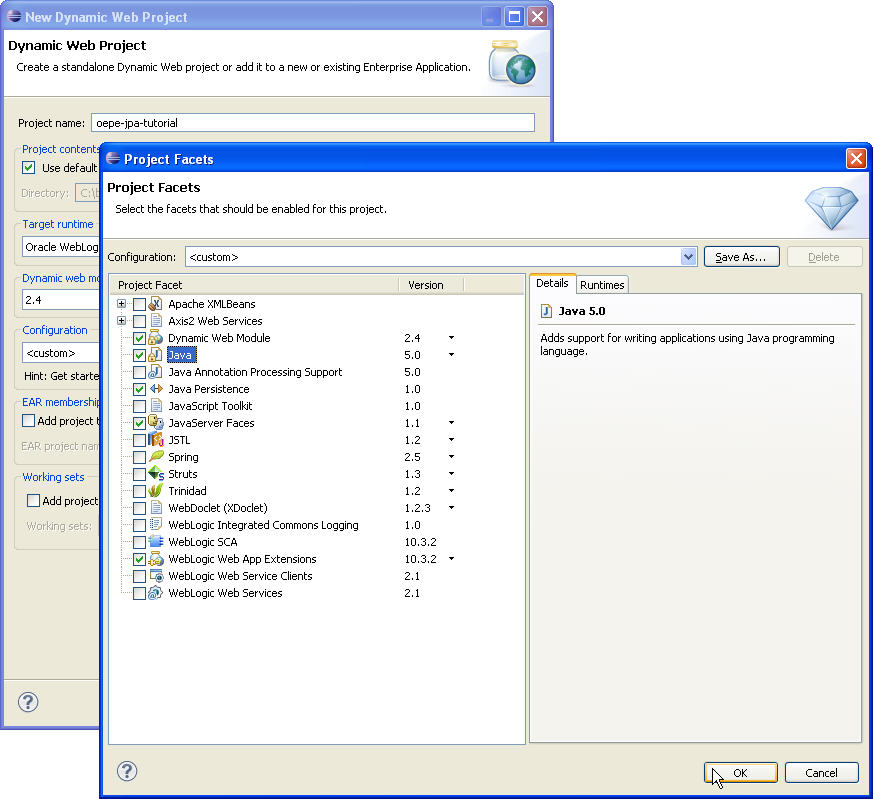
3. Edit the project's facet configuration by clicking modify and configuring the facet dialog as shown below. Make sure that the facet choices match the screenshot below: JSF 1.1, Java 5.0, JPA 1.0, Dynamic Web Module 2.4. Note that Java 5.0 is *not* a default option. Then click OK and Next.
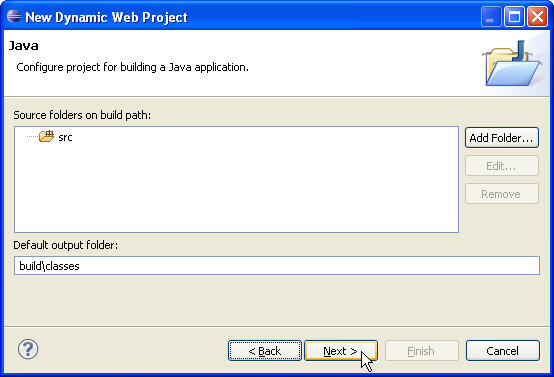
4. Click Next and accept the default Java settings.
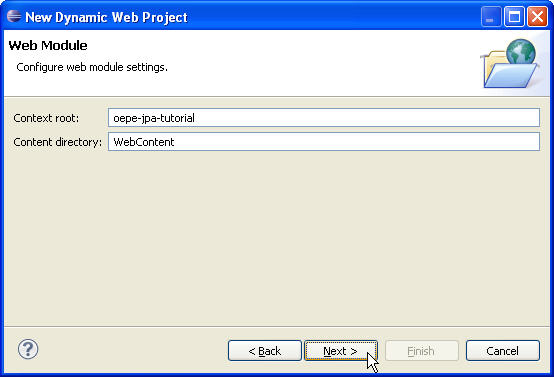
5. Leave Content Directory and Context root with default values. Click Next.
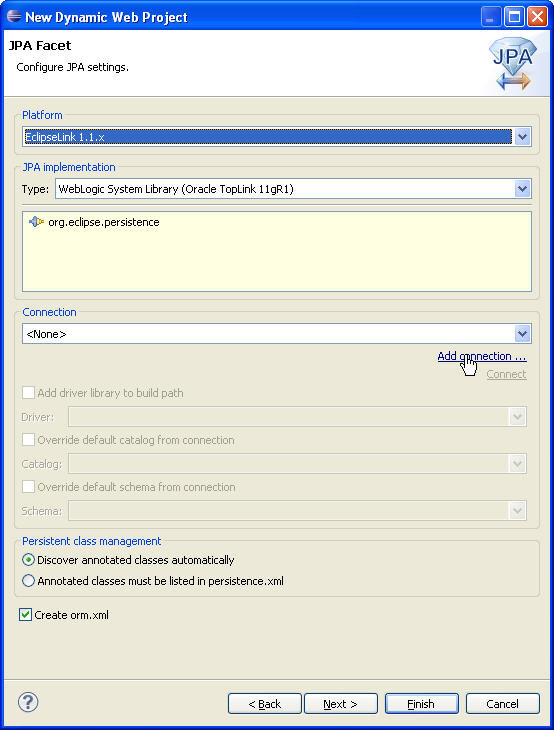
6. Now you configure the JPA Facet. Ensure that EclipseLink1.1.x is chosen as the platform. Then add a database connection by clicking Add connection....
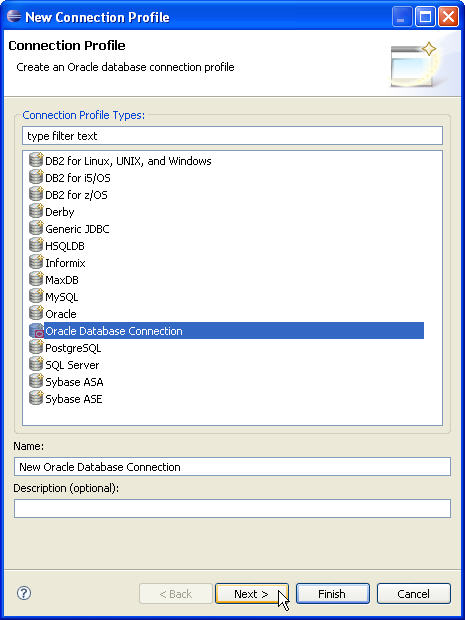
7. Choose the Oracle Database Connection from the list and click next.
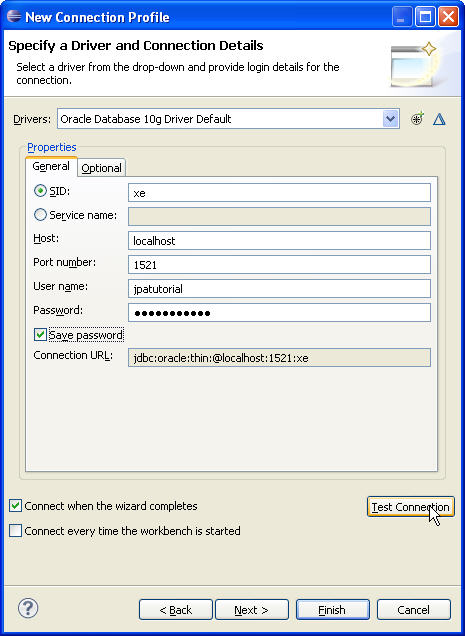
8. Select Oracle Database10g Driver Default from the Drivers dropdown menu and configure the screen as shown below. The userID and password should match whatever you chose during the creation of the tables and the database user. Make sure to check "save password" as shown below. Click Test Connection and verify that the ping succeeds. If it does not, check your services control panel to ensure the database service and TNS listener are started. The driver URL has the form of jdbc:oracle:thin:@{host name}:1521:{db name}.
9. Click Finish once the ping has completed successfully. Back in the JPA Facet configuration, check the option "Add driver library to build path" and then click Next.
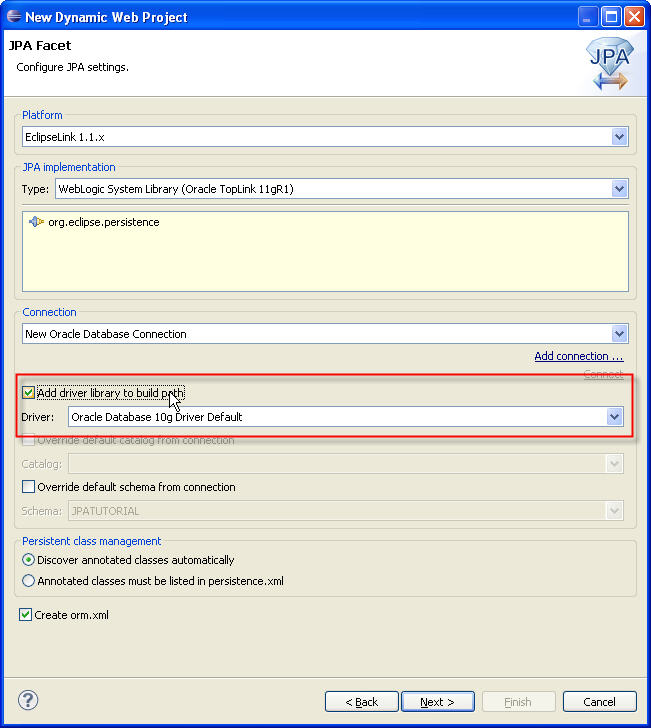
10. Click Next again to advance the project wizard.
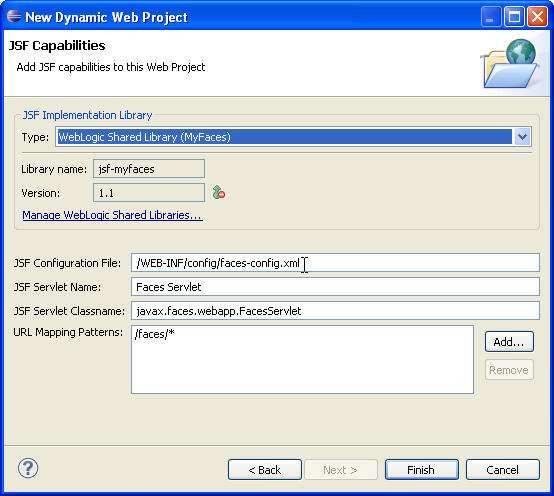
11. Now you configure the JSF Capabilities. Choose WebLogic Shared Library (MyFaces) as the JSF Implementation Library. Next, change the default path of the JSF configuration file to /WEB-INF/config/faces-config.xml.
12. Click Finish to create the project. Eclipse will prompt you to switch to the Java Platform, Enterprise Edition (Java EE) perspective. Click "no" for the time being.
To Browse Database Artifacts using Data Source Explorer
In this step, you will use the Data Source Explorer to browse database artifacts. You may need to re-open the JPA perspective.
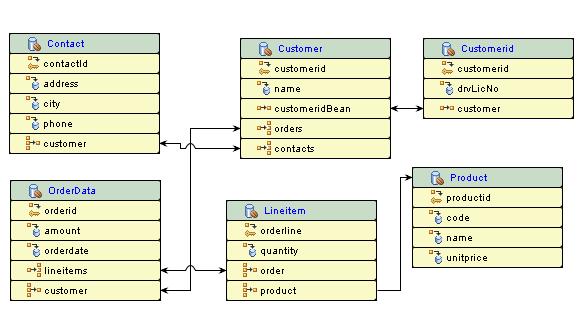
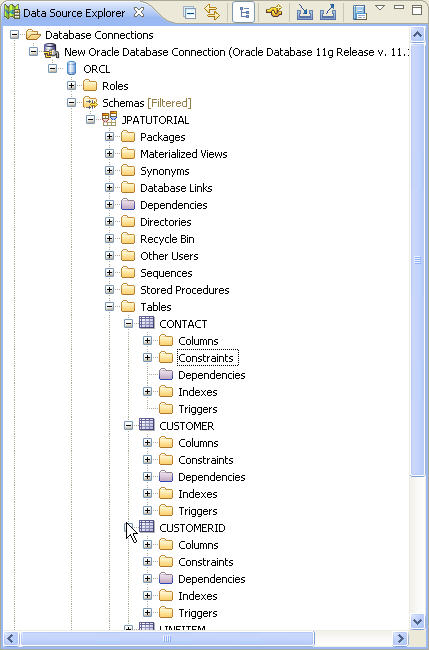
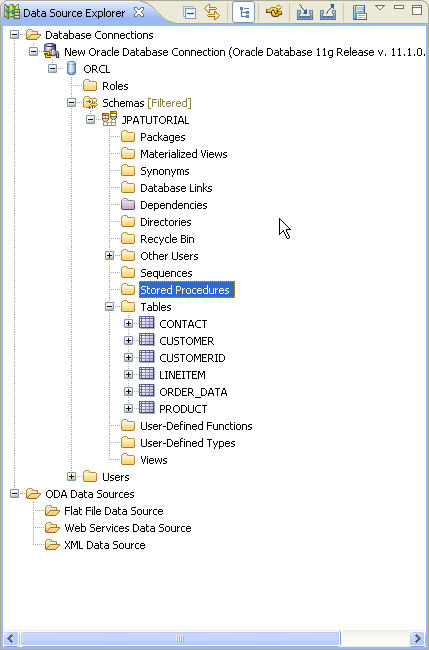
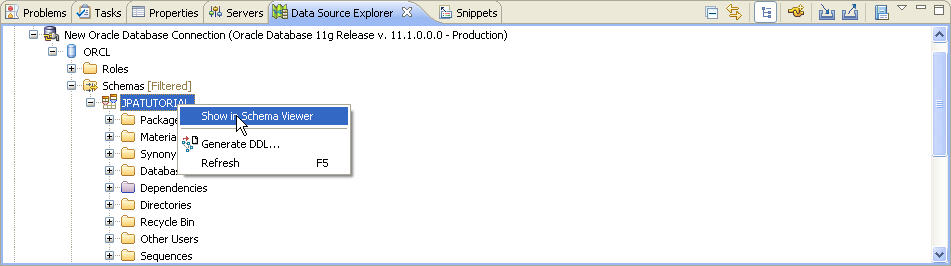
1. In the Data Source Explorer, expand the nodes inside the New Oracle Database Connection node. You can view the individual tables and columns. Observe that the Data Source Explorer denotes which columns have been designated as primary keys. Note that the tables shown below are stored in the JPATUTORIAL schema.

2. While browsing database artifacts, simply expand the tree to view columns, constraints, dependencies, indexes, triggers, and other relevant properties of the selected component.
3. While browsing database artifacts, navigate up the
tree to view columns, constraints, dependencies, indexes, triggers,
and other relevant properties of the selected component.
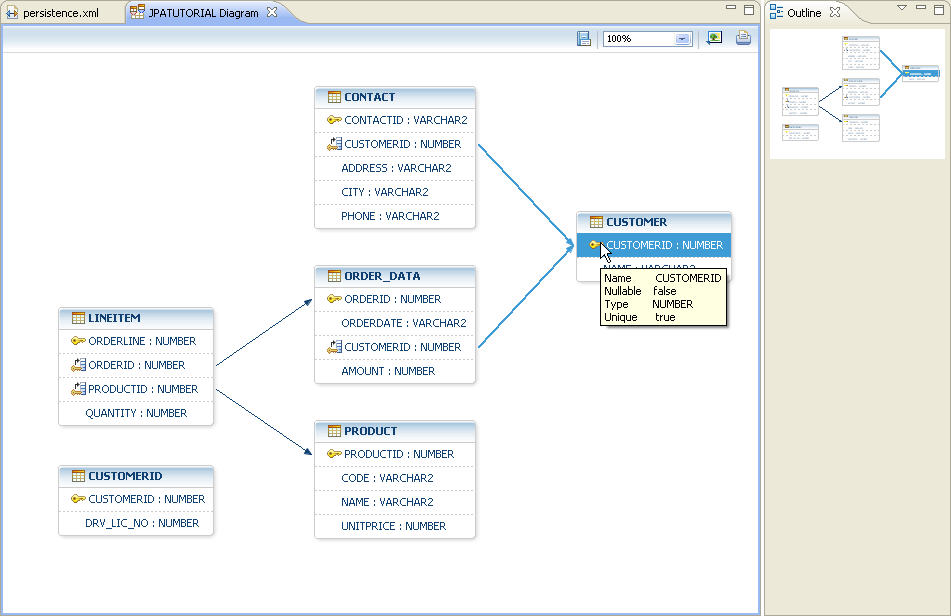
4. You can generate a DDL as well as view, print, and export an image for an E/R diagram by right clicking on the schema. For now, choose Show in Schema Viewer to see the E/R diagram.
5. Rollover tables and the tool tips will show you summary information about the object at which you are pointing.
|
|
|