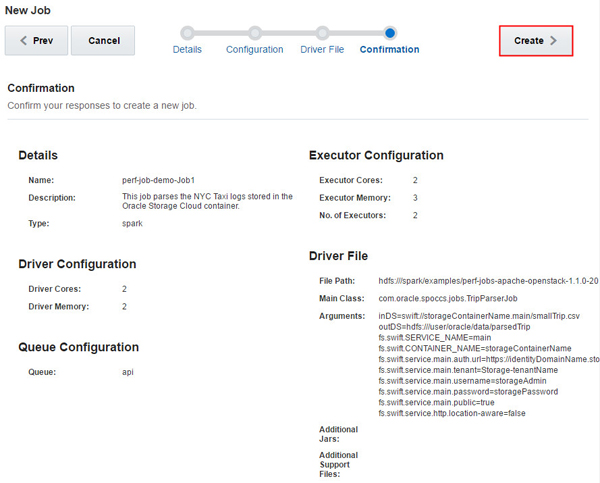
TripParserJob: This job reads the NYC Taxi
logs stored in Oracle Storage Cloud Container and stores it as
a Comma-seperated values (CSV) file in Hadoop Distributed File
System (HDFS).
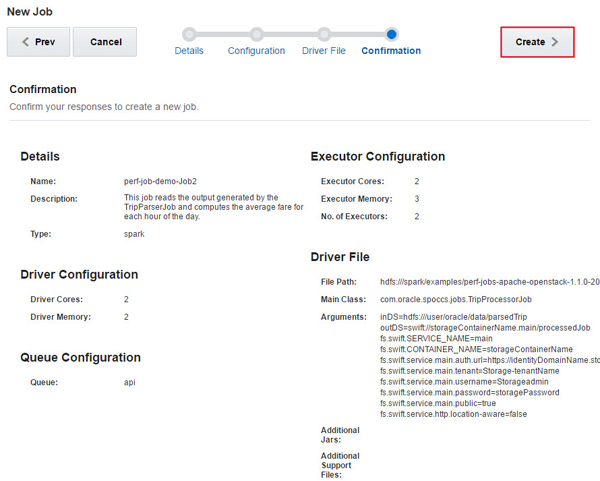
TripProcessorJob: This job reads the output
generated by the TripParserJob and computes the average fare
for each hour of the day. The result is a key-value pair where
the key is the hour of the day and the value is the average
fare paid by customers in such hour of any day, month, or year
during the given time period represented by the initial input
file. The output is stored as a text file in the Oracle
Storage Cloud Container associated with the BDC cluster.
What Do You Need?
A running BDC cluster.
BDC account credentials or Big Data Cloud Console direct URL
(for example: https://xxx.xxx.xxx.xxx:1080/).
BDC cluster login credentials.
Oracle Storage Cloud credentials, tenant name, and container
name.
The smallTrip.csv file
uploaded in the Oracle Storage Cloud Container that is linked
to the BDC cluster.
For instructions on how to upload/create objects in Oracle
Storage Cloud Service, see Creating a Single Object.
Navigate
to Big Data Cloud Console - Jobs Page
Login to your BDC account.
Note: If you have the direct URL to access the
Big Data Cloud Console, you can navigate to the link directly
and continue from step 3.
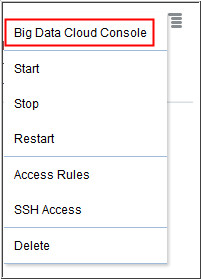
In the Services page, click the Manage this
Service icon of the cluster where you
want to create the job and then click Big Data Cloud
Console.Description of this image
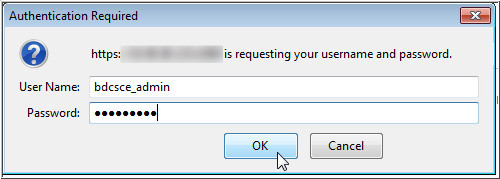
A window titled Authentication Required appears. Enter your
BDC cluster user name and password and click OK.Description of this image
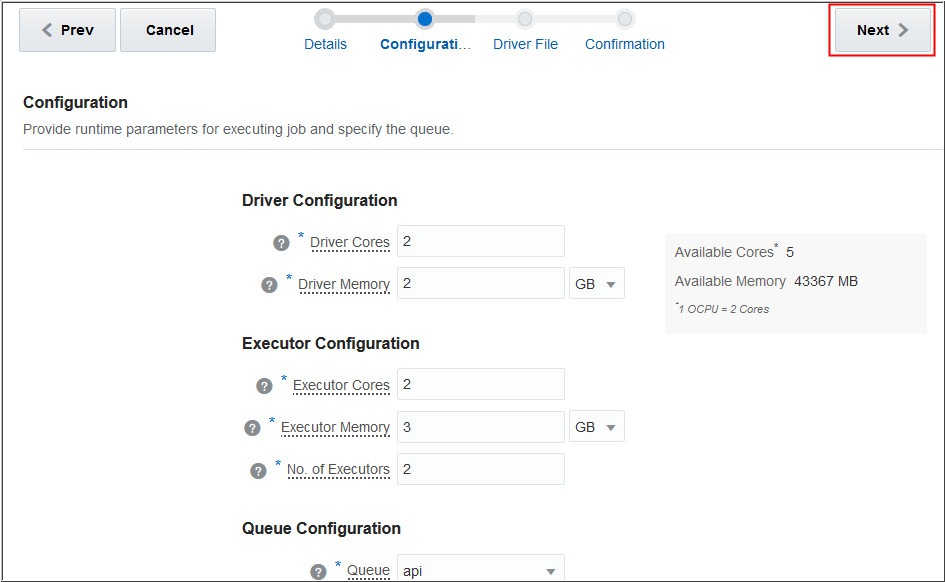
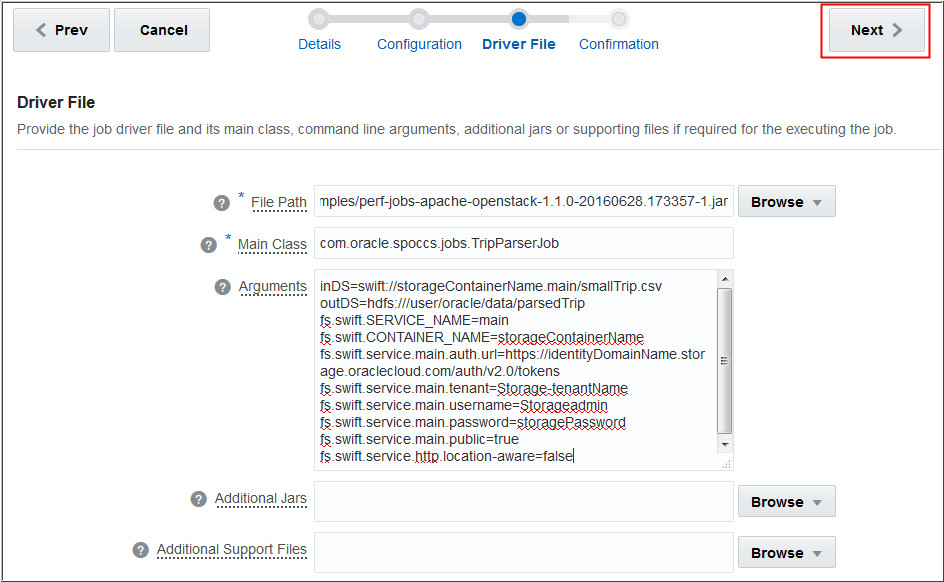
Provide your driver file information such as File Path, Main
Class, Arguments, Additional Jars, Additional Support Files,
and click Next. In this example, the
following information is entered:
Change the storageContainerName,
identityDomainName, tenantName, Storageadmin, and
storagePassword values in the arguments as
per your configuration.
Description of this
image
Provide your driver file information such as File Path,
Main Class, Arguments, Additional Jars, Additional Support
Files, and click Next. In this example, the
following information is entered:
Change the storageContainerName, identityDomainName,
tenantName, Storageadmin, and storagePassword
values in the arguments as per your configuration.
Description of this
imageNote: The output file that was generated in
the TripParserJob is used as the input file here.
Click Cloud Storage as the final output
of the TripProcessorJob was stored in Oracle Storage Cloud
Container.
Description of this image
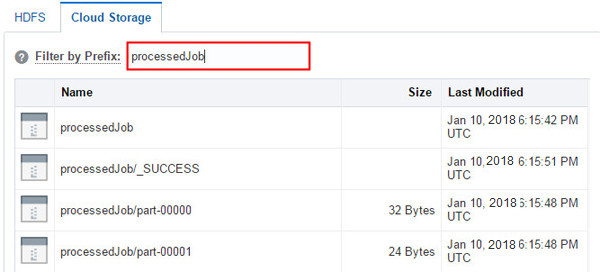
Enter the outDS value of the TripProcessorJob
argument (in this case processedJob) in the Filter
by Prefix field and press Enter.Description of this image
Notice that the output files are created in the Oracle Storage
Cloud Container.
Want
to Learn More?
For instructions on how to download the output
files/objects from the Oracle Storage Cloud Container, see Downloading an Object.
 Running
a Batch Spark Job in a Big Data Cloud Cluster
Running
a Batch Spark Job in a Big Data Cloud Cluster Before You Begin
 Navigate
to Big Data Cloud Console - Jobs Page
Navigate
to Big Data Cloud Console - Jobs Page icon of the cluster where you
want to create the job and then click Big Data Cloud
Console.
icon of the cluster where you
want to create the job and then click Big Data Cloud
Console.

 Create
the TripParserJob
Create
the TripParserJob

 Create
the TripProcessorJob
Create
the TripProcessorJob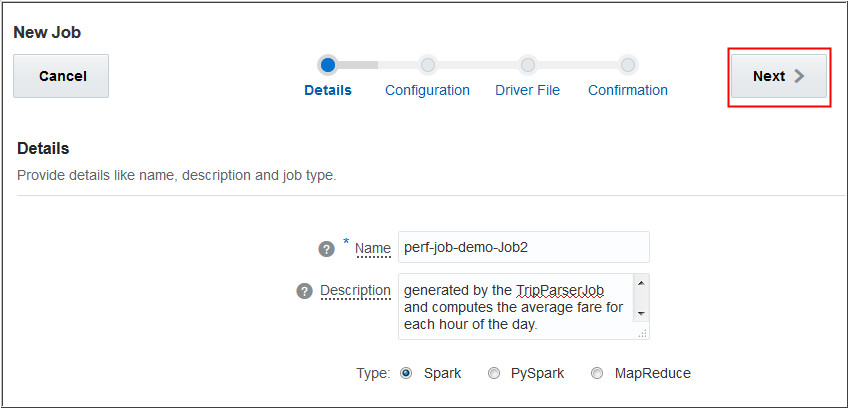


 View
the Output
View
the Output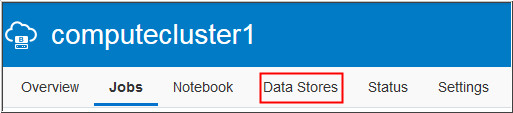

 Want
to Learn More?
Want
to Learn More?