Moving Data to an Oracle Database Cloud Service using Pluggable
Databases
Overview
Purpose
In this tutorial you will learn to:
Connect to the on-premise database
Create content in the on-premise database
Unplug the on-premise database
Copy the on-premise database files to the Cloud
Plug the on-premise database into the Cloud instance
View the database content in the Cloud instance
Time to Complete
Approximately 1 hour
Introduction
A user with little or no experience in database development or
cloud computing can use this guide to transfer data by unplugging
an on-premise database, and plugging it into a Cloud database
instance. The user will subsequently view the newly transferred
data in the Cloud database instance.
Software Requirements
SQL Developer 4.0.4 or later
One of the following browsers:
Browser
Version
Microsoft Internet Explorer
9 or 10 (Browser Mode IE9 or IE10)
Mozilla Firefox
24 or later
Google Chrome
29 or later
Apple Safari
6
Note:This
release does not support mobile browsers.
Prerequisites
Before starting this tutorial you need:
Virtual Box with VM installed
Cloud Database instances and login credentials (created with a
key that uses a pass phrase)
PREM1 instance IP address, private key file and Service Name
Connecting to the On-Premise Database
Launch SQL Developer.
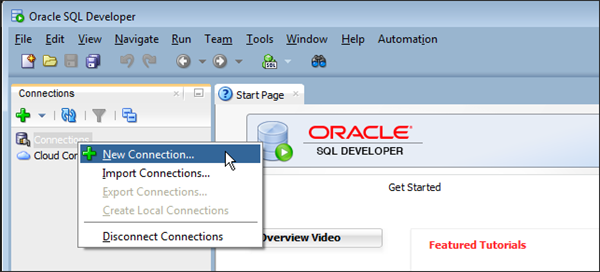
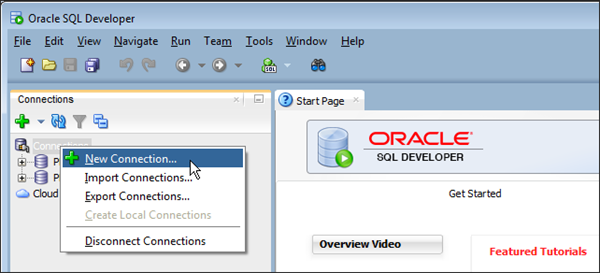
In the Connections tab, right-click Connections and select
New Connection.
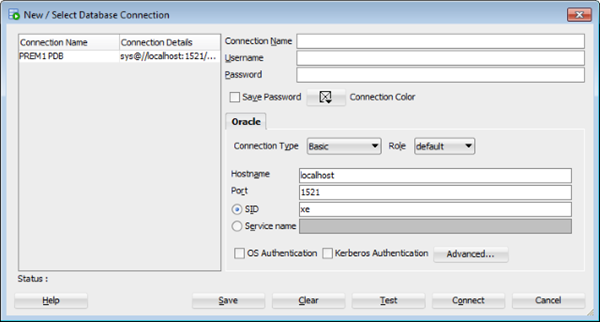
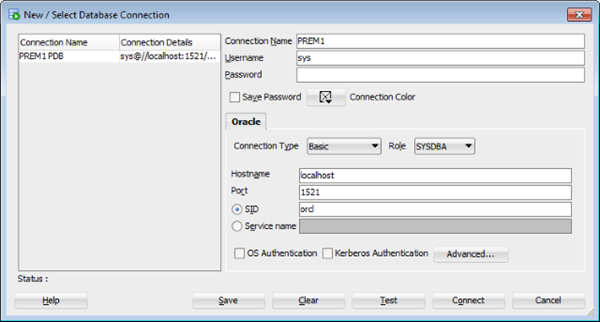
The New / Select Database Connection dialog box is displayed.
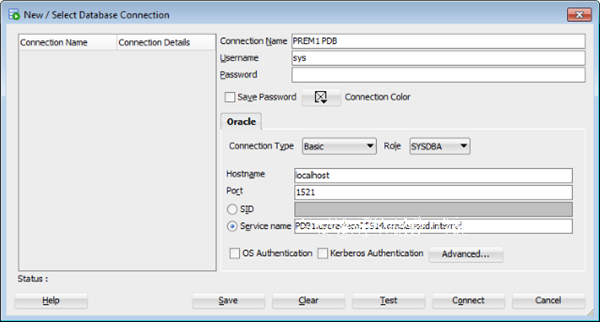
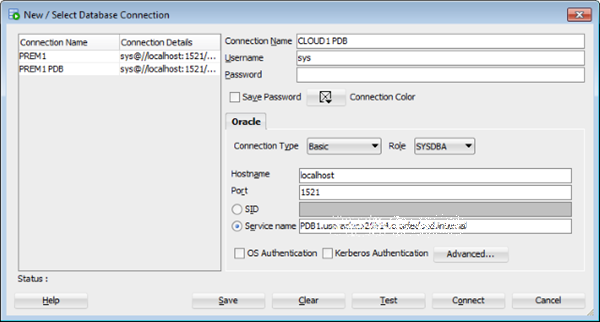
In the New / Select Database Connection dialog:
Enter PREM1 in the Connection Name field
Enter sys in the Username field
From the Connection Type dropdown, select Basic
From the Role dropdown, select SYSDBA
Enter localhost in the Hostname field
Enter 1521 in the Port field
Select Service Name and enter the provided Service Name
Click Advanced to open the Advanced Properties dialog
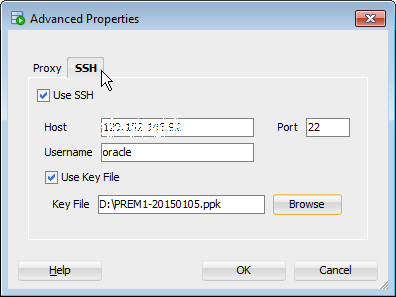
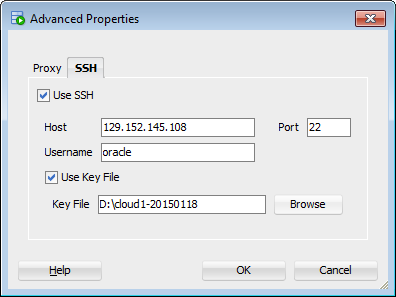
In the Advanced Properties dialog:
Click the SSH tab
Select Use SSH
Enter the IP address of your PREM1 database in the Host
field. This is your on-premise database.
Enter 22 in the Port field.
Enter oracle in the Username field
Select Use Key File
Click Browse to select the private key file for this
connection
Click OK to save the Advanced Properties settings
Click Save and then close the New / Select Database
Connection dialog box.
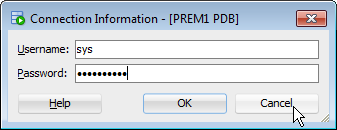
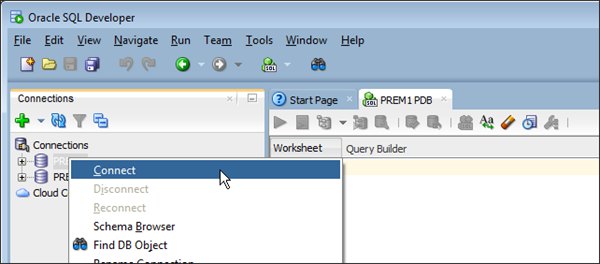
Right click PREM1 PDB in the Connections View, and click
Connect.
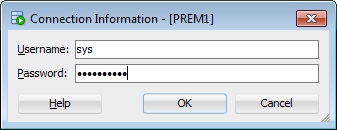
Enter the provided password in the Connection Information
dialog.
The PREM1 PDB connection opens and the PDB objects are listed
in the Connections view.
Creating Content in the On-Premise Database
Use
SQL Developer to create a schema namedONLINE_SHOP
in the on-premise database.
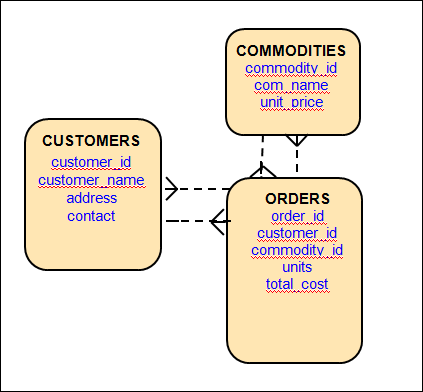
This schema portrays an online store that operates with a
customer base and commodities. Information about customers is
stored in theCUSTOMERStable, information
about commodities is stored in theCOMMODITIEStable and order
details are stored in theORDERStable.
Creating a User
Expand PREM1 PDB in the Connections view.
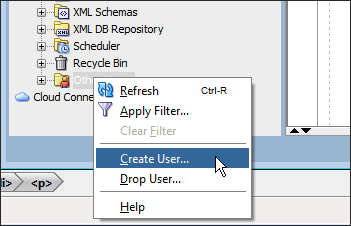
Right click Other Users, and click Create User.
The Create User dialog is displayed with the User tab
selected:
Enter online_shop in the User Name field
Enter the provided password in the New Password field
Enter the provided password again in the Confirm
Password field
Select USERS in the Default Tablespace dropdown
Select TEMP in the Temporary Tablespace dropdown
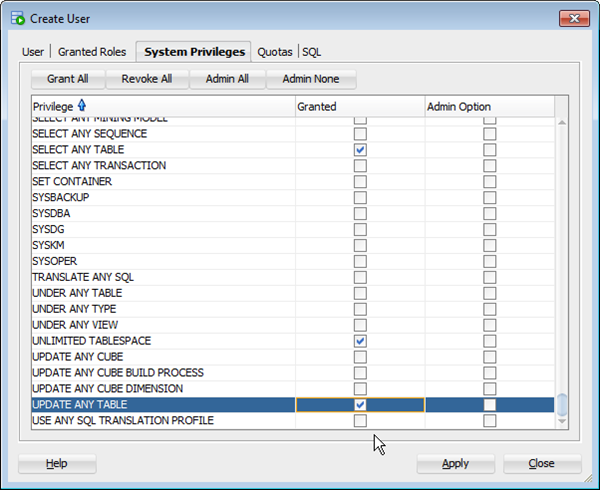
In the Create User dialog, click the System Privileges
tab. The System Privileges dialog is displayed. In the
Granted column, select:
Create Session
Create Table
Drop Any Table
Insert Any Table
Select Any Table
Unlimited Tablespace
Update Any Table
Click Apply to create the user online_shop
Creating Tables
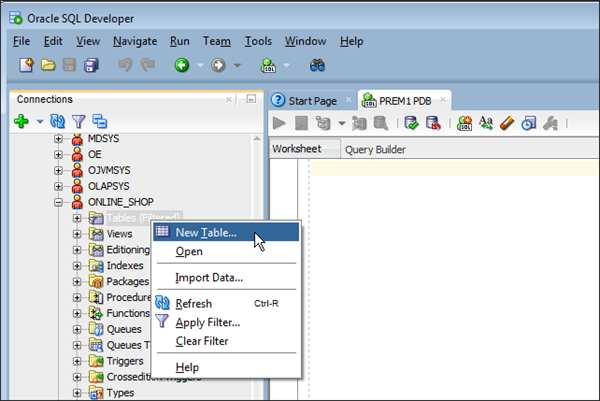
Expand PREM1 PDB in the Connections view.
Under Other Users, ONLINE_SHOP, right click Tables and
click New Table.
The New Table dialog is displayed:
Enter CUSTOMERS in the Name field
In the Columns pane, select the Name column, and enter
customer_id.
Select the Data Type column and enter VARCHAR2
Select the Size column and enter 4
Click + to add a new column
Add details for another three columns:
CUSTOMER_NAME VARCHAR2 20
ADDRESS VARCHAR2 60
CONTACT VARCHAR2 20
In the New Table dialog, click Constraints in the left
pane. The Constraints pane is displayed:
Click + to add a New Primary Key Constraint
Select Name and enter CUST_ID_PK
Double click CUSTOMER_ID in the Available Columns pane
Click OK to creat the table CUSTOMERS
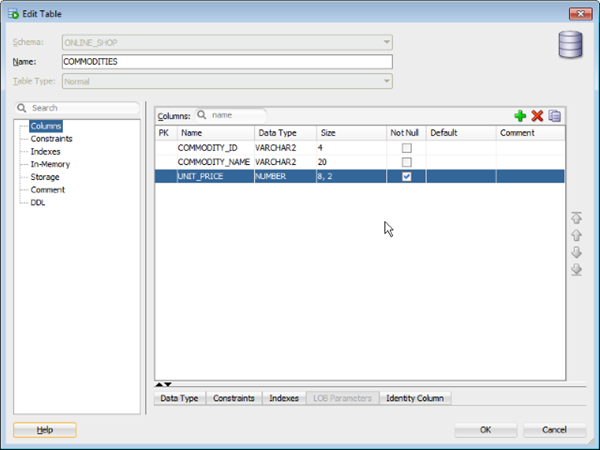
In the same way, create the COMMODITIES table with the
following columns and constraint:
COMMODITY_ID VARCHAR2 4
COMMODITY_NAME VARCHAR2 20
UNIT_PRICE NUMBER 8,2 NOT NULL
CONSTRAINT COMM_ID_PK PRIMARY KEY(COMMODITY_ID)
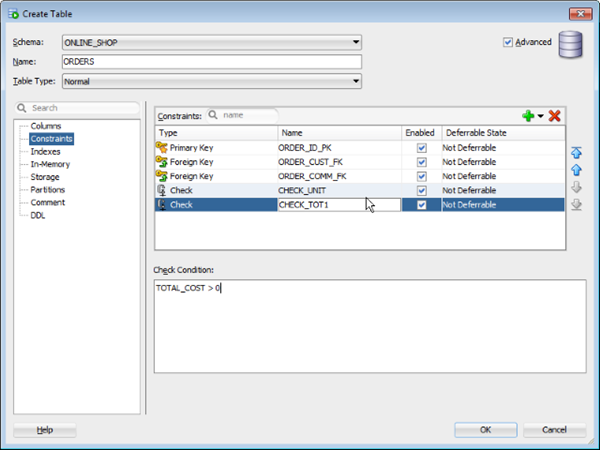
Again, in the same way, create the ORDERS table with the
following columns and constraint:
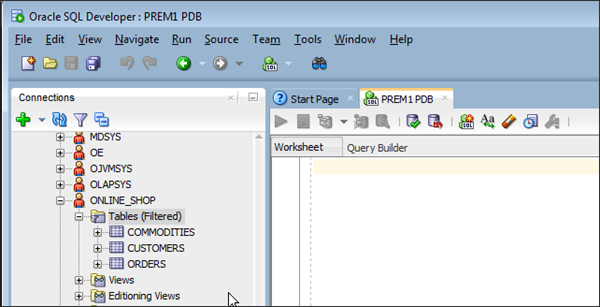
Expand PREM1 PDB in the Connections view. Expand Other
Users, ONLINE_SHOP and then Tables. Your three newly
created tables are visible.
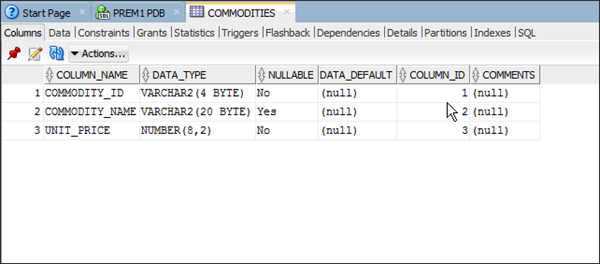
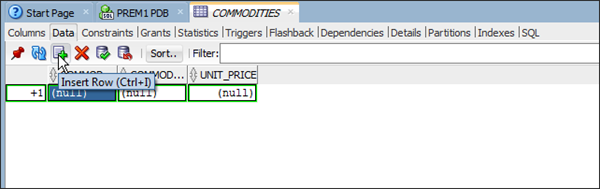
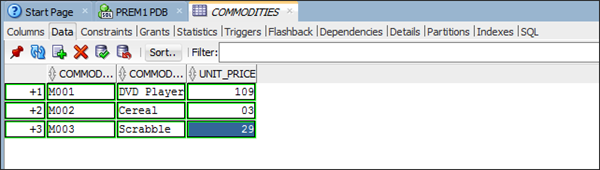
Click COMMODITIES to open the COMMODITIES table window.
Click the Data tab, and then + to begin entering
rows of data.
Enter three rows of data, and click the tick icon to save
the rows.
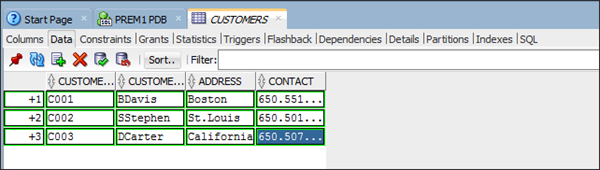
In the same way, open the CUSTOMERS table and enter three
rows of data.
Again, in the same way, open the ORDERS table and enter
three rows of data.
Unplugging the On-Premise Database
You
connect to the container database to unplug the on-premise
database.
You must close the on-premise database before you can unplug it.
Creating a Container Database Connection
Launch SQL Developer.
In the Connections view, right-click Connections and
select New Connection.
The New / Select Database Connection dialog box is
displayed.
In the New / Select Database Connection dialog:
Enter PREM1 in the Connection Name field
Enter sys in the Username field
From the Connection Type dropdown, select Basic
From the Role dropdown, select SYSDBA
Enter localhost in the Hostname field
Enter 1521 in the Port field
Select SID and enter orcl
Click Advanced to open the Advanced Properties dialog
In the Advanced Properties dialog:
Click the SSH tab
Select Use SSH
Enter the IP address of your PREM1 database in the
Host field. This is your on-premise database.
Enter 22 in the Port field.
Enter oracle in the Username field
Select Use Key File
Click Browse to select the private key file for this
connection
Click OK to save the Advanced Properties settings
Click Save and then close the New / Select Database
Connection dialog box.
Right click PREM1 in the Connections View, and click
Connect.
Enter the provided password in the Connection Information
dialog.
The PREM1 connection opens and the CDB objects are listed
in the Connections view.
Adding a Connection to the DBA Navigator
Select View > DBA.
In the DBA view, right-click Connections
and select Add
Connection.
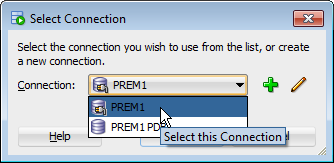
In
theSelect
Connectiondialog
box, select PREM1
and clickOK.
The PREM1 connection is added to the DBA View.
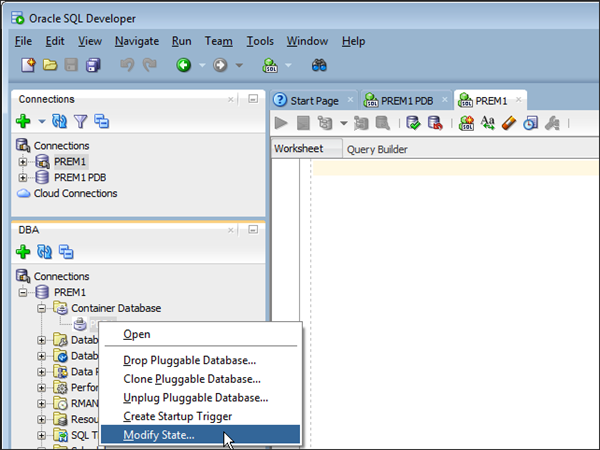
Unplugging the On-Premise Database in the DBA View
In the DBA View, expand the PREM1 connection, then expand
the Container Database
node. Right click PDB1
and select Modify State.
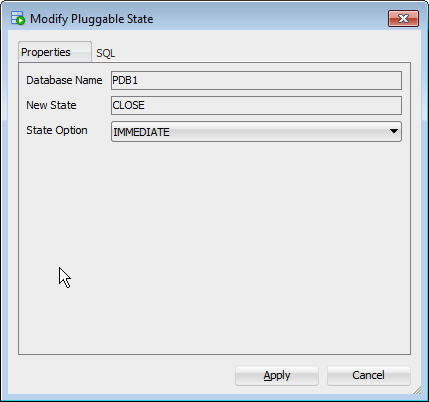
The Modify Pluggable
State dialog box is displayed. As database PDB1
is OPEN, the value of New State is CLOSE.
Click Apply to
close PDB1.
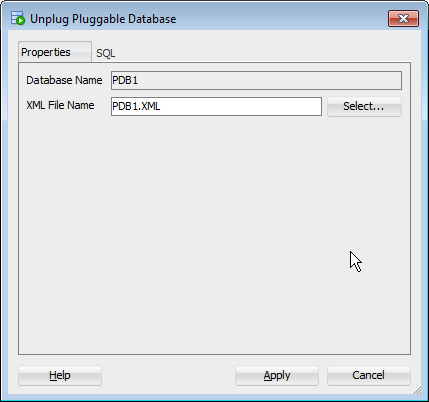
In the DBA Container Database tree, right click PDB1
and select Unplug Pluggable Database.
In the Unplug Database
dialog box, confirm the database name PDB1 and XML file
name PDB1.XML.
Click Apply.
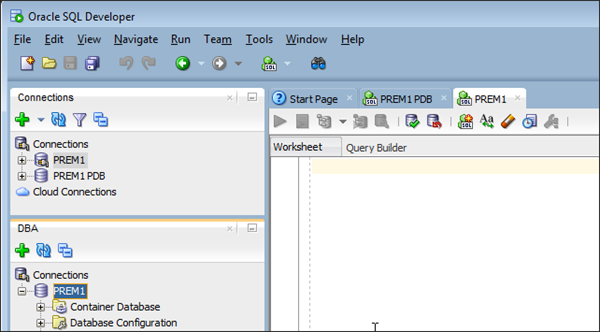
The
on-premise database PDB1 is unplugged and is no
longer listed in the Container Database tree.
Copying the On-Premise Database Files to the Cloud
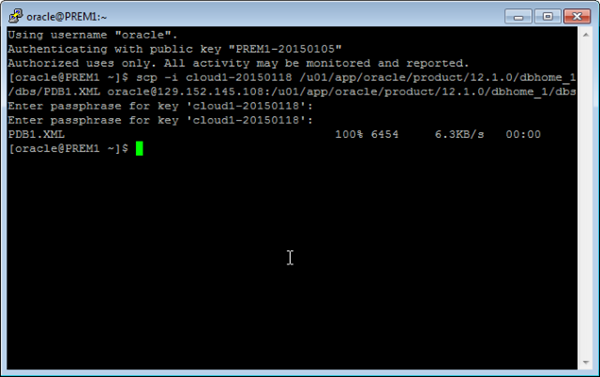
Copy
the PDB1.XML metafile from the on-premise environment to the
Cloud instance.
From
the on-premise server, open an SSH terminal connection to your
Cloud instance.
Navigate to the $HOME directory which contains the Cloud
instance private keyfile: cd $HOME
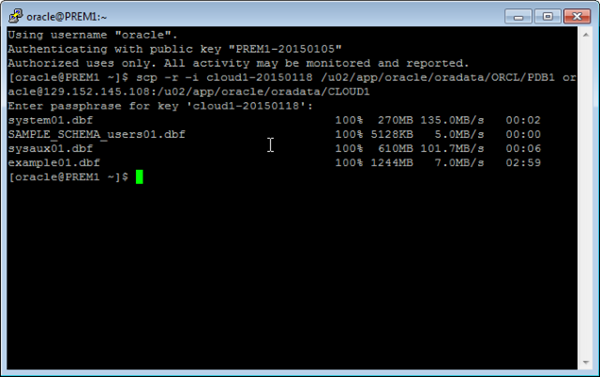
Copy the PDB1.xml metafile to the Cloud instance using the
SCP utility. SCP uses the -i
option to provide the private key, and requires your Cloud
login username and Cloud instance IP address.
Connect to the Cloud instance so you can plug in the
pluggable database.
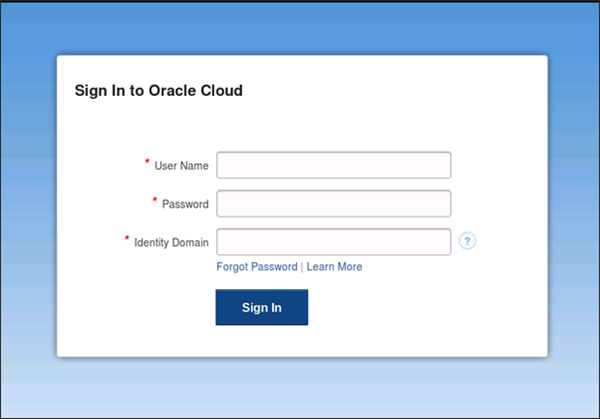
Connect to the Cloud Service using the URL provided.
Enter the user name, password, and Identity Domain
provided and click Sign In.
The Cloud Service screen displays.
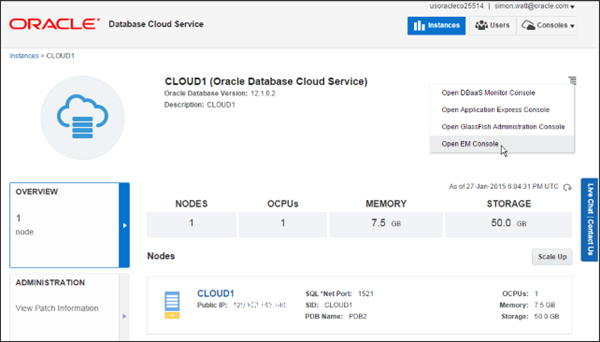
Click CLOUD1 to open the CLOUD1 instance details screen.
Plugging in the Database
On the Cloud instance details screen, click the Console
Menu icon, then click the Open EM Console option.
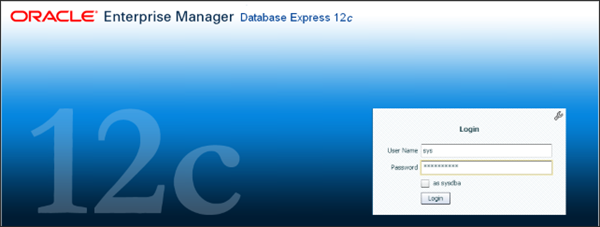
The EM Express login page opens
Enter the EM Express login credentials:
User Name: sys
Password: the password you used to create the Cloud
Instance
Check the as sysdba checkbox
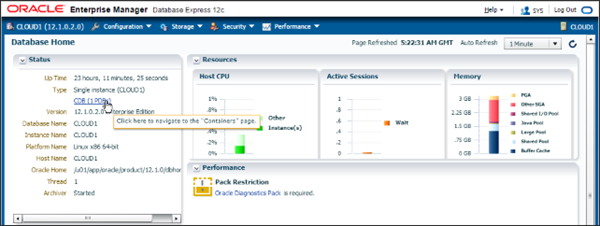
The EM Express home page opens.
Click the CDB (1 PDBs) link to open the Containers page.
Note the existing PDB2 database.
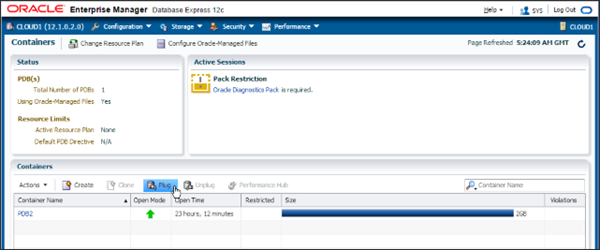
In the Containers menu bar, click Plug to open the Plug
PDB dialog.
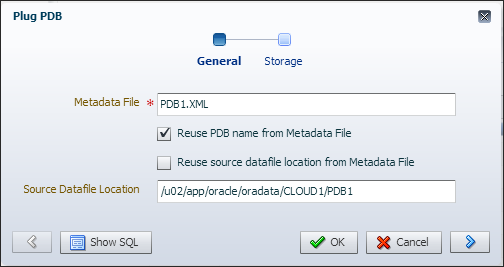
In the Plug PDB dialog:
Enter PDB1.XML the Metadata File field
Select Reuse PDB name from Metadata File
Enter the path to the database files in the Source
Datafile Location field
Click OK to start loading the database
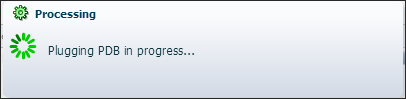
A Processing message box is displayed during the PDB
plug in process.
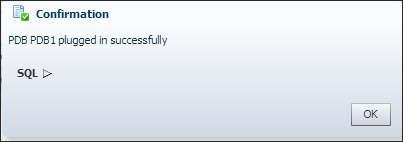
On completion, a Confirmation message box is
displayed..
The Containers page now shows the additional pluggable
database, PDB1.
Viewing Data in the Cloud Instance
Use SQL Developer to view the online_shop data you created
earlier. This confirms that you have successfully unplugged an
on-premise database and plugged it into your Cloud instance.
Connecting to the Cloud Database
Launch SQL Developer.
In the Connections tab, right-click Connections and
select New Connection.
The New / Select Database Connection dialog box is
displayed.
In the New / Select Database Connection dialog:
Enter CLOUD1 PDB in the Connection Name field
Enter sys in the Username field
From the Connection Type dropdown, select Basic
From the Role dropdown, select SYSDBA
Enter localhost in the Hostname field
Enter 1521 in the Port field
Select Service Name and enter the provided CLOUD1
Service Name
Click Advanced to open the Advanced Properties dialog
In the Advanced Properties dialog:
Click the SSH tab
Select Use SSH
Enter the IP address of your CLOUD1 database in the
Host field. This is your Cloud database.
Enter 22 in the Port field.
Enter oracle in the Username field
Select Use Key File
Click Browse to select the private key file for this
connection
Click OK to save the Advanced Properties settings
Click Save and then close the New / Select Database
Connection dialog box.
Viewing the Cloud Database Content
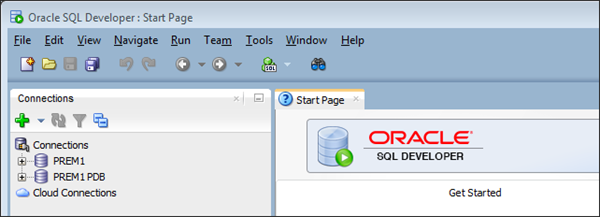
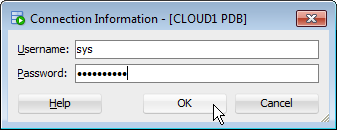
Right click CLOUD1 PDB in the Connections View, and click
Connect.
Enter the provided password in the Connection Information
dialog.
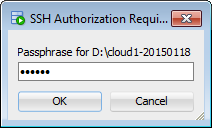
Enter the pass phrase in the SSH Authorization dialog.
The CLOUD1 PDB connection opens and the PDB objects are
listed in the Connections view.
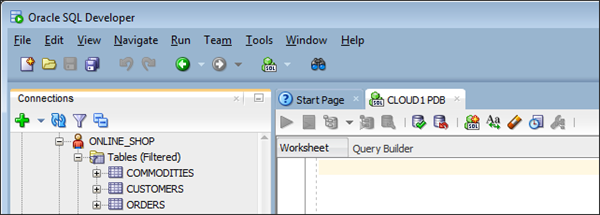
Expand Other Users, ONLINE-SHOP and then Tables to view
the tables you created in the on-premise database. You are
now viewing this content in the Cloud database. Browse
through the content to view the records you entered.
Success!
Summary
In this tutorial, you learned to:
Use SQL Developer to connect to the on-premise database
Use SQL Developer to create content in the on-premise database
Use SQL Developer to unplug the on-premise database
Use an SSH terminal and the SCP utility to copy the on-premise
database files to the Cloud instance
Connect to the Cloud instance and use EM Express to plug in
the database
Use SQL Developer to view content in the database you plugged
into the Cloud instance
Credits
Lead Curriculum Developer: Simon Watt
Other Contributors: Brian Spendolini, Mike Fitch, Richard
Green, Nancy Greenberg, Dom Lindars
To navigate this Oracle by Example tutorial, note the following:
Topic List:
Click a topic to navigate to that section.
Expand All Topics:
Click the button to show or hide the details for the sections.
By default, all topics are collapsed.
Hide All Images:
Click the button to show or hide the screenshots. By default,
all images are displayed.
Print:
Click the button to print the content. The content that is
currently displayed or hidden is printed.
To navigate to a particular section in this tutorial, select the
topic from the list.