 Uploading Application to Oracle Developer Cloud Service Git Repository using Oracle JDeveloper
 Before You Begin
This 15-minute tutorial shows you how to clone an Oracle Developer Cloud Service project Git repository to your local computer and then upload an Oracle Application Development Framework (Oracle ADF) application to it using Oracle JDeveloper.
Background
In this tutorial, you use the Oracle Alta UI Work Better sample application and upload it to a Git repository of your ORacle Developer Cloud Service project.
The Alta UI Work Better sample application is a demo application that uses the Alta UI to develop the most recent Oracle Cloud products.
What Do You Need?
- A web browser
- Your Oracle Cloud account credentials
- An Oracle Cloud account with an active Oracle Developer Cloud Service instance
- Oracle JDeveloper
- Team Server configured to connect to your Oracle Developer Cloud Service instance
See the Integrating Oracle Developer Cloud Service with JDeveloper OBE. - An Oracle Developer Cloud Service project with an empty Git repository
This OBE assumes that you are using a Demo project with an emptyadf-sample-application.gitGit repository in it.
See Create an empty Oracle Developer Cloud Service Project and Create and Populate a Git Repository OBEs to learn how to create a project and an empty Git repository. - Oracle Alta UI WorkBetterFaces Application Demo
Click here to download the WorkBetterFaces.zip file to your computer.
 Clone the Project Git Repository
In this section, you clone the empty Git repository of your project to your computer using JDeveloper.
- In JDeveloper, select Window > Team to open the Team tab.
- Select the Demo project to open it.
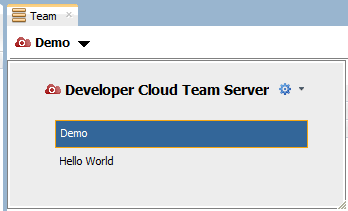
Description of the illustration clone_01.png - In the Team tab, expand Sources and click the get link of the
adf-sample-application.gitrepository.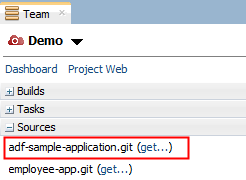
Description of the illustration clone_02.png - In the Get Sources from Oracle Developer Cloud Services dialog box, click Get from Developer Server.

Description of the illustration clone_03.png - On the Welcome page of the Clone from Git wizard, click Next.
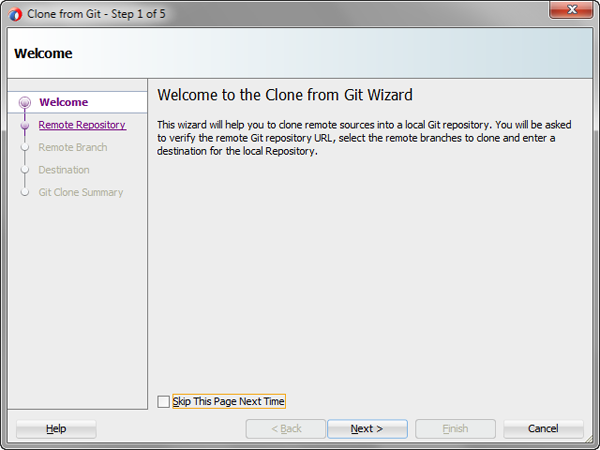
Description of the illustration clone_04.png - On the Remote Repository page, click Next.
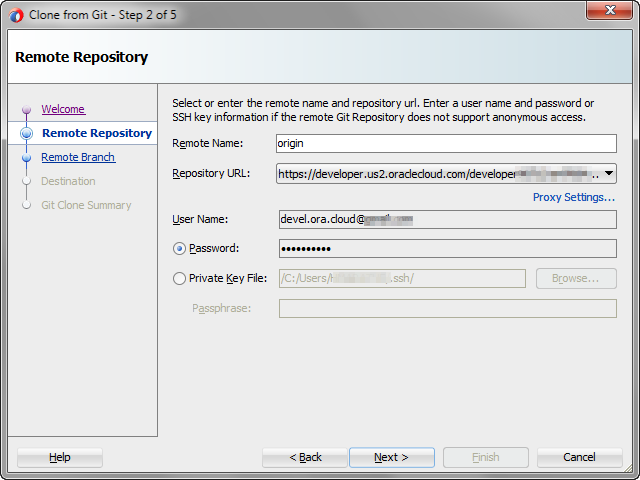
Description of the illustration clone_05.png - On the Remote Branch page, click Next.
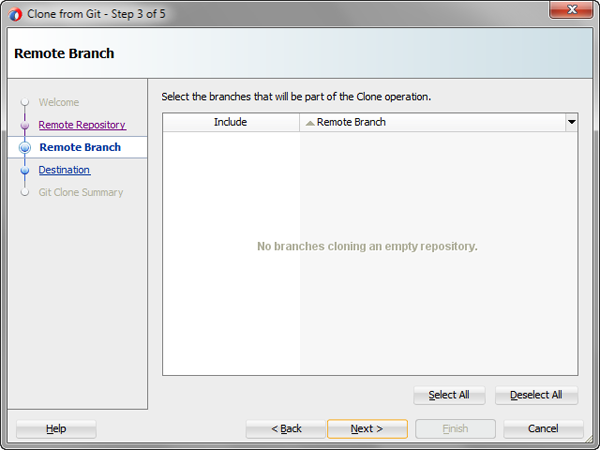
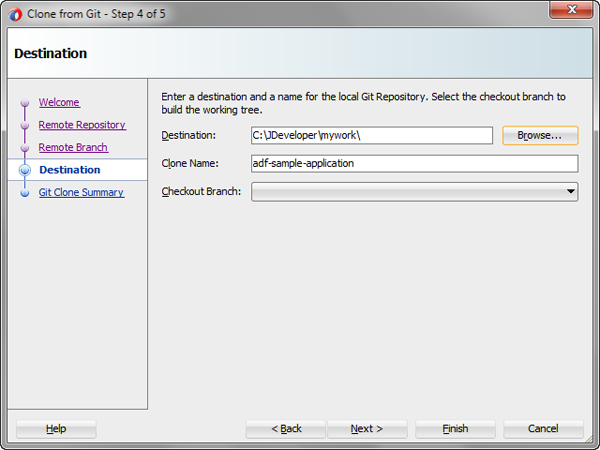
Description of the illustration clone_06.png - On the Destination page, if necessary, update the following values and click Next. The Checkout Branch drop-down list is expected to be empty.
- Destination: The path of the directory where you want to clone the Git repository
- Clone Name: The name of the cloned Git repository directory
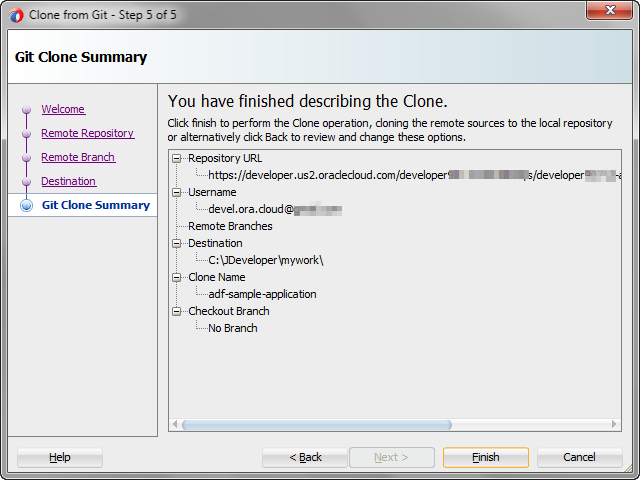
Description of the illustration clone_07.png - On the Git Clone Summary page, click Finish.
Description of the illustration clone_08.png - In the New Gallery dialog box that opens automatically, click Cancel to close the dialog box.
 Commit and Push the ADF Application to Oracle Cloud Developer Service
In this section, you add the Oracle Alta UI Work Better Application to the cloned Git repository directory.
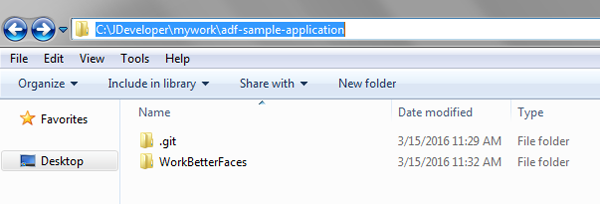
- In the cloned repository directory, extract the contents of the Oracle Alta UI Work Better Application zip file.
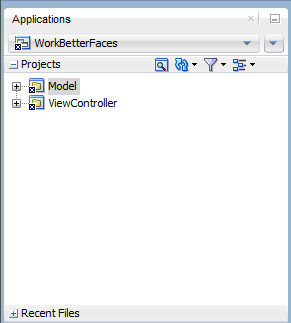
Description of the illustration commitpush_01.png - In JDeveloper, select File > Open, and open the WorkBetterFaces application.
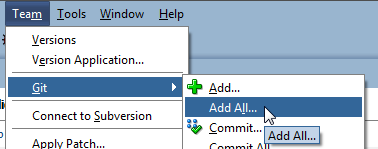
Description of the illustration commitpush_02.png - From the Team menu, select Git, and then select Add All.
Description of the illustration commitpush_03.png - In the Add All dialog box, click OK.

Description of the illustration commitpush_04.png 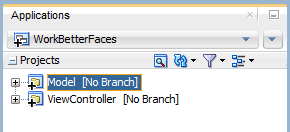
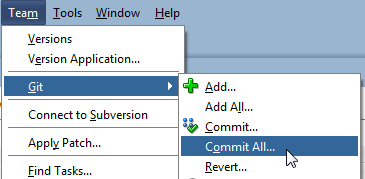
Description of the illustration commitpush_05.png - From the Team menu, select Git, and then select Commit All.
Description of the illustration commitpush_06.png - In the Commit All dialog box, enter
Initial commitas comment in Comments, specify your name and email address in the Author and Commiter fields in theName <email>format, and click OK.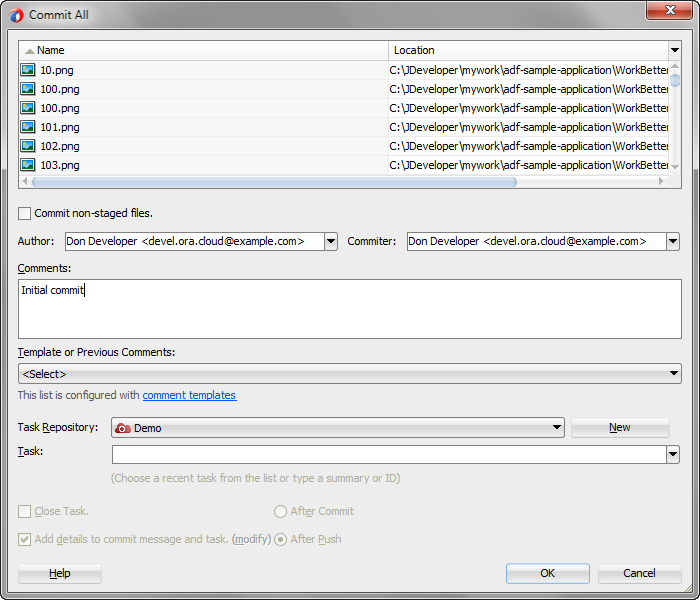
Description of the illustration commitpush_07.png 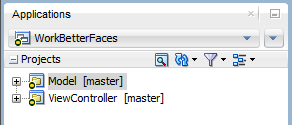
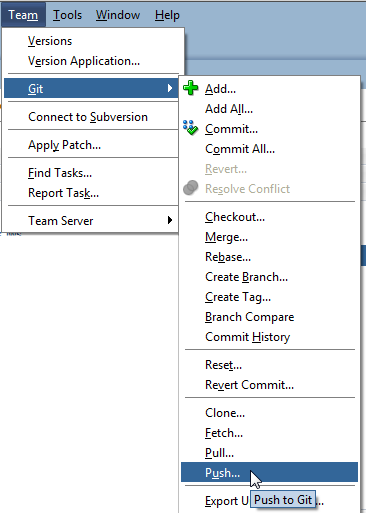
Description of the illustration commitpush_08.png - From the Team menu, select Git, and then select Push.
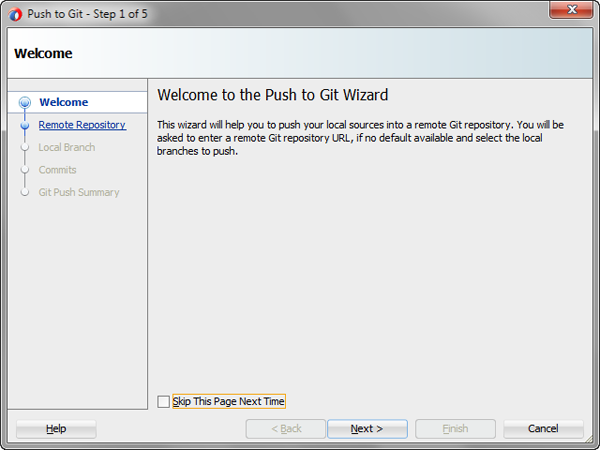
Description of the illustration commitpush_09.png - On the Welcome page of the Push to Git wizard, click Next.
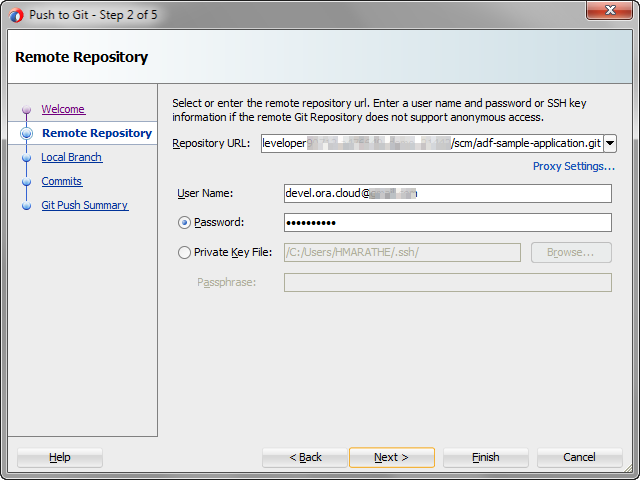
Description of the illustration commitpush_10.png - On the Remote Repository page, click Next.
Description of the illustration commitpush_11.png - On the Local Branch page, click Next.
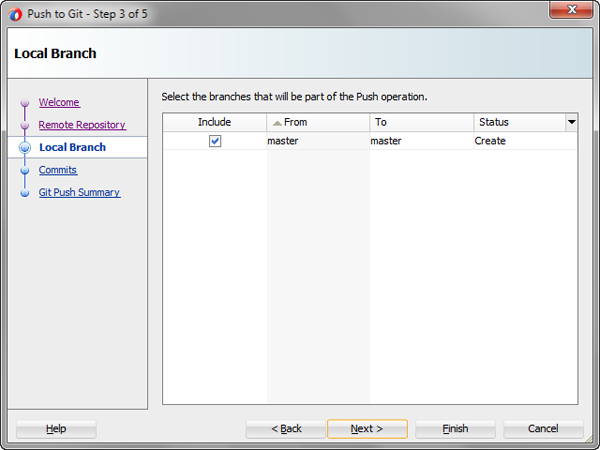
Description of the illustration commitpush_12.png masterbranch was created automatically when you committed the application files. - On the Commits page, click Next.
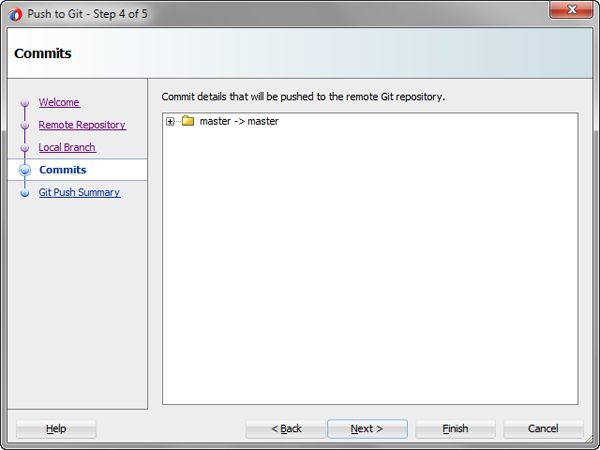
Description of the illustration commitpush_13.png - On the Git Push Summary page, click Finish.
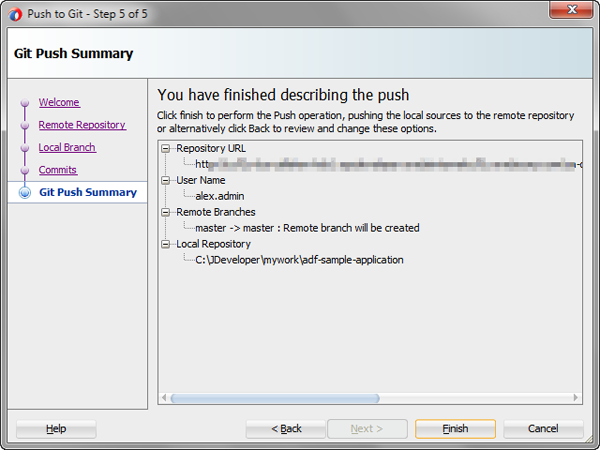
Description of the illustration commitpush_14.png - After the Git Push is completed, open the project in the Oracle Developer Cloud Service web interface and verify the commit on the Project page.
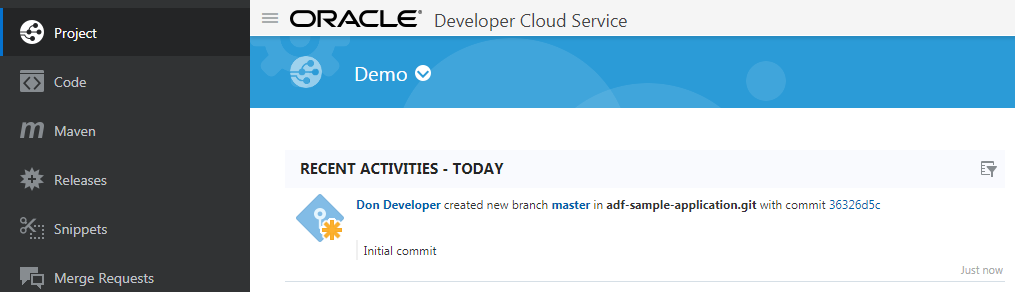
Description of the illustration commitpush_15.png
 Want to Learn More?
- Using Oracle JDeveloper with Oracle Developer Cloud Service in Using Developer Cloud Service
- Oracle Developer Cloud Service product page
- Oracle Developer Cloud Service documentation page in the Oracle Help Center