 Managing Approvals in Planning
 Before You Begin
This 20-minute tutorial shows you how to manage approvals in Planning.
Background
With approvals, you can manage your workflow within a defined process, and formalize authority levels as you prepare budget data. You can review and approve plans submitted by cost centers or departments as part of your overall budgeting process.
To prepare for the approvals process, an administrator:
- Sets up approval units, typically based on the company's organization, geographical regions, or product lines.
- Designates who reviews and approves the plan data as the data moves through the organization (the promotion path).
- Begins the planning cycle by officially starting each approval unit. Its state then changes to Under Review. In the Under Review state, you can enter data (if you own the approval unit), and then Promote or Submit the approval units when you consider the data ready. After doing so, you can't change the data until you become the owner again
Approval units that an administrator has started are part of the approvals process and are managed and tracked. When all reviewers approve all approval units, the planning cycle is complete.
What Do You Need?
Before starting this tutorial, you should:
- Have Service Administrator access to Planning for EPM Enterprise Cloud Service.
- Upload and import this snapshot into your Planning instance.
- Set the navigation flow to Financial Flow - Admin.
- Have the following provisioned users: three (3 )power users and one (1) user. In this tutorial, the power users will be referred to as Henry, Frank, and Kerry. The user will be referred to as Carol. You will be assigning owners to the approval unit hierarchy using your power users and users.
Several logons are used as the approval unit is moved through the budget cycle.
 Approvals Overview
In this section, you learn about approvals.
Plans are tracked and managed through approval units. An approval unit is the basic unit for preparing, annotating, reviewing, and approving plan data.
Using Approvals, you submit your plan data for a particular scenario, version, and entity (or part of an entity). For example, your approval unit might consist of a version (Worst Case), a scenario (Actual), and an entity (New York).
You can perform the following tasks with approvals:
- Review and approve planning data
- Track the progress of the budget
- Identify issues in the review process
- View reviewers' remarks through annotations
- View the promotional path of planning data
- Ensure that the plan data meets data validation rules
An administrator kicks off the annual or quarterly planning process by "starting" approval units. Before your approval unit is officially started, you can enter data into it, but the data isn't part of the official planning cycle.
After your administrator starts your approval units, you can enter data into the selected Scenario, Version, and Entity that comprise it. You can annotate, analyze, and revise an approval unit until you promote or submit it. After that, you can no longer change the data until you become the current owner again.
 Managing Plans in Planning
In this section, you learn how to manage plans with approvals.
Assigning Owners in the Approval Unit Hierarchy
In this section, you assign ownership to approval units, and start the Sales approval unit.
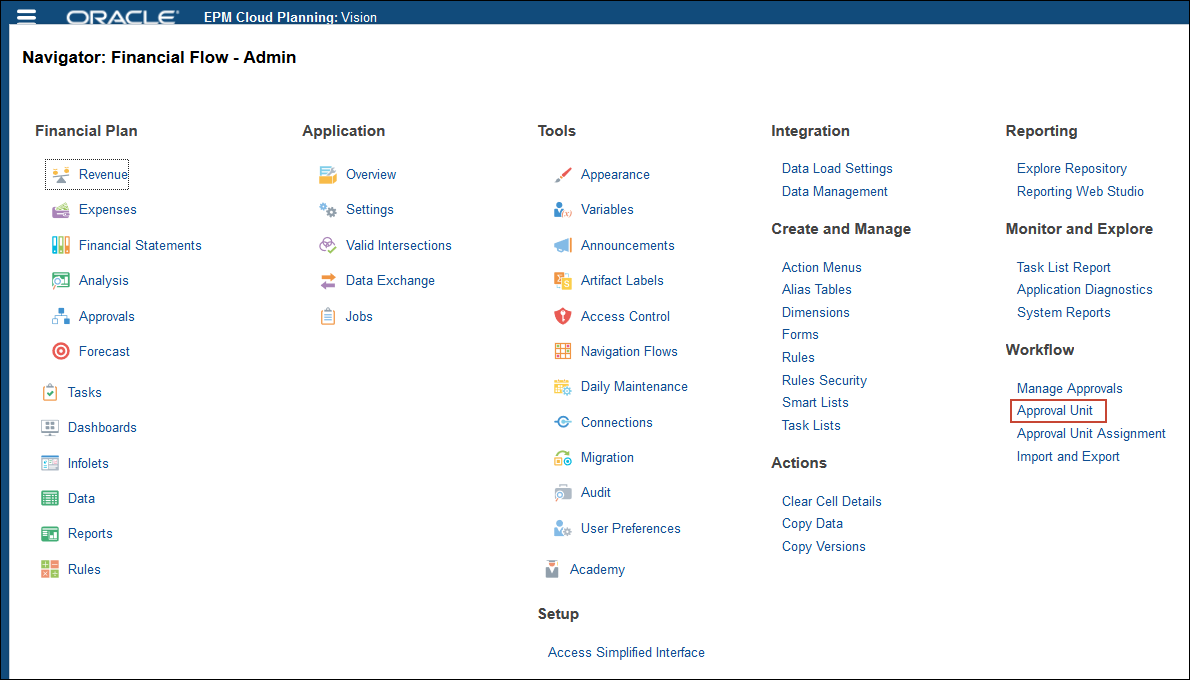
- Click (
 ) Navigator, and under Workflow, select Approval Unit.
- Select Entity Hierarchy Plan.

- Click
 (Edit).

- Click the Assign Owners tab.

- Expand Entity.

- Expand Total Department.

- Expand Sales

- Fill in Owners and Reviewers based on the following table. However, substitute the users you set up.
Entity Owner Reviewer Total Department Frank Taylor Kerry Lane Sales Henry Jefferson International Sales Carol Judd Sales East Henry Jefferson 
- After entering owners and reviewers, on Edit Approval Unit Hierarchy page, click Save.
- At the Information message, click OK.
- Click OK.
- At the Information message, click OK.


Starting the Approval Unit Hierarchy
In this section, you start the approval unit for the Plan scenario, Working version, for Sales.
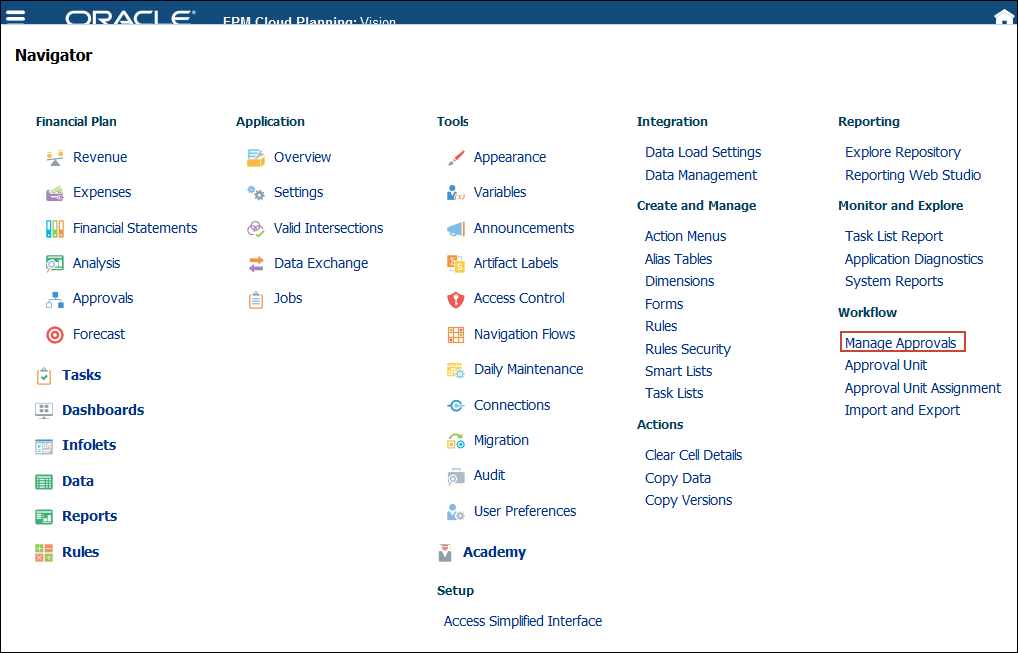
- Click ( ) Navigator, and under Workflow, select Manage Approvals.
- Select the Plan scenario, and the Working version, and click Go.

- From View, select Tree View.
- Expand Entity Hierarchy Plan.

- Expand Total Department.

- For Sales, in Plan Cycle, click Start.

- In the Information message, click OK.

- Expand Sales.

The Sales approval units are started and Carol is the owner for International Sales.

- Click Administrator, and select Sign Out.

- Click OK.


Defining user variables
Before reviewing and entering plan data, you set your user variables.
- Logon as Carol.
- On the Planning home page, click Tools, then User Preferences.

- Click User Variables.
- Select or enter members for the user variables, and click Save.
- Click
 (Home).


Modifying the Plan
In this section, the owner for International Sales modifies data.
- From the Home page, click Financial Plan, then Revenue.

- On the Product Revenue Plan tab, ensure the POV is set to International Sales, Working, and Product X, and for Plan, FY20 in Q1, enter 600.

The data is saved and calculations based on the changed data are updated because the form is setup to automatically save data.
Reviewing the Promotional Path in Planning
After making your plan adjustments, before promoting your plan for review, look at the promotional path.
- Click Approvals.

- Click
 (Filter).
- From the Scenario drop-down list, select Plan, and from the Version drop-down list, select Working, and click Apply.

- Click International Sales.

- Click the Promotional Path tab to see reviewers for the approval unit.

When Carol submits her plans for International Sales within the Plan scenario and Working version, they are first reviewed by Henry Jefferson, then Frank Taylor and finally by Kerry Lane.

Promoting Plan Data in Planning
After making your plan adjustments, promote your plan for review.
- Click Change Status.

- Ensure that Promote is the selected action and in Owner, Automatic is displayed. Then in Annotation, enter "Submitting for your review", and click Change Status.

- Click Refresh.
- Click Done.

The updated information is displayed.

Delegating Plans in Planning
If you are not able to review plans, you can designate an alternate reviewer. Henry Jefferson needs to review International Sales. However, he wants to delegate the review to someone else.
- In the upper-right of the screen, click Carol Judd.

- Click Sign Out.

- Click OK.

- Logon as Henry.
- On the Planning home page, click Tools, then User Preferences.

- Click User Variables.
- Select or enter members for the user variables, and click Save.
- At the information prompt, click OK.

- Click (Home).
- From the Planning home page, click Financial Plan, then Revenue.
- Review the data and, click Approvals.

- Click (Filter).
- For Scenario, select Plan, and for Version, select Working, and click Apply.

- Click International Sales.

- From the Action drop-down list, select Delegate.

- From the Owner drop-down list, select Kerry Lane.

- In Annotation, enter a note for Kerry that says “Kerry, please review this plan.”

- Click Change Status.

- Click Done.

International Sales is now assigned to Kerry Lane.


Signing Off Plans in Planning
If you are ready to approve a particular approval unit but before approving it, you want to wait for related approval unit information, you can sign off on it indicating that the numbers look good but you are not ready to approve it yet.
- On the Approvals page, click Sales East.

- In the Action drop-down, select Sign Off.

- Click Change Status.

- Click Done.

Sales East has a Signed Off status.
