Performing Top Down and Bottom Up Planning
 Before You Begin
This 25-minute tutorial helps you consider which of two preparation methods: bottom-up or top-down to use as you prepare your plans.
Background
You can perform bottom-up or top down budgeting with bottom up and target versions.
With bottom up versions, you enter data into bottom level members; parent level members are display-only and don't permit data entry. Parent member values are aggregated from bottom level members.
For target versions, you can enter data for members at any level in the hierarchy. You can use business rules to distribute values from parent members to their descendants.
What Do You Need?
Before starting this tutorial, you should:
- Have Service Administrator access to Planning for EPM Enterprise Cloud Service.
- Upload and import this snapshot into your Planning instance.
- Set the navigation flow to Financial Flow - Admin.
 Planning Strategies Overview
In this section, you learn about bottom-up and target setting planning strategies.
Bottom Up Budgeting in Planning
For bottom-up Planning, data is input at the leaf member level or bottom level, and consolidated by rolling data up the organizational hierarchy. When the budget is started, data is populated for each scenario and version combination or approval unit. The approval unit ownership follows the hierarchy of approval in bottom-up mode. Users can view or edit data based on access permissions defined for the approval unit. The topmost Budget Group owner consolidates individually approved budgets into a final consolidated budget.
Top-Down Budgeting in Planning
Target versions use top-down budgeting. Manage Approvals Tasks are not allowed, and children of target members must be blank (for example, #MISSING) to enable data input at the top level. Target members must be set to Store (Dynamic Calc overrides data input with sum of children).
Upper management, can use target versions to set high-level targets. Those targets are then allocated to individual departments, and those departments build their own budgets within those budget parameters.
Planners working with bottom up versions can reference these targets when they enter plan data.
Planning Strategy Advantages and Disadvantages
Some organizations plan completely starting from the top, where senior management determines all the goals and targets for all departments. The outcome is a detailed budget driven by these top goals. However, these goals could be very unrealistic since department managers may not be able to commit to them.
Consider the advantages to applying a top down strategy:

Consider the disadvantages to applying a top down strategy:

Some organizations have their entire organization develop a detailed budget, which starts at the bottom level of the hierarchy and flows up the hierarchy for approval. Top-line management goals may not be considered or achieved with this method.
Consider the advantages to applying a bottom up strategy:

Consider the disadvantages to applying a bottom up strategy:

 Creating Top Down Plans in Planning
In this section, you create top-down plans. You enter targets and then allocate them to departments.
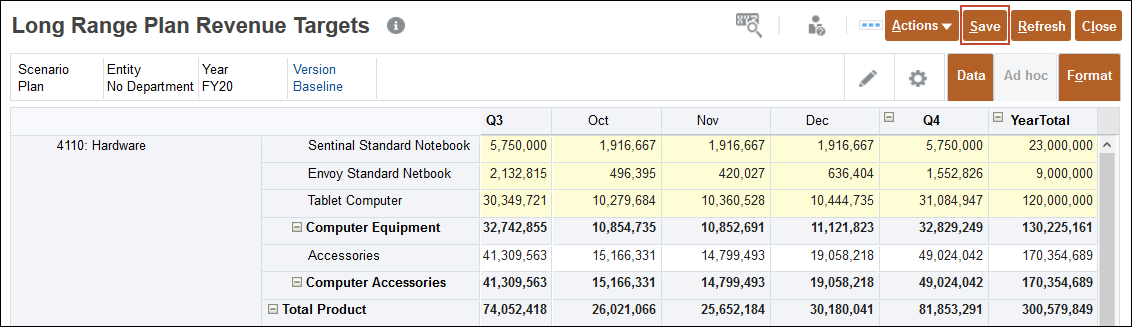
Entering Revenue Targets in Planning
You can enter revenue targets and then allocate them to departments.
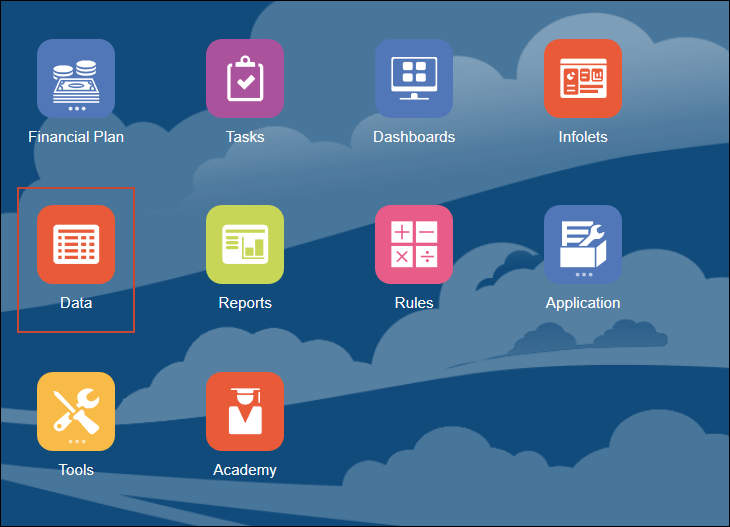
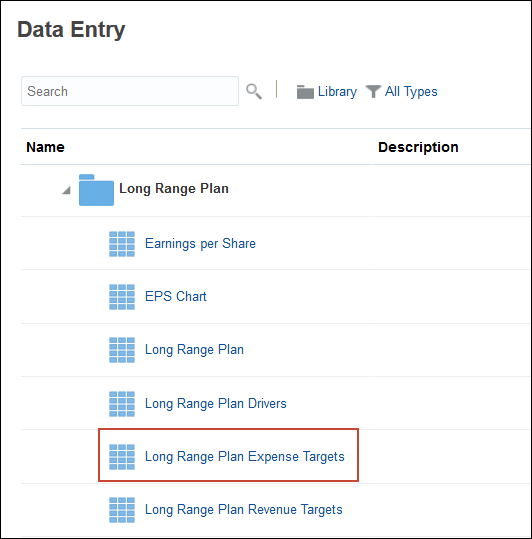
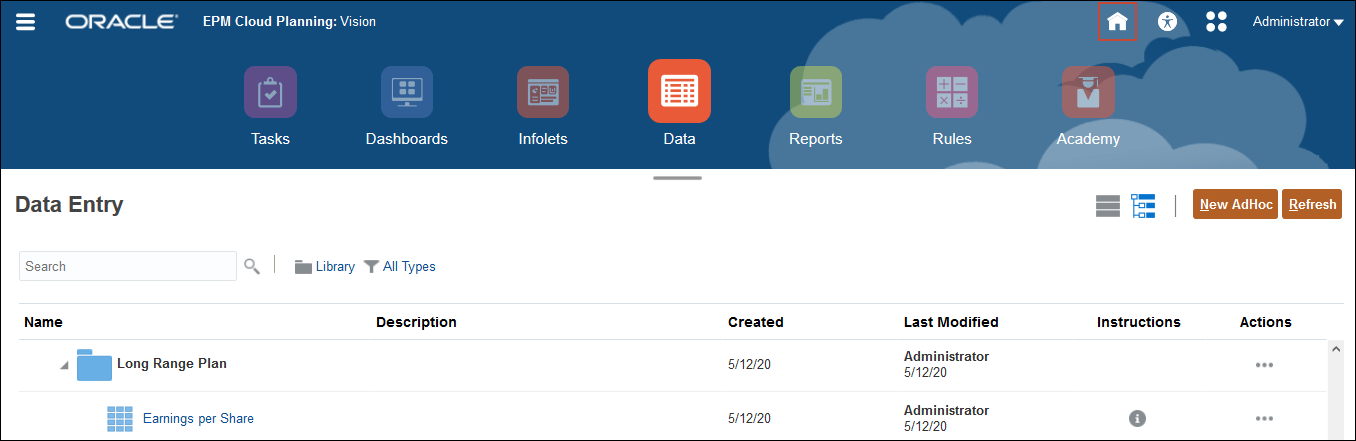
- From the Planning home page, click Data.
- Expand Long Range Plan.
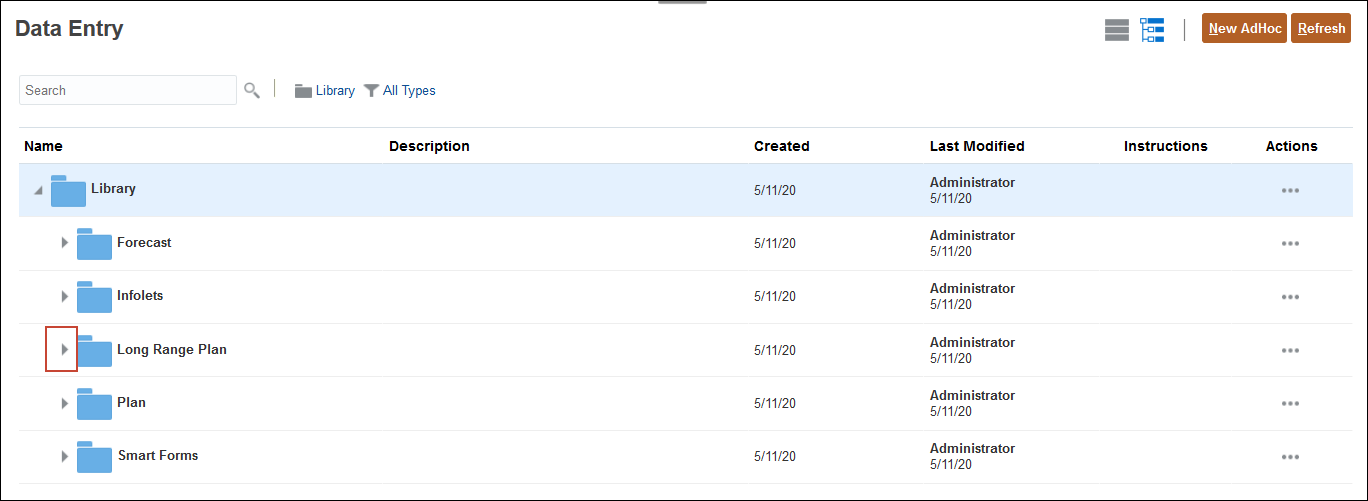
- Scroll and select Long Range Plan Revenue Targets to open it.

- Ensure the POV includes Plan, No Department, FY20, and Baseline.

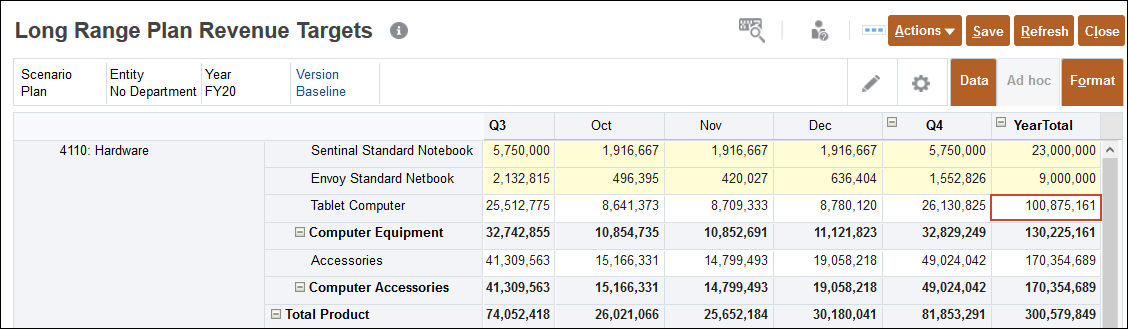
- For Hardware, for Sentinal Standard Notebook, for Yeartotal, enter 23m.
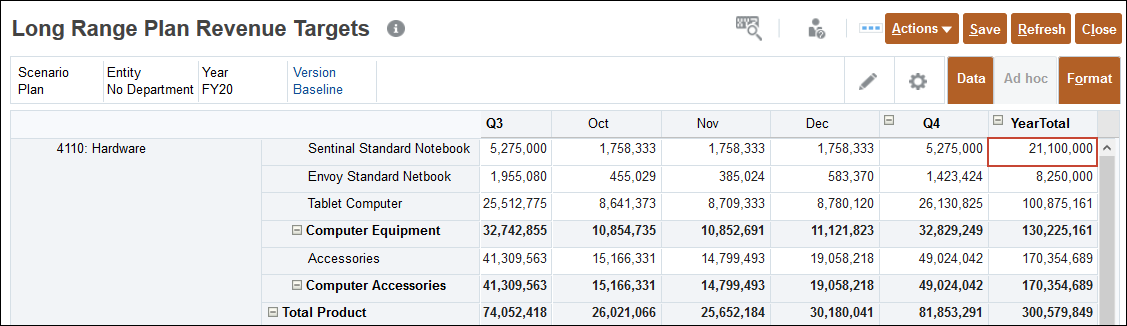
- For Hardware, for Envoy Standard Netbook, for YearTotal, enter 9m.
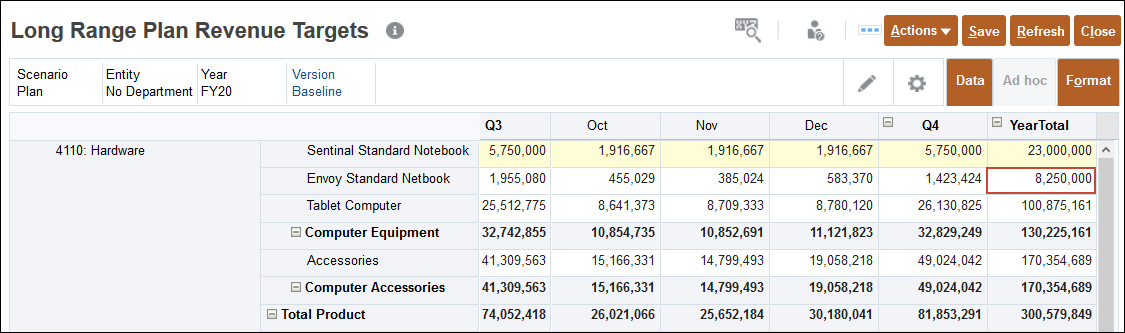
- For Hardware, for Tablet Computer, for YearTotal, enter 120m.
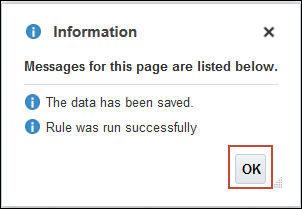
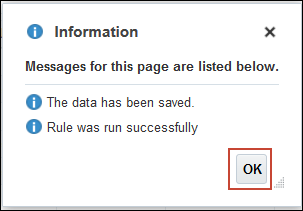
- Click Save.
- At the information message, click OK.
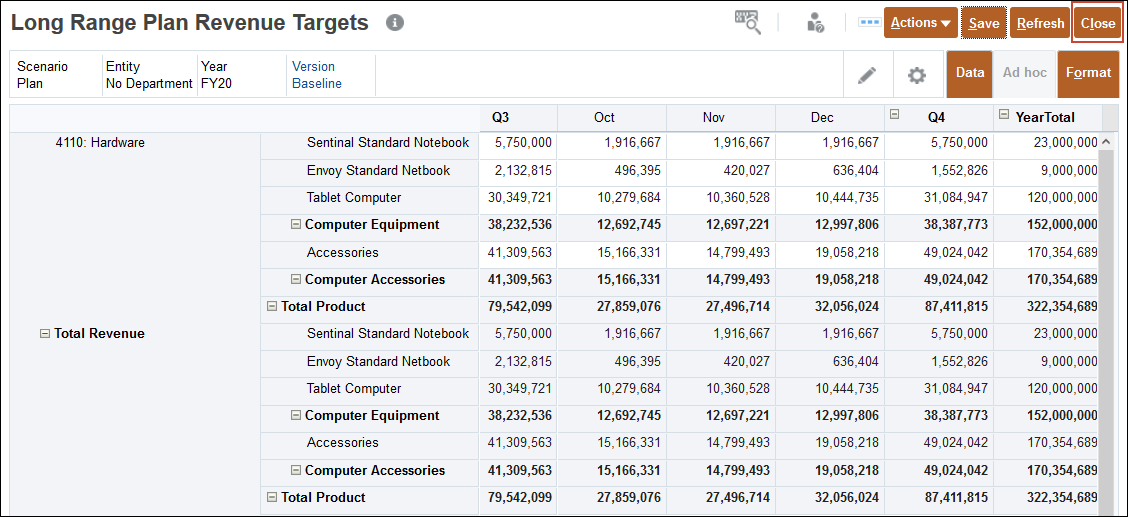
- Click Close.
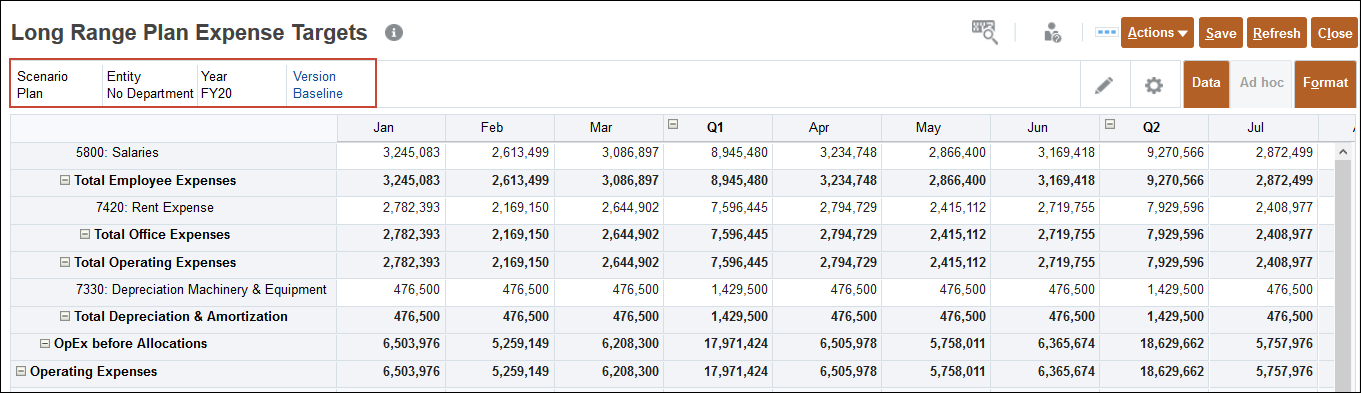
Entering Expense Targets in Planning
You can enter expense targets and then allocate them to departments.
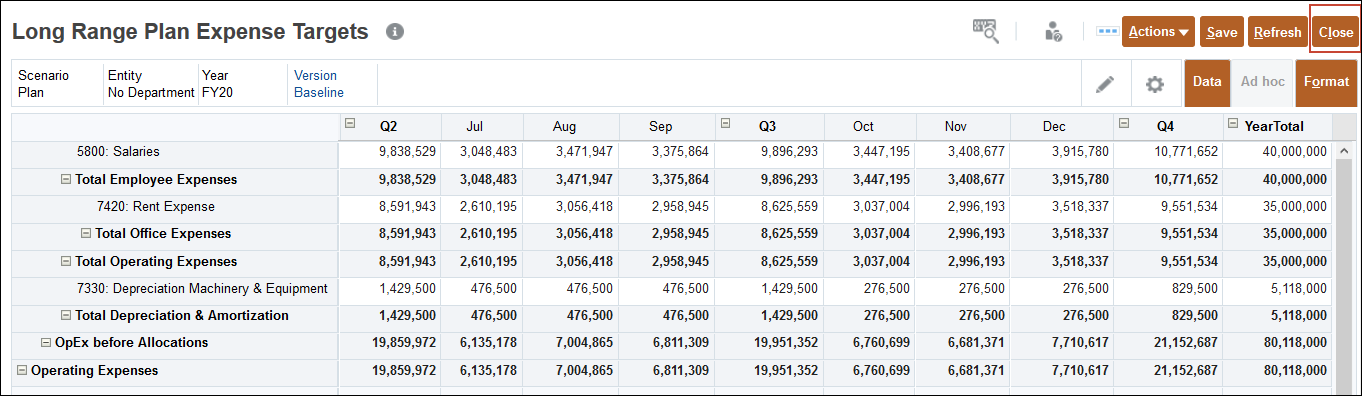
- On the Data Entry page, click Long Range Plan Expense Targets.
- Ensure the POV includes Plan, No Department, FY20, and Baseline, and scroll to the right until the YearTotal column is displayed.
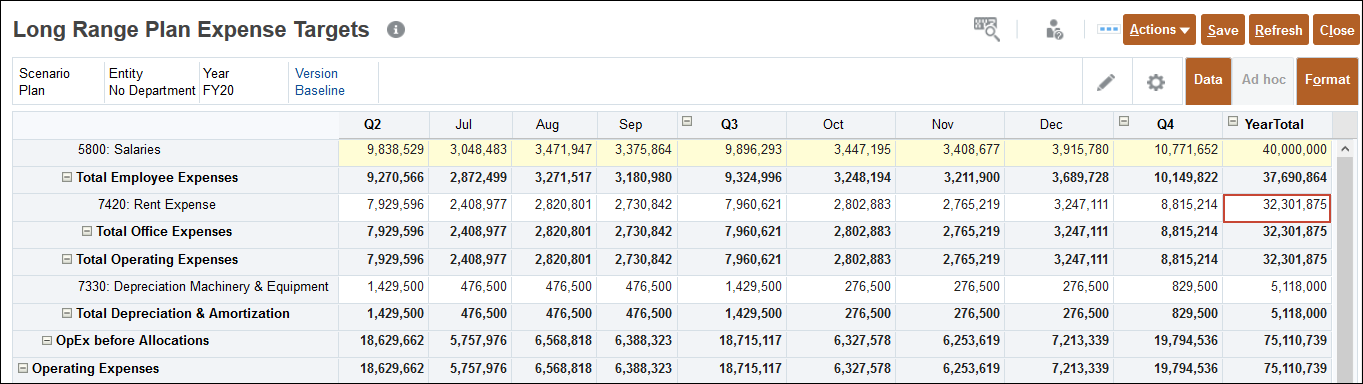
- For Salaries, for YearTotal, enter 40m.
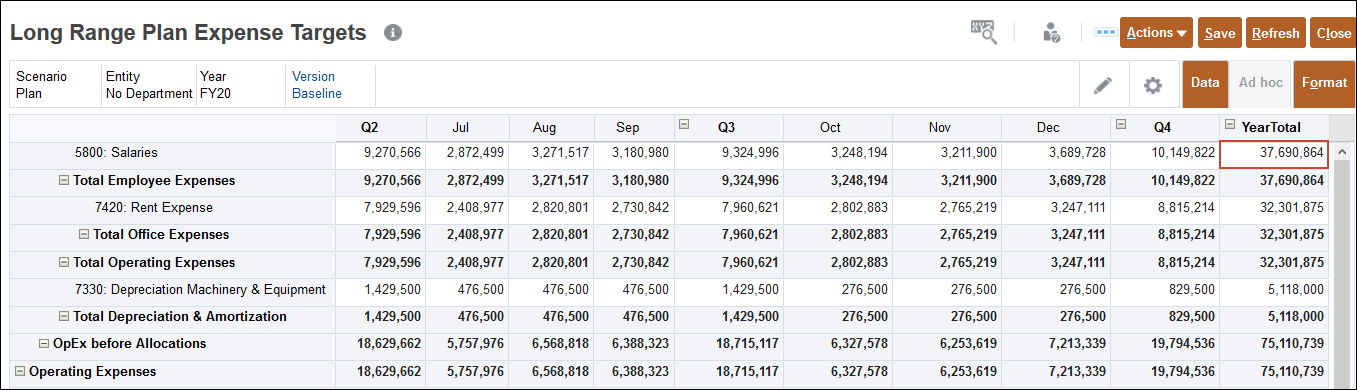
- For Rent Expense, for YearTotal, enter 35m.
- Click Save.
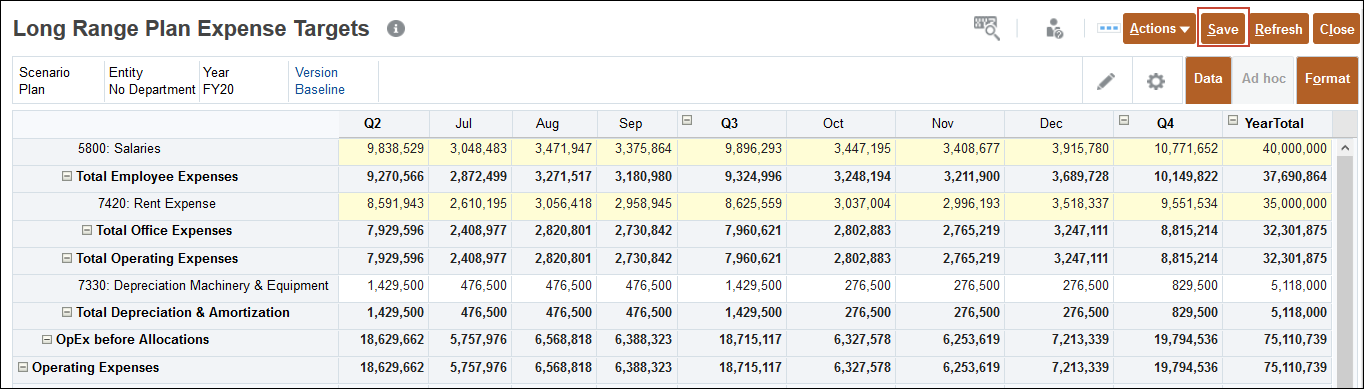
- At the information message, click OK.
- Click Close.
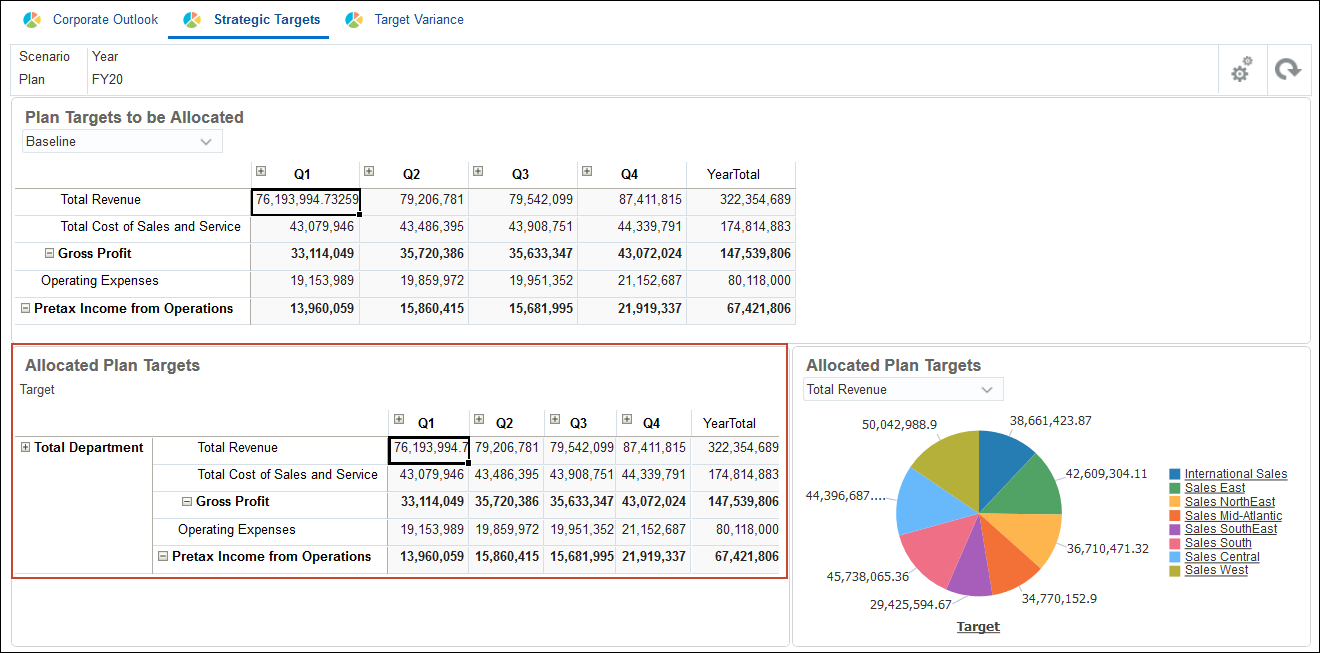
Allocating Targets in Planning
After adjusting the revenue and expense targets, you allocate them throughout the organization.
- From the Data Entry page, click (
 ) Home.
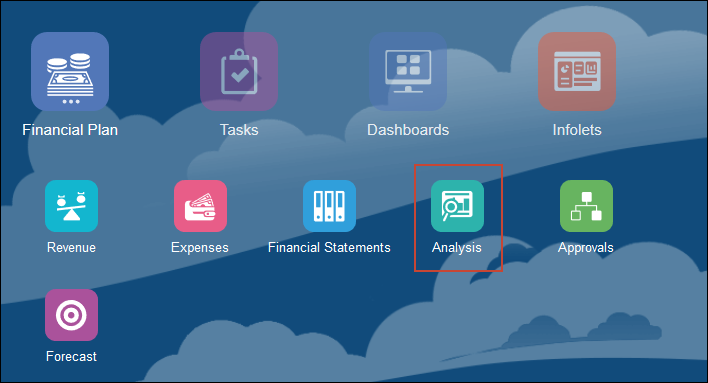
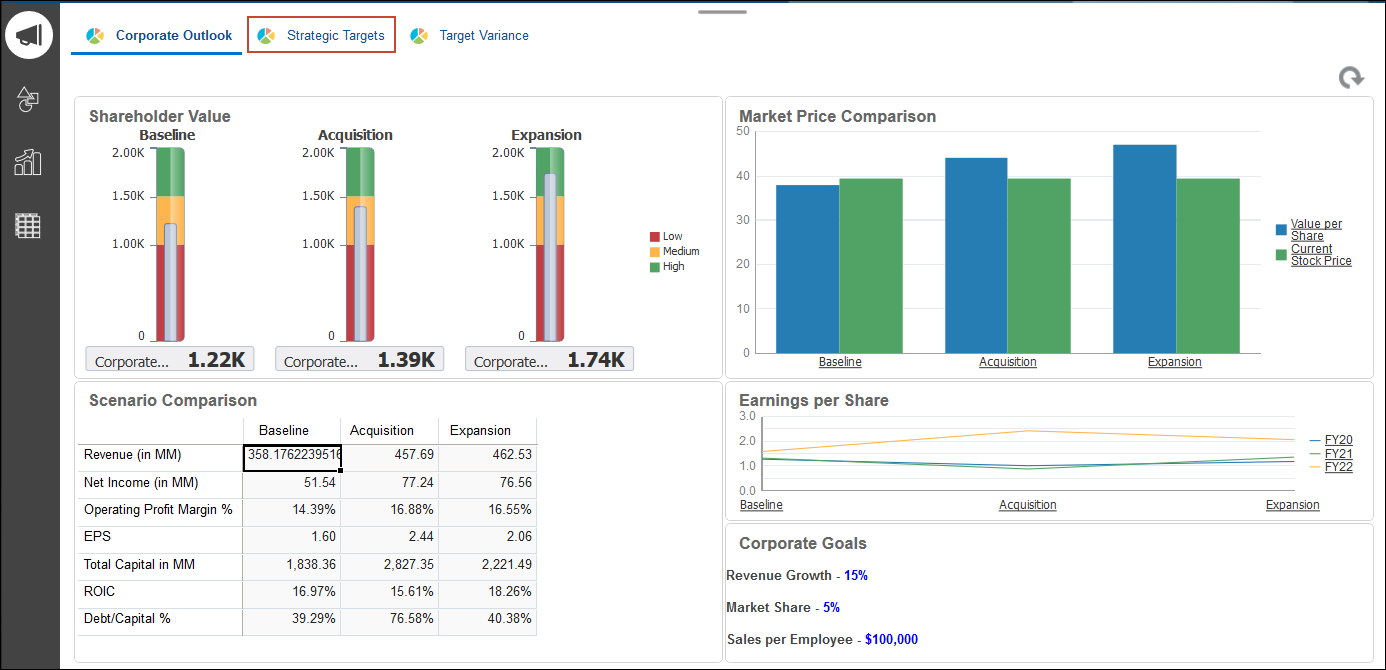
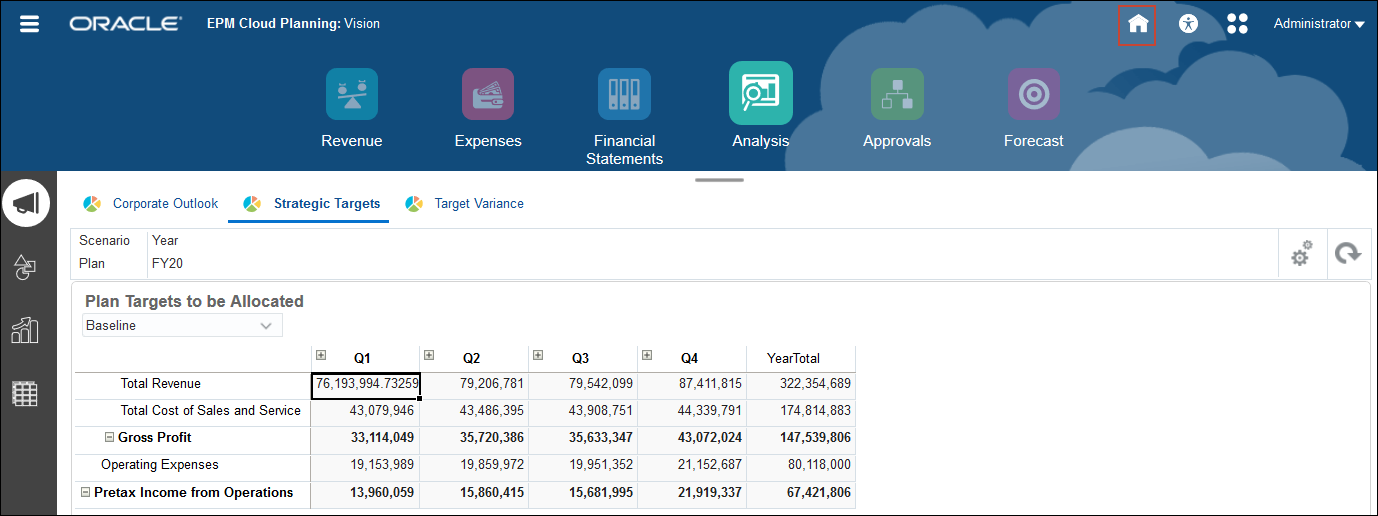
- From the Planning home page, click Financial Plan and then Analysis.
- Select the Strategic Targets horizontal tab.
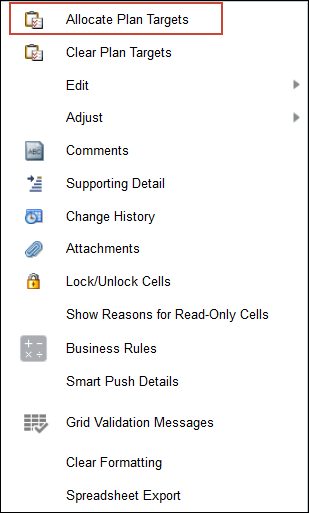
- For Plan Targets to be Allocated, ensure Baseline is selected, and in the top form, Click Actions.
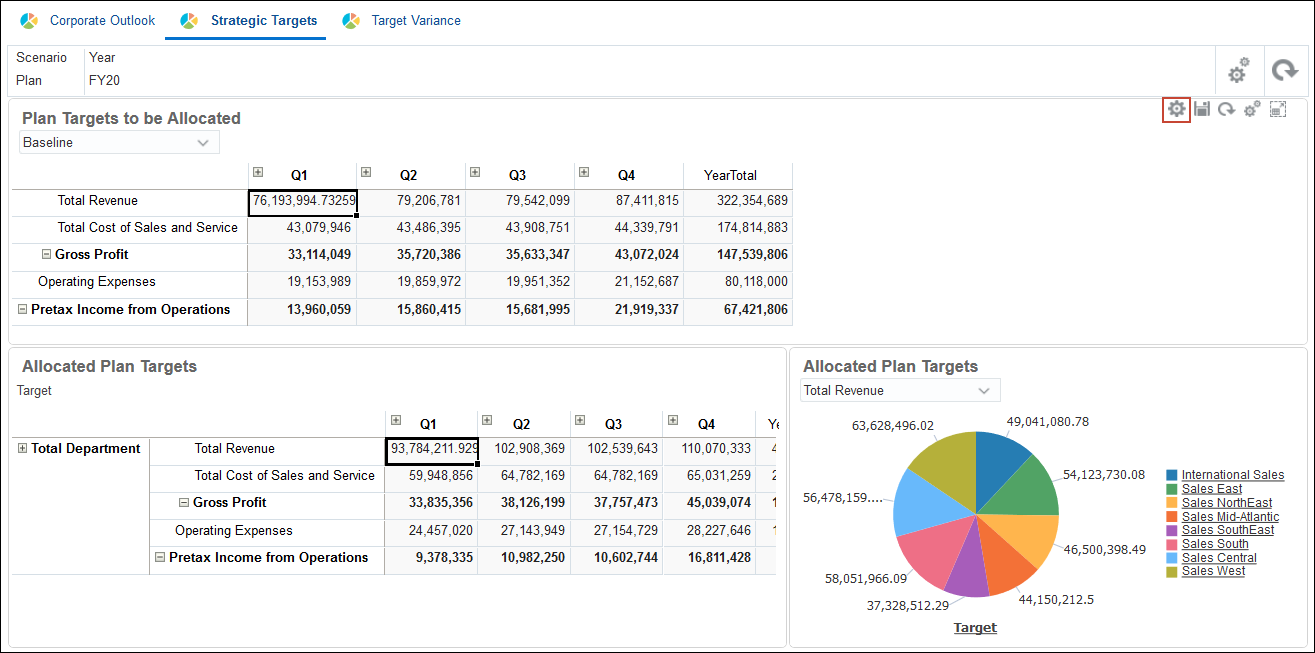
- From the menu, select Allocate Plan Targets.
- In the Allocate Plan Targets dialog box, ensure Baseline is selected, and click Launch.
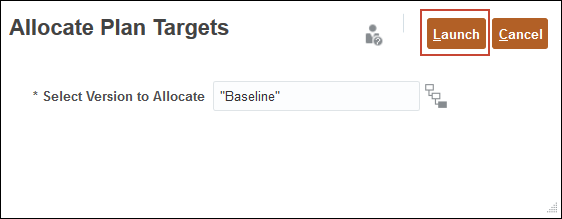
Allocated plan targets are updated.
 Creating Bottom Up Plans in Planning
In this section, you create bottom up plans.
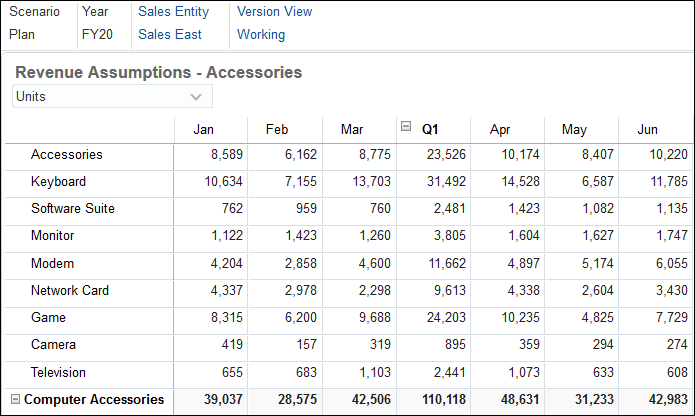
Entering Revenue Plans in Planning
You can make revenue plans for your department.
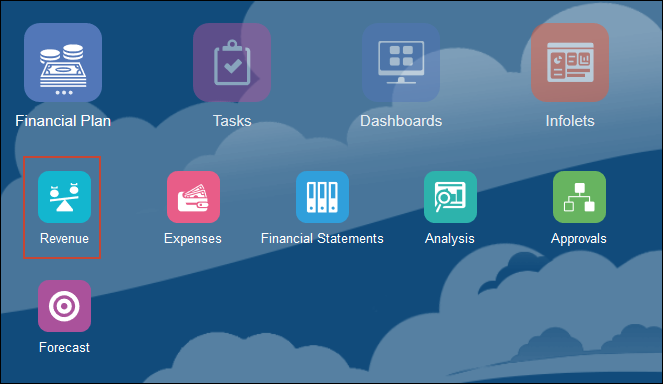
- Click ( ) Home to navigate to the Home page.
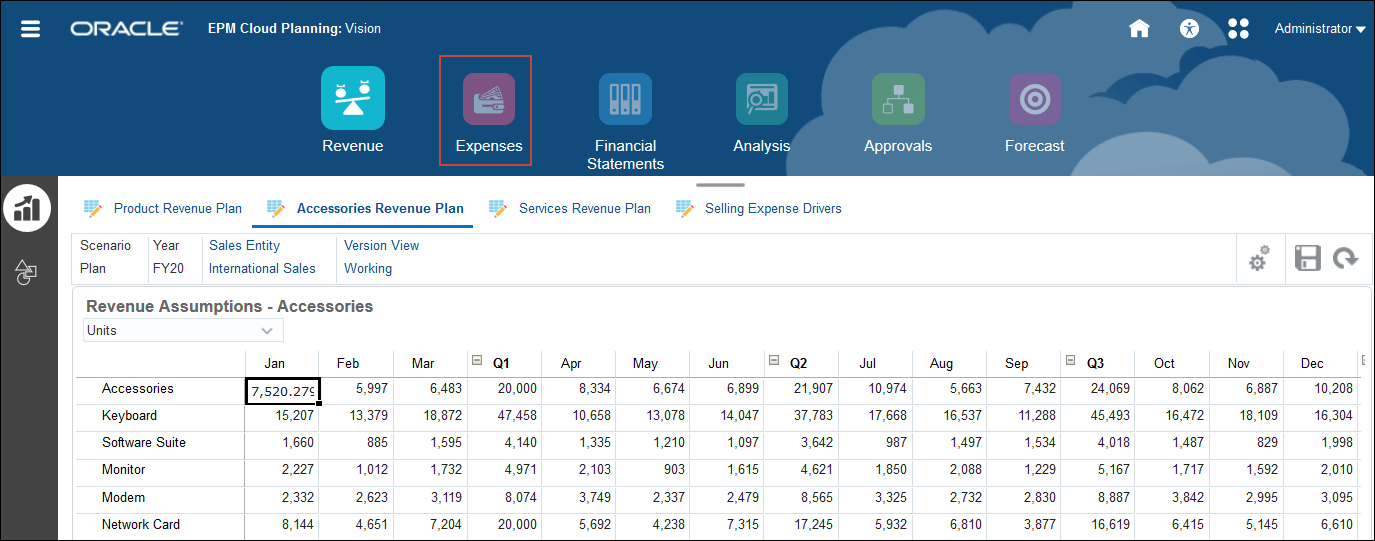
- From the Home page, click Financial Plan and then Revenue.
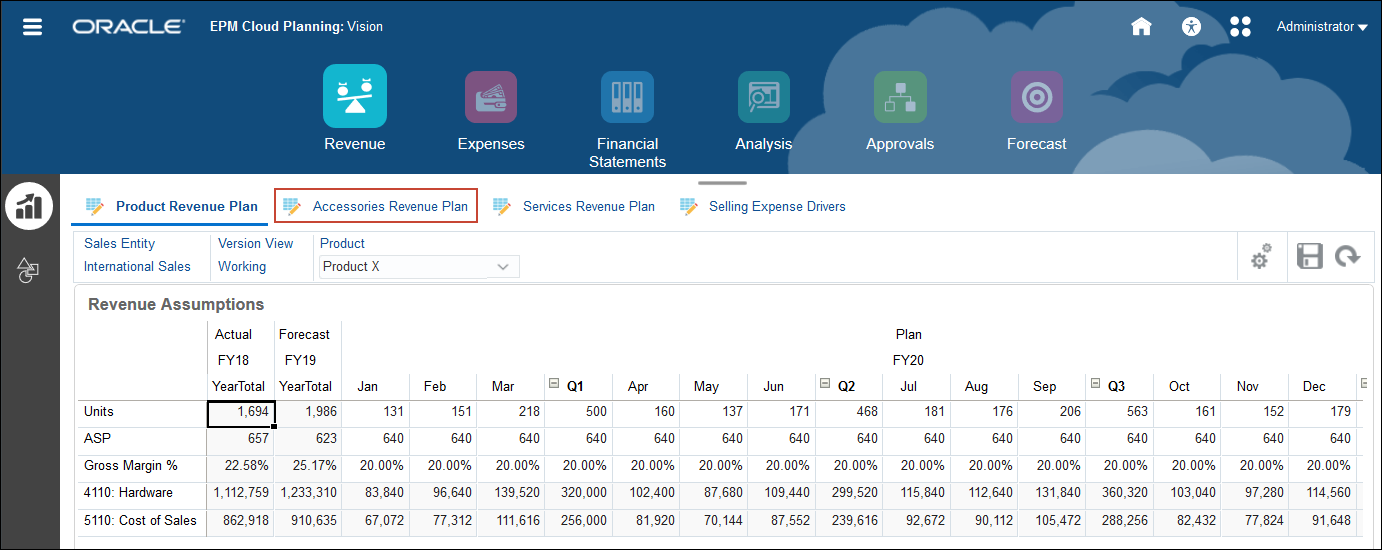
- Select the second horizontal tab – Accessories Revenue Plan.
- In the upper right of the top grid, click (
 ) Maximize.

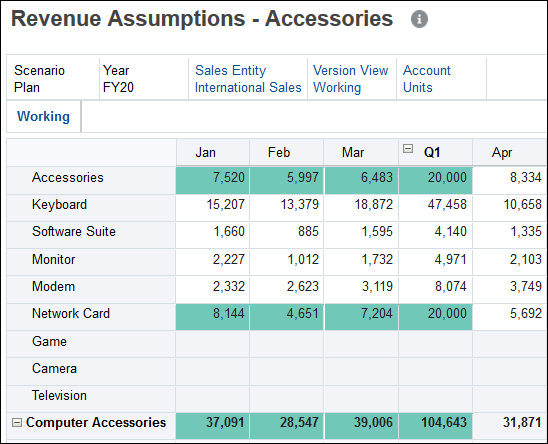
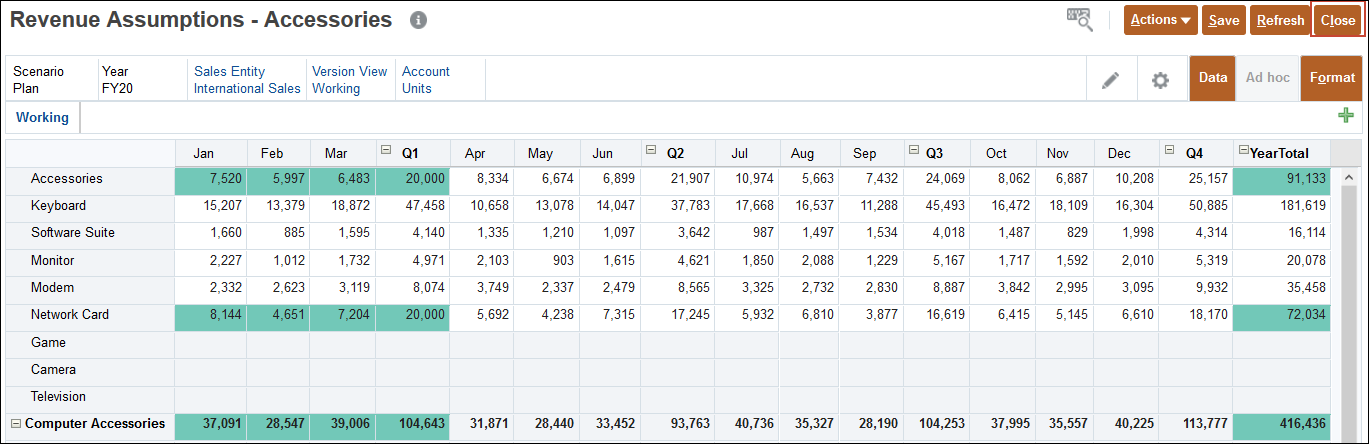
- Ensure the POV is set to Plan, FY20, International Sales, Working, and Units, and for Accessories in Q1, enter 20k.
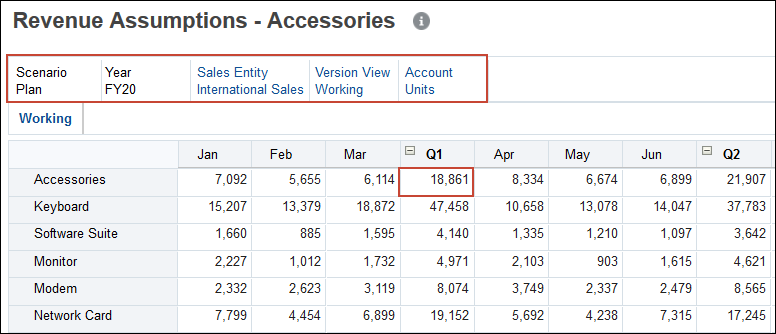
- For Network Card in Q1, enter 20k.

The data is updated and because Autosave is enabled on this form, the data is saved as indicated by green colored cells.
- Click Close.
Entering Expense Plans in Planning
You can make expense plans for your department.
- From Accessories Revenue Plan, click Expenses.
- Click the Other Expenses vertical tab.
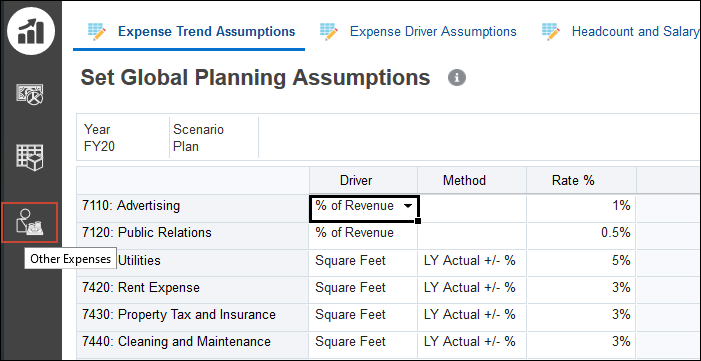
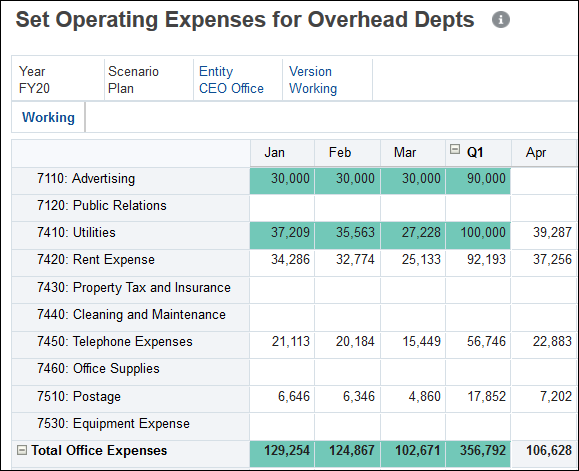
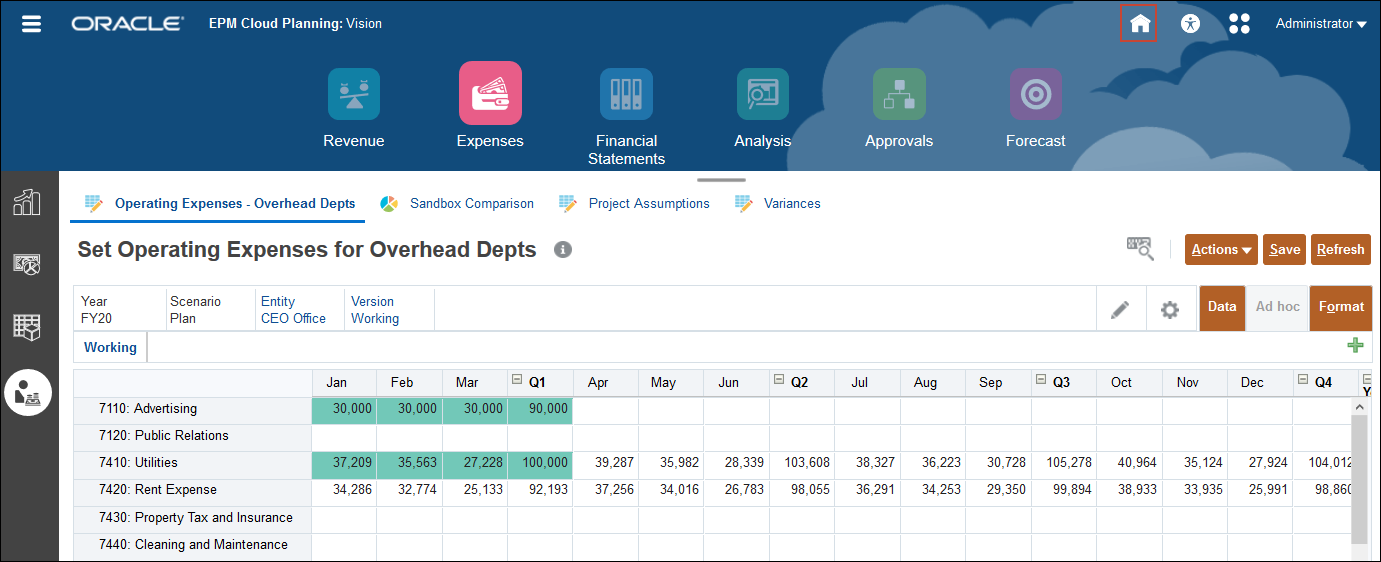
- Ensure the POV is set to FY20, Plan, CEO Office, and Working, and for Advertising, in Q1 enter 90k.
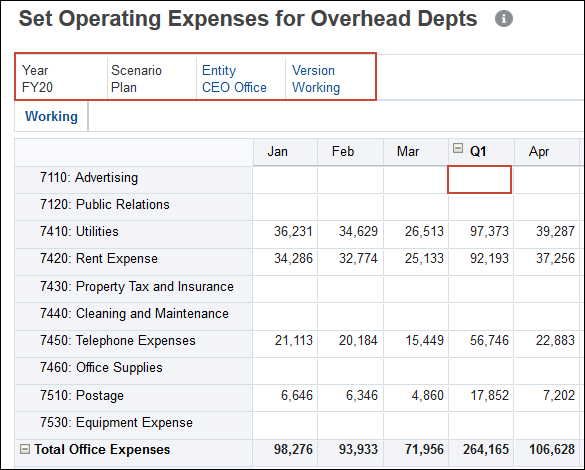
- For Utilities, in Q1, enter 100k.
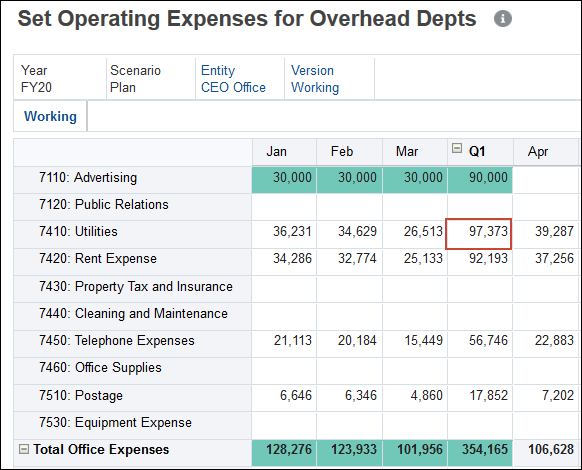
The data is updated and because Autosave is enabled on this form, the data is saved as indicated by green colored cells.
- Click ( ) Home to return to the Home page.
 Combining Top Down and Bottom Up Methods in Planning
In this section, you compare bottom up plans with top down targets.
Combining Bottom Up Plans with Top Down Plans in Planning
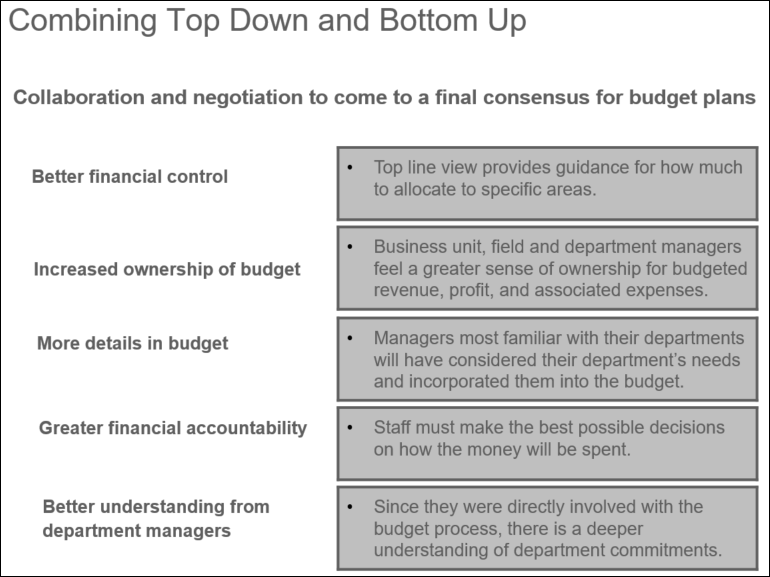
The Best Practice is to combine the top-down and bottom-up methods. With this approach, the bottom-up plan meets the top-down (target) plan and there is a collaboration and negotiation to come to agreement for the final plans. This approach may lead to some disagreement within the organization due to constraints on time and resources.
Consider how combining top down and bottom up planning strategies can work well for your organization:
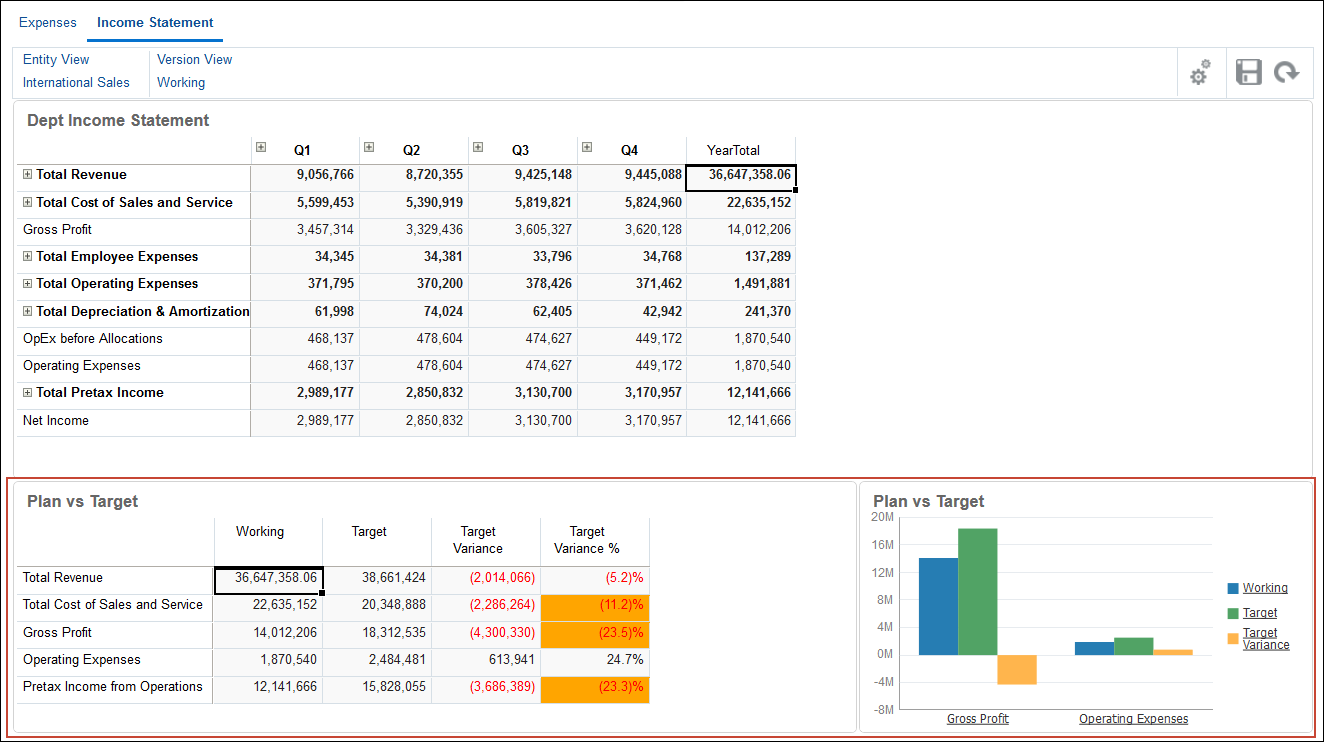
Reviewing Bottom Up Plans with Top Down Plans in Planning
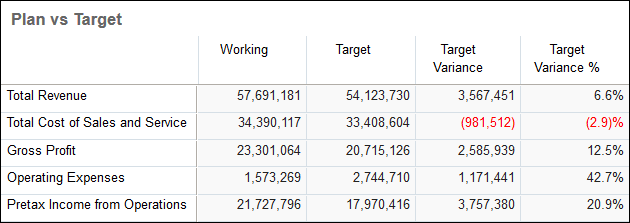
You can review your bottom up plans with your top down plans in a dashboard. The Working version has a bottom up plan. While the Target version has a top down plan.
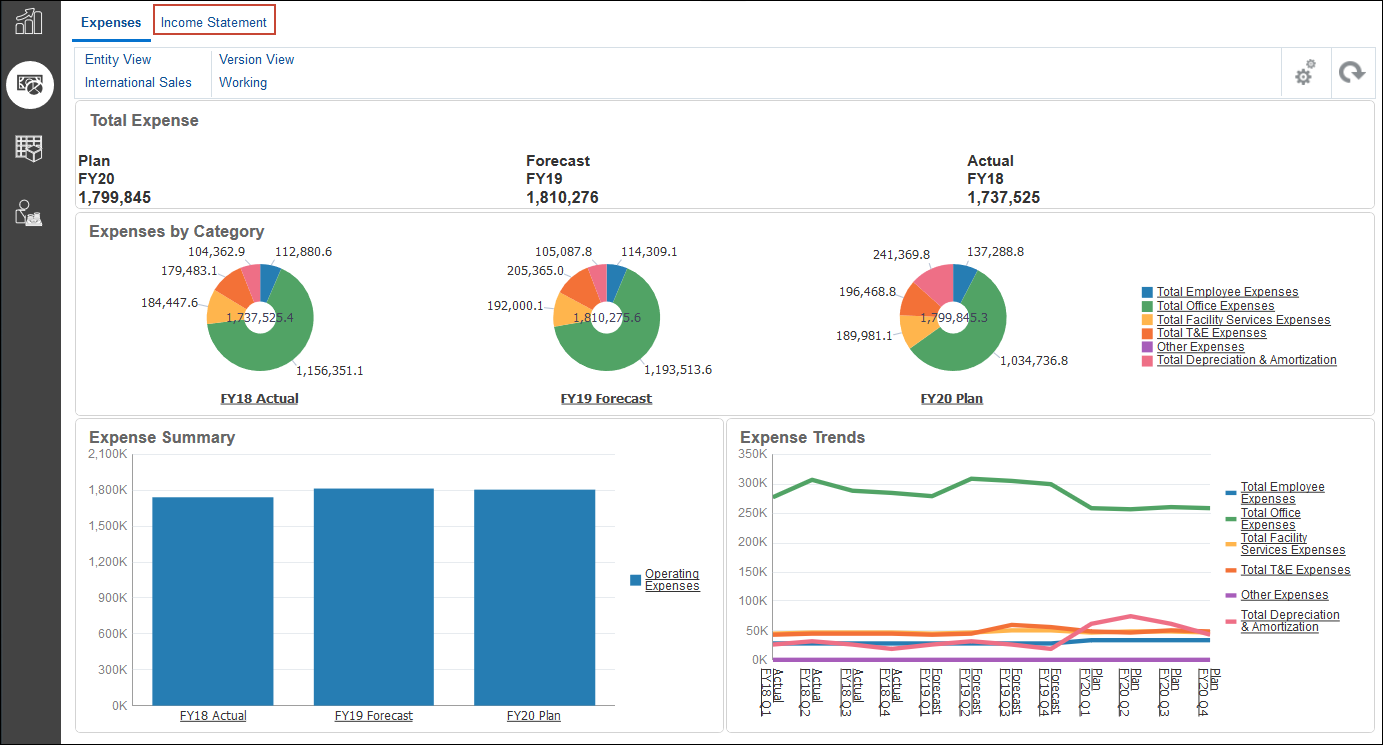
- From the Planning Home page, click Financial Plan and then Expenses.
- Select the second vertical tab – Overview.
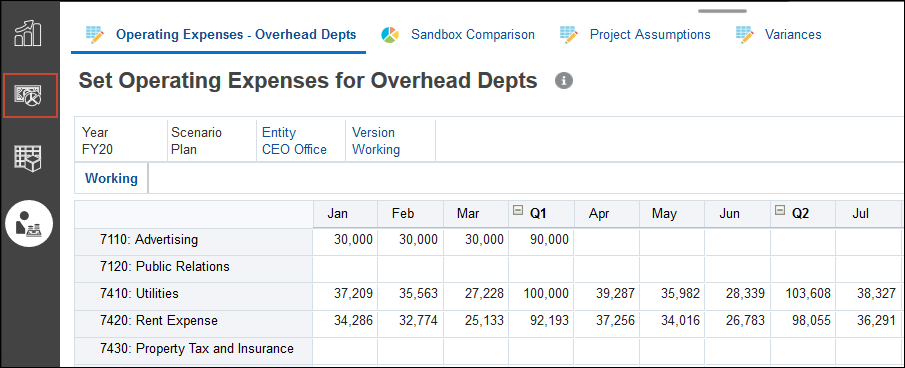
- Select the Income Statement horizontal tab.
- Compare the plan to top level targets.