
 Print
PrintBefore you begin
This 75-minute tutorial shows you how to define and run file-based data integrations in Oracle Sales Planning Cloud. The sections build on each other and should be completed sequentially.
Background
In Data Integration, you can:
- Create Integrations
- Refresh the page to display an updated list of Integrations
- Run Integrations
- Search the list of integrations based on selected text in any of the fields
You must be assigned with the Service Administrator or Power User predefined roles, Create Integration and Run Integration application roles to access and use Data Integration.
Data Integration is used in conjunction with Data Management to complete setup tasks, such as registering source systems or target applications. Data Management is still fully supported and remains available as a menu selection on the Navigator menu. Between Data Integration and Data Management, integration-related activities are bidirectional and synchronized. For example, when you map dimensions in Data Integration, any saved mappings are populated automatically in Data Management.
What do you need?
An Oracle Sales Planning Cloud Service instance allows you to deploy and use one application. To deploy another application, you must request another Oracle Sales Planning Cloud instance or remove the current application.
- Have Service Administrator access to Oracle Sales Planning Cloud. The instance should not have an application created.
- Import the SalesPln application into your Oracle Sales Planning Cloud instance:
- If you haven't already, register for a free Oracle Cloud Customer Connect account so you can access the required files.
- From this Idea page, download and extract the SPC_apps.zip file. The compressed file contains two snapshots.
- Upload and import the SPC_BaseAdv.zip snapshot into your Oracle Sales Planning Cloud instance.
For more information on uploading and importing migration snapshots, refer to the Administering Migration for Oracle Enterprise Performance Management Cloud documentation.
Getting started
In this section, you set values to user variables in the application and review the data load point of view.
About themes
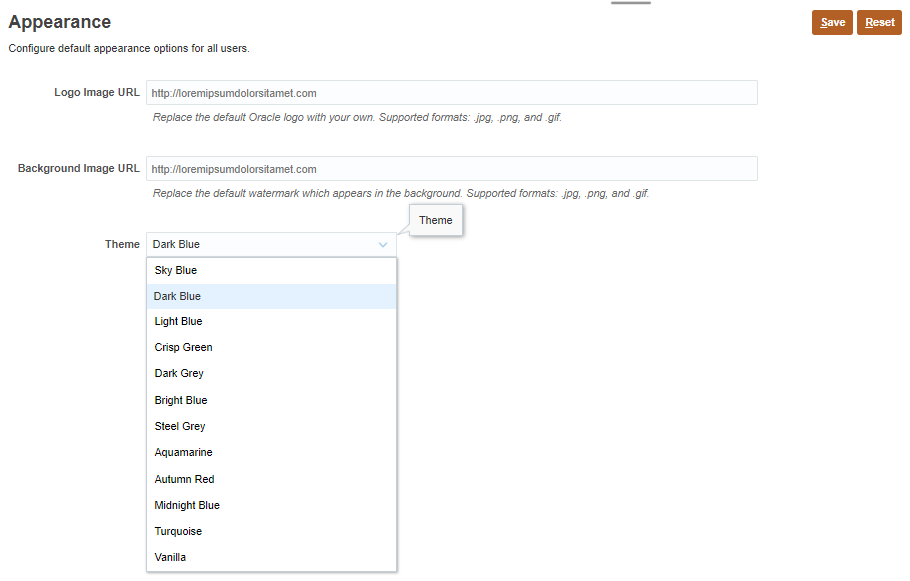
You can change the theme of your display or add your company logo or a background image to the home page.
This tutorial was developed using the Dark Blue theme. You can select a theme by clicking ![]() (Navigator), then under Tools, click Appearance. For Theme, select a color option.
(Navigator), then under Tools, click Appearance. For Theme, select a color option.
Setting values for user variables
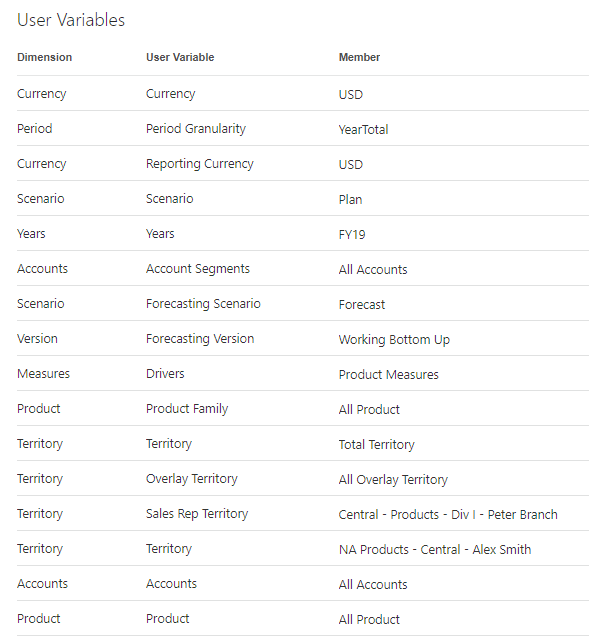
Set values for user variables so you can design forms that use user variables as members on a form.
- From the home page, click Tools, then User Preferences.
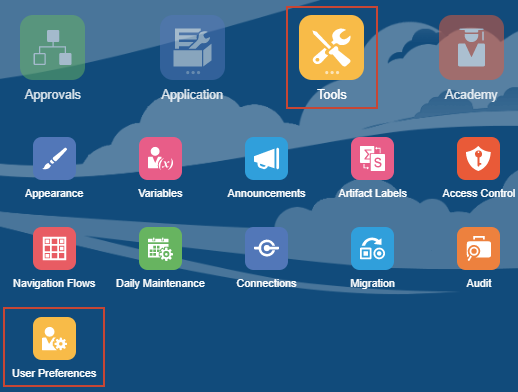
- On the left, under Preferences, click User Variables.
- For each variable, click its
 (Member Selector) to select a member as the variable's value:
Dimension User Variable Member Currency Currency USD Period Period Granularity YearTotal Currency Reporting Currency USD Scenario Scenario OEP_Plan Years Years FY19 Accounts Account Segments OEP_All Accounts Scenario Forecasting Scenario OEP_Forecast Version Forecasating Version OEP_Working Bottom Up Measures Drivers OGS_Product Measures Product Product Family OEP_All Product Territory Territory OEP_Total Territory Territory Overlay Territory OEP_All Overlay Territory Territory Sales Rep Territory 1012 (Central - Products - Div I -Peter Branch) Territory Territory 1011 (NA Products - Central - Alex Smith) Accounts Accounts OEP_All Accounts Product Product OEP_All Product If you selected to show aliases in Member Selector, the value listed in the Member column may vary. For example, for some dimensions, the prefix (OEP_ and OGS_) are not shown. For some territory members, instead of the numeric member name, the full alias name is displayed. The full alias name for numeric territories are noted in parenthesis in the table above.
- On the upper-right, click
 (Save).
 - In the Information message, click OK.
- Return to the home page. Click
 (Home).
Modifying and reviewing the data load point-of-view
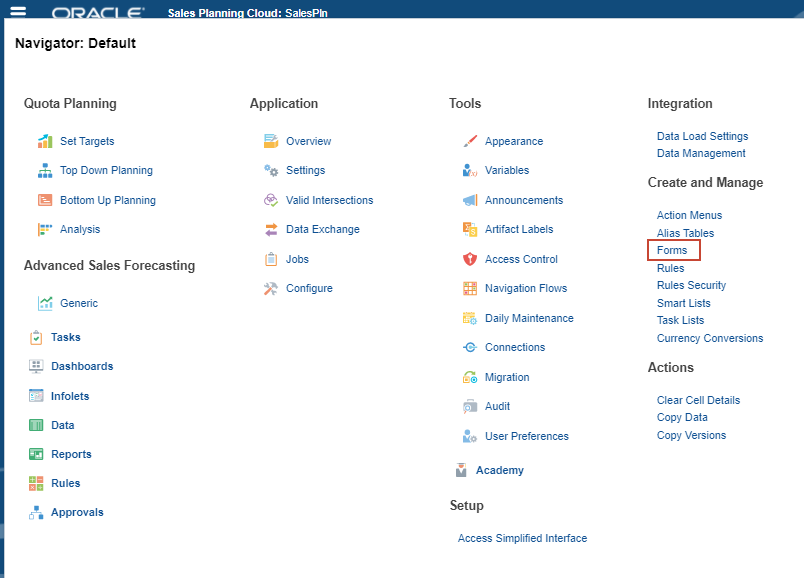
- Click
 (Navigator), then under Create and Manage, click Forms.
- In the content area of Form and Ad Hoc Grid Management, select Verify QTP Data Load and click
 (Edit).
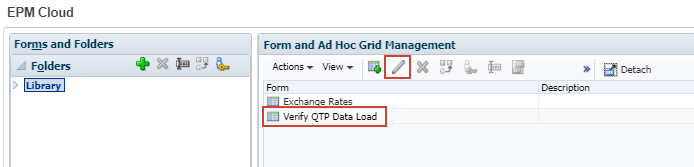
The form is opened with Properties selected.
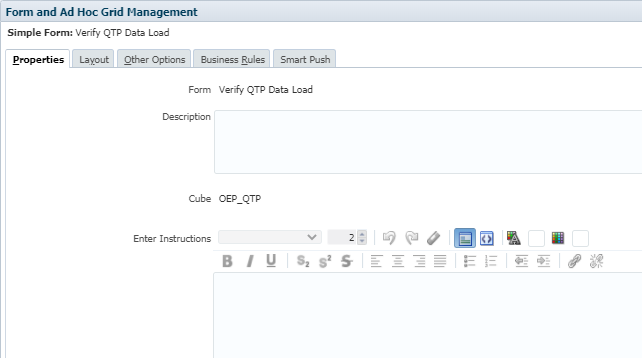
- On the bottom right, click
 (Next).
 - In Point of View, change the Year member selection to FY20.
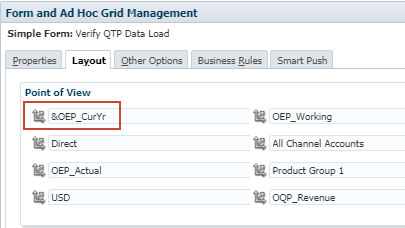
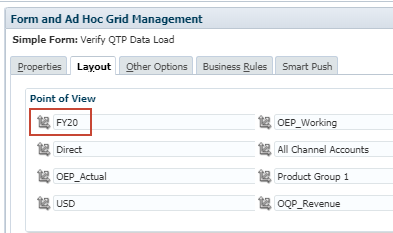
- On the bottom right, click
 (Finish).
 - In Form and Ad Hoc Grid Management, click
 (Close)
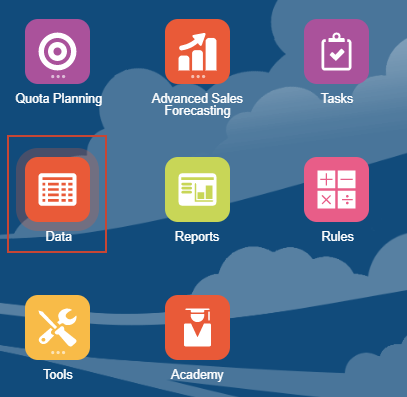
 - From the home page, click Data.
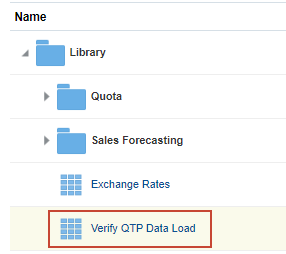
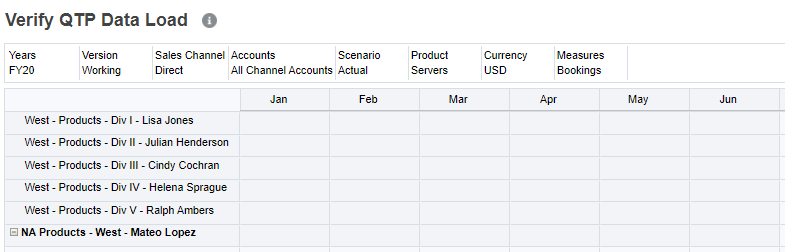
- Click Verify QTP Data Load.
You will be loading data to the members in the data point-of-view displayed on this form.
- Click Close.
- Return to the home page. Click (Home).
Reviewing the data load file
In this tutorial, you load data using a data file extracted from Oracle Engagement Cloud using Oracle BI.
Learn more about how to export data from Oracle Engagement Cloud by viewing the Integrating Sales Data from Engagement Cloud with Oracle Sales Planning Cloud tutorial.
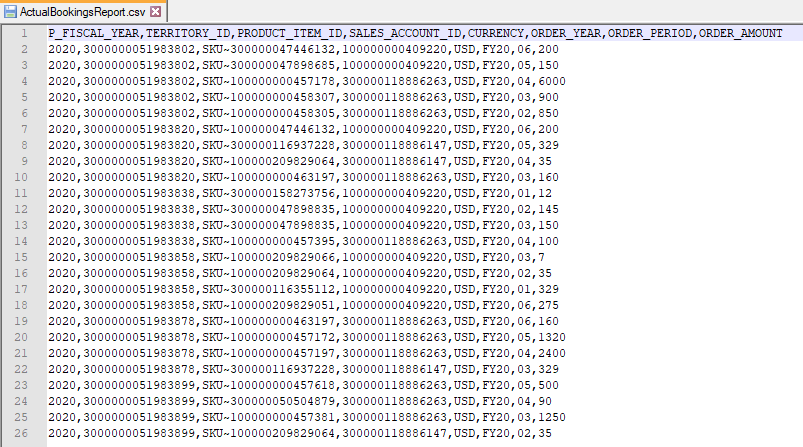
The file includes a header row that includes field names that represent dimensions. You will be mapping members in this data file to the members in your application.
Performing Data Management legacy tasks
The following tasks must be completed in Data Management:
- Register Source System
- Register Target Application
- Period Mapping
- Category Mapping
Navigating to Data Management
- Click (Navigator), then under Integration, click Data Management.
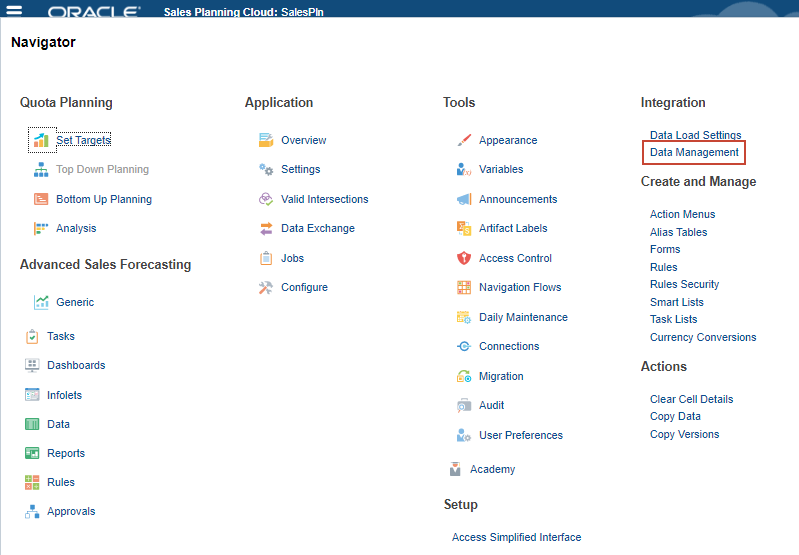
Data Management opens in a separate window with the Workflow tab displayed.
If Data Management does not open, make sure you have pop-ups enabled for your browser.
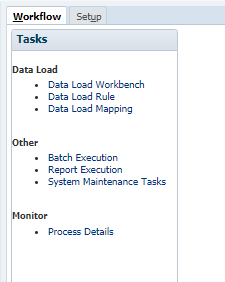
- Click Setup.
In Setup, you can perform legacy Data Management setup tasks.
Reviewing Source and Target systems
You register supported source and target systems in Data Management. Predefined source and target systems are typically included when you create an application.
- Under Register, click Source System.
The predefined File source system is displayed.

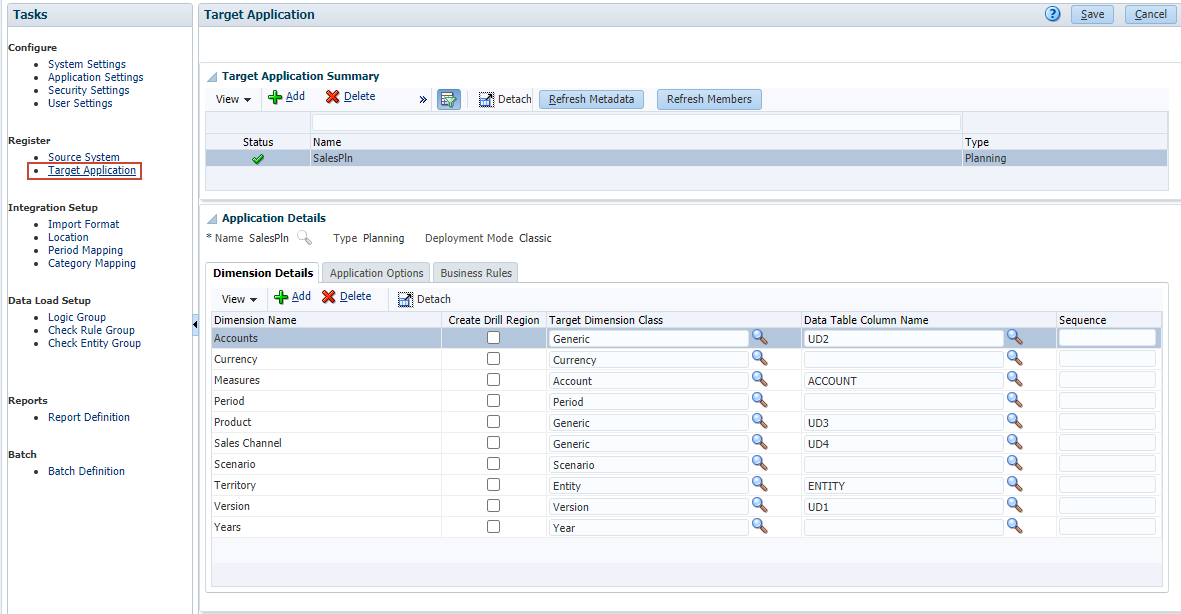
- On the left, under Register, click Target Application.
The predefined target application is displayed.
Reviewing period mappings
- On the left, under Integration Setup, click Period Mapping.
- In Period Mapping, click Source Mapping.
You can specify source period mappings for adapter-based integrations.
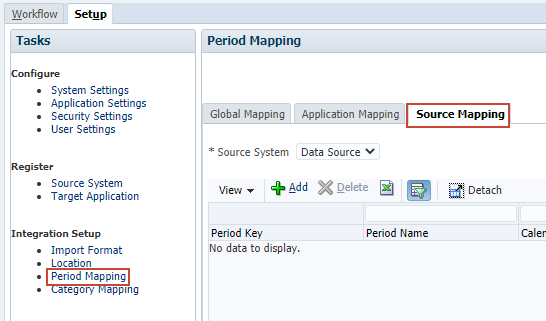
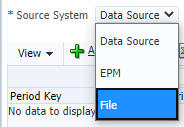
- From the Source System dropdown list, select File.
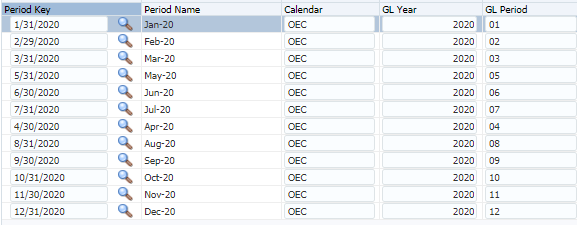
- Review the source mappings.
The calendar name is set to OEC. The GL Period contains numerical month values. The source mapping was created in order to map the numerical month values to the period keys and period names recognized by Oracle Sales Planning Cloud.
Reviewing category mappings
- On the left, under Integration Setup, click Category Mapping.
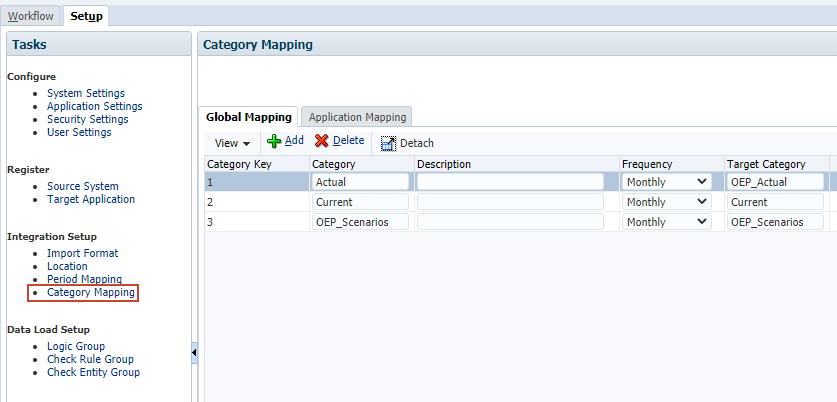
Category mappings are used to map source and target scenarios.
- Close Data Management and return to Sales Planning.
Creating file-based integrations
Navigating to Data Integration
- Click (Navigator), then under Application, click Data Exchange.

Alternatively, from the home page, click Application, then Data Exchange.
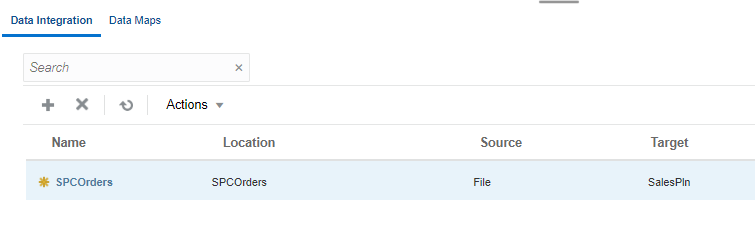
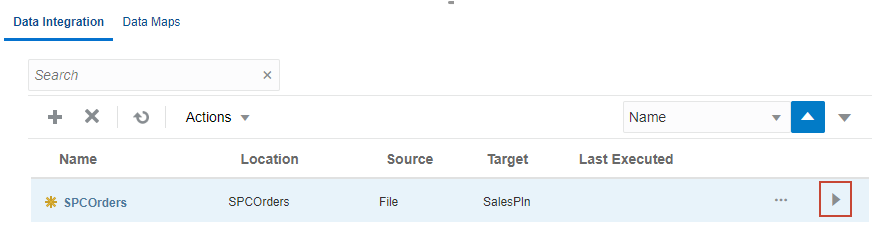
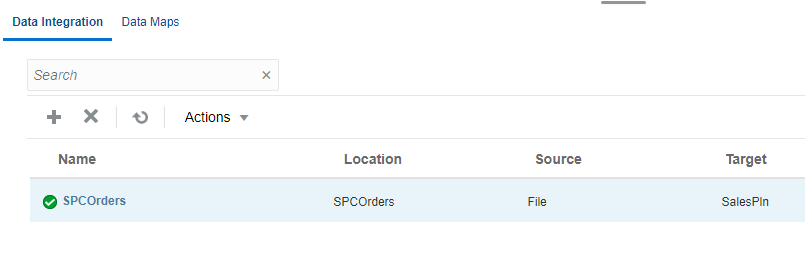
- Make sure that the Data Integration tab is selected.
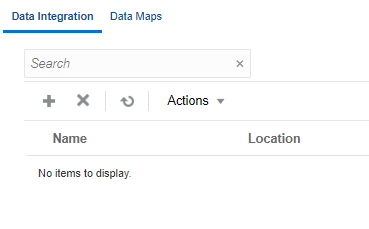
Data Integration details include the name of the associated location, source, target, and date/time stamp of when it was last executed. Each integration is identified by an icon to determine if it is New, Processed with warnings, Successful, or Failed.
Defining integrations
- In Data Integration, click
 (Create Integrations).
Data Integration guides you through a workflow to complete Data Management tasks. Navigate between tasks by clicking a task on the workflow bar, or the Next and Back buttons.
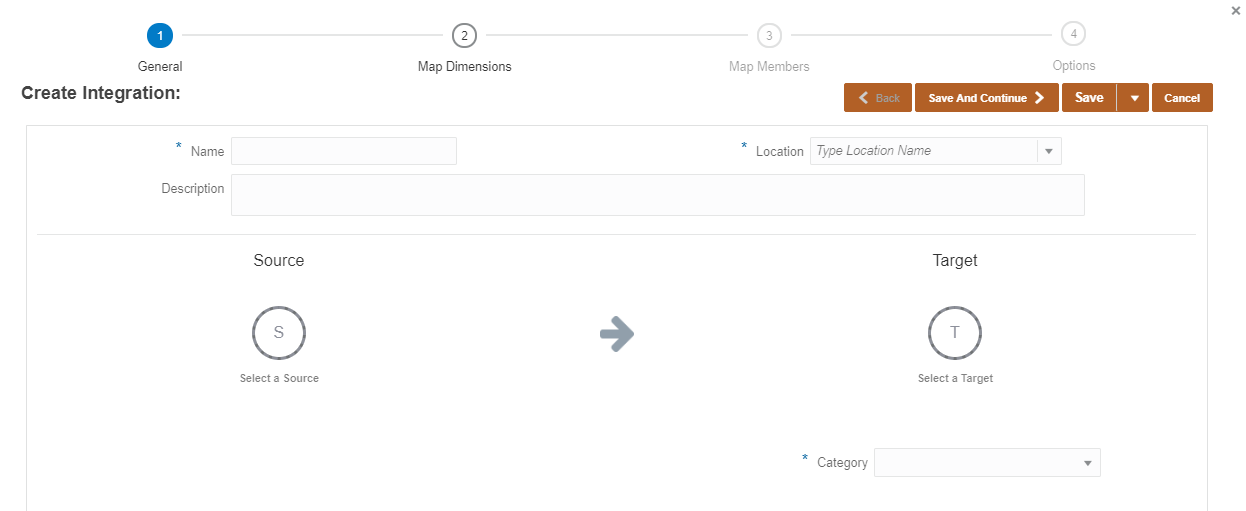
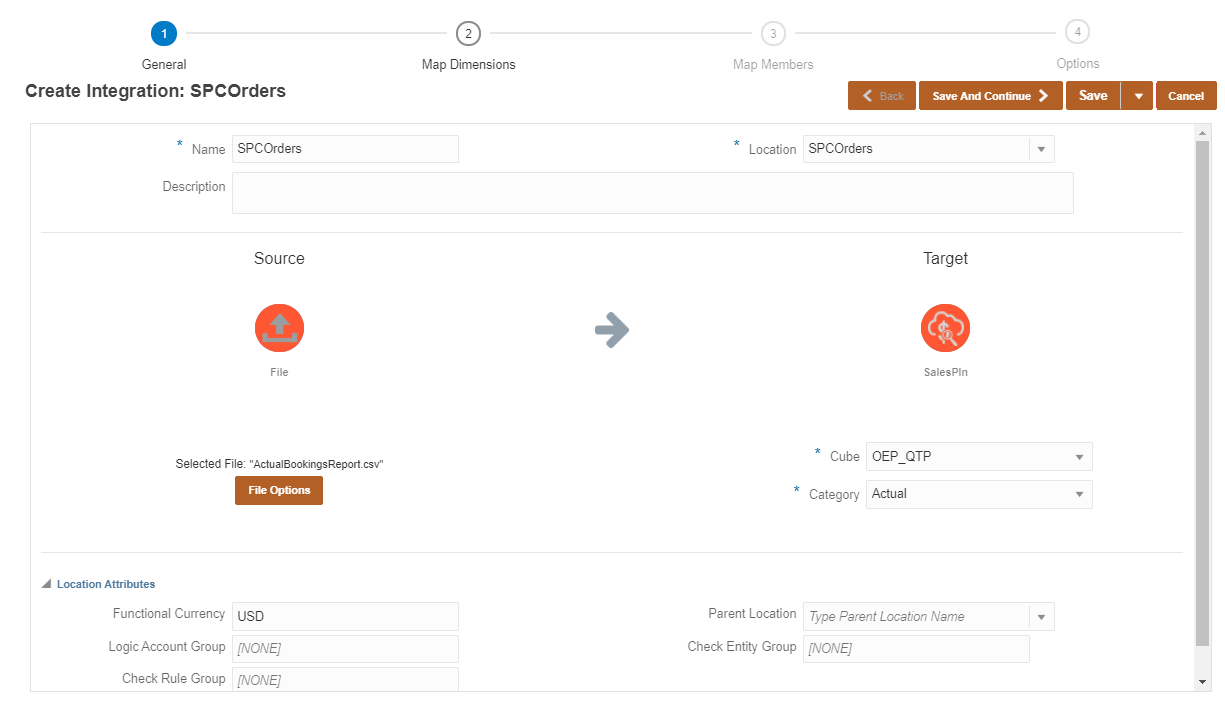
- Enter SPCOrders as the name.
- Optional: Enter a description.
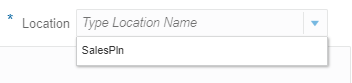
- Click the Location dropdown list to view existing locations.
For location, you can select an existing location, or create a new one.
If you select an existing location for your file-based source system, the target application is preselected for you. If you enter a new location for your file-based source system, make sure to select a target application.
- Enter a new location: SPCOrders.
- Click Select a Source.
When your application is created, the system creates a file-based source system and a target system that points to your application. If you need to work with a different source or target system, you must define them in Data Management.
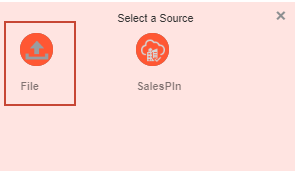
- Click File.
File Browser for Inbox/Outbox Explorer is displayed.
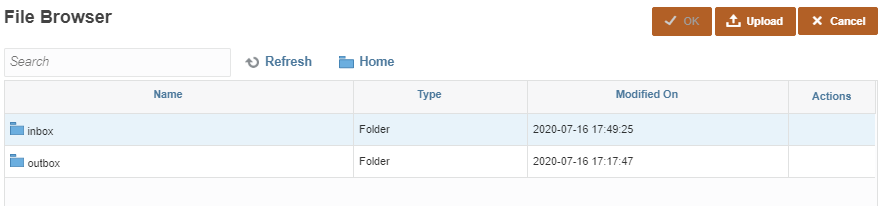
- Upload to an existing folder in the Inbox:
- Double-click inbox.
- Double-click SalesPln.
If SalesPln does not exist, click inbox from the folder navigation links, and then select Create Folder. In Create Folder, enter SalesPln as the folder name and click OK. When the folder is displayed, double-click SalesPln.
- Click Upload.
- In Open or File Upload, locate ActualBookingsReport.csv, select it, and click Open.
The file is displayed in File Browser.
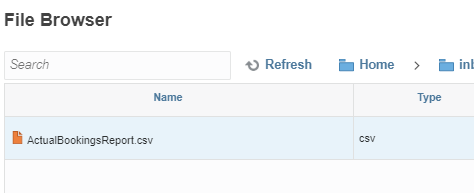
You can later reuse your uploaded file for other integrations. You can also create a file-based load in which you designate the file to be loaded at runtime. However, the column number and column name are designated only when you map the dimensions.
- Make sure that ActualBookingsReport.csv is selected, and then click OK.
The file is now associated with your source system.
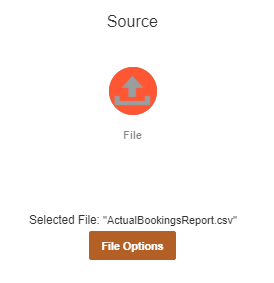
- Click File Options.
In File Import - File Options, the file properties are displayed along with a preview of file contents.
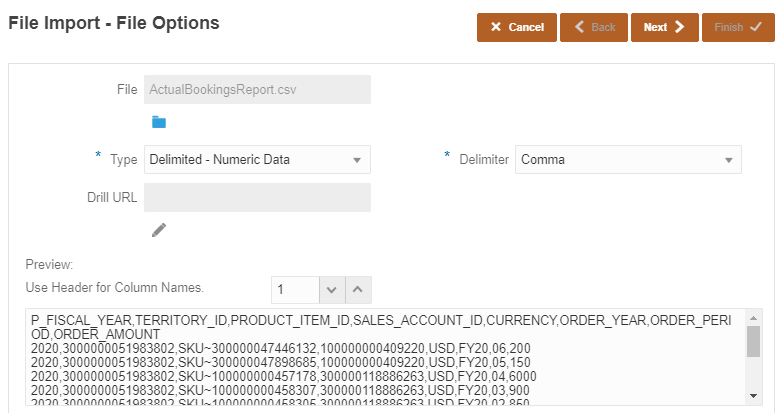
- For Type, select Delimited - All Data Type.
- For Delimiter, verify that it is set to Comma.

- Click Next.
- When finished reviewing file properties, click Finish.
- Click Select a Target.
The predefined target is displayed.
- Click SalesPln.
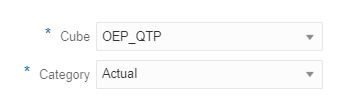
- Accept the default selections for Cube and Category.
- Expand Location Attributes.
Add or edit attributes assigned to a location.
- For Functional Currency, enter USD.
- Review your selections.
You can save your integration before proceeding to the next task in the workflow. You can also continue working on your integration at a later time.
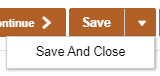
- Click the arrow next to Save, then click Save and Close.
SPCOrders is saved and listed in Data Integration.
Editing integrations
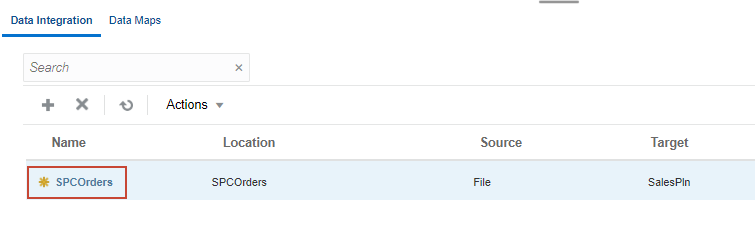
- In Data Integration, click SPCOrders to open and edit the saved integration.
- Under Source, click File Options.
- In File Import - File Options, for Type, select Delimited - All Data Type.
- For Delimiter, verify that it is set to Comma.
- Click Next.
- Click Finish.
Mapping dimensions and members
In this section, you map dimensions and members between the source and target systems.
Mapping dimensions
You map dimensions to specify how source dimensions or columns map to the dimensions' columns in the target application. This task corresponds to defining an Import Format in legacy Data Management.
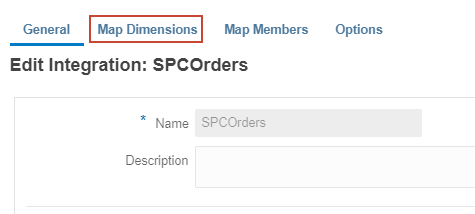
- From the workflow bar, click Map Dimensions.
- In Map Dimensions, verify or make the following selections:
- Import Format: SPCOrders
- Type: Delimited - All Data Type
- Delimiter: Comma
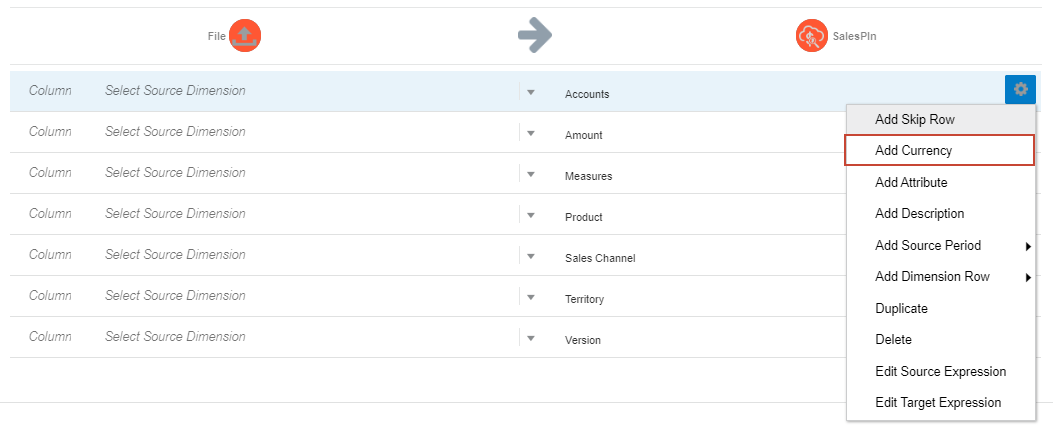
- In the first row of source and target mappings, click
 (Actions) and select Add Currency.
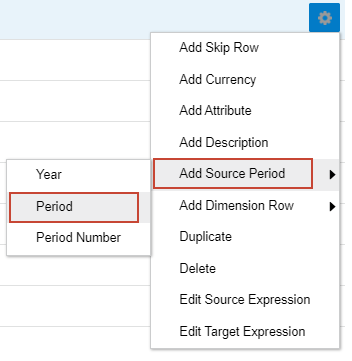
- In the first row of source and target mappings, click (Actions), then select Add Source Period and Period.
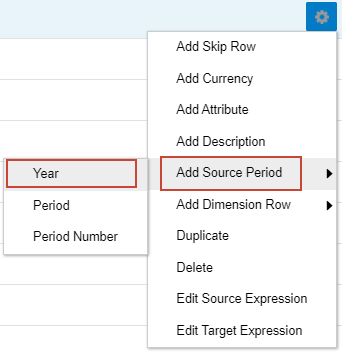
- In the first row of source and target mappings, click (Actions), then select Add Source Period and Year.
- For each source dimension, click
 (arrow) and select a dimension based on the following example:
The field number is automatically updated when you select dimensions. The field number is based on the column number in the load file.
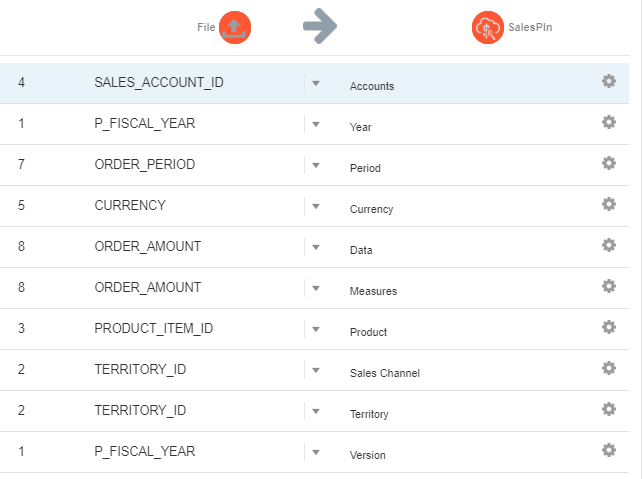
Multiple source columns of the same dimension can be mapped to target dimensions.
You can also use source or target expressions to map dimensions. Aside from the standard expressions, you can use the SQL expression type to assign any SQL expression that can be used in a SQL INSERT statement for a value. - Click Save.
Mapping members
Map Members is where you define your data load mappings.
You map members to identify how source dimensionality translates to target dimensionality based on source values during the data load. Member mappings define relationships between source members and target dimension members within a single dimension.
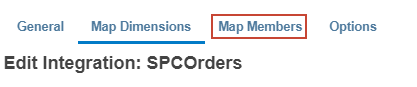
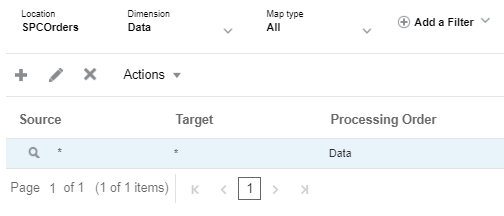
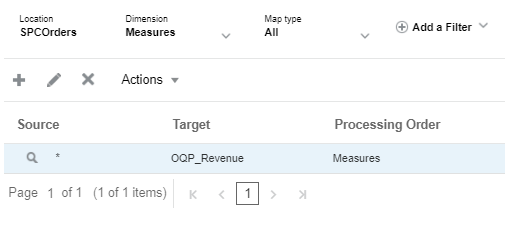
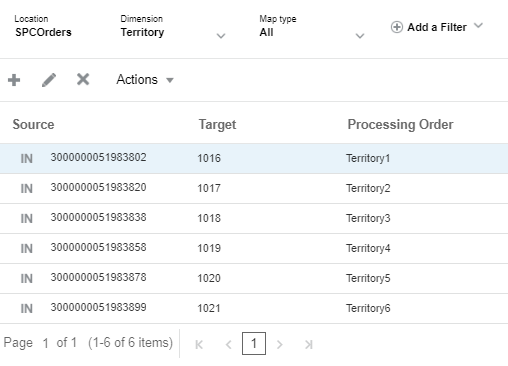
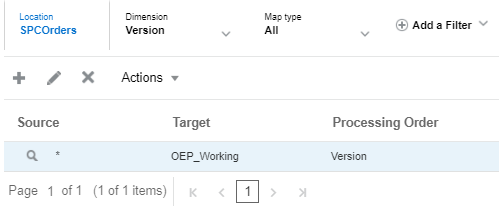
- From the workflow bar, click Map Members.
- Display the list of dimensions. Click
 (dropdown arrow) next to the dimension name.

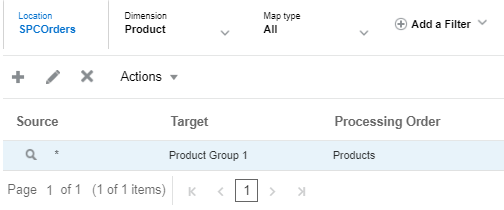
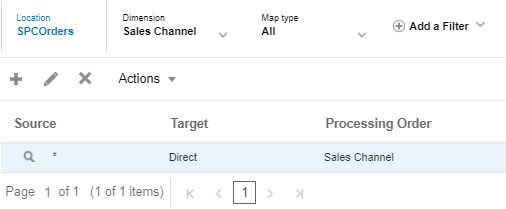
A member mapping must be defined for each target dimension.
- For Dimension, select Accounts.
- Click
 (Add).
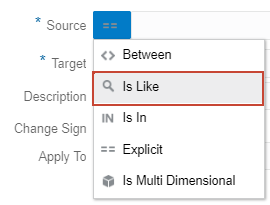
- For Source, click
 and select Is Like.
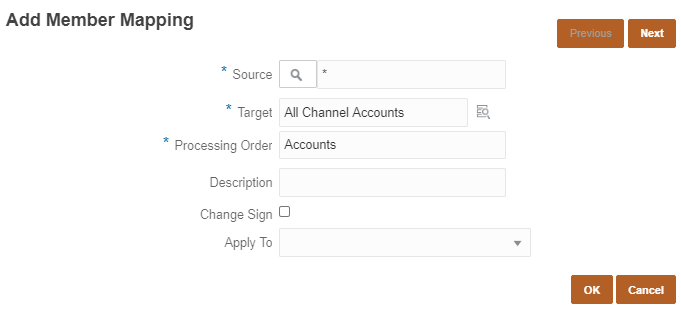
- In the textbox next to the Source icon, enter *.
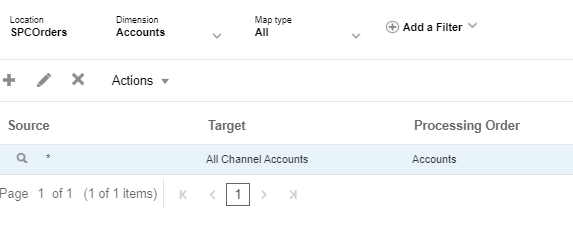
- For Target, enter All Channel Accounts.
- For Processing Order, enter Accounts.
- Click OK.
The Account member mapping is listed on the page.
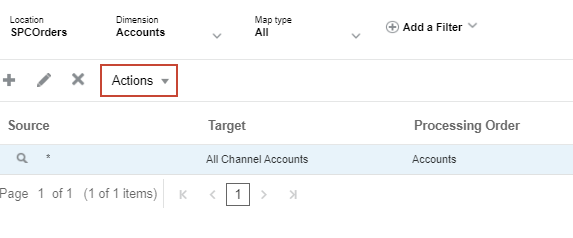
- Import the rest of the mappings. Click Actions, then select Import, and All Dimensions.

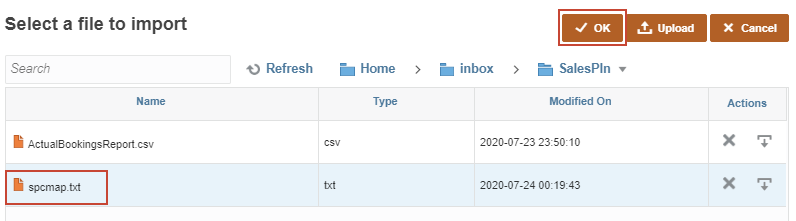
- In Select a file to import, double-click inbox, then SalesPln.
- Click Upload.
- In Open or File Upload, locate spcmap.txt, select it, and click Open.
- Select spcmap.txt and click OK.
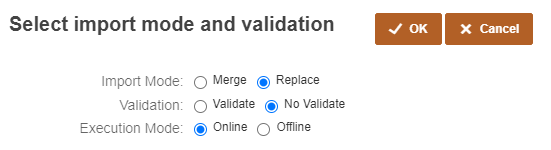
- In Select import mode and validation, make the following selections and click OK.
- For each dimension, click (dropdown arrow), select a dimension, and verify that mappings were added for each dimension.
- Click Save.
Setting file-based integration options
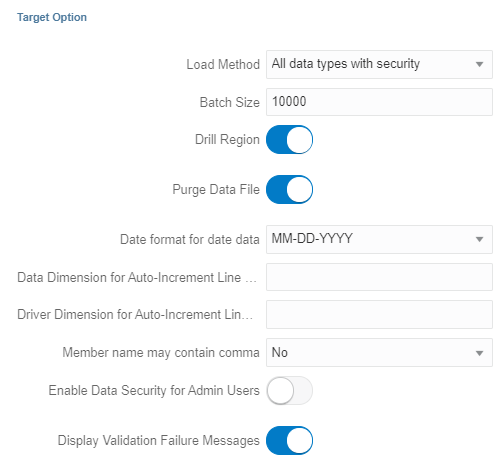
In Options, you can select general and target options for your data integrations.
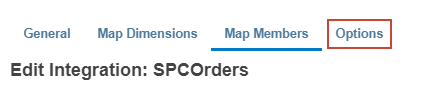
- From the workflow bar, click Options.
- Review and verify the selections in General Options.
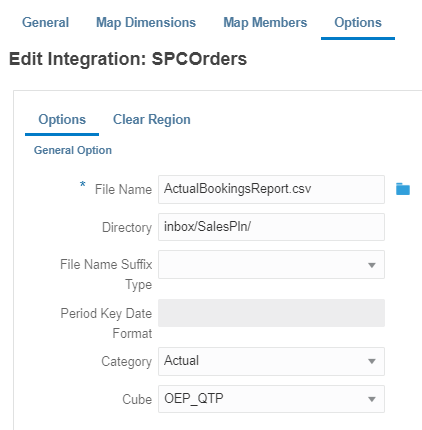
- Verify or set the following Target Options:
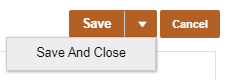
- Click the arrow next to Save and select Save and Close.
Running file-based integrations
Assigning explicit period mappings
Before running the SPCOrders integration, you must associate it with the OEC calendar.
- Click (Navigator), then under Integration, click Data Management.
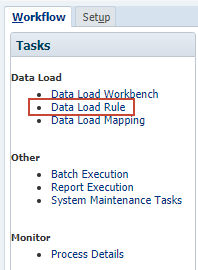
- In Workflow, under Data Load, click Data Load Rule.
- At the bottom of the page, set the location point-of-view to SPCOrders Dec-20 Actual. Click SalesPln.
- In Select Point of View, change the values to:
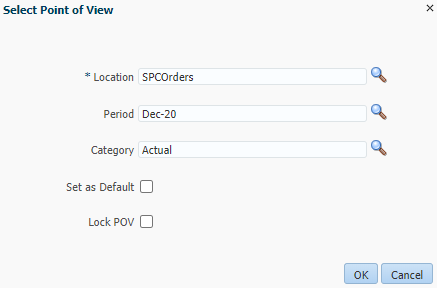
Optionally, you can select Set as Default to keep your selections for future integrations.
- Click OK.
After setting the location point-of-view, the SPCOrders data load rule is displayed.
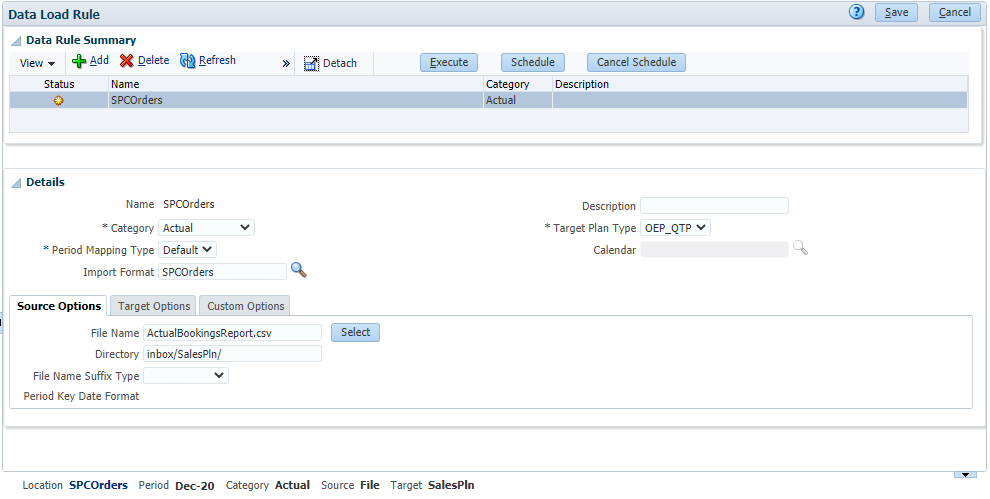
- In Details, for Period Mapping Type, select Explicit.
- For Calendar, enter OEC.

- Click
 (Save).
 - After changes were saved, close Data Management and return to Sales Planning.
Running the Integration Process
- In Data Integration, for SPCOrders, click
 (Run).
- In Run Integration, set the Start Period to Jan-20 and the End Period to Jun-20.
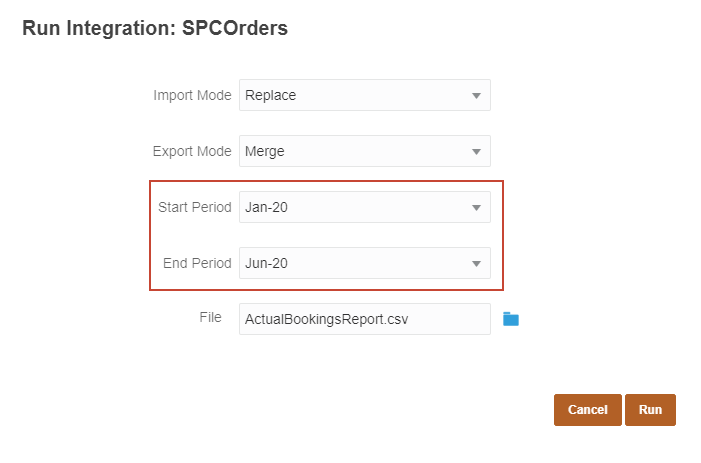
- Accept all other default selections.
Setting the import mode to Replace clears all the data for the data point-of-view in the Workbench.
Setting the export mode to Merge overwrites existing data with the data in the load file. If data does not exist, it loads the new data.
- Click Run.
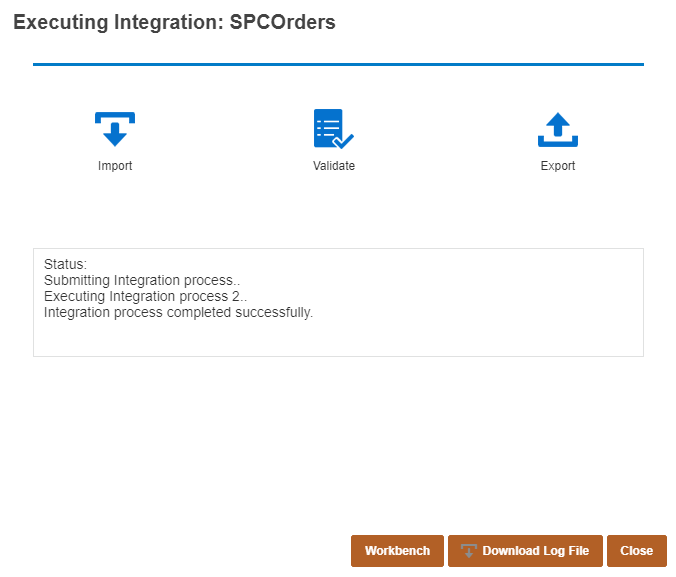
The integration execution status message is displayed.
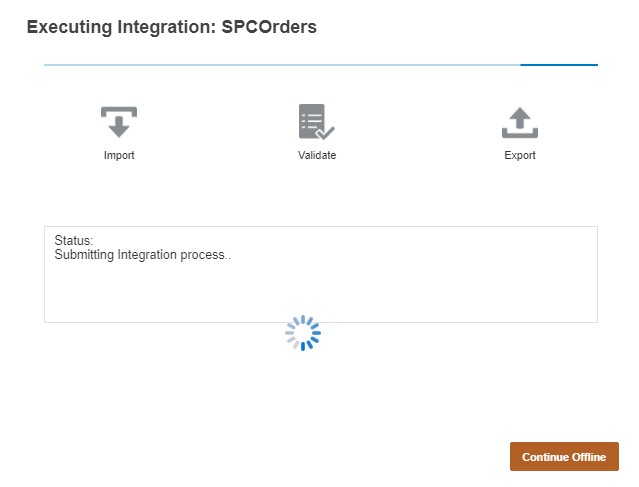
When completed, the Import, Validate, and Export icons change in color. The Status section states that the Integration process completed successfully.
Reviewing data load results in the Workbench
- In Executing Integration, click Workbench.
The imported data is displayed. You may need to scroll to the right to show all of the data imported.
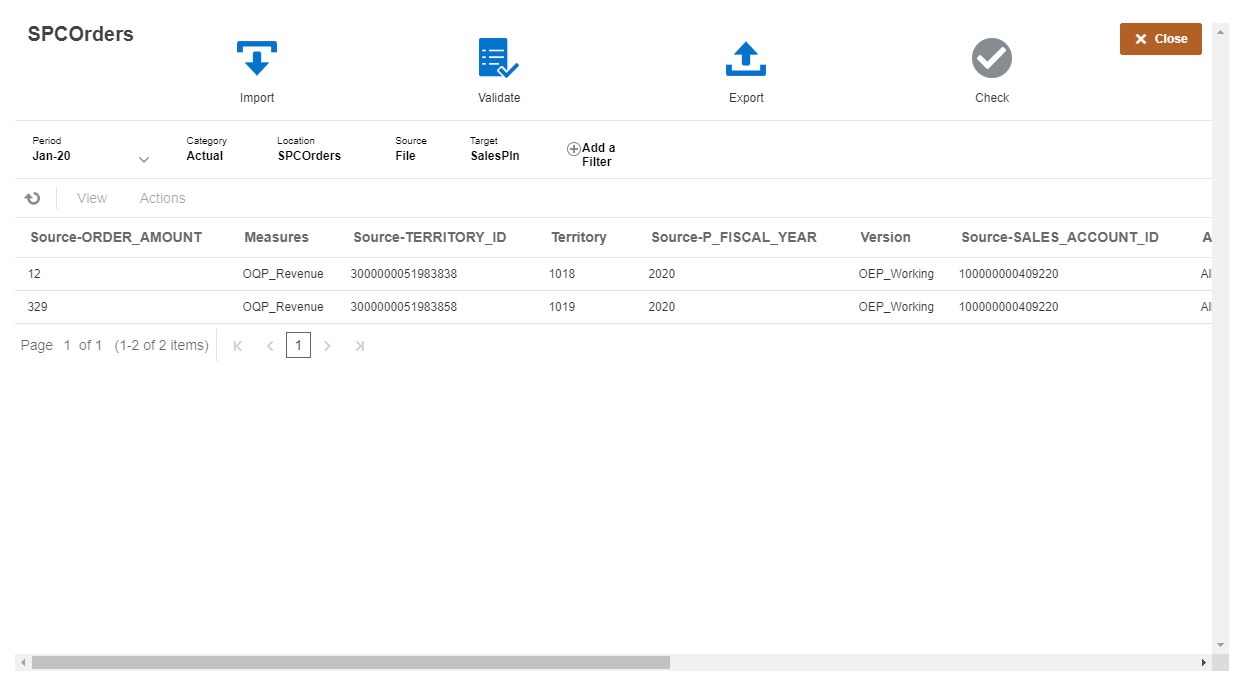
- Click Close.
Notice that the icon next to SPCOrders is updated to display its current state.
- Return to the home page. Click (Home).
Reviewing data load results in a form
View the results of the data load in the Verify QTP Data Load form.
- From the home page, click Data.
- Click Verify QTP Data Load.
The data you loaded using Data Integration is now displayed on the form.
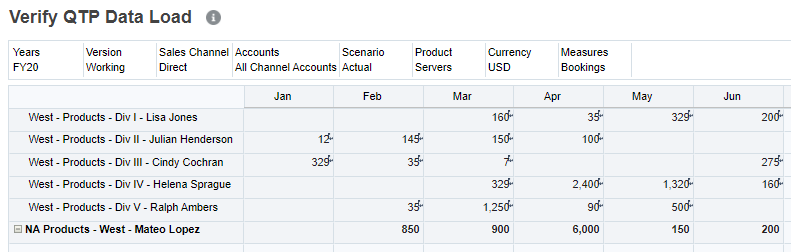
Before you can start planning, make sure to run the required rules to process and aggregate the loaded historical data.