
 Print
PrintBefore you begin
This 45-minute hands-on tutorial shows you how to design and customize navigation flows in Oracle Sales Planning Cloud. The sections build on each other and should be completed sequentially.
Background
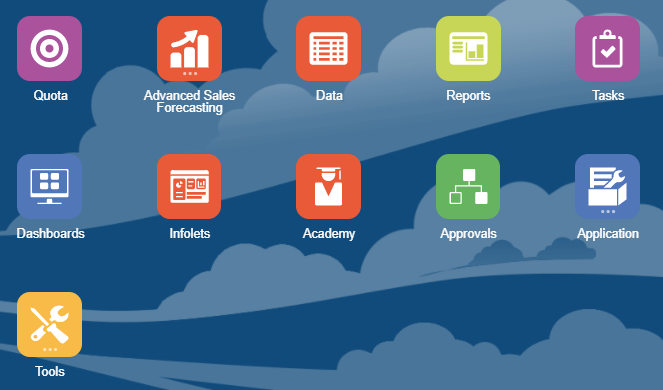
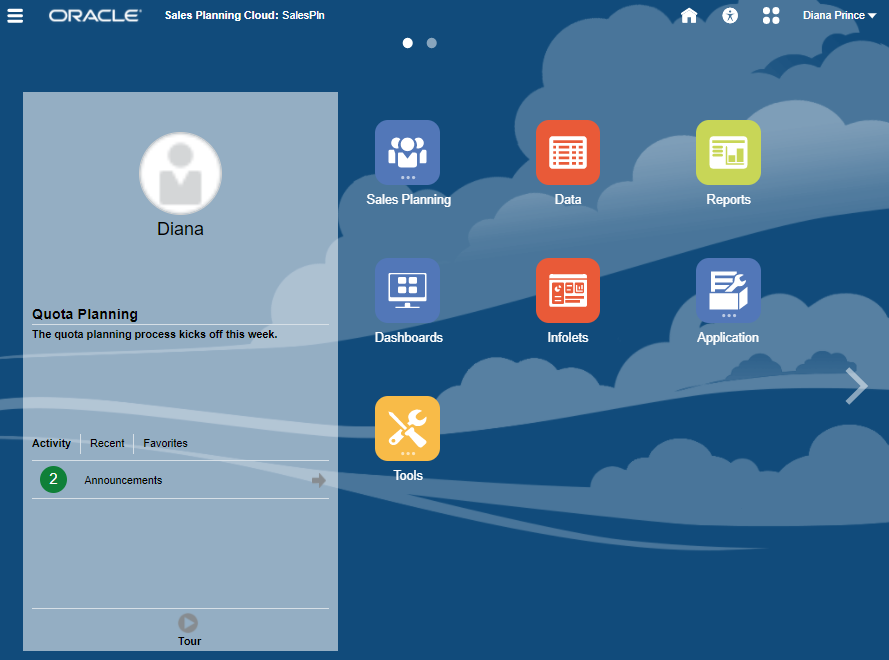
When you log on to an environment, the home page displays clusters and cards that group the activities that you can perform in the environment.
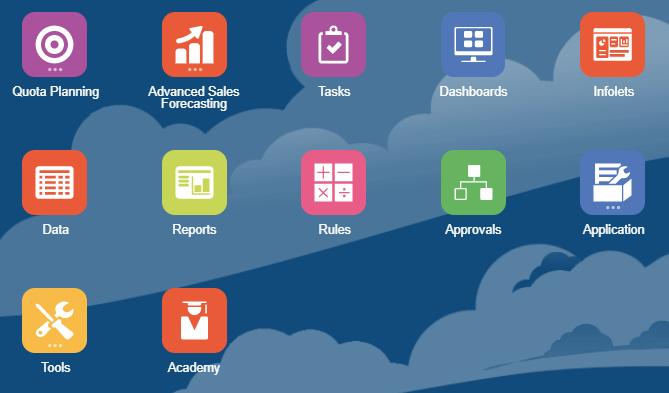
Cards provide access to key tasks, tutorials, and related information. When you click a card, a page containing available shortcuts or tasks opens. Availability of shortcuts and tasks on a page depends on the role you have in the environment.
You can customize which cards and clusters to display by setting up Navigation Flows.

What do you need?
An Oracle Sales Planning Cloud Service instance allows you to deploy and use one application. To deploy another application, you must request another Oracle Sales Planning Cloud instance or remove the current application.
- Have Service Administrator access to Oracle Sales Planning Cloud. The instance should not have an application created.
- Create a Sales Planning user in the identity domain associated with your instance. Assign the User predefined role to enable the user access to the instance. Do not log on as this user.
- Before importing a Sales Planning application, upload and import this snapshot into your Oracle Sales Planning Cloud instance. The snapshot contains the groups required in this tutorial.
- Import the SalesPln application into your Oracle Sales Planning Cloud instance:
- If you haven't already, register for a free Oracle Cloud Customer Connect account so you can access the required files.
- From this Idea page, download and extract the SPC_apps.zip file. The compressed file contains two snapshots.
- Upload and import the SPC_BaseAdv.zip snapshot into your Oracle Sales Planning Cloud instance.
For more information on uploading and importing migration snapshots, refer to the Administering Migration for Oracle Enterprise Performance Management Cloud documentation.
Getting started
Make sure you are logged in as a Service Administrator.
About themes
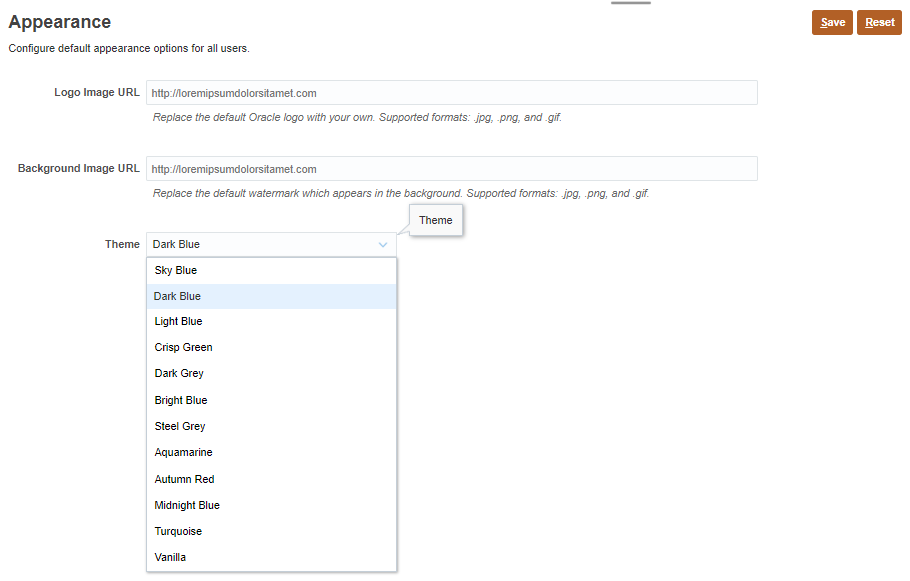
You can change the theme of your display or add your company logo or a background image to the home page.
This tutorial was developed using the Dark Blue theme. You can select a theme by clicking ![]() (Navigator), then under Tools, click Appearance. For Theme, select a color option.
(Navigator), then under Tools, click Appearance. For Theme, select a color option.
Enabling non-administrator use of the application
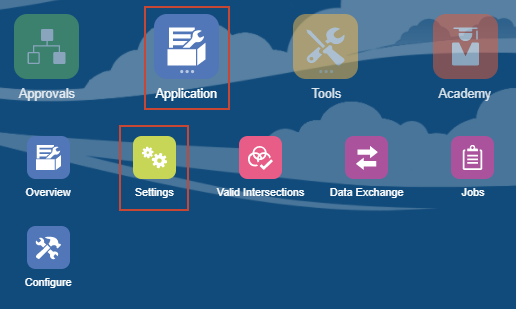
- From the home page, click Application, then Settings.
- In Application Settings, for Enable Use of the Application, select All users.
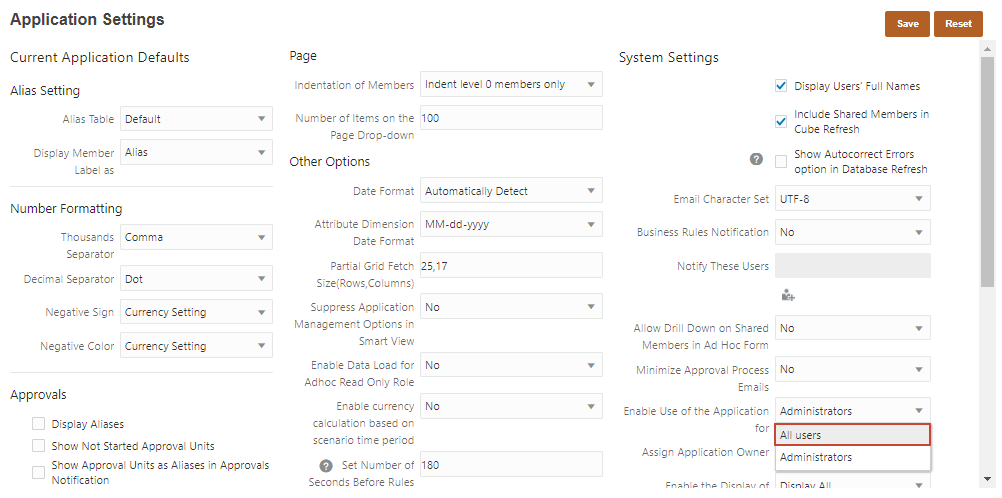
- Click
 (Save).
 - In the Information message, click OK.
- Return to the home page. Click
 (Home).
Setting values to user variables
Set values for user variables so you can design forms that use user variables as members on a form.
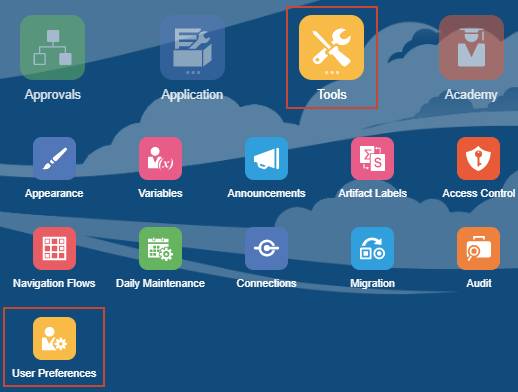
- From the home page, click Tools, then User Preferences.
- On the left, under Preferences, click User Variables.
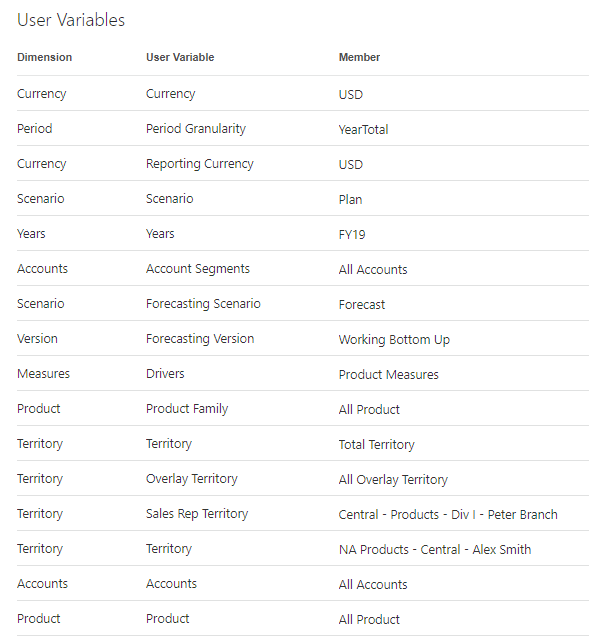
- For each variable, click its
 (Select Member) to select a member as the variable's value:
Dimension User Variable Member Currency Currency USD Period Period Granularity YearTotal Currency Reporting Currency USD Scenario Scenario OEP_Plan Years Years FY19 Accounts Account Segments OEP_All Accounts Scenario Forecasting Scenario OEP_Forecast Version Forecasating Version OEP_Working Bottom Up Measures Drivers OGS_Product Measures Product Product Family OEP_All Product Territory Territory OEP_Total Territory Territory Overlay Territory OEP_All Overlay Territory Territory Sales Rep Territory 1012 (Central - Products - Div I -Peter Branch) Territory Territory 1011 (NA Products - Central - Alex Smith) Accounts Accounts OEP_All Accounts Product Product OEP_All Product If you selected to show aliases in Member Selector, the value listed in the Member column may vary. For example, for some dimensions, the prefix (OEP_ and OGS_) are not shown. For some territory members, instead of the numeric member name, the full alias name is displayed. The full alias name for numeric territories are noted in parenthesis in the table above.
- On the upper-right, click (Save).
- In the Information message, click OK.
You must also set values to user variables for the additional user required in the What Do You Need section of this tutorial.
- Return to the home page. Click (Home).
- Log off and log on as the additional user. Set values to user variables for that user following the steps in this section. When finished, log off and log back on as the Service Administrator.
Navigation flow overview
Navigation Flows are comprised of clusters, cards, and tabs that allow a user to complete planning tasks.
With Navigation Flow Designer, you can create navigation flows that control how roles, or groups, interact with Sales Planning. You can:
- Customize labels for cards or tabs
- Select icons that are used for cards or tabs
- Hide and unhide cards and tabs
- Display order of cards and tabs
- Add new or existing cards
- Add new horizontal or vertical tabs
- Remove navigation flows, cards, and tabs
- Group cards into clusters
- Add existing clusters
About the Sales Planning navigation flow
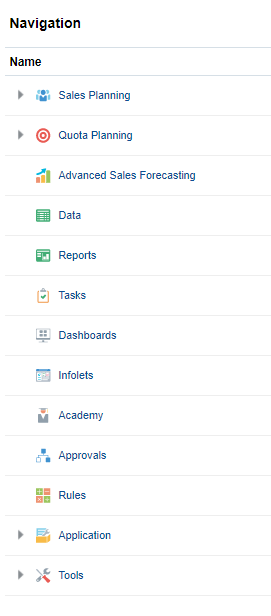
Sales Planning comes with a predefined navigation flow, called Default. The default navigation flow includes two clusters, one for each business process: Quota Planning and Advanced Sales Forecasting.
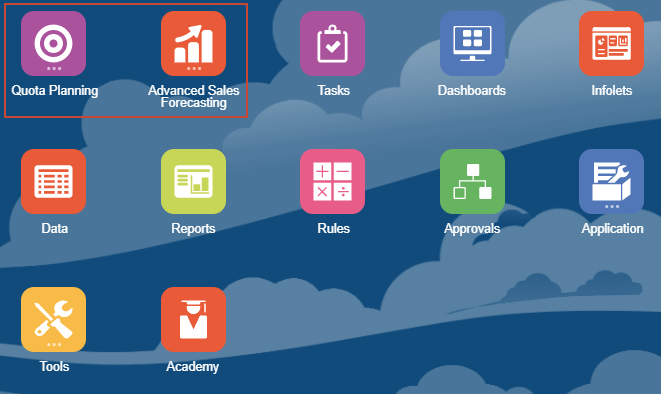
Cards and their contents depend on the features you enabled.
About the Quota Planning cluster
- From the home page, click Quota Planning.
The cards in the Quota Planning cluster are displayed.
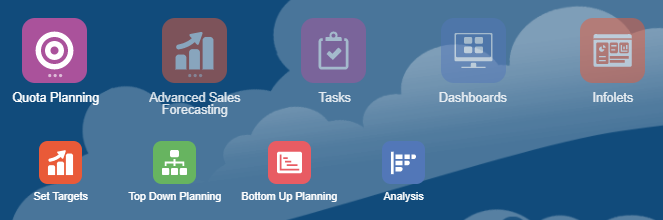
- Click Set Targets.
When you click a card within a cluster, the cards within that cluster are displayed on the top of the page. Vertical tabs and horizontal tabs allow you to switch between tasks.
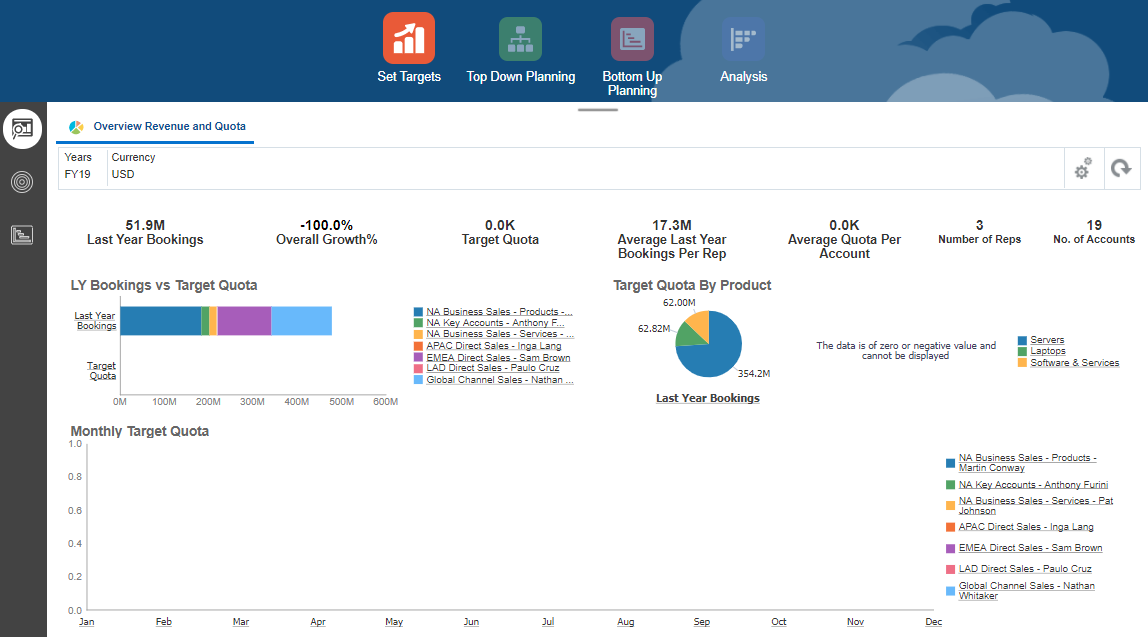
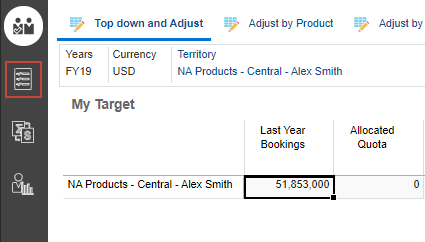
- From the cards on the top of the page, click Top Down Planning.
The vertical and horizontal tabs displayed are specific to Top Down Planning.
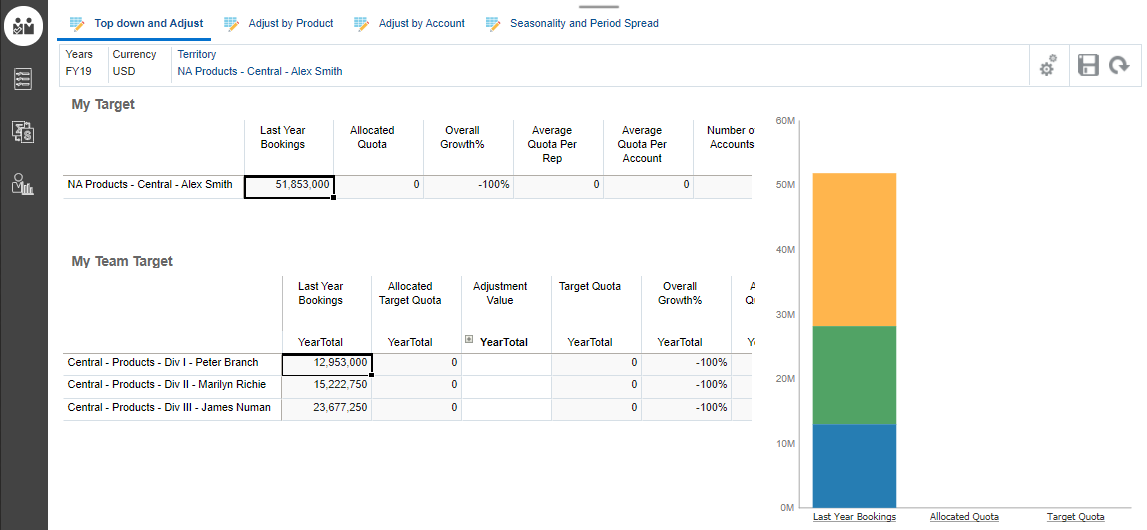
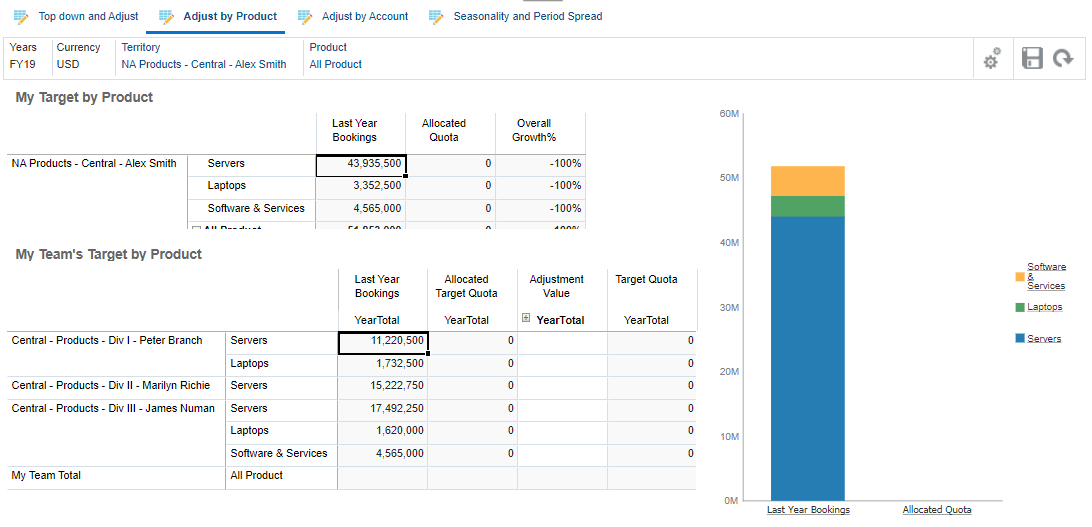
- Switch tasks using horizontal tabs. Click Adjust by Product.
In Adjust by Product, the My Target by Product and My Teams's Target by Product forms and chart are displayed.
- Click through the horizontal tabs and review the page contents. Then, return to the first horizontal tab, Top down and Adjust.
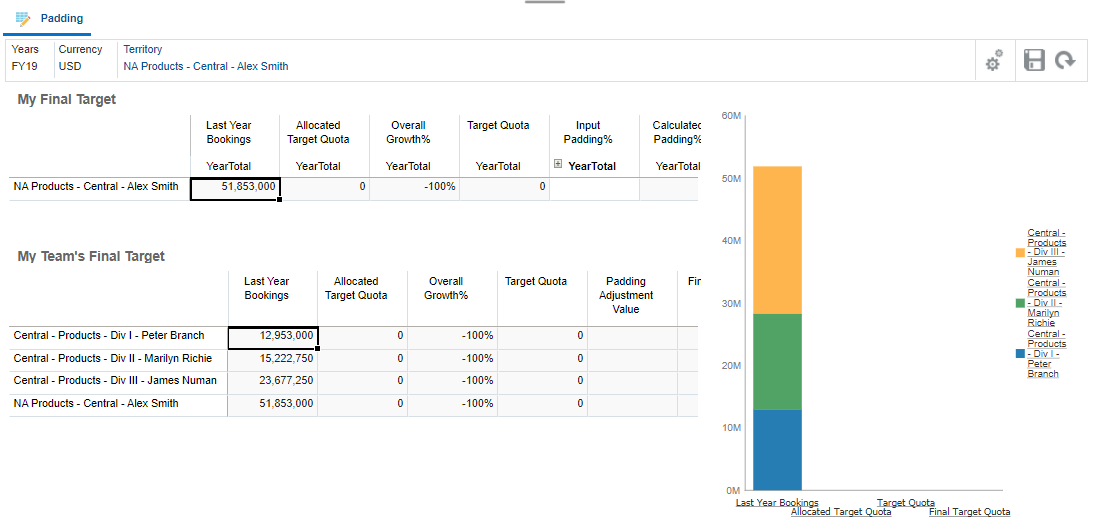
- Switch tasks using vertical tabs. Click
 (Padding).
Padding displays a dashboard of multiple forms and a chart within one horizontal tab.
- Return to the home page. Click (Home).
About the Advanced Sales Forecasting cluster
- From the home page, click Advanced Sales Forecasting.
Advanced Sales Forecasting includes one card: Generic.
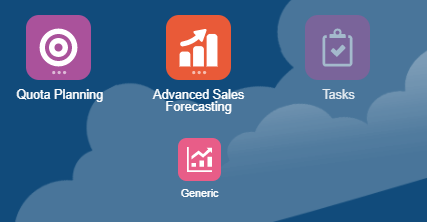
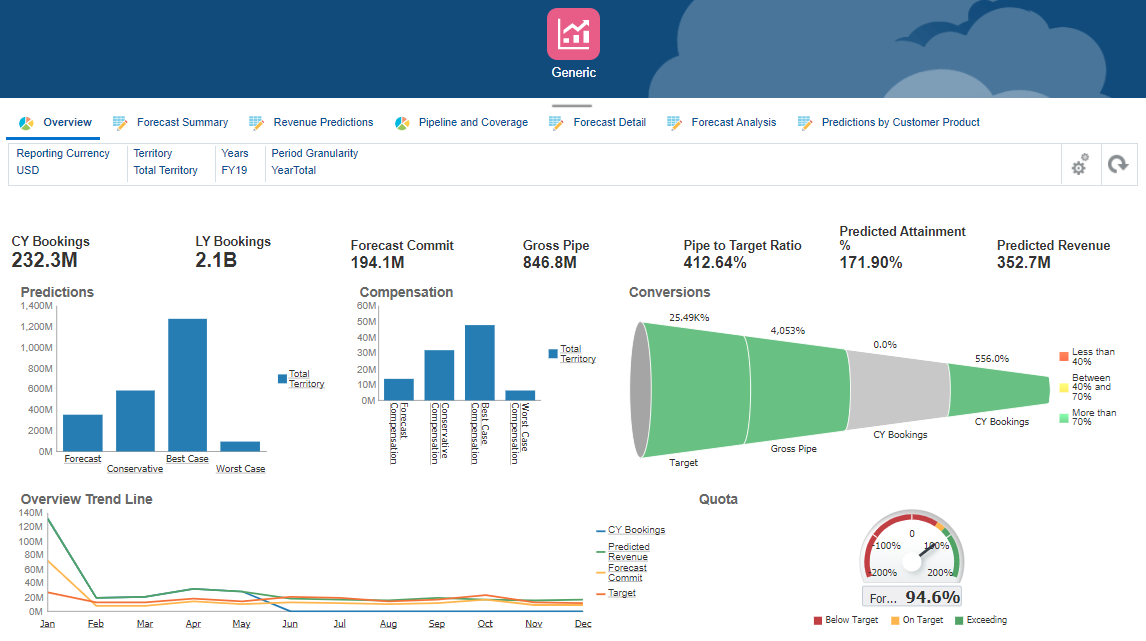
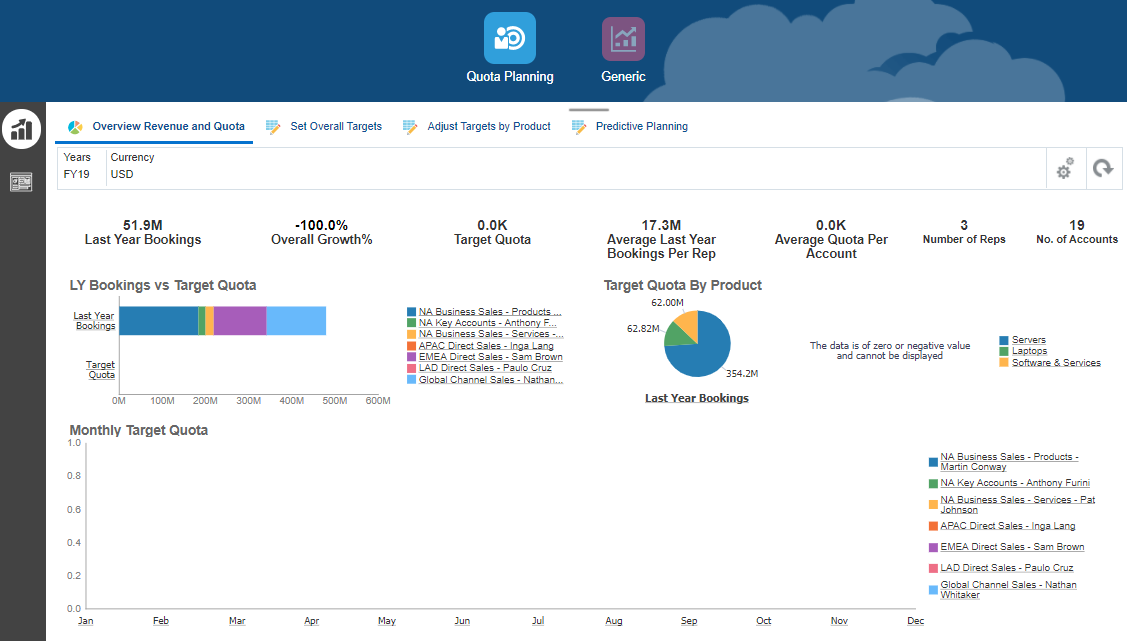
- Click Generic.
The Generic card is displayed on the top of the page. When first opened, the Overview dashboard displays.
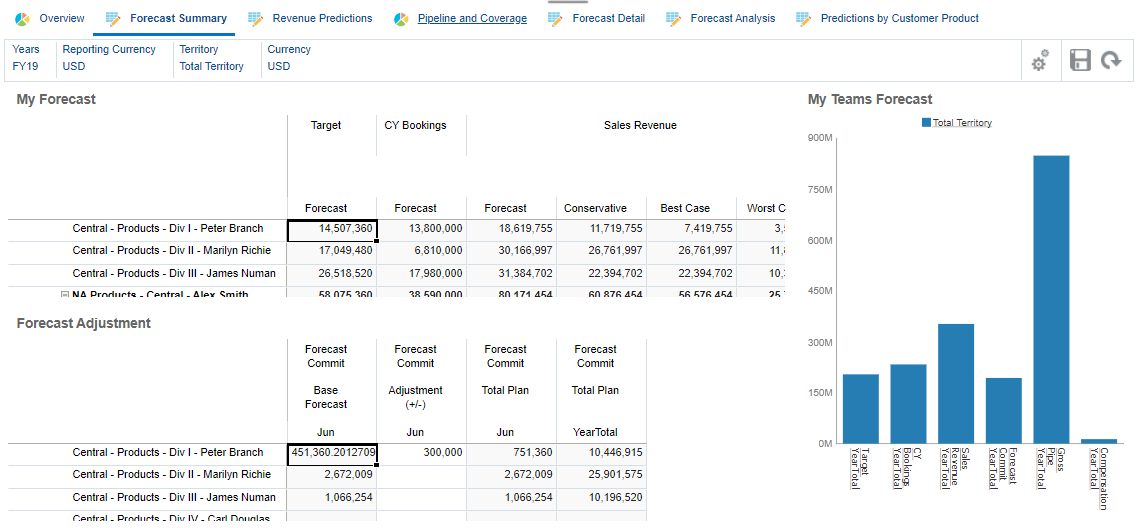
- In Generic, navigate between horizontal tabs. Click Forecast Summary.
- Review the contents of Forecast Summary.
- Click through the horizontal tabs and review the page contents.
- Return to the home page. Click (Home).
Navigating to Navigation Flow Designer
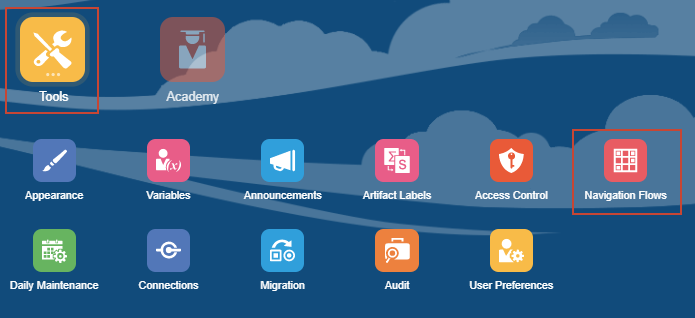
- From the home page, click Tools, then Navigation Flows.
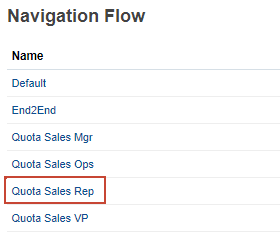
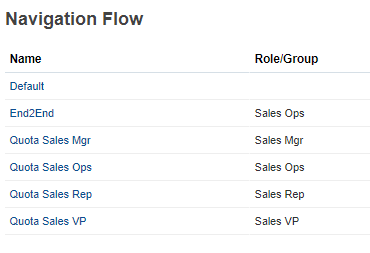
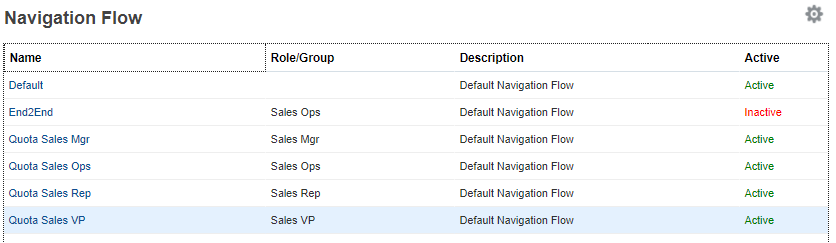
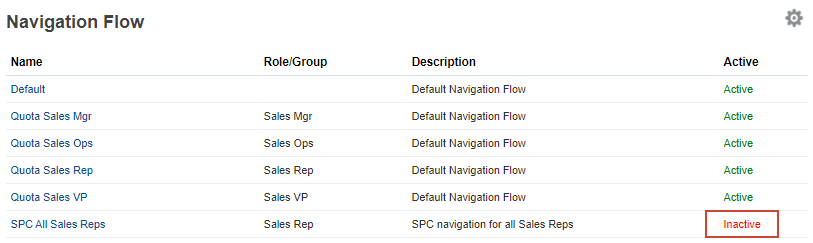
The Navigation Flow page lists each navigation flow by name and whether it is active or not. If assigned, the list also indicates the role or group that has access to the navigation flow.
- Click Quota Sales Rep.
You can edit navigation flows in Navigation Flow Designer if they are inactive.
Quota Sales Rep is opened in Navigation Flow Designer.
- Review its components:
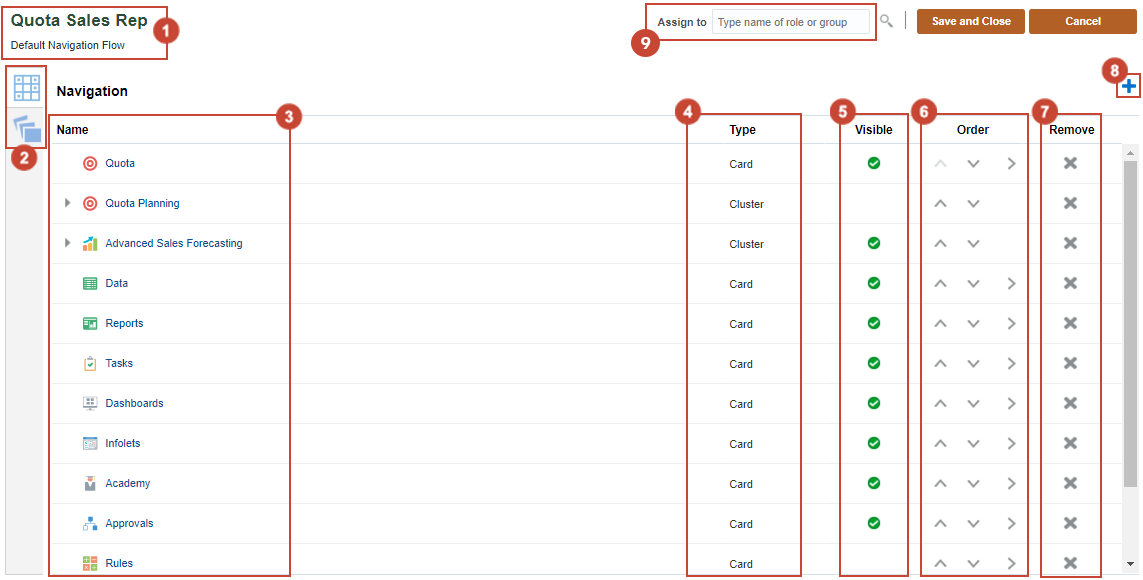
Component Description 
Name and description Enter or modify the name of the navigation flow. Descriptions are optional. 
Navigation and Infolets vertical tabs Switch between the Navigation and Infolets vertical tabs. 
Name Name or label of a card or cluster. 
Type Identifies if the object is a card or cluster 
Visible Indicates whether a card in the navigation flow is visible on the home page 
Order Use the arrows to reposition the cards and clusters in the listing. The cards and clusters are listed in the order in which they are displayed on the home page. 
Remove Removes a card or cluster from the navigation flow. 
Add Add new card or cluster, or an existing card or cluster to the navigation flow. 
Assign to Assign the navigation flow to a group of users or to a role. - Click
 (Save and Close) to save your changes and close Navigation Flow Designer.
 - Click
 (Cancel) to close Navigation Flow Designer without saving your changes.
Notice that the description for the Quota Sales Rep navigation flow displays Default Navigation Flow because it was copied from the Default navigation flow. You can modify descriptions, as needed.
- Click
Assigning permissions
There are three (3) levels of permissions for navigation flows:
- Global—permission is granted to all users.
- Role-based or group based—permission is granted to users in a specific role or group.
- Artifact-based—permission is granted to users with access permissions to artifacts included in the navigation flow.
For example, for a form displayed in the navigation flow, only users with permission to the form can view or write to that form.
- In Assign to, type Sales.
Available roles and groups that include the keyword you typed are listed.
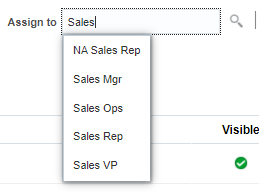
Alternatively, you can use
 (Search) to find a group or role in the Assign Navigation Flow dialog.
 - From the list, select Sales Rep.

- Click (Save and Close).
Notice that Sales Rep is now listed in the Role/Group column for the Quota Sales Rep navigation flow.

- Next, edit the other navigation flows and assign groups based on the following example:
Do not assign a role or group to the Default navigation flow.
Activating and deactivating navigation flows
If you assigned permission to navigation flows, you can enable them simultaneously. When a user logs into Sales Planning, they can switch between navigation flows that they have access to.
Before you can edit a navigation flow, it should not be active. There must be at least one navigational flow active in the application.
- For End2End, click Inactive to switch its active state.
- For Quota Sales Mgr, click Inactive.
- For Quota Sales Ops, click Inactive.
Notice that End2End was automatically set to Inactive after you set Quota Sales Ops to active. You can activate only one navigation flow per role/group.
- For Quota Sales Rep, click Inactive.
- For Quota Sales VP, click Inactive.
- Verify that you have set the following navigation flows as active:
- Return to the home page. Click (Home).
Switching navigation flows
You switch navigation flows by selecting an option in ![]() Navigation Flows:
Navigation Flows:

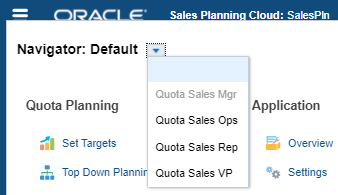
Or in Navigator:
- On the upper right, click
 (Navigation Flows).
 - Click Quota Sales VP.
The navigation flow is updated based on your selection.
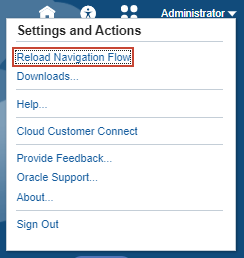
- If the navigation flow doesn't update right away, you can reload the navigation flow. On the upper right, click your username, then click Reload Navigation Flow.
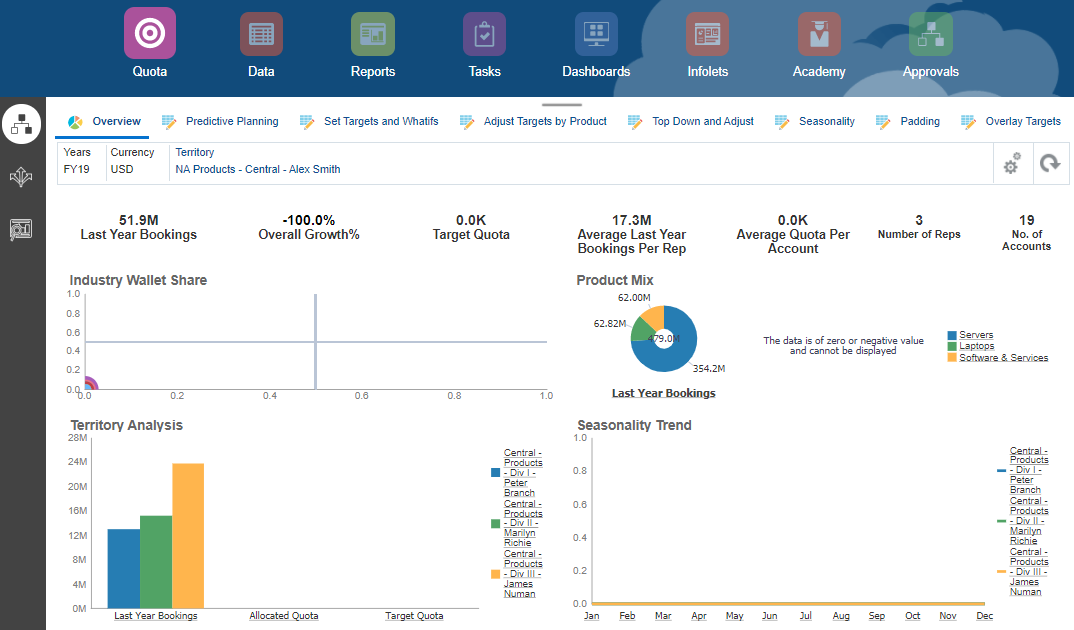
- On the home page, click Quota.
The Quota Sales VP navigation flow's Quota card opens to an overview dashboard in the Top down vertical tab. The artifacts included in the navigation flow includes tasks that are specific to Quota Sales VP users.
- Return to the home page. Click (Home).
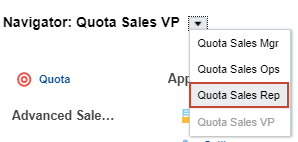
- Click
 (Navigator).
 - Click
 to display the navigation flow dropdown list options.
 - Select Quota Sales Rep.
- On the upper right, click your username, then click Reload Navigation Flow.
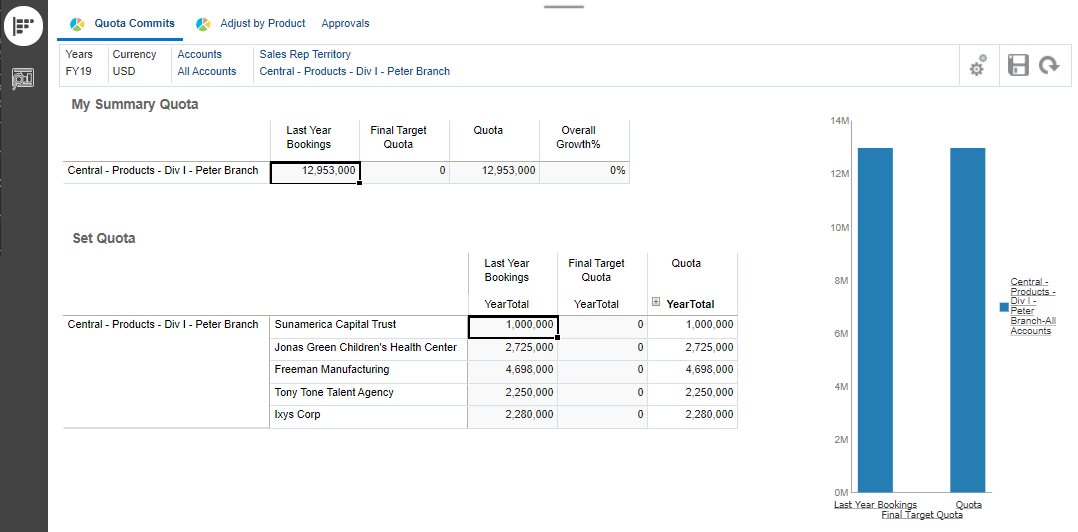
- On the home page, click Quota.
The Quota card opens to tasks specific to the selected navigation flow.
- Return to the home page. Click (Home).
Managing navigation flows
Creating navigation flows
You create a navigation flow by duplicating an existing one. For new Sales Planning applications, you create a navigation flow by duplicating the Default navigation flow.
In this section, you create a navigation flow by duplicating the Quota Sales Rep navigation flow.
- From the home page, click Tools, then Navigation Flows.
- In Navigation Flow, select the Quota Sales Rep row.

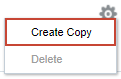
- On the upper right, click
 (Actions) and select Create Copy.
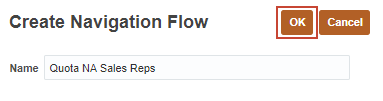
- In Create Navigation Flow, enter Quota NA Sales Reps as the name and click OK.
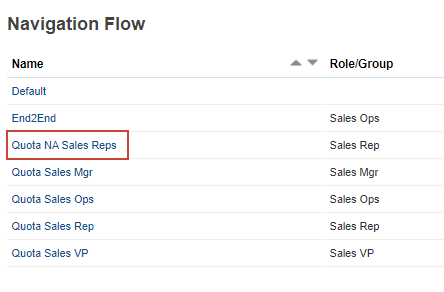
Quota NA Sales Reps is now listed in Navigation Flow.
Editing navigation flows
- For Quota NA Sales Reps, verify that it is Inactive.
- Click Quota NA Sales Reps.
The navigation flow is displayed.

- On the upper left, modify the following:
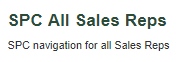
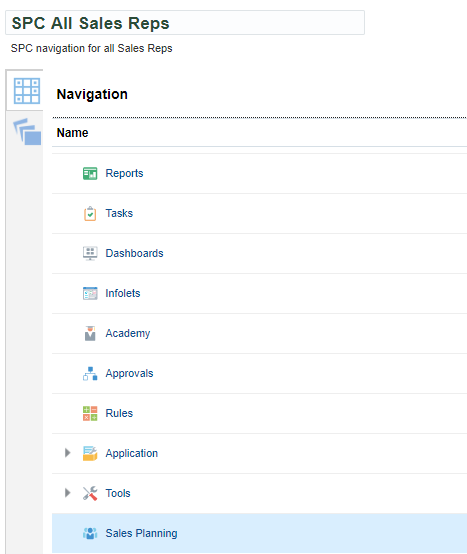
- Name: SPC All Sales Reps.
- Description: SPC navigation flow for all Sales Reps
Adding a new Sales Planning cluster
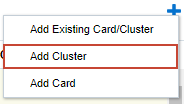
- Click
 (Actions) and select Add Cluster.
- In Manage Cluster, enter Sales Planning as the name.
- Verify that Visible is set to Yes.
To hide a cluster, set Visible to No.
- For Icon, click (Choose Icon).
- In Choose Icon, scroll to the bottom of the list and select
 .
.
- In Manage Cluster, verify your selections and click (Save and Close).
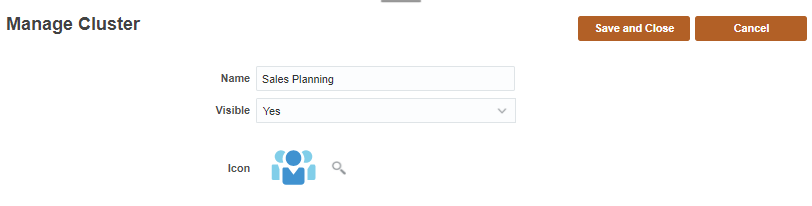
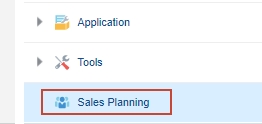
After saving, the Sales Planning cluster is added to the bottom of the navigation flow.
Adding cards to the Sales Planning cluster
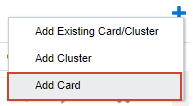
- Make sure that the Sales Planning row is selected.
- Click (Actions), then select Add Card.
- In Manage Card:
- Enter Quota Planning as the name.
- Verify that Visible is set to Yes.
- Verify that Sales Planning is selected as the Cluster.
- For icon, select
 .
.
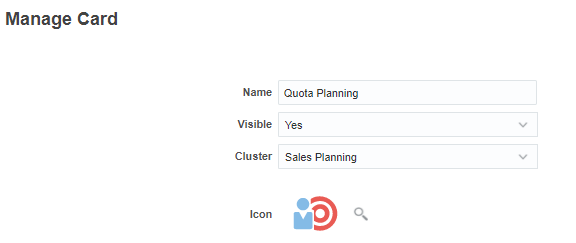
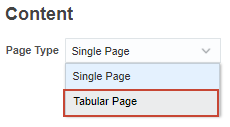
- In Content, for Page Type, select Tabular Page.
- For Orientation, verify or select Vertical.
- Click Add New Tab.
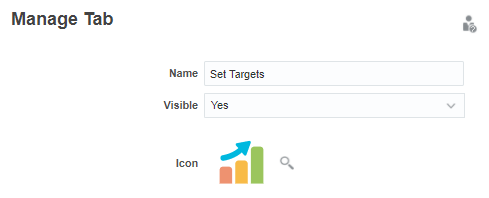
- In Manage Tab:
- Enter Set Targets as the name.
- Verify that Visible is set to Yes.
- For icon, select
 .
.
- For Page Type, select Tabular Page.
- Click Add Existing Sub Tab.
- In Library, for Navigation Flow, verify that Default is selected.
- Expand Quota Planning, and then Set Targets.
- Select the following:
- Overview
- Set Growth
- Predictive Planning
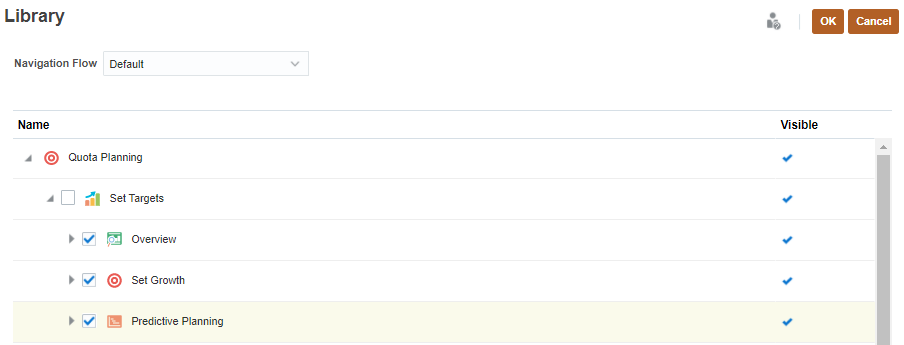
- Click OK.
- In Manage Tab, verify your selections and click (Save and Close).
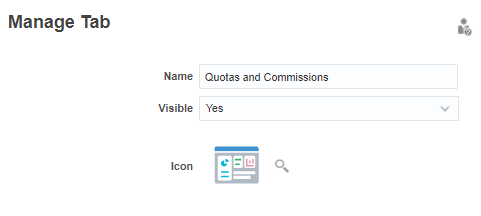
- In Manage Card, click Add New Tab.
- In Manage Tab:
- Enter Quotas and Commissions as the name.
- Verify that Visible is set to Yes.
- For icon, select
 .
.
- In Content, for Page Type, select Tabular Page.
- Click Add Existing Sub Tab.
- In Library, for Navigation Flow, select Quota Sales Rep.
- Expand Quota, then Top Down vs Bottomup.
- Select the following:
- Quota Commits
- Adjust by Product
- Click OK.
- In Manage Tab, verify your selections and click (Save and Close).
- In Manage Card, click (Save and Close).
The Quota Planning card is added under the Sales Planning cluster.
Reordering clusters and cards
- In Navigation, expand Advanced Sales Forecasting.

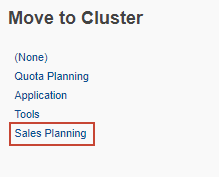
- For Generic, click
 (Move To).
 - In Move to Cluster, click Sales Planning.
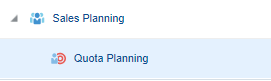
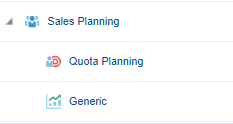
- If not already expanded, expand Sales Planning.
- Verify that the Generic card was moved to the Sales Planning cluster.
- Click Generic.
- In Manage Card, for Name, change it to Advanced Sales Forecasts.
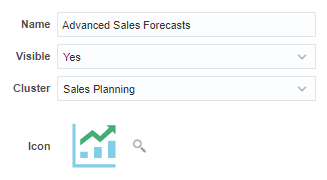
- Click (Save and Close).
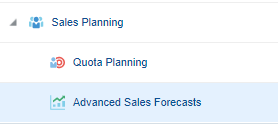
The Generic card's name was updated to Advanced Sales Forecasts.
- Select the Sales Planning row and click
 (Move up).

The Sales Planning cluster is moved above the Tools cluster.

- Click (Move up) until the Sales Planning cluster reaches the top of the list.
Hiding and unhiding clusters and cards
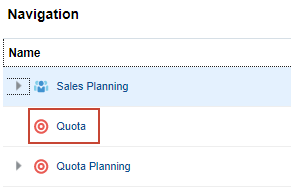
- In Navigation, click Quota.
- In Manage Card, set Visible to No.
- Click (Save and Close).
The Visible column for Quota no longer displays the green checkmark that indicates visibility in the navigation flow.

- Perform the steps in this section to hide the following clusters and cards:
- Advanced Sales Forecasting
- Tasks
- Academy
- Approvals
- Rules
Removing clusters and cards
You click ![]() (Remove) to remove a card or cluster from the navigation flow.
(Remove) to remove a card or cluster from the navigation flow.
- For Quota, click
 (Remove).

- In the Warning message, click Yes.
The Quota card was removed from the list.
- Click (Save and Close).
Deleting navigation flows
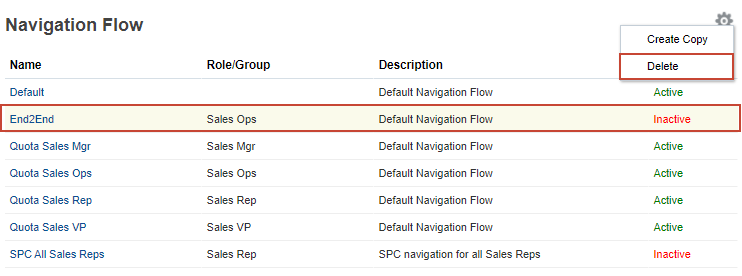
- In Navigation Flow, select the End2End row.
- Click (Actions), then select Delete.
- In the Warning message, click Yes.
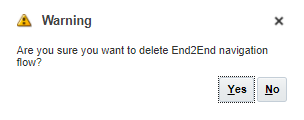
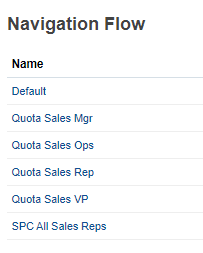
The End2End navigation flow is permanently removed from the application.
Verifying the SPC All Sales Reps navigation flow
Activating SPC All Sales Reps
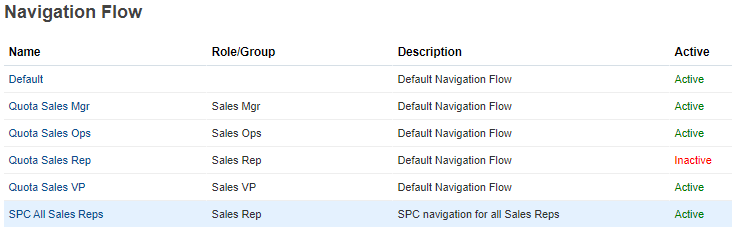
In Navigation flow, for SPC All Sales Reps, click Inactive.
The SPC All Sale Reps navigation flow set to active. The Quota Sales Rep navigation flow is automatically set to inactive.
Provisioning users to the Sales Rep group
In this section, you grant permission to the user required in the What Do You Need section of this tutorial.
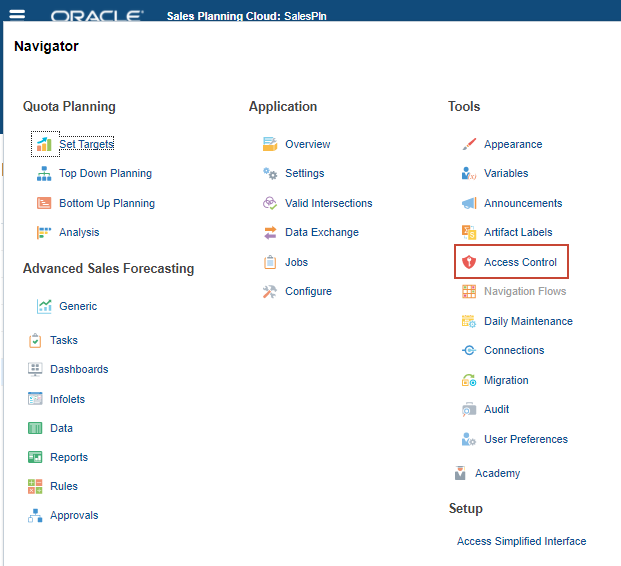
- Click (Navigator), then under Tools, click Access Control.
- Click Manage Users.
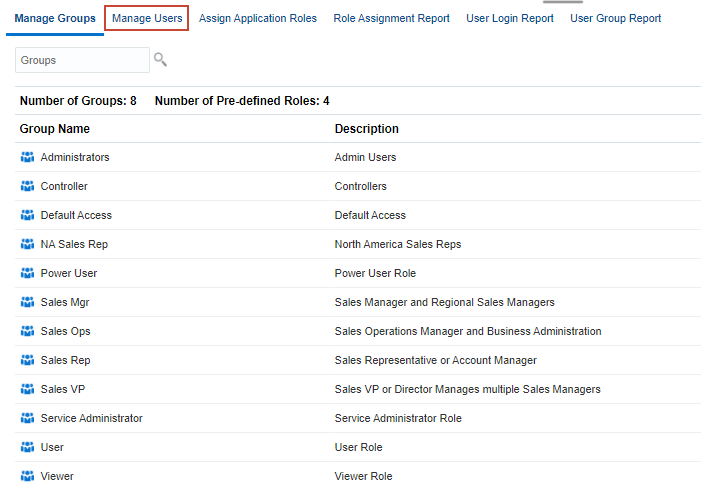
- In Manage Users, for the user you added for this tutorial, click (Actions), then select Edit.

Edit User is displayed.
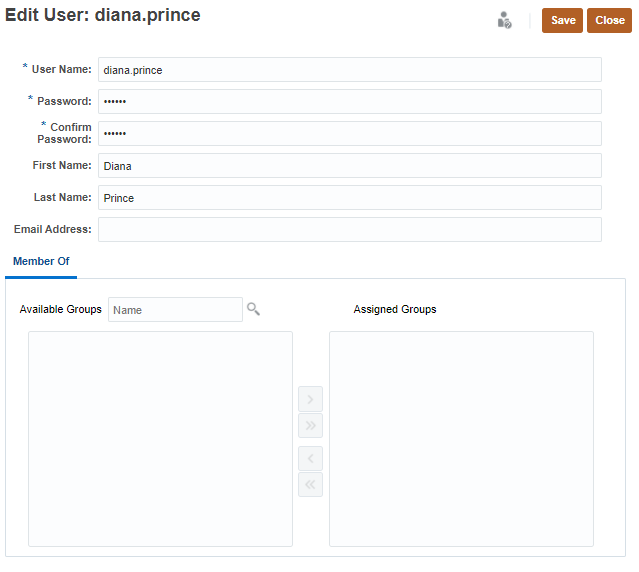
- In Member Of, for Available Groups, click (Search.)
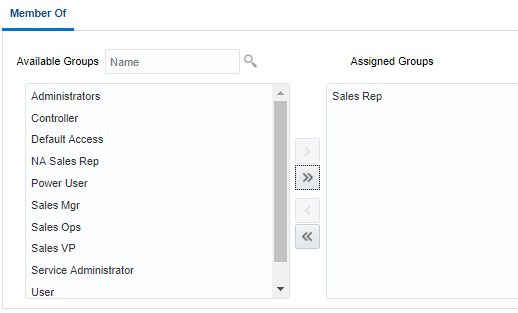
- From the list of available groups, select Sales Rep. and click (Move To).
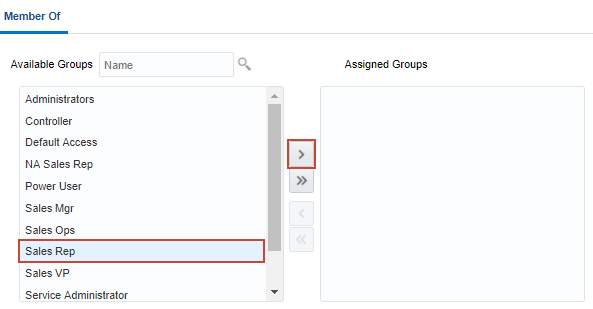
Sales Rep is added to Assigned Groups.
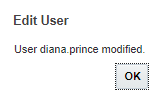
- Click (Save).
- In the Edit User message, click OK.
- Log out and log back on as the user you just provisioned.
Navigating the SPC All Sales Reps navigation flow
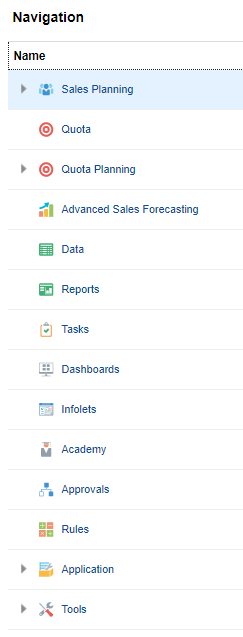
After logging on with the user you added to the Sales Rep group, the navigation flow on the home page displays the SPC All Sales Reps navigation flow.
- Click Sales Planning.
The cards under the Sales Planning cluster are displayed.

Notice that the Generic card's label did not change to Advanced Sales Forecasts.
If the label of a card or cluster is defined in the Artifact Labels page on the Tools cluster, that definition will take precedence and will display during runtime. To change a label permanently, redefine it in the Artifact Labels page.
- Click Quota Planning.
- The Set Targets vertical tab is opened with the Overview Review and Quota dashboard displayed.
- Below Set Targets is the Quotas and Commissions vertical tab.
- On the top, the Quota Planning and Generic cards in the Sales Planning cluster are accessible.
- Click through the tabs in the Quota Planning and Generic cards to review the contents of the navigation flow.