Before You Begin
Purpose
This tutorial shows you how to use Theme 25 to create a responsive web application in Application Express Release 5.0.
Time to Complete
Approximately 20 minutes.
Overview
Oracle Application Express (Oracle APEX) is a rapid web application development tool for the Oracle database. Using only a web browser and limited programming experience, you can develop and deploy professional applications that are both fast and secure. Oracle Application Express is available with the Oracle Database, whether it's on-premises or in an Oracle Database Cloud Service.
Responsive Web Design is an approach to web design in which a designer intends to provide an optimal viewing experience i.e; easy reading and navigation with a minimum of resizing, panning, and scrolling, across a wide range of devices (from desktop computer monitors to mobile phones). Oracle APEX 5.0 handles responsive design through the Blue Responsive Theme and Universal Theme. Both these themes support all screen sizes and use a flexible grid layout that adjusts based on the device you are using.In this tutorial, you create a responsive application using the Blue Responsive Theme (Theme 25) in Oracle Application Express 5.0. For more information on the Responsive Web Applications, reference the Understanding the Difference Between Mobile Design and Responsive Design and About Responsive Design in the Oracle Application Express Application Builder User's Guide.
Please keep in mind the following while running this tutorial:
- Logging into your Oracle Application
Express workspace: Your Oracle
Application Express workspace may reside in an
on-premises Oracle Database or in Oracle Database
Cloud Services. The login credentials differ
depending on where your workspace is located:
- Logging into Oracle Application Express in a Oracle Database Cloud Service: Reference the Oracle Help Center for your Oracle Database Cloud Service. To do this, go to the Oracle Help Center for Cloud, and select Platform and Infrastructure. From here, select your Database Cloud Service and the Get Started page will appear.
- Logging in to Oracle Application Express on-premises: From your browser, go to the location of your on-premises installation of your Oracle Application Express workspace provided by your Workspace Administrator.
- Application ID: Screenshots in this tutorial show a blurred Application ID. Your Application ID can be any value assigned automatically while creating the application.
- Schema: If you are accessing an Oracle Application Express workspace in Database Schema Service, you have one schema assigned to you with a schema name that you cannot change. If you are accessing the workspace in an on-premises Oracle database, you may have more than one schema assigned to your workspace by the Oracle Application Express Instance Administrator.
What Do You Need?
Before starting this tutorial, you should:
- Have access to an Oracle Database 11g or later release, either on-premises or in a Database Cloud Service.
- Install Oracle Application Express Release 5.0 into your Oracle Database (for on-premises only).
- Provision at least one Oracle Application Express user. See Creating New User Accounts in Oracle Application Express Administration Guide.
Creating a Database Application Using Blue Responsive Theme
-
From the Oracle Application Express home page, click the down arrow next to the Application Builder tab and select Database Applications.
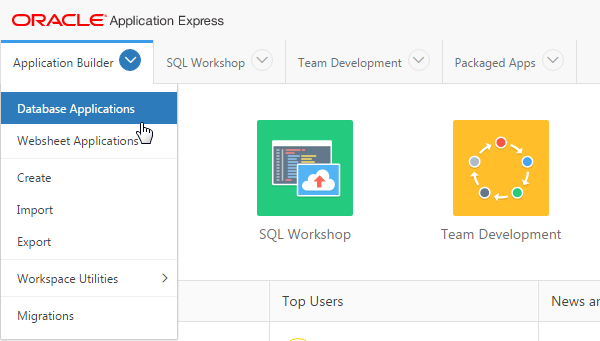
Description of this image -
Click the Create icon.
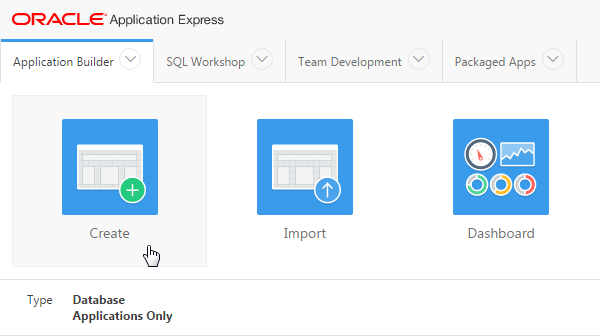
Description of this image -
Accept the default, and click Next >.

Description of this image -
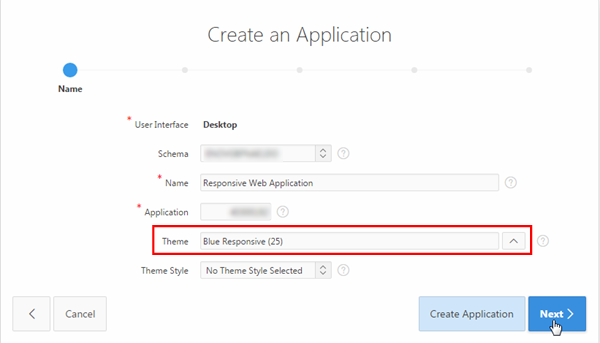
Enter Responsive Web Application for Name, and click the List of Values icon for Theme.

Description of this image -
Select All Themes for Show.
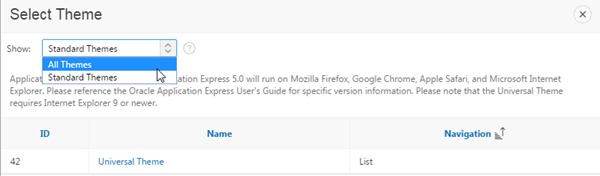
Description of this image -
Select Blue Responsive.
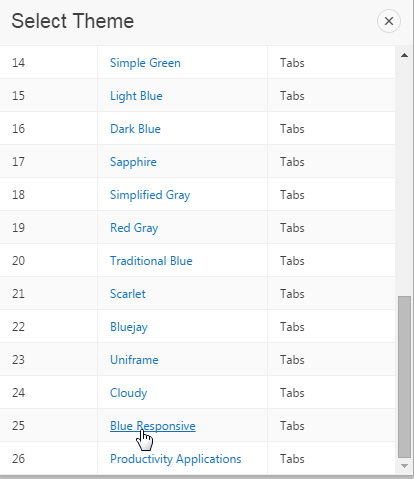
Description of this image -
Click Next >.
Description of this image -
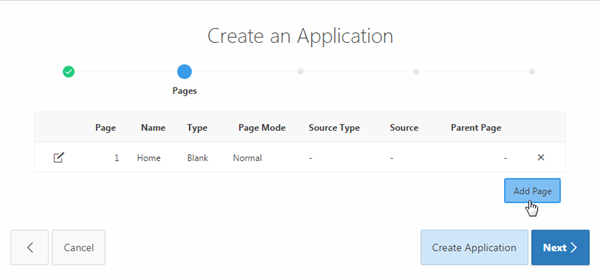
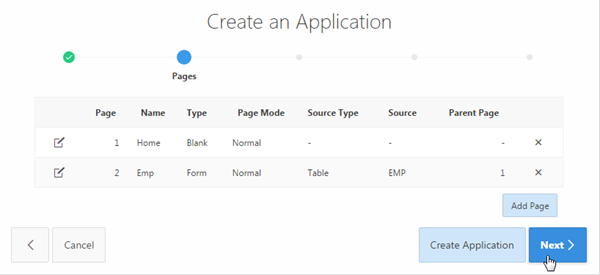
By default, the Home page gets created. To add another page, click Add Page.
Description of this image -
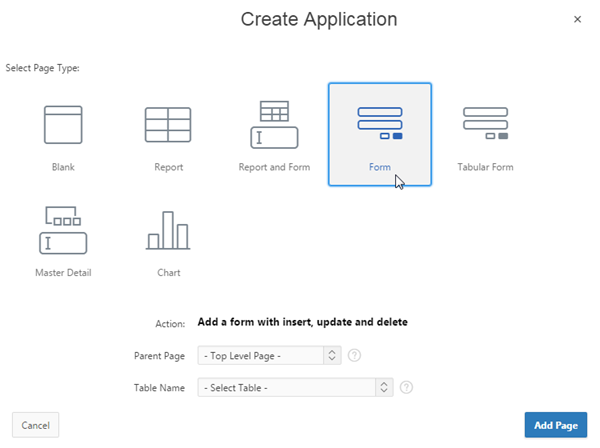
Select Form for Page Type.
Description of this image -
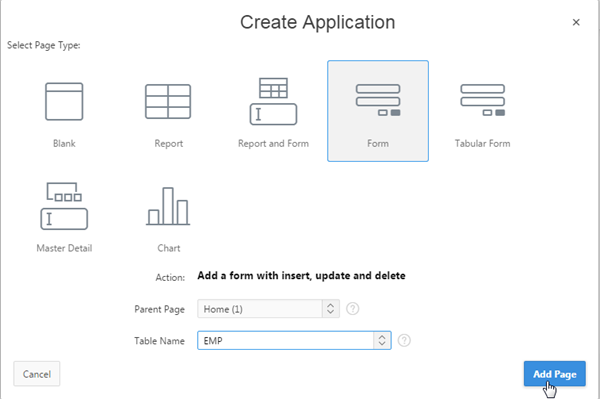
Select Home(1) for Parent Page, EMP for Table Name, and click Add Page.
Description of this image -
The Form page is created. Click Next >.
Description of this image -
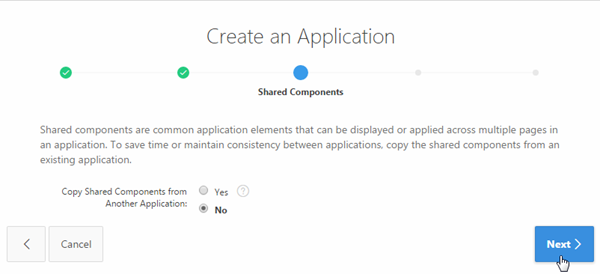
Accept the defaults, and click Next >.
Description of this image -
Select Application Express Accounts for Authentication Scheme, and click Next >.

Description of this image -
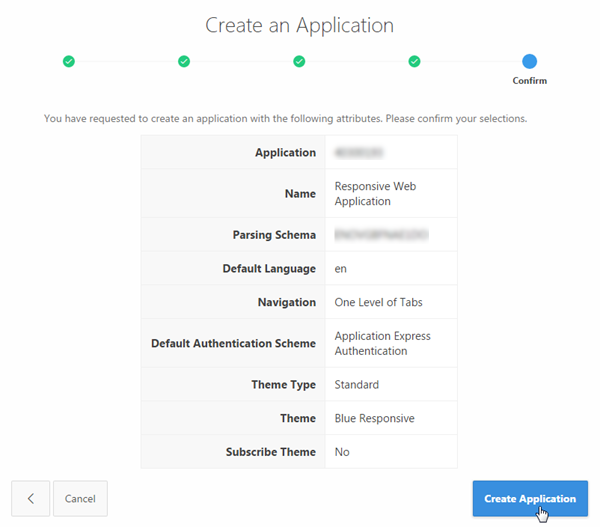
Click Create Application.
Description of this image -
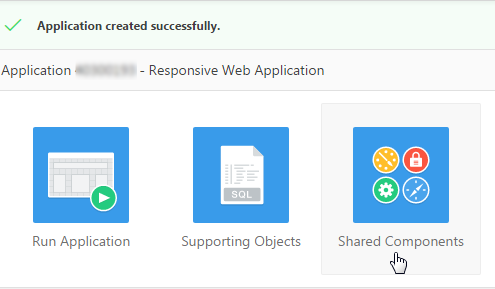
The Responsive Web Application is created successfully. Click the Shared Components icon.
Description of this image -
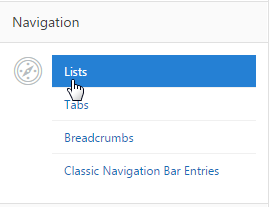
Under Navigation, click Lists.
Description of this image -
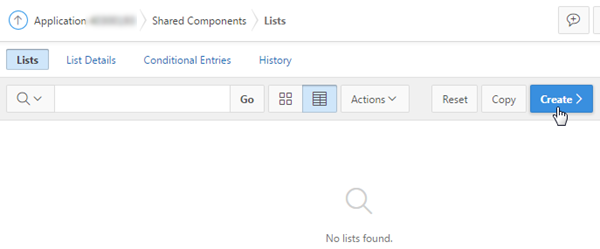
Click Create >.
Description of this image -
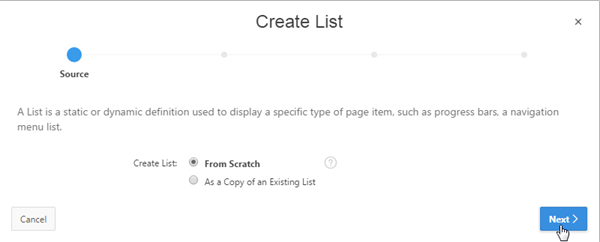
Select From Scratch, and click Next >.
Description of this image -
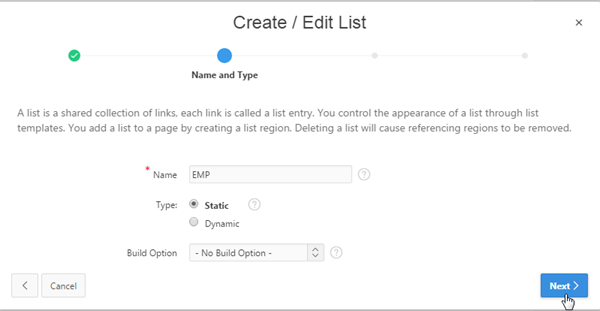
Enter EMP for Name, and click Next >.
Description of this image -
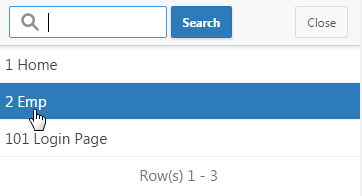
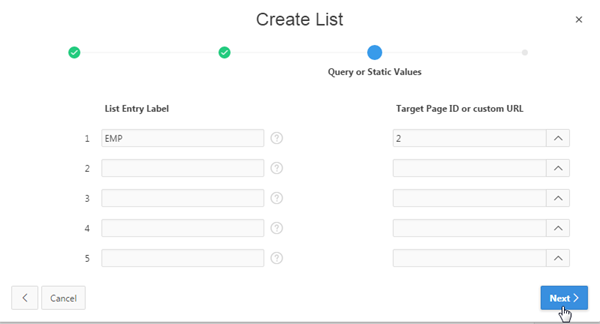
Enter EMP for List Entry Label, and click the List of Values icon for Target Page ID or custom URL.

Description of this image -
Select 2 Emp.
Description of this image -
Click Next >.
Description of this image -
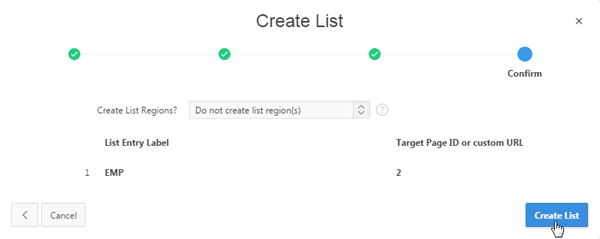
Accept the default, and click Create List.
Description of this image -
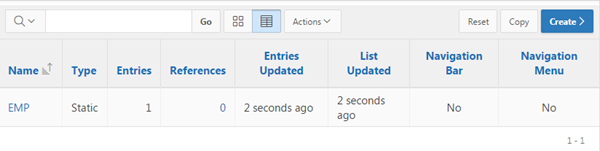
The EMP list is created.
Description of this image -
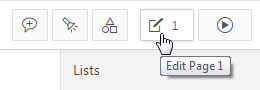
Click the Edit Page 1 icon.
Description of this image -
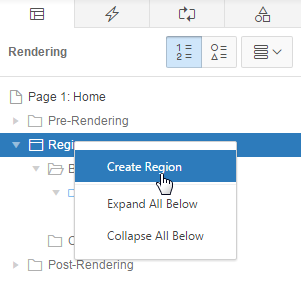
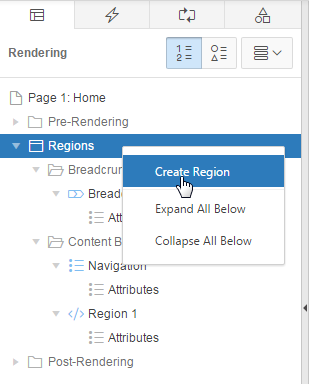
Under the Rendering tab, right-click Regions, and select Create Region.
Description of this image -
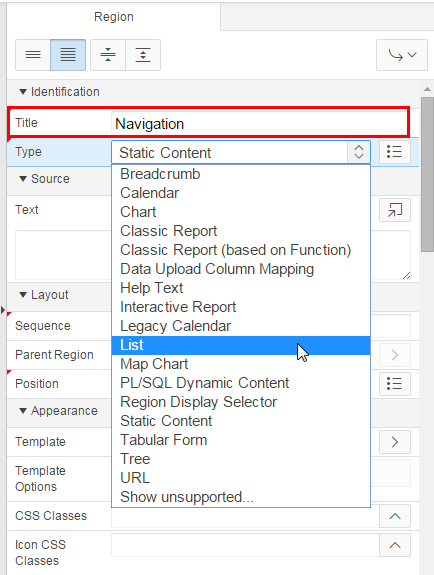
In the property editor, under Identification, enter Navigation for Title, and select List for Type.
Description of this image -
Under Source, select EMP for List. Click Save.

Description of this image -
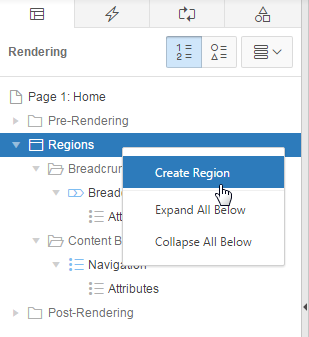
Under the Rendering tab, right-click Regions, and select Create Region.
Description of this image -
In the property editor, under Identification, enter Region 1 for Title. Under Grid, select Yes for Start New Row, and click Save.

Description of this image -
Under the Rendering tab, right-click Regions, and select Create Region.
Description of this image -
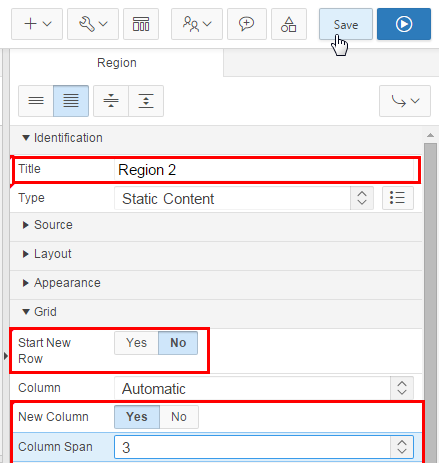
In the property editor, under Identification, enter Region 2 for Title. Under Grid, select Yes for Start New Row, Yes for New Column, 3 for Column Span. Click Save.
Description of this image -
Under the Rendering tab, right-click Regions, and select Create Region.
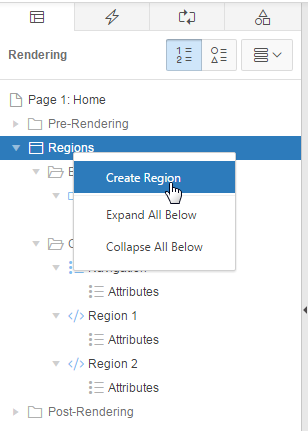
Description of this image -
In the property editor, under Identification, enter Region 3 for Title. Under Grid, select Yes for Start New Row, Yes for New Column, 3 for Column Span. Click Save.

Description of this image -
Under the Rendering tab, right-click Regions, and select Create Region.
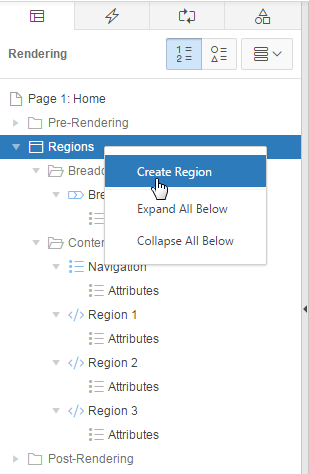
Description of this image -
In the property editor, under Identification, enter Region 4 for Title. Under Grid, select Yes for Start New Row, Yes for New Column, 3 for Column Span. Click Save and Run Page.
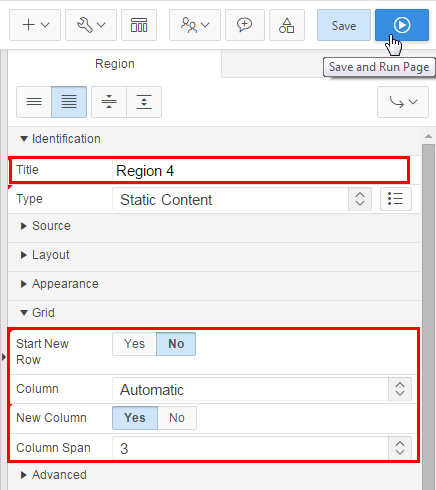
Description of this image -
Enter your Oracle Application Express credentials, and click Log In.

Description of this image -
The application home page displays. Click Edit Page 1 in the developer toolbar.
Description of this image -
In the Rendering tab, right-click Breadcrumbs, and select Delete.
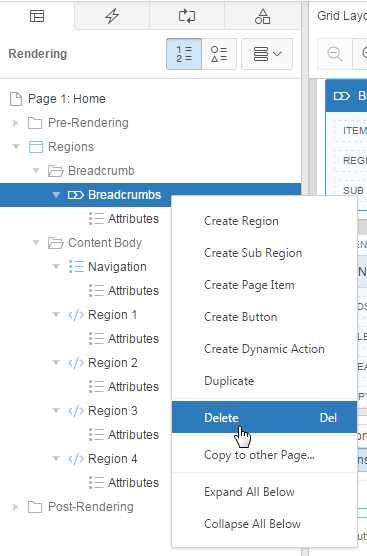
Description of this image -
Click Save and Run Page.
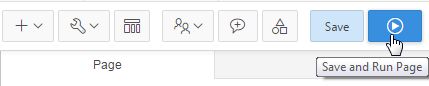
Description of this image -
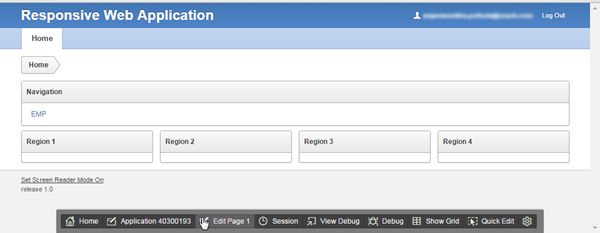
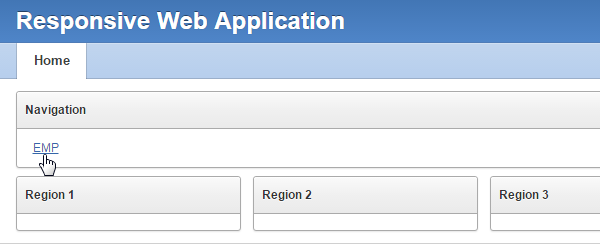
Notice that the breadcrumb is no longer displayed for the Home page. Click EMP.
Description of this image -
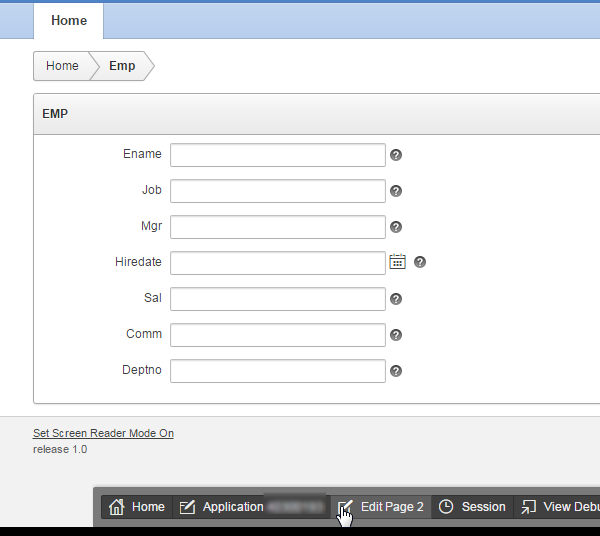
This is a standard form. To change the region to an alert region, click Edit Page 2 in the developer toolbar.
Description of this image -
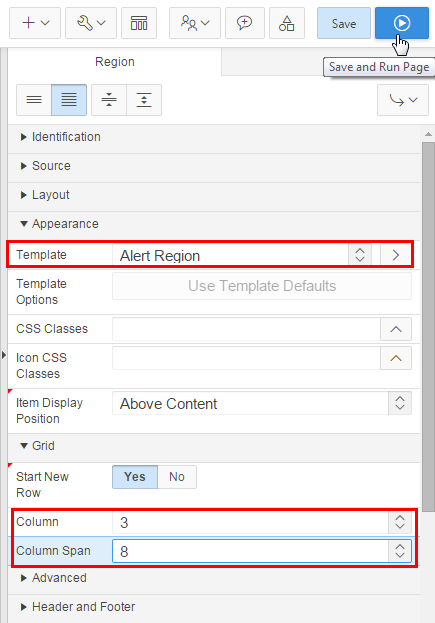
In the region's property editor, under Appearance, select Alert Region for Template. Under Grid, select 3 for Column, 8 for Column Span, and click Save and Run Page.
Description of this image -
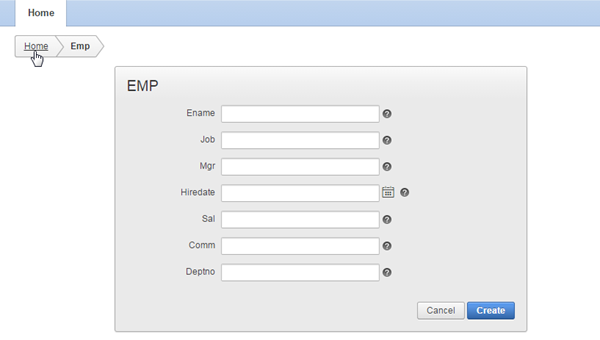
The EMP form displays in the center of the page. Click the Home breadcrumb.
Description of this image -
Resize the browser to check the responsive functionality of the application. Notice, the current browser size fits for iPads, Tablets etc;
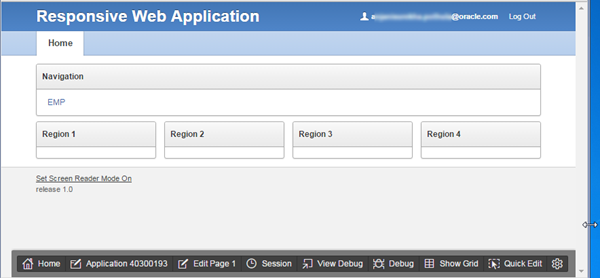
Description of this image -
Reducing the browser size further, makes the regions rearrange below each other. This size fits best for Mobile devices. Click EMP.
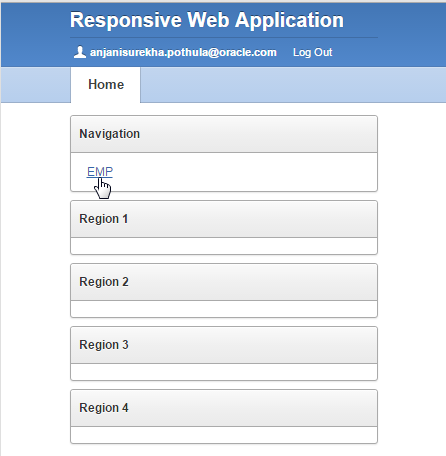
Description of this image -
Notice that the labels shifted above the fields, make it easier to display the form labels and fields all together in one view. Click the Home breadcrumb.

Description of this image
Summary
In this tutorial, you learned how to use the Blue Responsive Theme (Theme 25) to create a responsive web application in Application Express Release 5.0.
Want to Learn More?
Credits
-
Curriculum Developer: Anjani Pothula
- Other Contributors:Drue Swadener