Before You Begin
Purpose
This tutorial shows you how to deploy a composite application as a SOA archive(SAR) file to Oracle SOA Suite Cloud Service by using the Oracle Fusion Middleware Control console.
Time to Complete
45 minutes
Background
Oracle SOA Suite Cloud Service provides a complete set of service infrastructure components for designing, managing, and deploying composite and service bus applications to the cloud.
You can save time, money, and work more efficiently by using the wide variety of features in Oracle SOA Suite Cloud Service to:
- Design SOA composite applications.
- Create test environments for all your applications.
- Monitor and manage your application environment.
Using this tutorial, you can learn how to test your SOA composite applications locally in your SOA Quick Start environment and then deploy them to Oracle SOA Suite Cloud Service. Because this cloud service uses the same Oracle SOA Suite software that you use for your on-premises applications, you can use the same tools in the cloud.
What Do You Need?
- An Oracle Java Cloud Service instance for which you have log in credentials. For information about creating a service instance in Oracle Java Cloud Service, go to Creating and Managing an Oracle Java Cloud Service—Coherence Instance
- A subscription or trial subscription to Oracle SOA Suite Cloud Service
- Oracle SOA Suite Quick Start for Developers
- Valid credentials for Oracle Enterprise Manager
- Basic knowledge of Oracle SOA Suite
Deploying and Testing a Composite Application in the Local Environment
Downloading a SOA Sample Application
-
Open a terminal window. Create the mywork directory by executing the following command:
mkdir mywork -
Download the helloWorld.zip file, which contains the SOA sample application, into the mywork directory.
Importing a SOA Project into Oracle JDeveloper
-
Go to the mywork directory and unzip the application using the following commands:
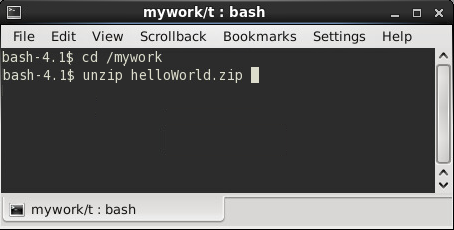
Description of this image Note: This tutorial was created in Linux. If you use a different operating system, then use another compression utility to unzip the application (WinRaR, 7-Zip, WinZip, and so on).
-
Open Oracle JDeveloper 12c, click the Applications tab, and select Open Application.
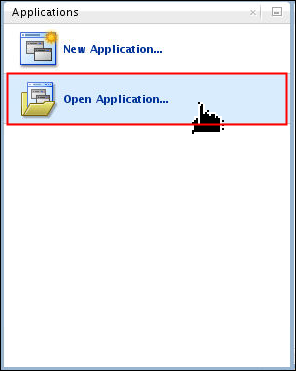
Description of this image The Open Application(s) dialog box opens.
-
In the Open Application(s) dialog box, go to mywork/SOACSdemo, select SOACSdemo.jws, and click Open.
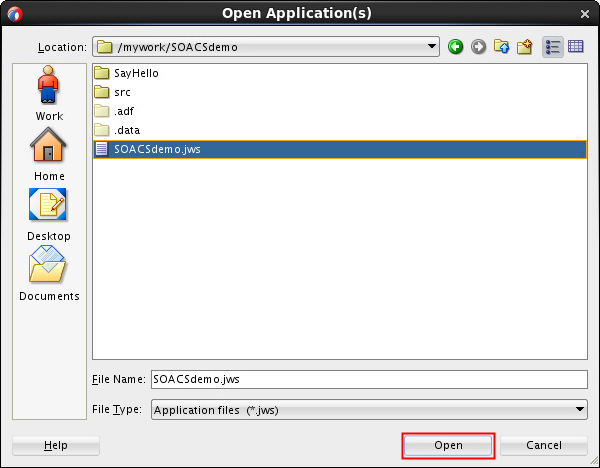
Description of this image
Deploying a Composite Application to Oracle WebLogic Server
-
In the Run menu, select Start Server Instance (IntegratedWebLogicServer), and wait for the server to start.
-
On the Applications tab, right-click SayHello, select Deploy, and then select SayHello.
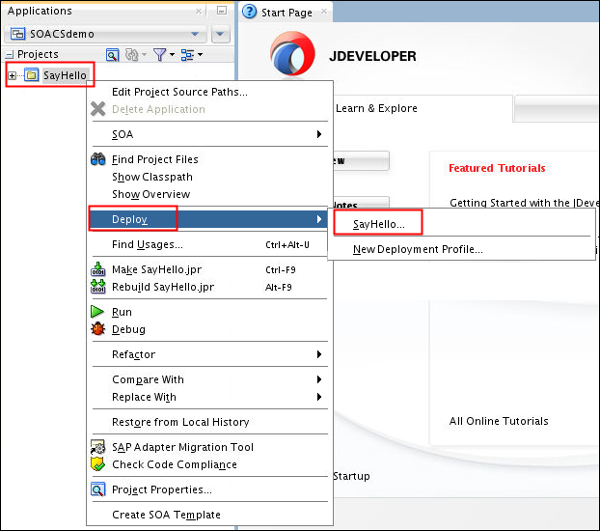
Description of this image -
On the Deploy SayHello page, enter, select, or verify the following values on the specified pages, click Next on each page:
- Deployment Action page: Select Deploy to Application Server.
- Deploy Configuration page: For the New revision ID field, enter or verify 1.0, and select Overwrite any existing composites with the same revision ID.
- Select Server page: Select IntegratedWebLogicServer.
- SOA Servers page: Verify that the default server is running and selected.
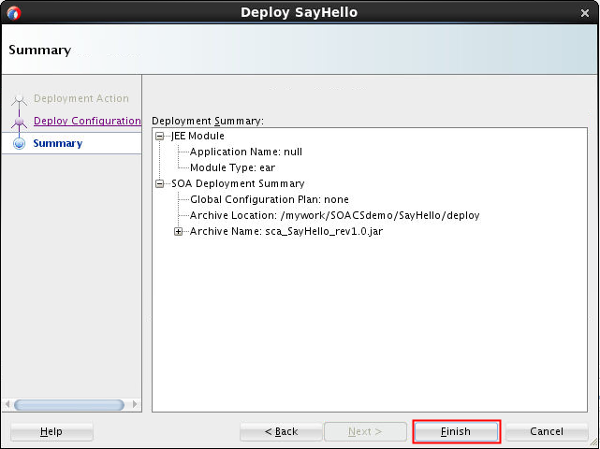
The Summary page appears. After you review your selections, click Finish.
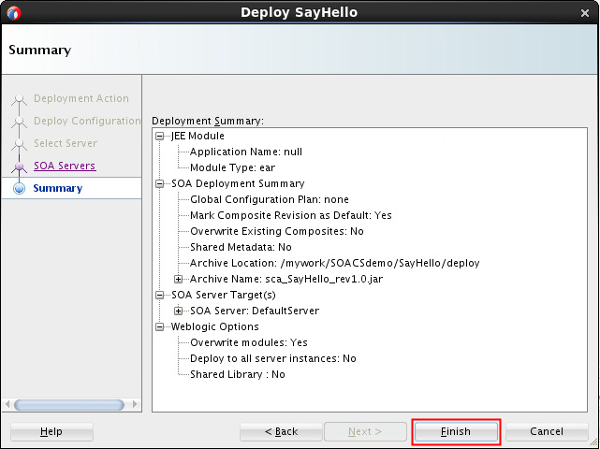
Description of this image -
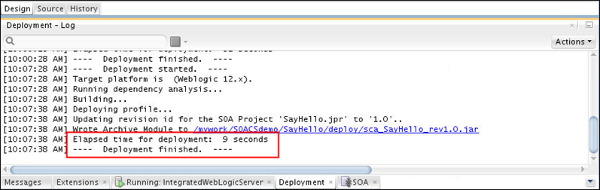
On the Deployment - Log tab, verify that the deployment is finished.
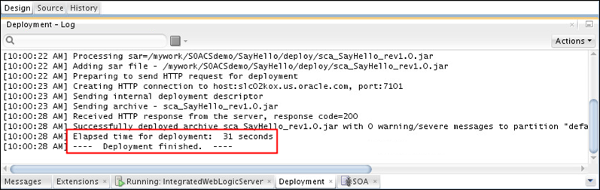
Description of this image
Testing a Composite Application in the Local Environment
-
In your Internet Explorer, Firefox, or Chrome browser, open Oracle Enterprise Manager. In the Login dialog box, enter the following values and then click Login:
- URL:
http://localhost:7101/em - User Name:
Your Oracle Enterprise Manager username - Password:
Your
                                        Oracle Enterprise Manager password
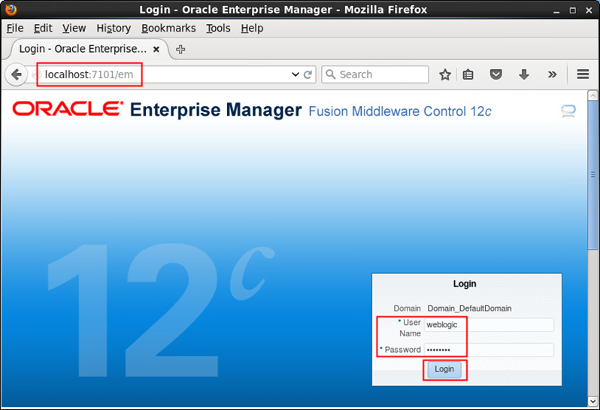
Description of this image - URL:
-
In the Target Navigation pane, expand SOA, soa-infra, and default, and select SayHello [1.0]. In the right pane, click Test.
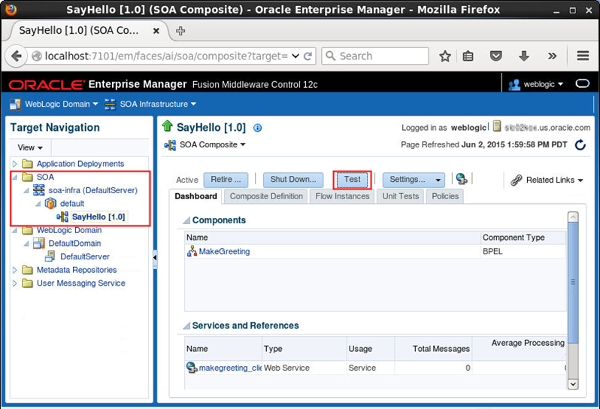
Description of this image -
On the Test Web Service page, click the Request tab, expand payload, enter your name in the input field, and then click Test Web Service.
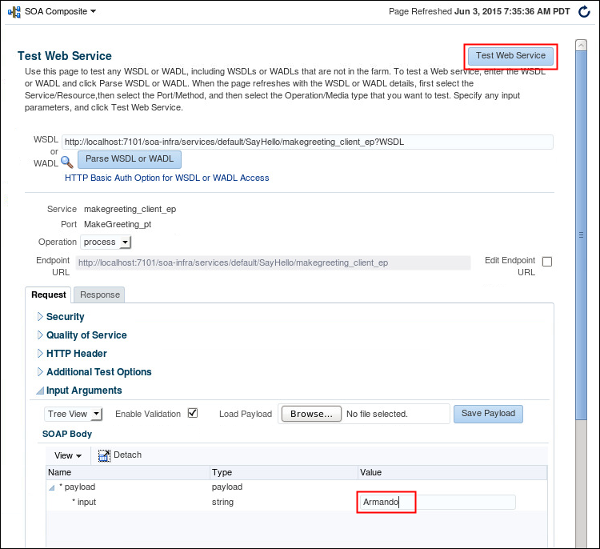
Description of this image -
Click the Response tab, and verify that the response displays your name.
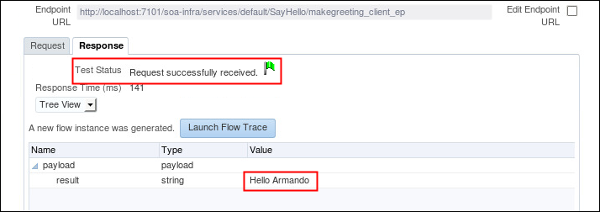
Description of this image
Deploying a Composite Application to a SAR File
-
On the Applications tab, right-click SayHello, select Deploy, and then select SayHello.

Description of this image -
On the Deploy SayHello page, enter or select the following values on the specified pages, click Next on each page:
- Deployment Action page: Select Generate SAR file.
- Deploy Configuration page: For the New revision ID field, enter or verify 1.0.
The Summary page appears. After you review your selections, click Finish.
Description of this image -
On the Deployment - Log tab, verify that the deployment is finished.
Description of this image
Deploying and Testing a Composite Application in Oracle SOA Suite Cloud Service
Deploying a SAR File to Oracle SOA Suite Cloud Service
-
Open the Oracle SOA Suite Cloud Service Console and Menu
 to select the service instance that you want
to manage. Then, click Open Fusion
Middleware Control Console.
to select the service instance that you want
to manage. Then, click Open Fusion
Middleware Control Console. 
Description of this image -
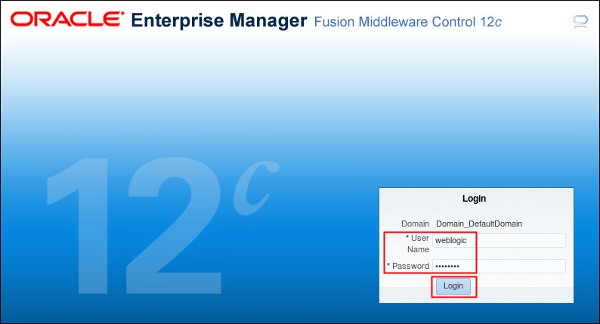
Enter the user name and password that you set when you created your instance.
Description of this image -
In the Target Navigation pane, expand SOA, right-click soa-infra, expand SOA Deployment, and click Deploy.

Description of this image The Deploy SOA Composite page appears.
-
In the Deploy SOA Composite page, click Browse.
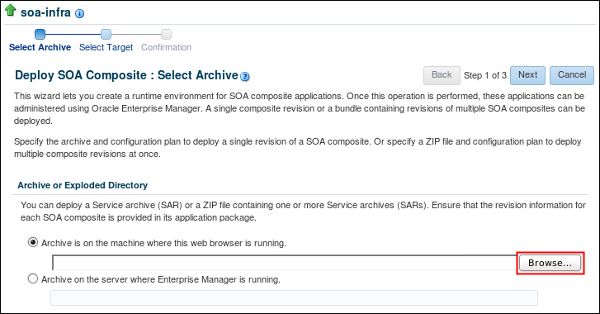
Description of this image -
In the File Upload dialog box, go to mywork/SOACSdemo/SayHello/deploy, select the sca_SayHello_rev1.0.jar file, and click Open.

Description of this image -
In the Select Archive page, click Next.

Description of this image -
In the Select Target page, select the default SOA partition, and click Next.
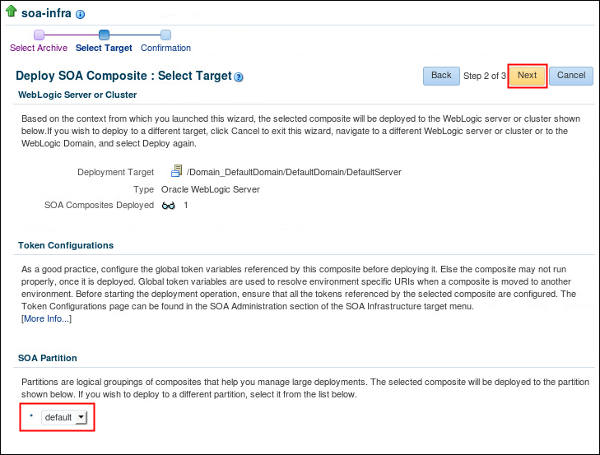
Description of this image -
In the Confirmation page, click Deploy.
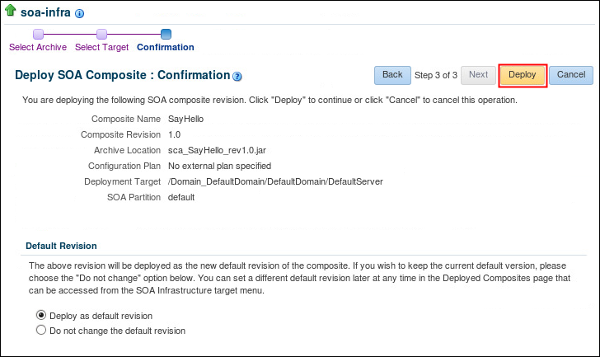
Description of this image The summary page appears, click Close.
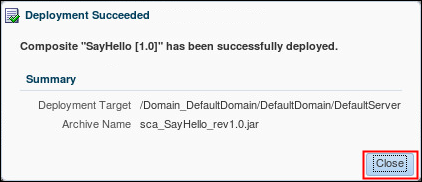
Description of this image
Testing an Application in Oracle SOA Suite Cloud Service
-
Open the Fusion Middleware Control Console. In the Target Navigation pane, expand SOA, soa-infra, and default, and then select SayHello [1.0]. In the right pane, click Test.
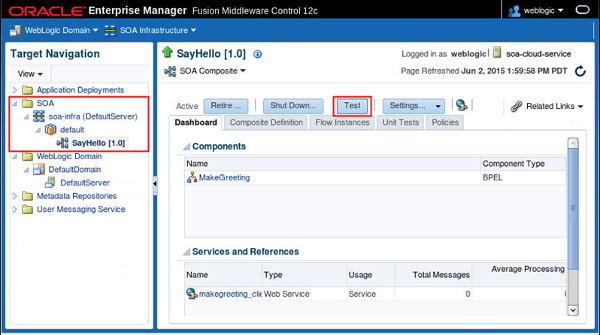
Description of this image -
On the Test Web Service page, click the Request tab, expand payload, enter your name in the text field, and then click Test Web Service.
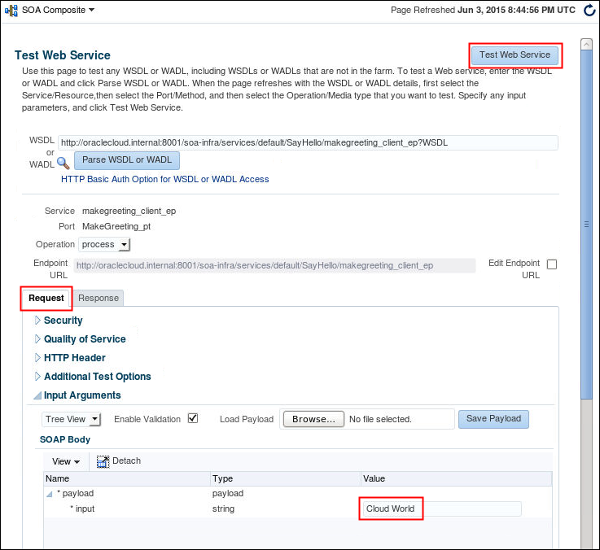
Description of this image -
Click the Response tab, and verify that the response displays your name.
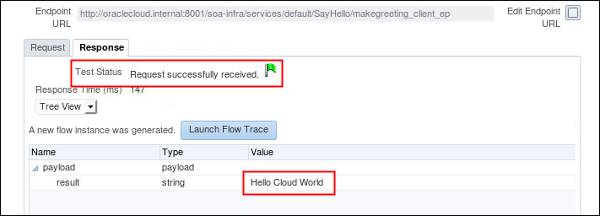
Description of this image
Monitoring a Composite Application in Oracle SOA Suite Cloud Service
-
In the Target Navigation pane from your Oracle SOA Suite Cloud Service, expand SOA, soa-infra, and default, and select SayHello [1.0]. In the right pane, click the Flow Instances tab.

Description of this image -
On the Flow Instances tab, click Recent Instances.
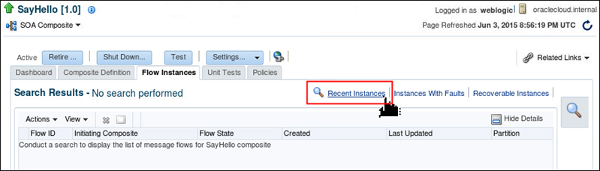
Description of this image -
On the Search Results table, click the number under the Flow ID column.
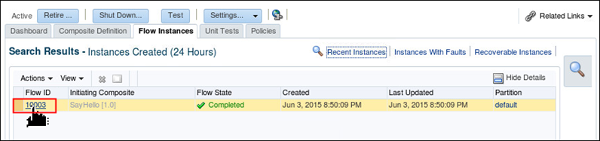
Description of this image The Flow Trace page appears.
-
On the Flow Trace page, click MakeGreeting.
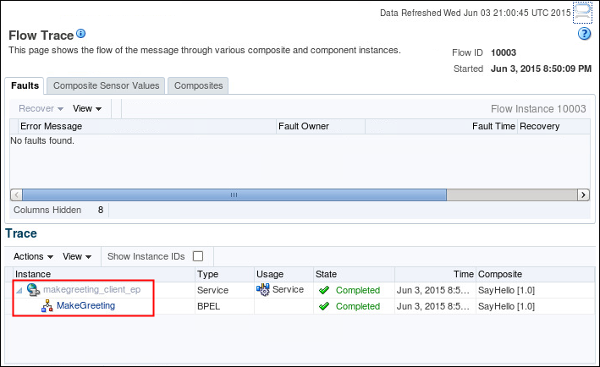
Description of this image -
On the Instance of MakeGreeting page, under replyOutput, click View Payload.
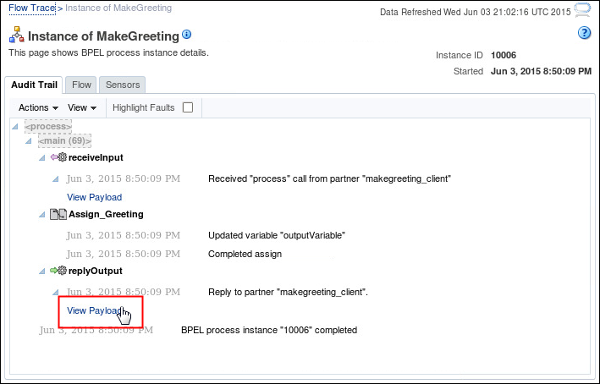
Description of this image The Payload for Activity: replyOutput dialog box appears.
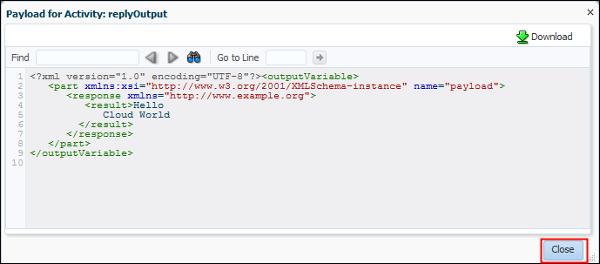
Description of this image Confirm that the payload message contains the same result displayed in this dialog box when you test your application.
Want to Learn More?
- Performing a Quick Start Installation of Oracle SOA Suite 12c
- Creating a SOA Composite Application with Oracle JDeveloper 12c
- For information about Oracle Cloud services, go to cloud.oracle.com.
Credits
-
Lead Curriculum Developer: Armando Hernandez
-
Other Contributors: Ron Pinkerton, Mary Peek