Before You Begin
Purpose
This tutorial shows you how to curate, publish and track your application programming interfaces (APIs) in Oracle API Manager Cloud Service.
Time to Complete
1.5 hours
Background
With Oracle API Manager Cloud Service, you can create and publish APIs that expose the functionality of back-end systems or other services:
- A proxy service that's exposed as an API
- A user interface to help consumers find and use the APIs
- Runtime facilities for validating API keys and monitoring API usage
Scenario
In this scenario, you start by creating the Oracle API Manager Cloud Service users and groups:
| User Name | Group | Role |
|---|---|---|
| curator | API Curator | API Curator |
| consumer | API Consumer | API Consumer |
| admin | API Admin | API Admin |
Next, you import an existing service bus project, which will provide the proxy services that you will publish to the Oracle API Manager Cloud Service Portal as an API. The curation process for the API includes adding metadata to help consumers to discover and understand the API and publishing the API to the Oracle API Manager Cloud Service Portal.
You use the API Manager Cloud Service Portal to:
- Create an application
- Discover APIs for the application to consume
- Subscribe applications to APIs
Using the application key supplied by Oracle API Manager Cloud Service, you test the API to ensure that the key works. Finally, you view the captured runtime metrics in Oracle API Manager Cloud Service.
What Do You Need?
- A subscription or trial subscription to Oracle API Manager Cloud Service
- Mozilla Firefox and its RESTClient plug-in
Managing Users and Groups
Creating Groups for API Manager Roles
-
Open Oracle SOA Cloud Service Console, select the service instance that you want to manage, and click Open Fusion Middleware Control Console to start the Oracle Enterprise Manager application.
-
On the Login page, enter
weblogicfor the user name and password, and click Login.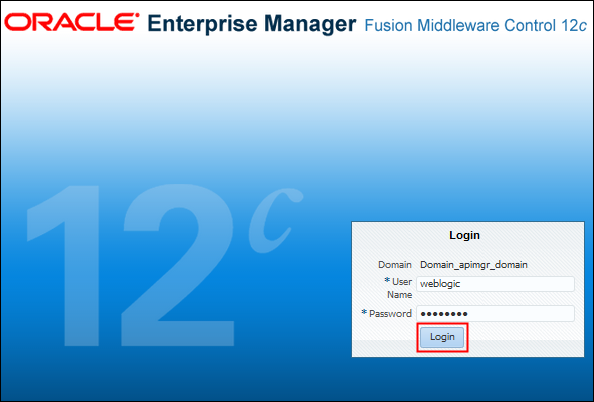
Description of this image -
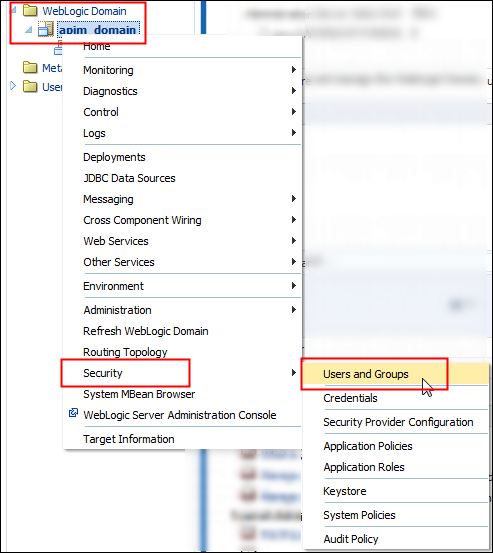
In the Target Navigation pane, expand WebLogic Domain, right-click the domain name, select Security, and then select Users and Groups.

Description of this image -
On the Users and Groups page, click the Groups tab, and then click Create.

Description of this image -
On the Create a New Group page, enter
API Adminin the Name field, enter a description in the Description field, select DefaultAuthenticator from the Provider list, and click Create.
Description of this image -
On the Users and Groups page, repeat steps 4 and 5 to create two more groups:
- API Consumer
- API Curator
After you create the groups, the Groups tab will look similar to the following list:
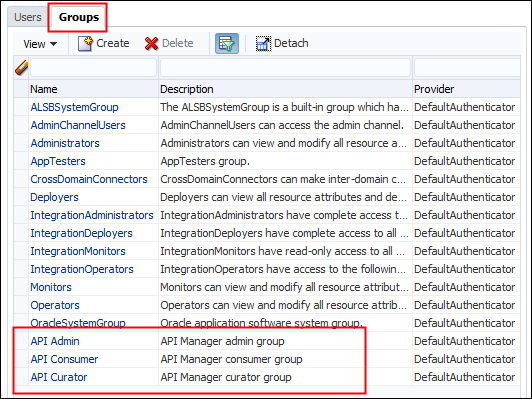
Description of this image
Assigning Application Roles to Groups
-
In the Target Navigation pane, expand WebLogic Domain, right-click the domain name, select Security, and then select Application Roles.
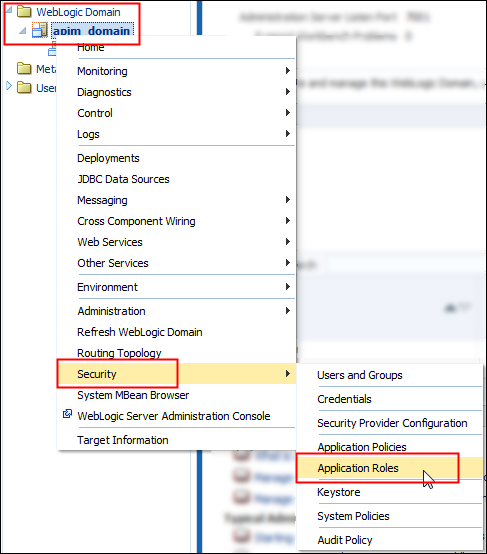
Description of this image -
On the Application Roles page, under the expanded Search section, select Service_Bus_Console from the Application Stripe list, and click Search Application Roles.
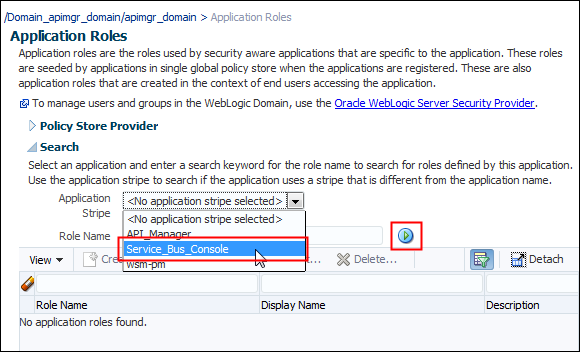
Description of this image -
On the Application Roles result page, scroll down, select APICurator, and click Edit.
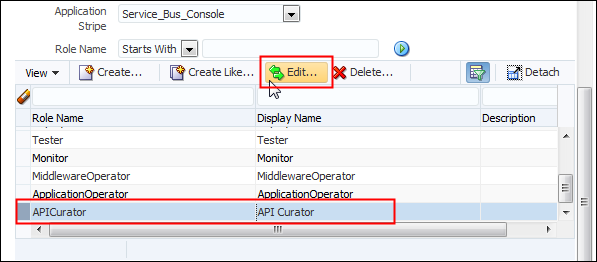
Description of this image -
On the Edit Application Role page for the API Curator role, click Add.
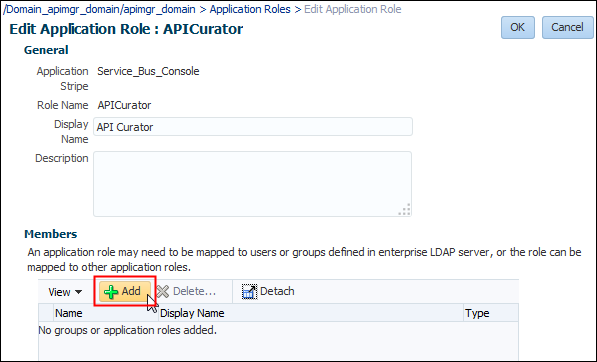
Description of this image -
On the Add Principal page, select Group from the Type list, and click Search roles.
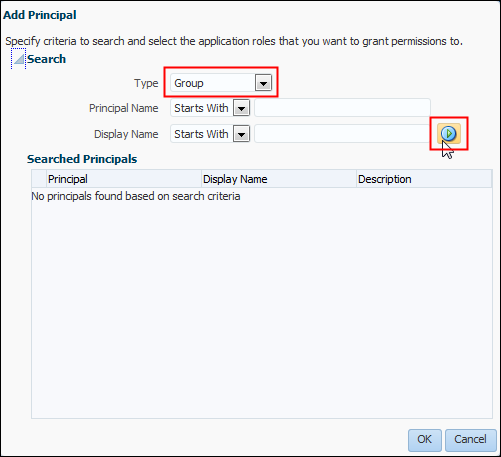
Description of this image -
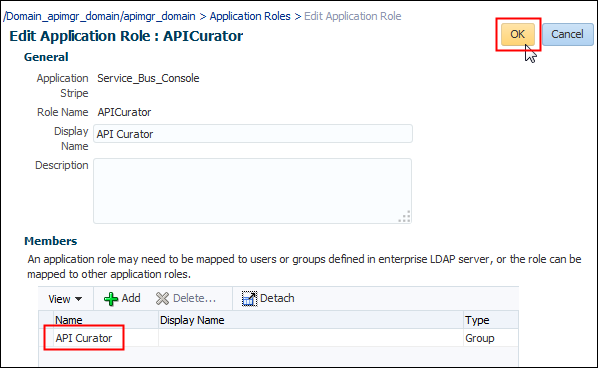
On the Add Principal result page, scroll down, select the API Curator role, and click OK.
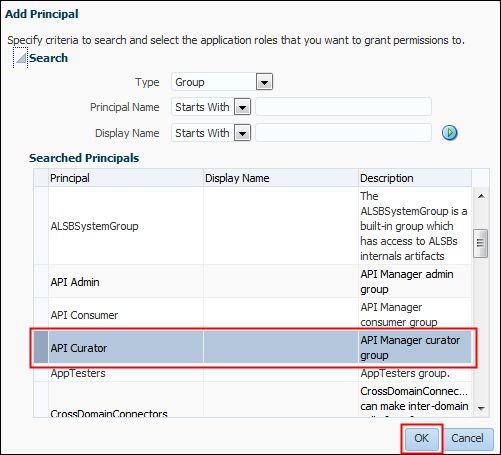
Description of this image -
On the Edit Application Role page, verify that the API Curator group is listed as a member, and click OK.
Description of this image -
On the Application Roles page, verify that the API Curator group contains a membership for the APICurator role.
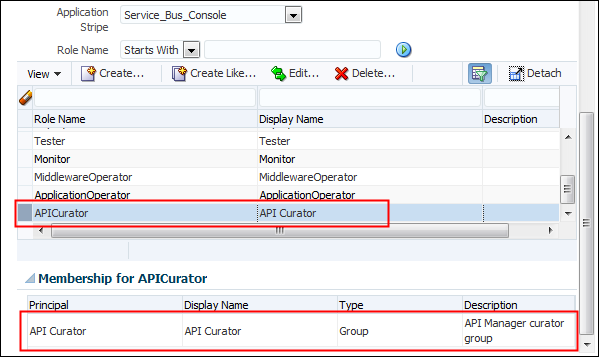
Description of this image -
On the Application Roles page, under the expanded Search section, select API_Manager from the Application Stripe list, and click Search Application Roles.
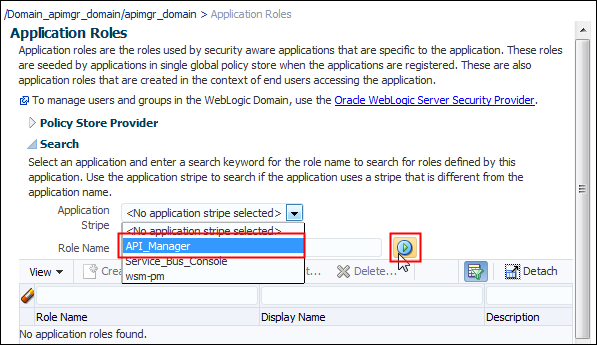
Description of this image -
On the Application Roles result page, scroll down, select APIConsumer, and click Edit.
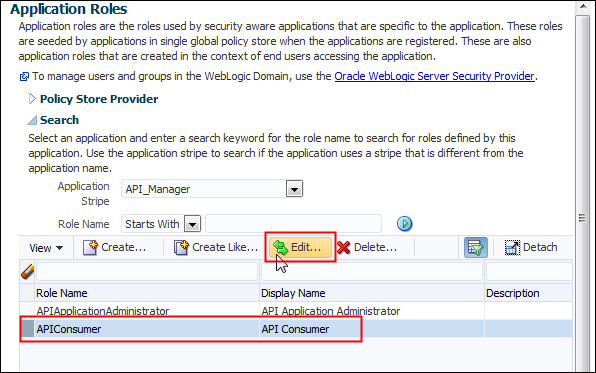
Description of this image -
On the Edit Application Role page for the API Consumer role, click Add.
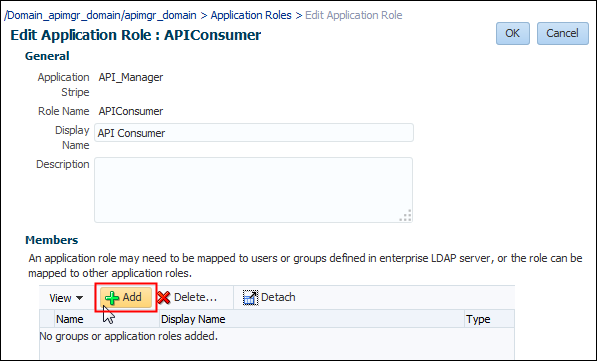
Description of this image -
On the Add Principal page, select Group from the Type list, and click Search roles.
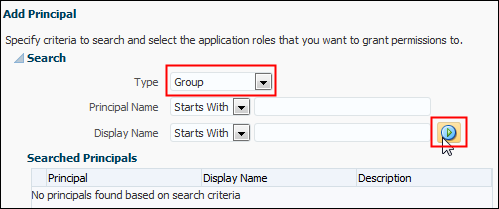
Description of this image -
On the Add Principal result page, scroll down, select the API Consumer role, and click OK.
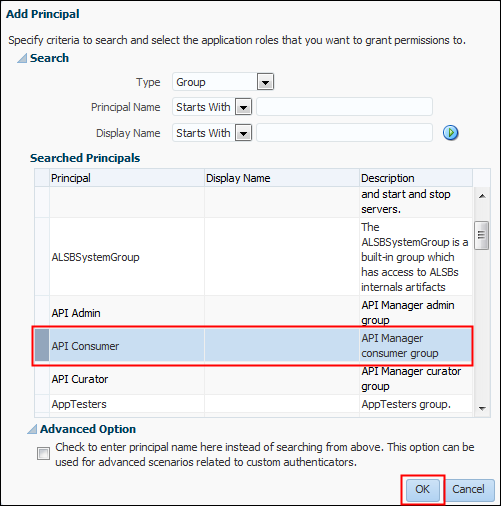
Description of this image -
On the Edit Application Role page, verify that the API Consumer group is listed as a member, and click OK.
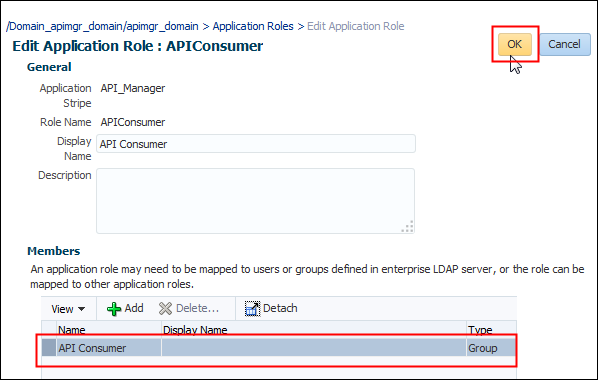
Description of this image -
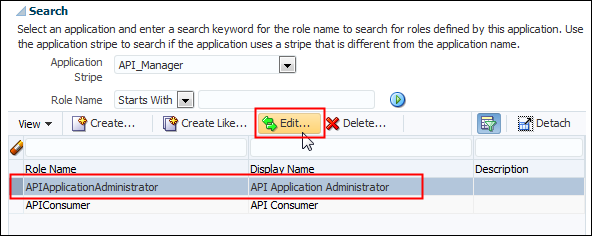
On the Application Roles result page, scroll down, select APIApplicationAdministrator, and click Edit.
Description of this image -
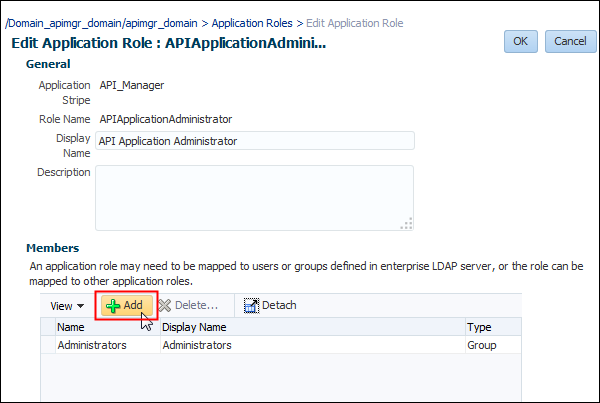
On the Edit Application Role page for the API Application Administrator role, click Add.
Description of this image -
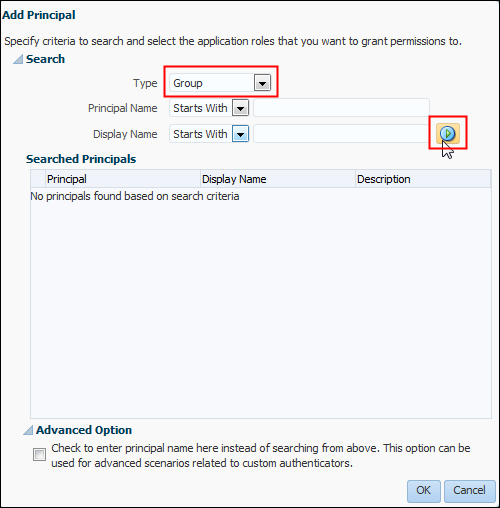
On the Add Principal page, select Group from the Type list, and click Search roles.
Description of this image -
On the Add Principal result page, scroll down, select the API Admin role, and click OK.

Description of this image -
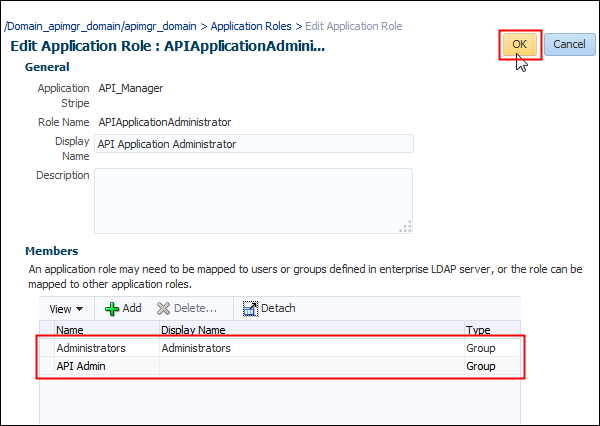
On the Edit Application Role page, verify that the API Admin group is listed as a member, and click OK.
Description of this image
Creating Oracle API Manager Cloud Service Users
-
In the Target Navigation pane, expand WebLogic Domain, right-click the domain name, select Security, and then select Users and Groups.
Description of this image -
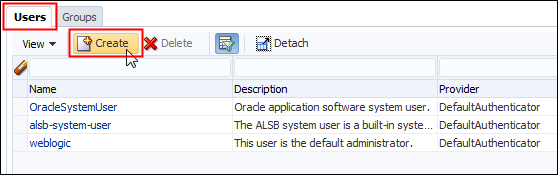
On the Users and Groups page, click the Users tab, and then click Create.
Description of this image -
On the Create a New User page, enter
curatorin the Name field, enter a description, select DefaultAuthenticator from the Provider list, enter and confirm your password, and then click Create.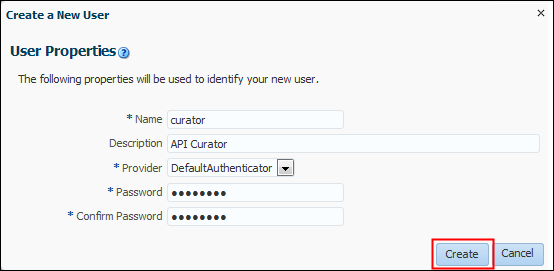
Description of this image -
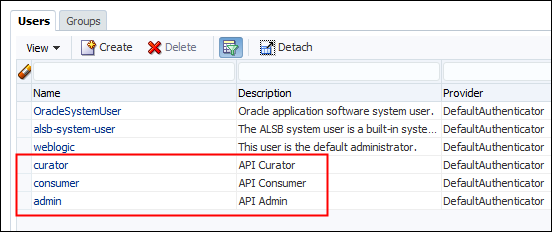
On the Users and Groups page, repeat steps 2 and 3 to create two more users:
- consumer
- admin
The Users tab will look similar to the following list:
Description of this image
Assigning Users to Groups
-
In the Target Navigation pane, expand WebLogic Domain, right-click the domain name, select Security, and then select Users and Groups.

Description of this image -
On the Users tab, select the curator user.
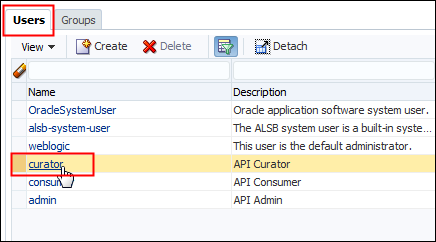
Description of this image -
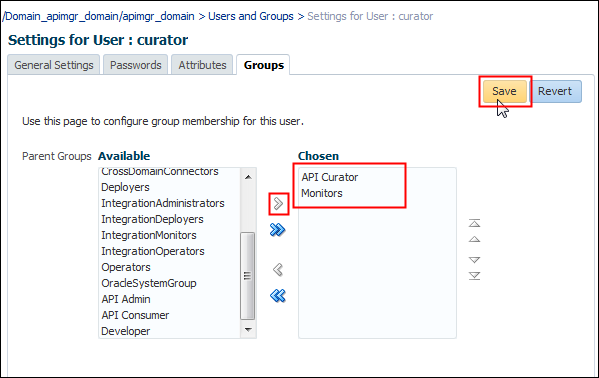
On the Settings for User: curator page, click the Groups tab.

Description of this image -
Select API Curator and Monitors from the Available list, click the right arrow to move the groups to the Chosen list, and click Save.
Description of this image -
Repeat steps 2, 3 and 4 for consumer and admin users.
The Settings for User: consumer page will look similar to the following:
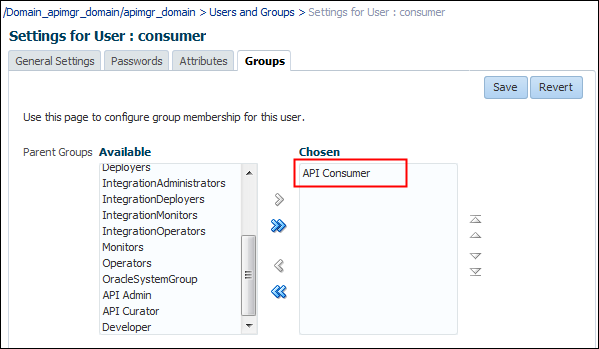
Description of this image The Settings for User: admin page will look similar to the following:
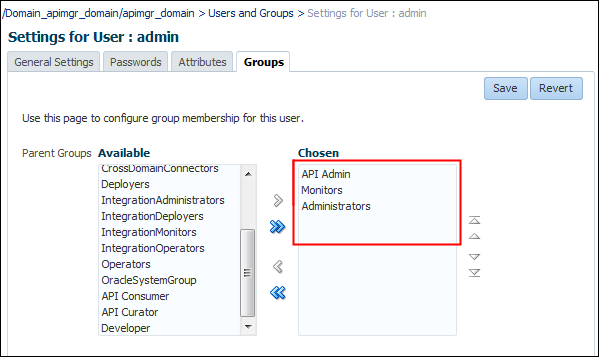
Description of this image
Importing Oracle Service Bus Resources
In this section you import the Oracle Service Bus projects from a JAR file, which contains the Currency_Services and Utilities project configurations.
-
Download the sbconfig.jar file into a local directory on your system. This file contains the Oracle Service Bus sample applications.
-
Open Oracle SOA Cloud Service Console, select the service instance that you want to manage, and click Service Bus Console to start the Service Bus Console application.
-
On the Login page, enter
weblogicin the User ID field, enter the password, and click Sign In.
Description of this image -
On the Service Bus Console page, click Create to create a session.
Description of this image -
On the Resources tab, click the Import Config Jar icon.
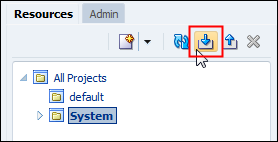
Description of this image -
On the Import Config Jar page, click Browse, find the
sbconfig.jarfile on your file system, and click Next.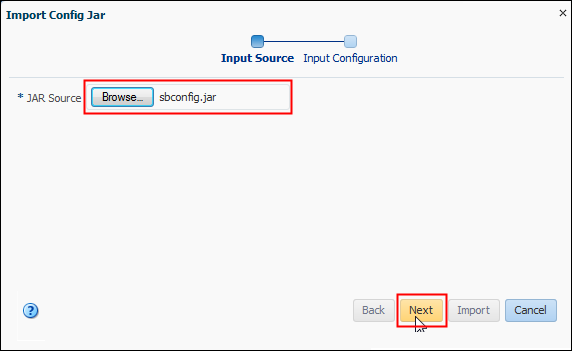
Description of this image -
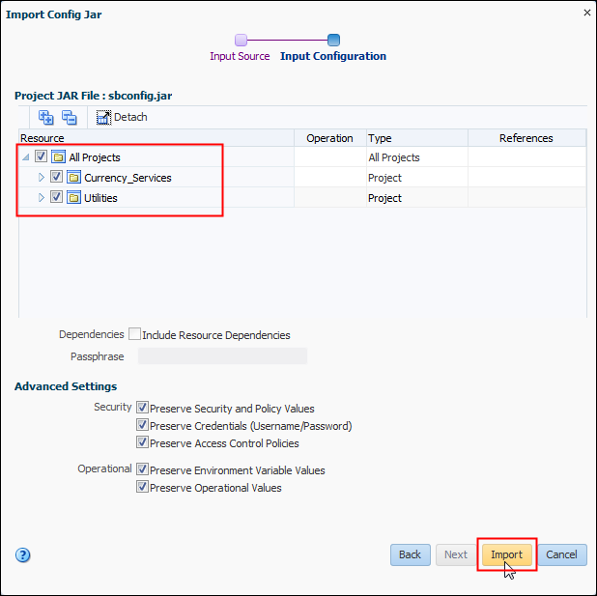
Verify that the Currency_Services and Utilities projects are selected, and click Import.
Description of this image -
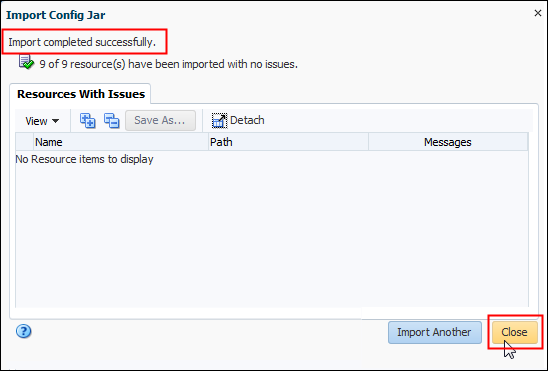
Verify that the import was completed successfully, and click Close.
Description of this image -
On the Service Bus Console page, click Activate.

Description of this image -
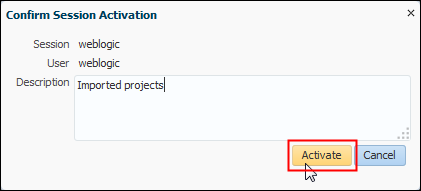
On the Confirm Session Activation page, enter a description and click Activate.
Description of this image
Publishing APIs from the Oracle Service Bus Console
After you've imported the sample project configurations to Oracle Service Bus, you publish the API to Oracle SOA Cloud Service so that consumers can subscribe to it.
-
Open Oracle SOA Cloud Service Console, select the service instance that you want to manage, and click Open Service Bus Console to start the Oracle Service Bus Console application.
-
On the Login page, enter
curatorin the User ID field, enter your password, and click Sign In.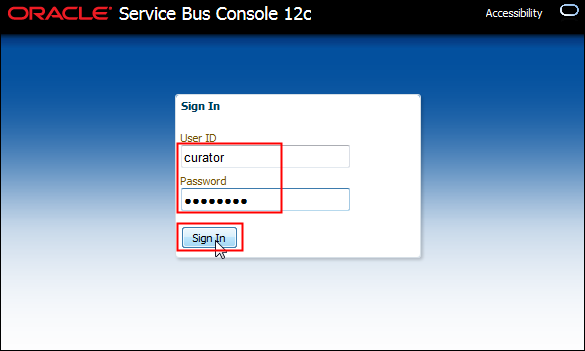
Description of this image -
On the Resources tab, expand the Currency_Services project, and click RestCurrencyRate.
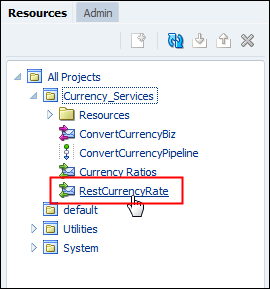
Description of this image -
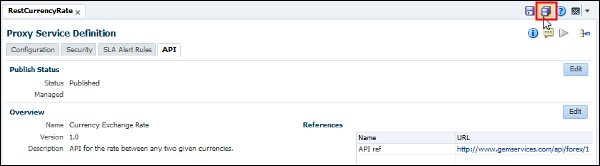
On the RestCurrencyRate page, click the API tab.
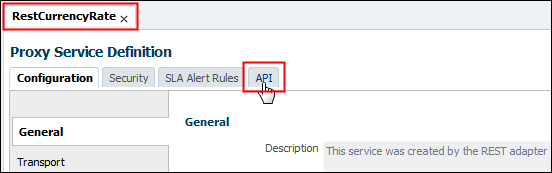
Description of this image -
Click Edit in the Overview section.
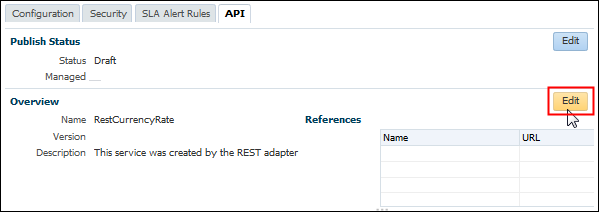
Description of this image -
Enter the following values, and click Save:
- Name:
Currency Exchange Rate - Version:
1.0 - Reference Name:
API ref - Reference URL:
http://www.gemservices.com/api/forex/1 - Tags:
cash, money
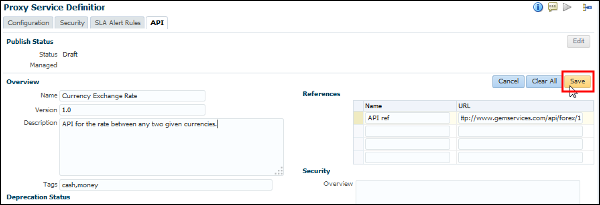
Description of this image - Name:
-
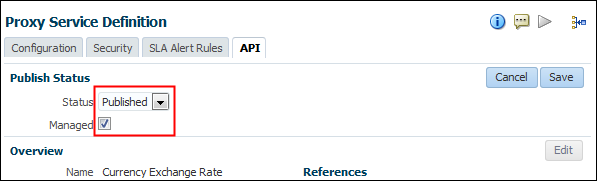
In the Publish Status section, click Edit, select Published from the Status list, select the Managed check box, and click Save.
Description of this image -
On the Service Bus Console page, click Save Changes in All Tabs.
Description of this image
Adding a Proxy Server to a Business Service
If your instance is behind a proxy, you need to create and add the Proxy Server to your project's business services.
-
Open Oracle SOA Cloud Service Console, select the service instance that you want to manage, and click Open Service Bus Console to start the Oracle Service Bus Console application.
-
On the Login page, enter
weblogicin the User ID field, enter your password, and click Sign In.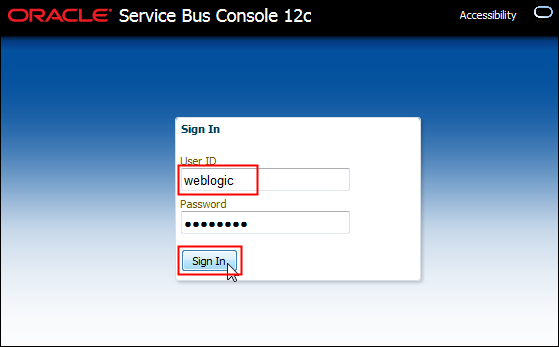
Description of this image -
On the Service Bus Console page, click Create to create a session.
Description of this image -
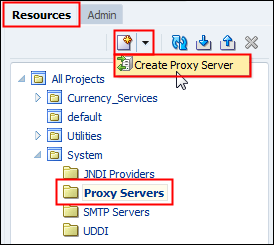
On the Resources tab, expand the System directory and select Proxy Servers. Click Create and select Create Proxy Server.
Description of this image -
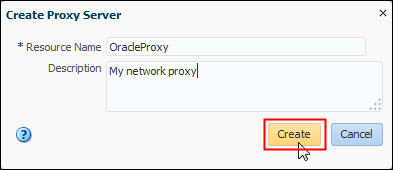
On the Create Proxy Server page, enter a resource name and a description, and click Create.
Description of this image -
On the Proxy Server Definition page, enter your server host, port number, and login credentials, and click Save.

Description of this image -
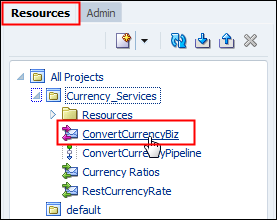
On the Resources tab, expand the Currency_Services directory, and select ConvertCurrencyBiz.
Description of this image -
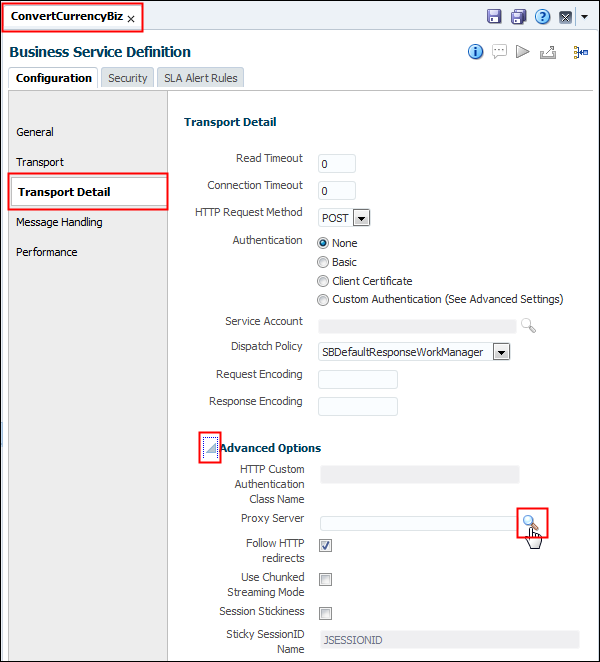
On the ConvertCurrencyBiz page, click the Transport Detail tab, expand Advanced Options, and click Browse next to the Proxy Server field.
Description of this image -
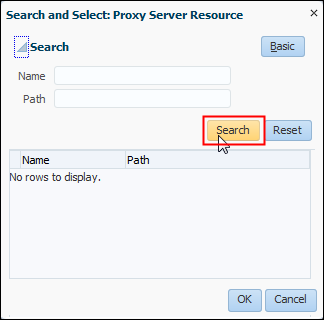
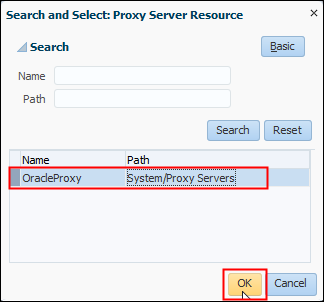
On the Search and Select: Proxy Server Resource page, click Search.
Description of this image -
Select the proxy server that you created, and click OK.
Description of this image -
On the Service Bus Console page, click Save Changes in All Tabs.

Description of this image -
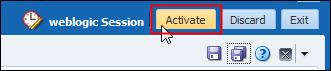
On the Service Bus Console page, click Activate.
Description of this image -
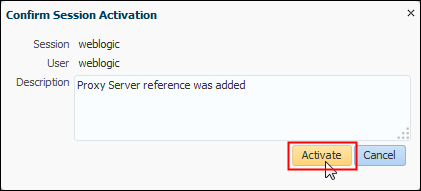
On the Confirm Session Activation page, enter a description and click Activate.
Description of this image
Managing Applications in the Oracle API Manager Cloud Service Portal
After you've imported the Currency Exchange project into the Oracle Service Bus Console in Oracle SOA Cloud Service, you manage the applications in the Oracle API Manager Cloud Service Portal.
-
Open Oracle SOA Cloud Service Console, select the service instance that you want to manage, and click Open API Manager to start the Oracle API Manager application.
-
On the Login page, enter
consumerin the User ID field, enter your password, and click Sign In.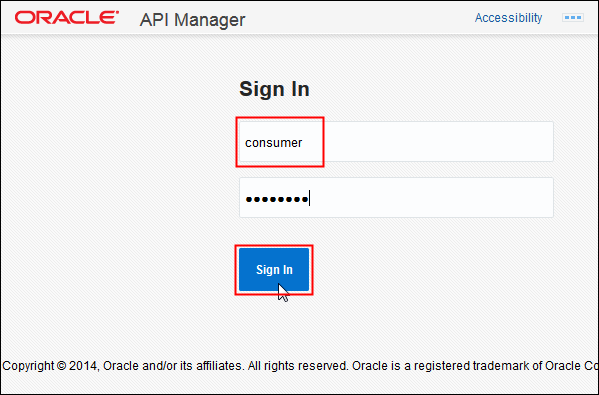
Description of this image -
On the Oracle API Manager page, click Subscriptions.
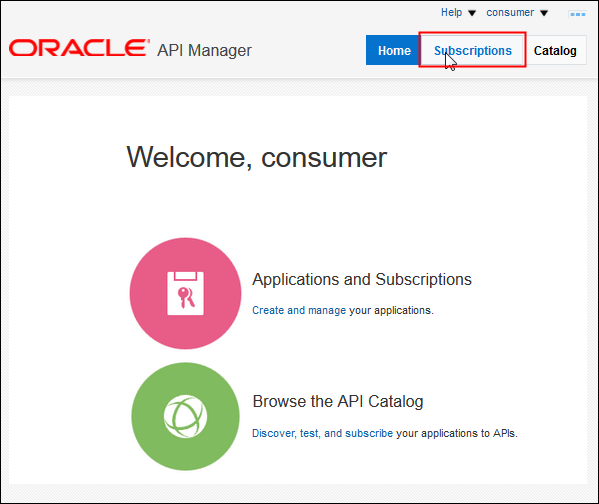
Description of this image -
In the APIs section, click New Application.
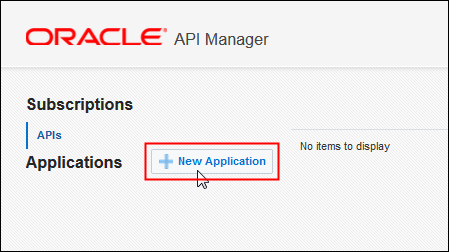
Description of this image -
In the New Application dialog box, enter
Currency Exchangein the Name field, enter a meaningful description in the Description field, and click Create.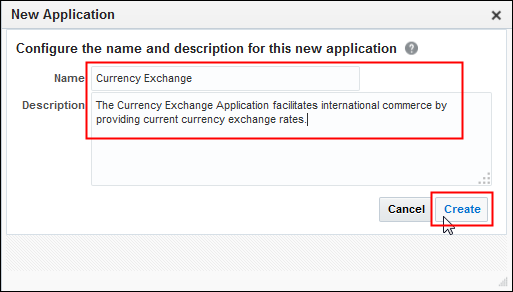
Description of this image The Currency Exchange application generates a key:
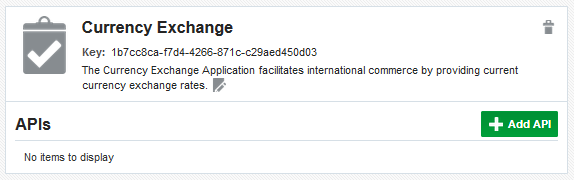
Description of this image
Discovering and Subscribing to APIs in the Oracle API Manager Cloud Service Portal
After you've created your application in the Oracle API Manager Cloud Service Portal, you discover and subscribe to APIs.
-
Open Oracle SOA Cloud Service Console, select the service instance that you want to manage, and click Open API Manager to start the Oracle API Manager application.
-
On the Login page, enter
consumerin the User ID field, enter your password, and click Sign In.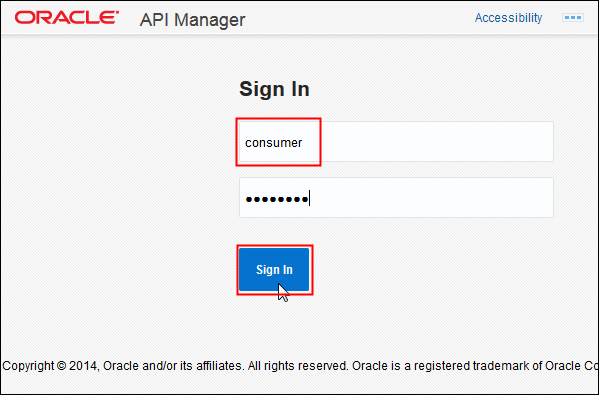
Description of this image -
On the Oracle API Manager page, click Catalog.
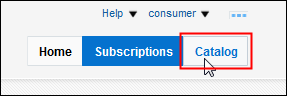
Description of this image -
On the Currency Exchange Rate 1.0 API page, click Details.
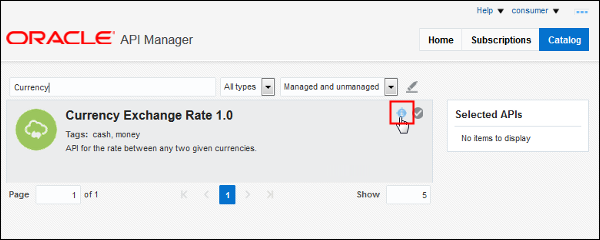
Description of this image The details page for the Currency Exchange API displays its statistics and the public URL that's used in the Firefox RESTClient to test the API.
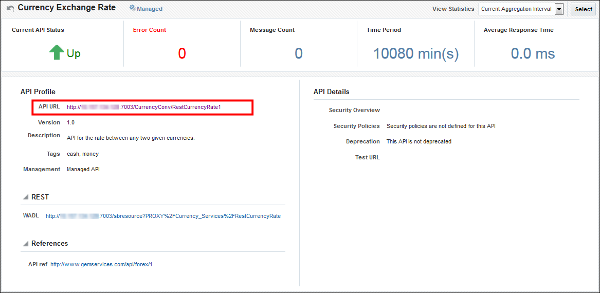
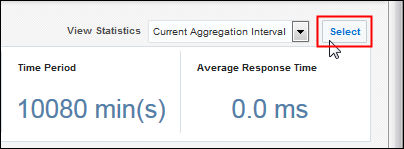
Description of this image -
On the Currency Exchange Rate 1.0 API details page, click Select.
Description of this image -
In the Selected APIs section, click Subscribe.
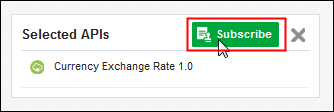
Description of this image -
On the application result page, select the Currency Exchange application, and click Select.
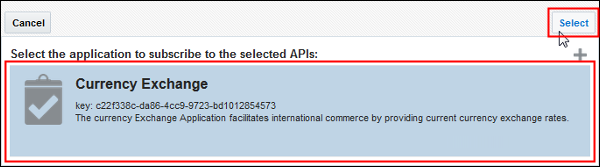
Description of this image -
In the Subscription result dialog box, click Go to Subscriptions.
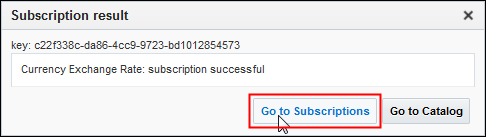
Description of this image The Currency Exchange application appears in the Applications section with the API subscription.
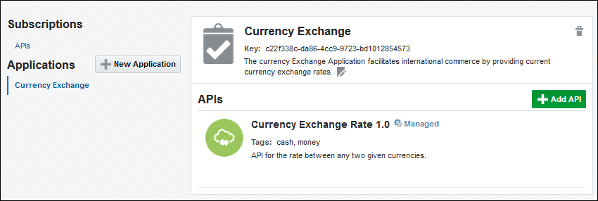
Description of this image
Accessing APIs at Runtime
In this section, you use a REST client for Mozilla Firefox.
-
In the Mozilla Firefox browser, click the RESTClient plug-in to open the client application.
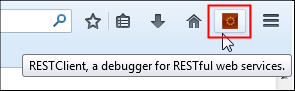
Description of this image -
On the RESTClient page, enter the URL of your Currency Exchange application, add
USD/CADat the end of the URL, and click Send.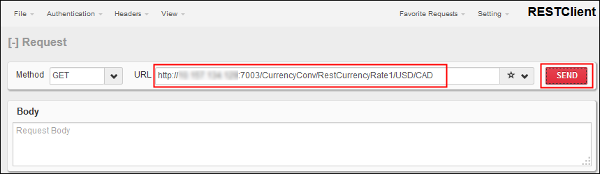
Description of this image Note:
USD/CADrepresents the required parameters for the Currency Exchange API. The API URL is taken from the Currency Exchange details page. -
On the Response page, verify that the status code is 403 Forbidden.
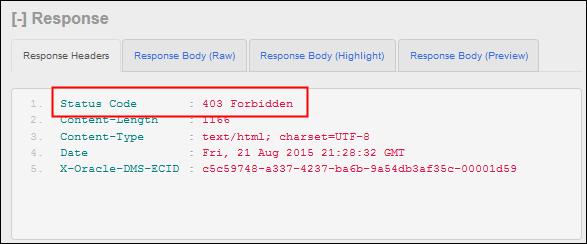
Description of this image The 403 Forbidden status code is returned because the API key wasn't included in the request.
-
On the RESTClient page, click Headers, and select Custom Header.
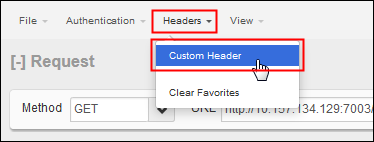
Description of this image -
In the Request Header dialog box, enter
X-API-KEYin the Name field, enter the generated key in the Value field, and click Okay.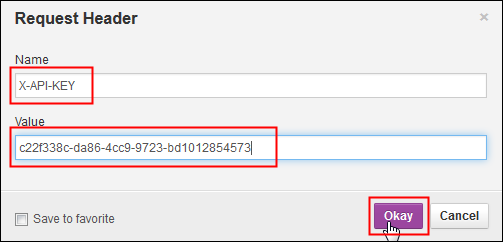
Description of this image -
On the RESTClient page, verify that the API key was added to the Headers pane, and click Send.
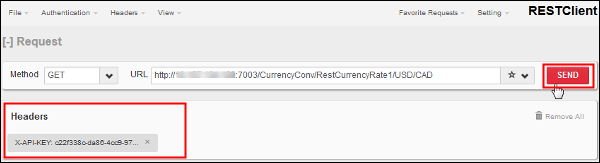
Description of this image -
On the Response page, click the Response Body (Raw) tab, and verify that the conversion rate result was returned.
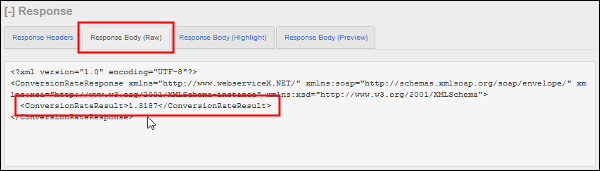
Description of this image
Tracking API Usage
After you've tested your API with the RESTClient plug-in, some activity is generated for the Currency Exchange Rate API and the statistics have changed.
-
Open Oracle SOA Cloud Service Console, select the service instance that you want to manage, and click Open API Manager to start the Oracle API Manager application.
-
On the Login page, enter
adminin the User ID field, enter your password, and click Sign In.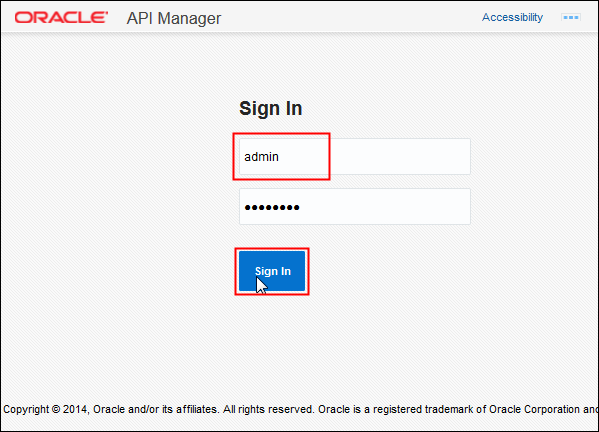
Description of this image -
On the Oracle API Manager page, click Catalog.
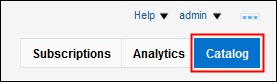
Description of this image -
On the Currency Exchange Rate 1.0 application page, click Details.
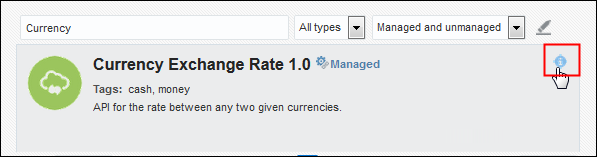
Description of this image -
On the Currency Exchange Rate 1.0 API details page, select Since Last Reset from the View Statistics list.
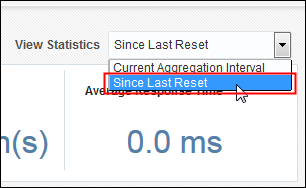
Description of this image The statistics are displayed. Your metrics may be different, depending on the tests you performed in the RESTClient plug-in.
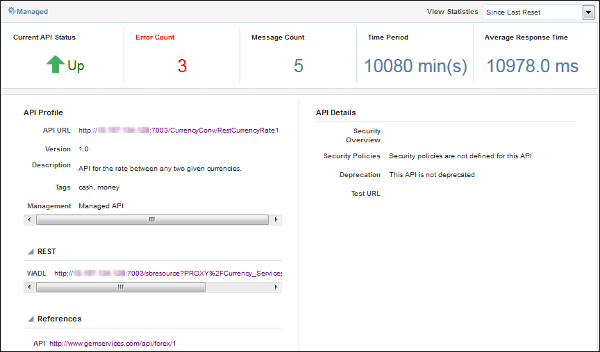
Description of this image -
On the Oracle API Manager page, click Subscriptions to review the existing users' subscription.
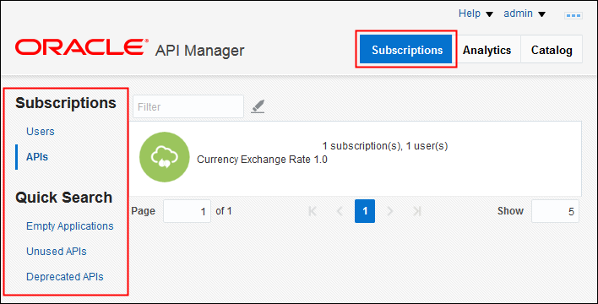
Description of this image Note: The Quick Search section classifies the APIs by their usage.
Want to Learn More?
-
Using Oracle API Manager in the Oracle Help Center