 Getting
Started with ODP.NET Core
Getting
Started with ODP.NET Core  Before You Begin
This 15-minute tutorial shows you how to create a basic .NET Core web application that retrieves data from the Oracle database with Oracle Data Provider for .NET (ODP.NET) Core.
Background
ODP.NET Core is an ADO.NET driver that provides fast data access from Microsoft .NET Core clients to Oracle databases. It runs on both Windows and Linux. ODP.NET consists of a single 100% managed code dynamic-link library, Oracle.ManagedDataAccess.dll, available via NuGet deployment.
In this tutorial, you will learn how to create an ASP.NET Core web application, download ODP.NET Core from nuget.org, configure ODP.NET using the OracleConfiguration class, and connect to the Oracle database.
What Do You Need?
Before starting this tutorial, you should:
- Install Microsoft Visual Studio 2017 or later.
- Install Oracle Database 12c or later.
- Download the source_files.zip file.
 Create
ASP.NET Core Web Project in Visual Studio
Create
ASP.NET Core Web Project in Visual Studio
- Open Visual Studio. Click 'File'.
Select New>Project.

Description of the illustration [filename] - Select Visual C#>.NET
Core> ASP.NET Core Web Application. Rename the Web
Application as First_Web_Application
and click OK.

Description of the illustration [filename] - Select Empty
Project template and click OK.

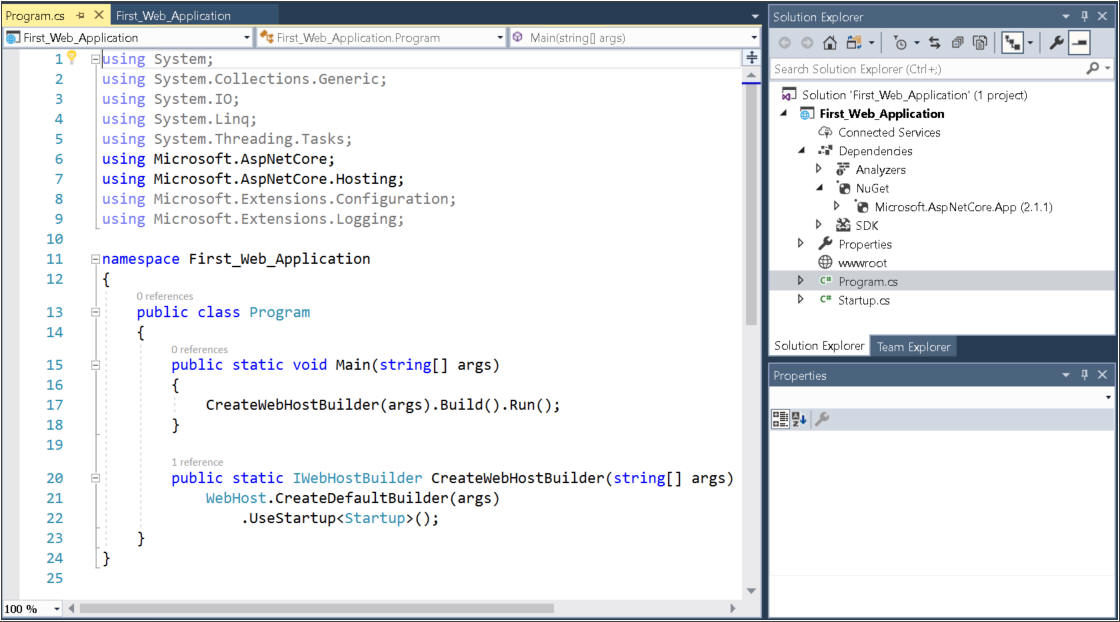
Description of the illustration [filename] - First_Web_Application
is created, you can explore the structure of the project in
the Solution Explorer.
Description of the illustration [filename]
 Download
ODP.NET Core from Nuget.org
Download
ODP.NET Core from Nuget.org
In this section, you will download the ODP.NET Core NuGet package into the application.
- Right Click on Dependencies
in the Solution Explorer
and Select Manage NuGet
packages.

Description of the illustration [filename] - Select Browse and
search for Oracle.ManagedDataAccess.Core.

Description of the illustration [filename] - Select Oracle.ManagedDataAccess.Core and
Click Install.

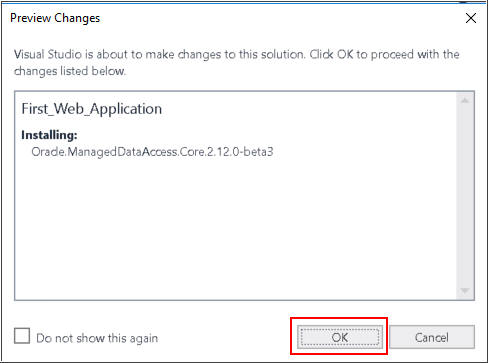
Description of the illustration [filename] - Click OK to start
the installation.
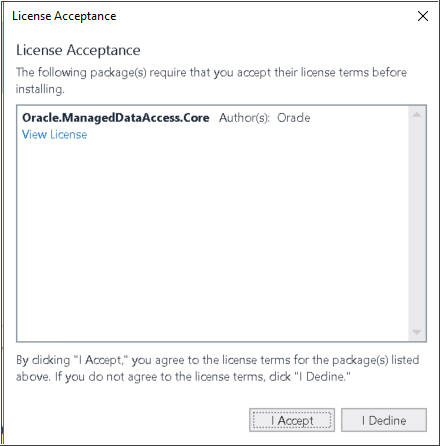
Description of the illustration [filename] - Accept the license.
Description of the illustration [filename] - You can see the installed package in the Solution Explorer.

Description of the illustration [filename]
 Add ODP.NET Core Namespace and Code
In this section, we will configure the ODP.NET Core namespace and set up the data access code.
- Open the Startup_cs.txt file in source_files.zip. You will replace the app.Run function definition in the application's startup.cs with this code. To copy, highlight all the text in the file and type Ctrl-C.
- Open startup.cs in
your Visual Studio ASP.NET Core project. Add a reference to Oracle.ManagedDataAccess.Client
namespace near the top of the file.

Description of the illustration [filename] - Highlight the App.Run code segment in the Configure
method in web application's startup.cs
file.

Description of the illustration [filename] - Replace the app.Run
code segment with the copied code by highlighting the current
app.Run section, then
typing Ctrl-V to paste. This code retrieves all the
first names of employees in department 50 and outputs them to
the web page.

Description of the illustration [filename] 
Description of the illustration [filename]
 Use
Easy Connect to Setup Database Connection
Use
Easy Connect to Setup Database Connection
Easy Connect provides a simple way to connect to an Oracle database without any configuration.
- Update the User Id and Password with the
database user credentials. Populate the Data Source
attribute using the Easy Connect format that corresponds to
your database: <hostname or IP address>:<listener
port>/<database service name>. For example,
Hostname = localhost
Port = 1521
Service name = orcl
Description of the illustration [filename]
 Run
the Web Application
Run
the Web Application
- You have completed all the steps needed for a basic ODP.NET
web application. Run the web application by clicking on the
green triangle on the menu bar.

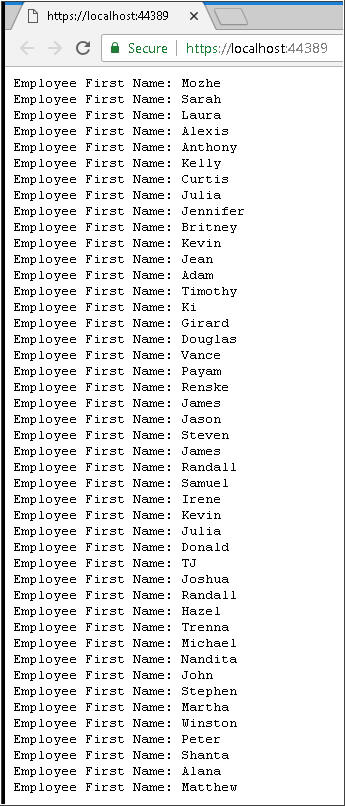
Description of the illustration [filename] - The output is all the first names of employees in department
50.
Description of the illustration [filename]
 Add Configuration API Settings
In this section, you will learn about how to use ODP.NET Configuration API to configure ODP.NET programmatically.
- Open the config-api.txt file in source_files.zip.
You will insert this code that programmatically configures
ODP.NET Core. To copy, highlight all the text in the file and
type Ctrl-C.

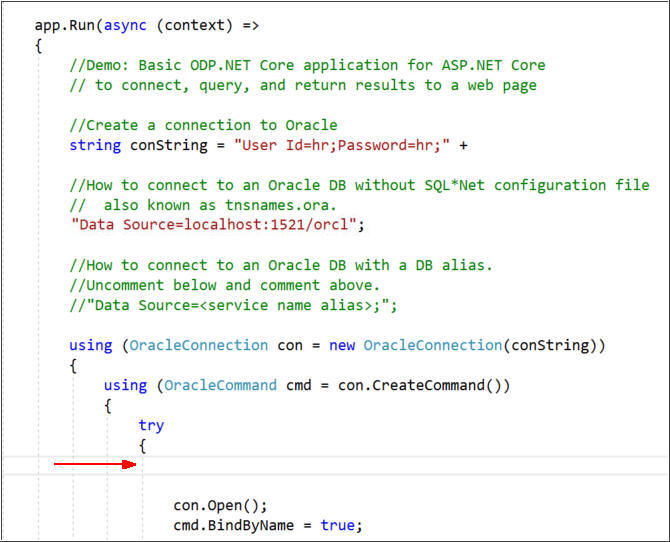
Description of the illustration [filename] - Paste (Ctrl-V) the code at the beginning of the try
block in startup.cs
file. These Configuration API settings must be set before the
ODP.NET connection is opened. Review the ODP.NET Configuration
API settings. You see how different ODP.NET settings are
modified, including adding net service names and connect
descriptors.
Description of the illustration [filename]
 Use Configuration API Connection Settings
In this section, we will modify the connection information to switch from using Easy Connect to a net service name defined in the Configuration API.
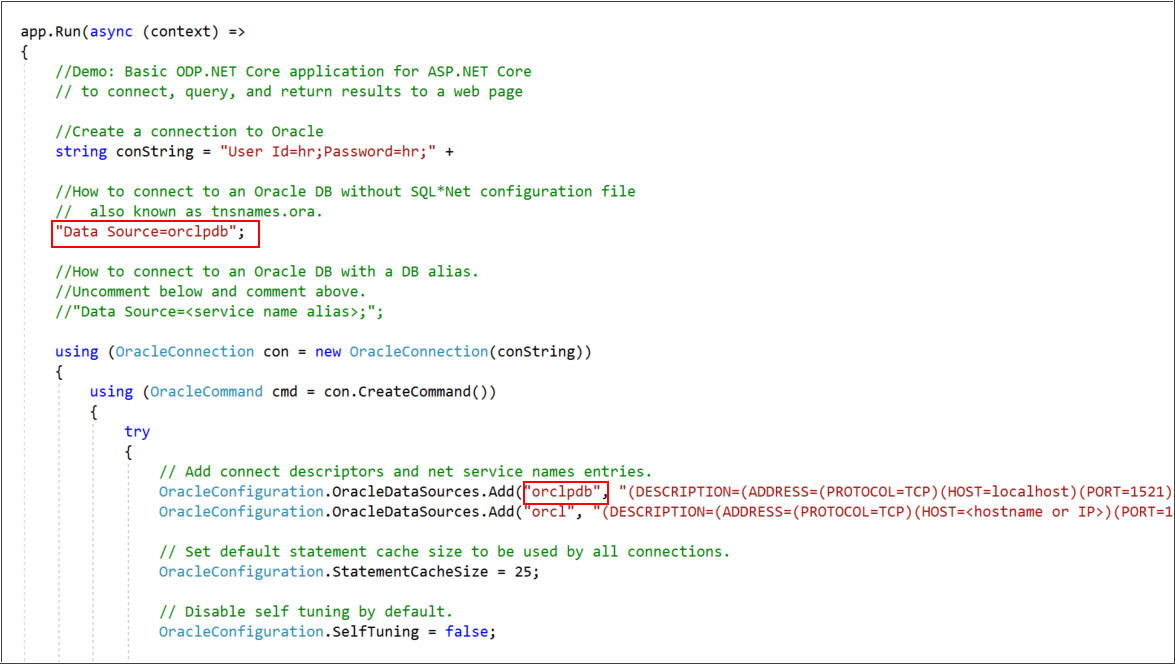
- Modify the connection string Data Source by
replacing the Easy Connect information with orclpdb.
- The first line of Configuration API code added configures
the orclpdb net service name. Modify the connect
descriptor information on that line by modifying the HOST,
PORT, and SERVICE_NAME entries that correspond
to your database.
Description of the illustration [filename]
 Run
the Web Application
Run
the Web Application
You have completed all the steps to configure the database connection using Configuration API.
- Execute the web application.

Description of the illustration [filename] - You can see the database output on the web page.
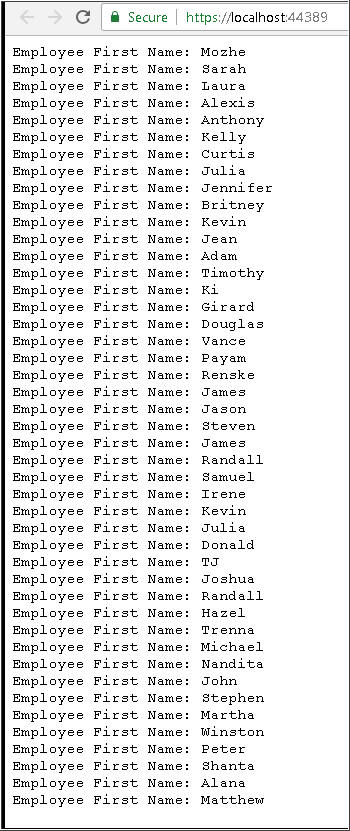
Description of the illustration [filename]