Before You Begin
Purpose
In this tutorial, you learn how to containerize and grant access to the various intranet documents and network file repositories such as SharePoint and file share to the mobile users from within the secure container workspace.
overview
In computing, a shared resource, or network share, is a computer resource made available from one host to other hosts on a computer network. SharePoint is a web application framework. SharePoint integrates intranet, content management and document management. Web Distributed Authoring and Versioning (WebDAV) is an extension of the HTTP that facilitates collaboration between users in editing and managing documents and files stored on World Wide Web servers.
File Manager is a client within Secure Workspace which allows user to access Shared folder / files. SharePoint is a server hosting File(s) / Folder(s). File Manager client connects to the SharePoint for File(s) / Folder(s) access.
The policies, permissions and privileges of the users to the network file shares are still maintained by those repositories such as SharePoint. However the mobile users can continue to access and be productive on their mobile devices, as much as they are, on their desktop environments.
Time to
Approximately 1 hourPre-requisites
- Workspace Registered using KINIT JSON URL.
- Active Directory infrastructure with SharePoint and File Share support
- In our case, MS SharePoint 2010
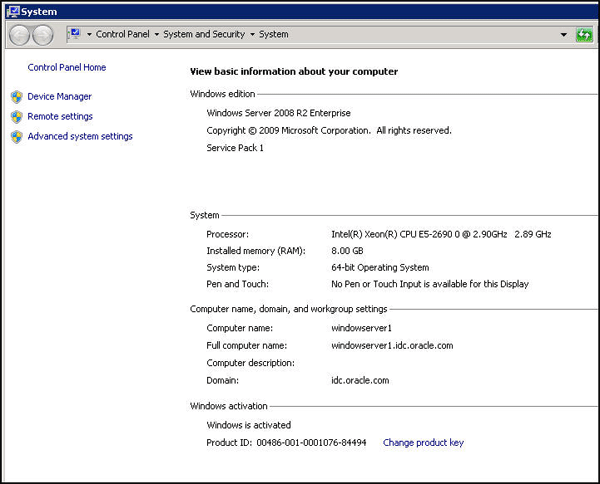
Note: This OBE uses a windows machineiamserver2.idc.oracle.com, where MS SharePoint 2010 is installed and configured. SharePoint is running on a different machine than the one where the Active Directory domain controller is installed and configured (which in our environment iswindowserver1.idc.oracle.com). However it is important that the SharePoint machine must be on the same domain as the Active Directory domain (idc.oracle.com).
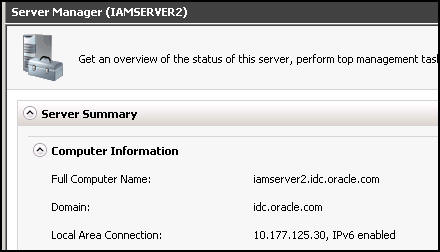
Observe that the AD domain is idc.oracle.com
on windowserver1.idc.oracle.com
and iamserver2 machine
is a member of the idc.oracle.com domain.

Observe the AD machine where the domain controller is running.
Before starting this tutorial, you should
complete the following OBE:
Sharing Folders and Files for User Access
Creating Shared Folder in Windows
-
Navigate to the Windows machine
iamserver2.idc.oracle.com. Open Windows Explorer and create a new folder or use an
existing folder that you want to share.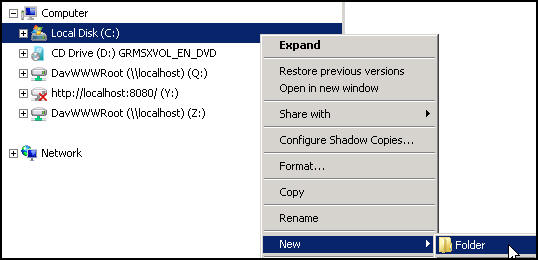
-
Create a new folder on your C drive named
share. Create a text file namedHellowith some dummy text such asHello World.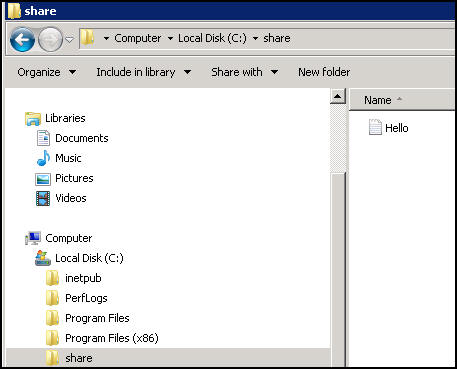
-
Right-click
sharefolder and selectProperties. FromSharing, clickShare.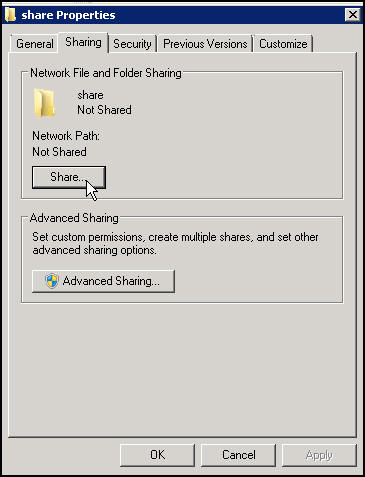
-
On the
File Sharingwindow, SelectFind Peoplefrom the drop down list. Add the groupfinance(which is automatically discovered as this windows machine is part of the AD domainidc.oracle.comwhere the users/groups are defined). ClickOK.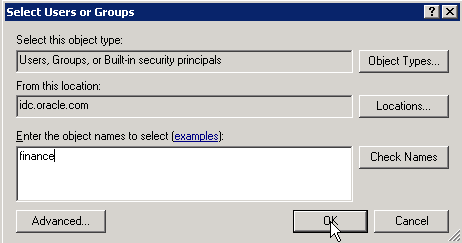
-
All the users who are members of
financegroup, should be able to access the share folder on the C drive. Change the permissions toRead and Writei.e, all user who are members of thefinancegroup will be able to read and update or write content in this directory location. ClickShare.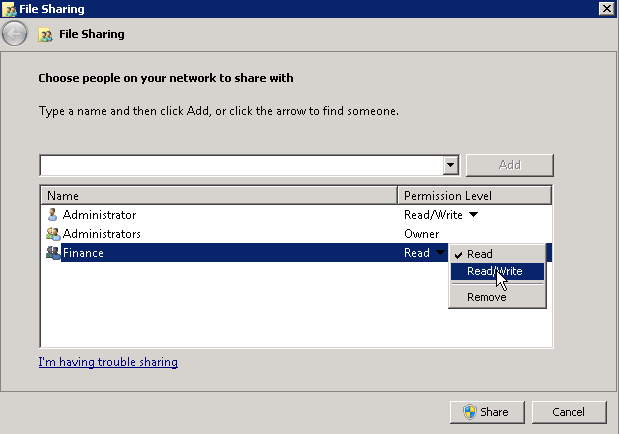
Click
Done.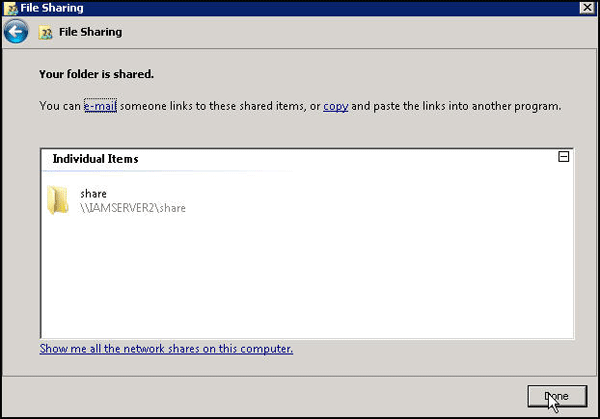
Click
Close.
Observe that the network path and the share folder is now shared.
Create Shared Drive Using SharePoint
-
On the SharePoint machine,
iamserver2.idc.oracle.com, verify if SharePoint 2010 is installed and configured
correctly. From the browser, Navigate tohttp://<hostname>/default.aspx. When prompted, enter the SharePoint
administrator's username and password.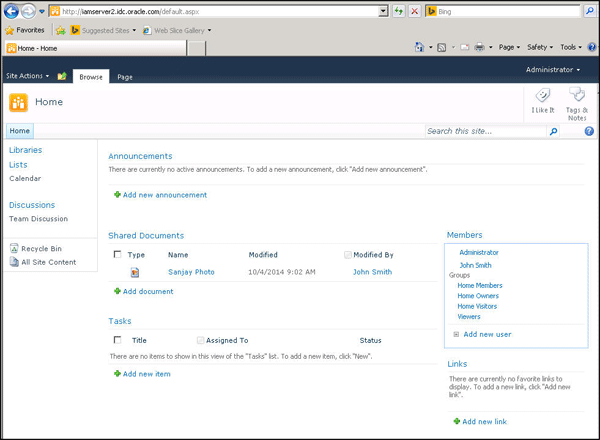
-
You can centrally administer SharePoint using SharePoint 2010 Central Administrator tool or configure it using the
SharePoint 2010 Products Configuration Wizard.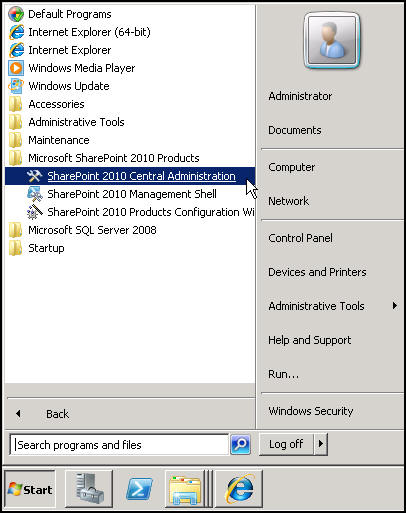
-
On the windows machine, Right-Click
Computernode within Windows Explorer. SelectMap network drive.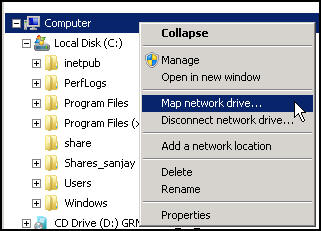
-
On
Map Network Drive, Select a Drive sayZ:Specify folder as\\iamserver2.idc.oracle.com\
This will display all the folders under the root SharePoint site. You are logged in as administrator. Every employee
who wants to access their documents shared on a network drive, should login with their own credentials.
SelectConnect using different credentials. ClickFinish.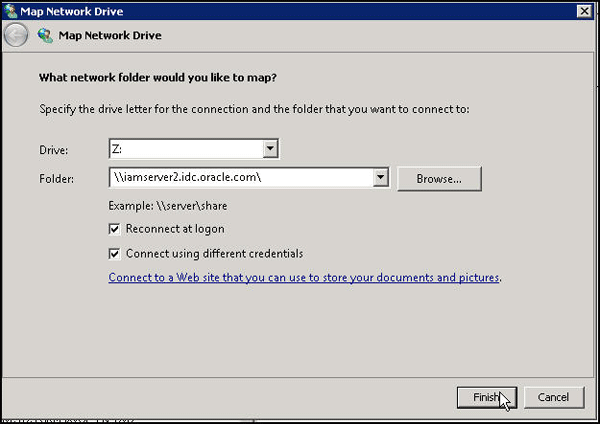
-
When prompted to enter credentials ,Specify the credentials for
vishalp@idc.oracle.com. SelectRemember my credentials
and ClickOK.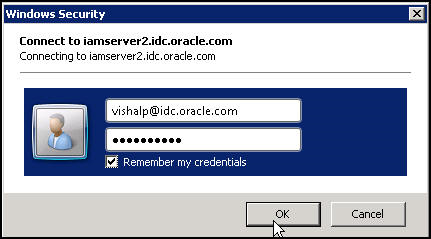
-
Observe the WebDav drive
Zand all the folders under the root site, which the uservishalphas access to in the Shared repository.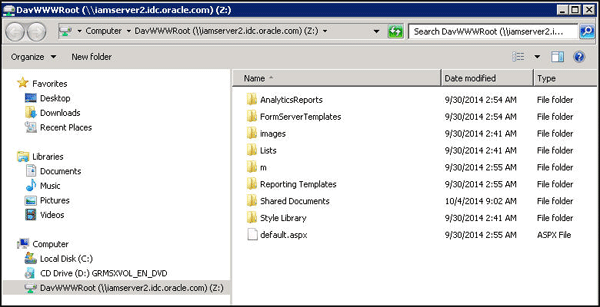
You have now completed creating a shared folder in the windows machine and also shared a drive using SharePoint.
Configuring File Manager in Access Console
-
Login to access console (
http://<hostname>:7777/accessasoamadmin@idc.oracle.com/Oracle123). Click onMobile SecurityTab. SelectMobile Security PoliciesfromMobile Security Manageroption. Click on existing Policy“MDM MAM Policy”. Click onWorkspacetab to edit Workspace policy in the File Manager Section.
- Select
Allowto enableFile Manger. EditFile Manager server based URLunderApplication Settingswithhttp(s)://msmserverhost:msmserverport/mfm. ClickApplyto save the policy

Verify Secure Access to the Network File Shares
Manually Accessing New Shared Folders and Files
-
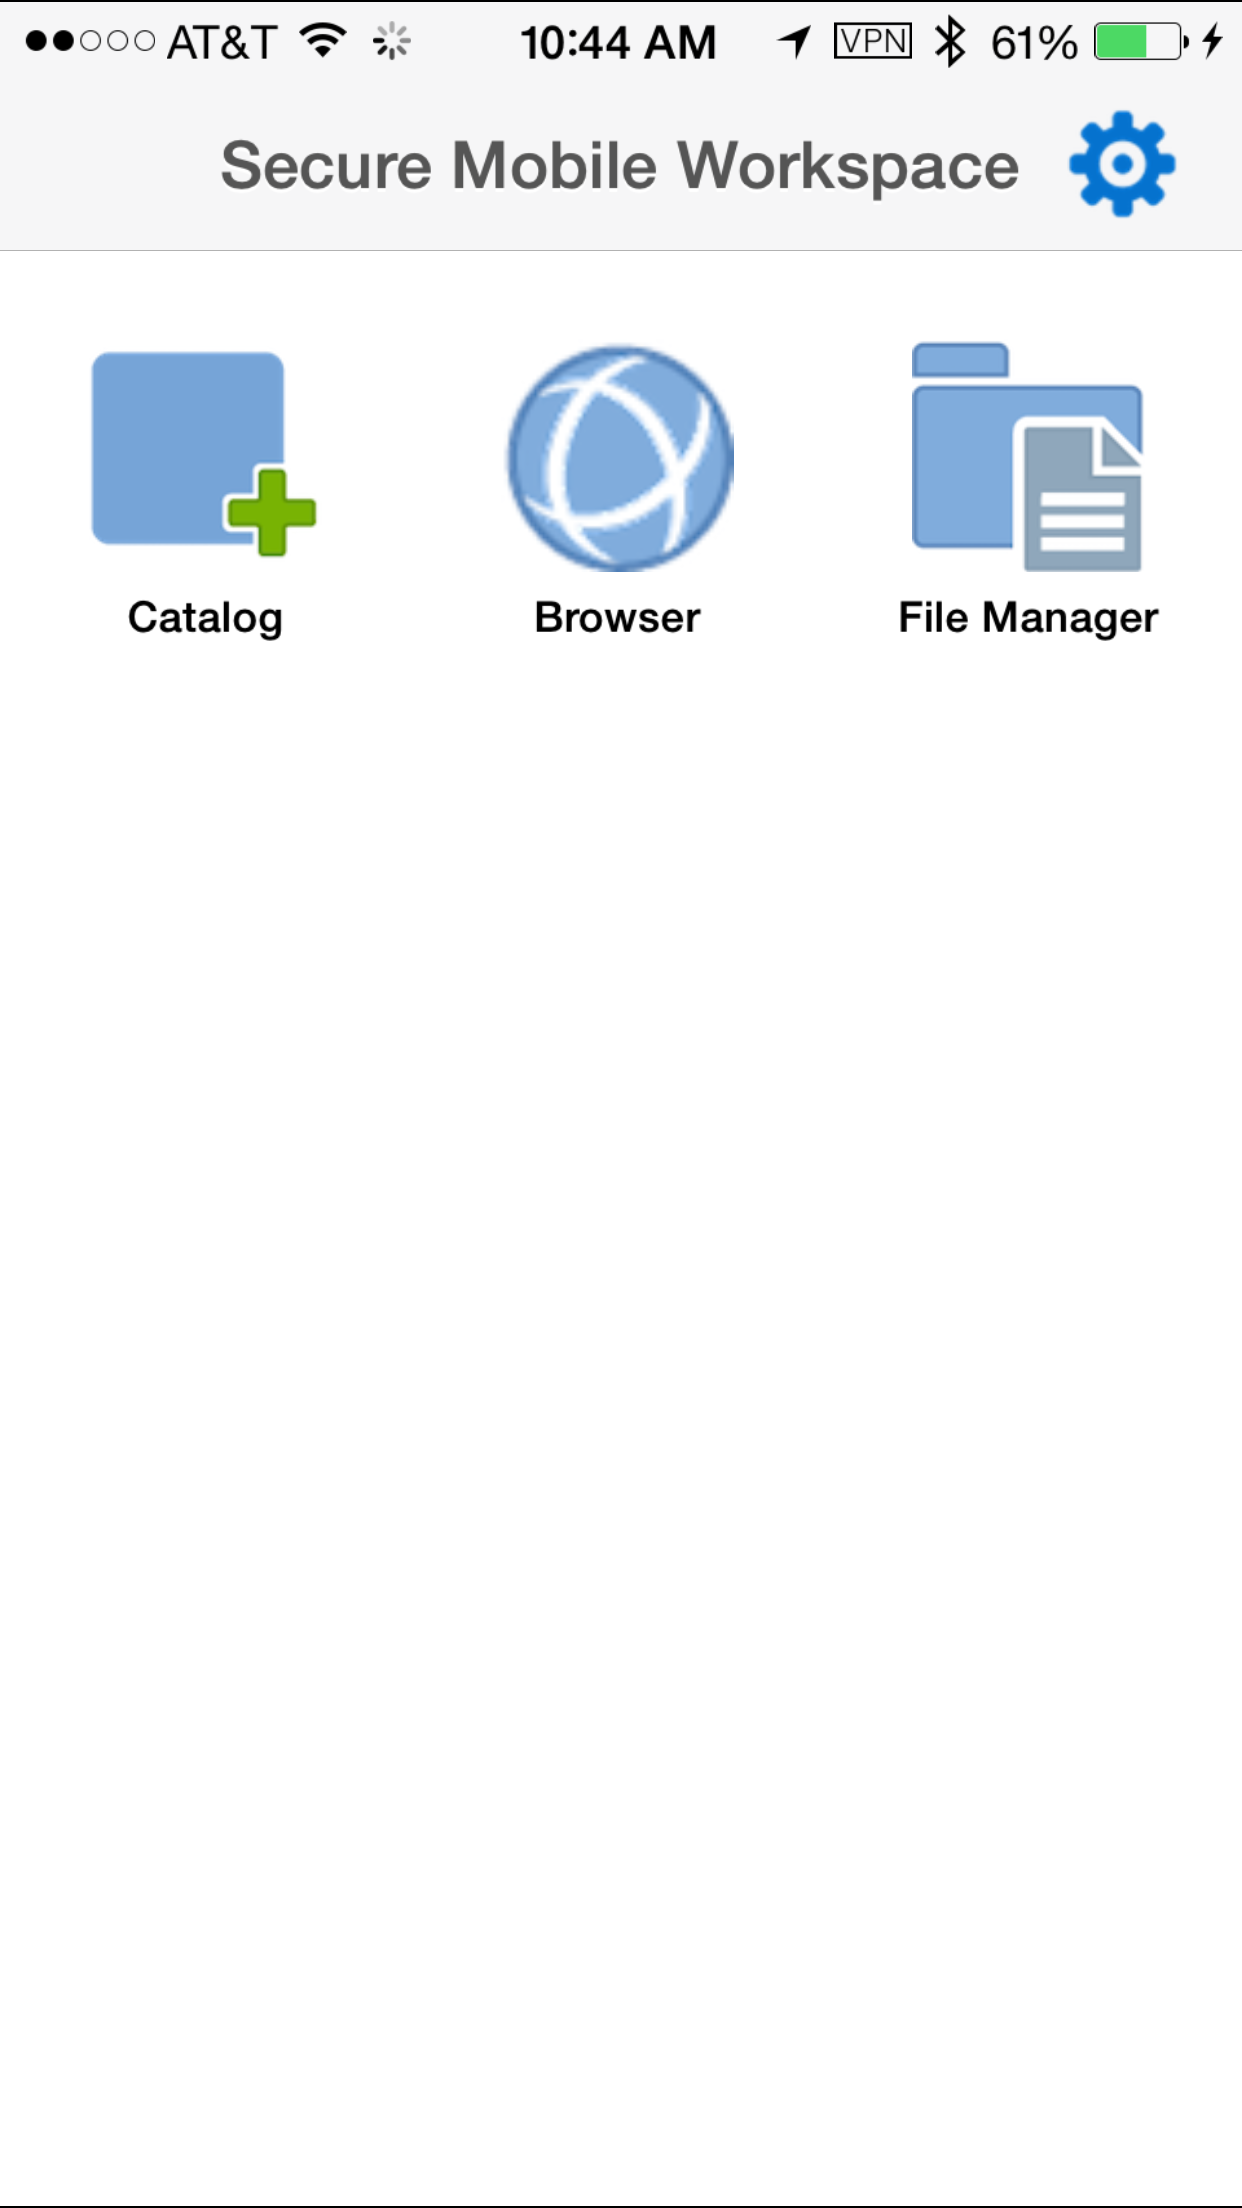
Navigate to your mobile device and login to secure workspace as
vishalp@idc.oracle.com/Oracle123. You should see theFile Managericon, since you have selected File Manager Allow in the Policy.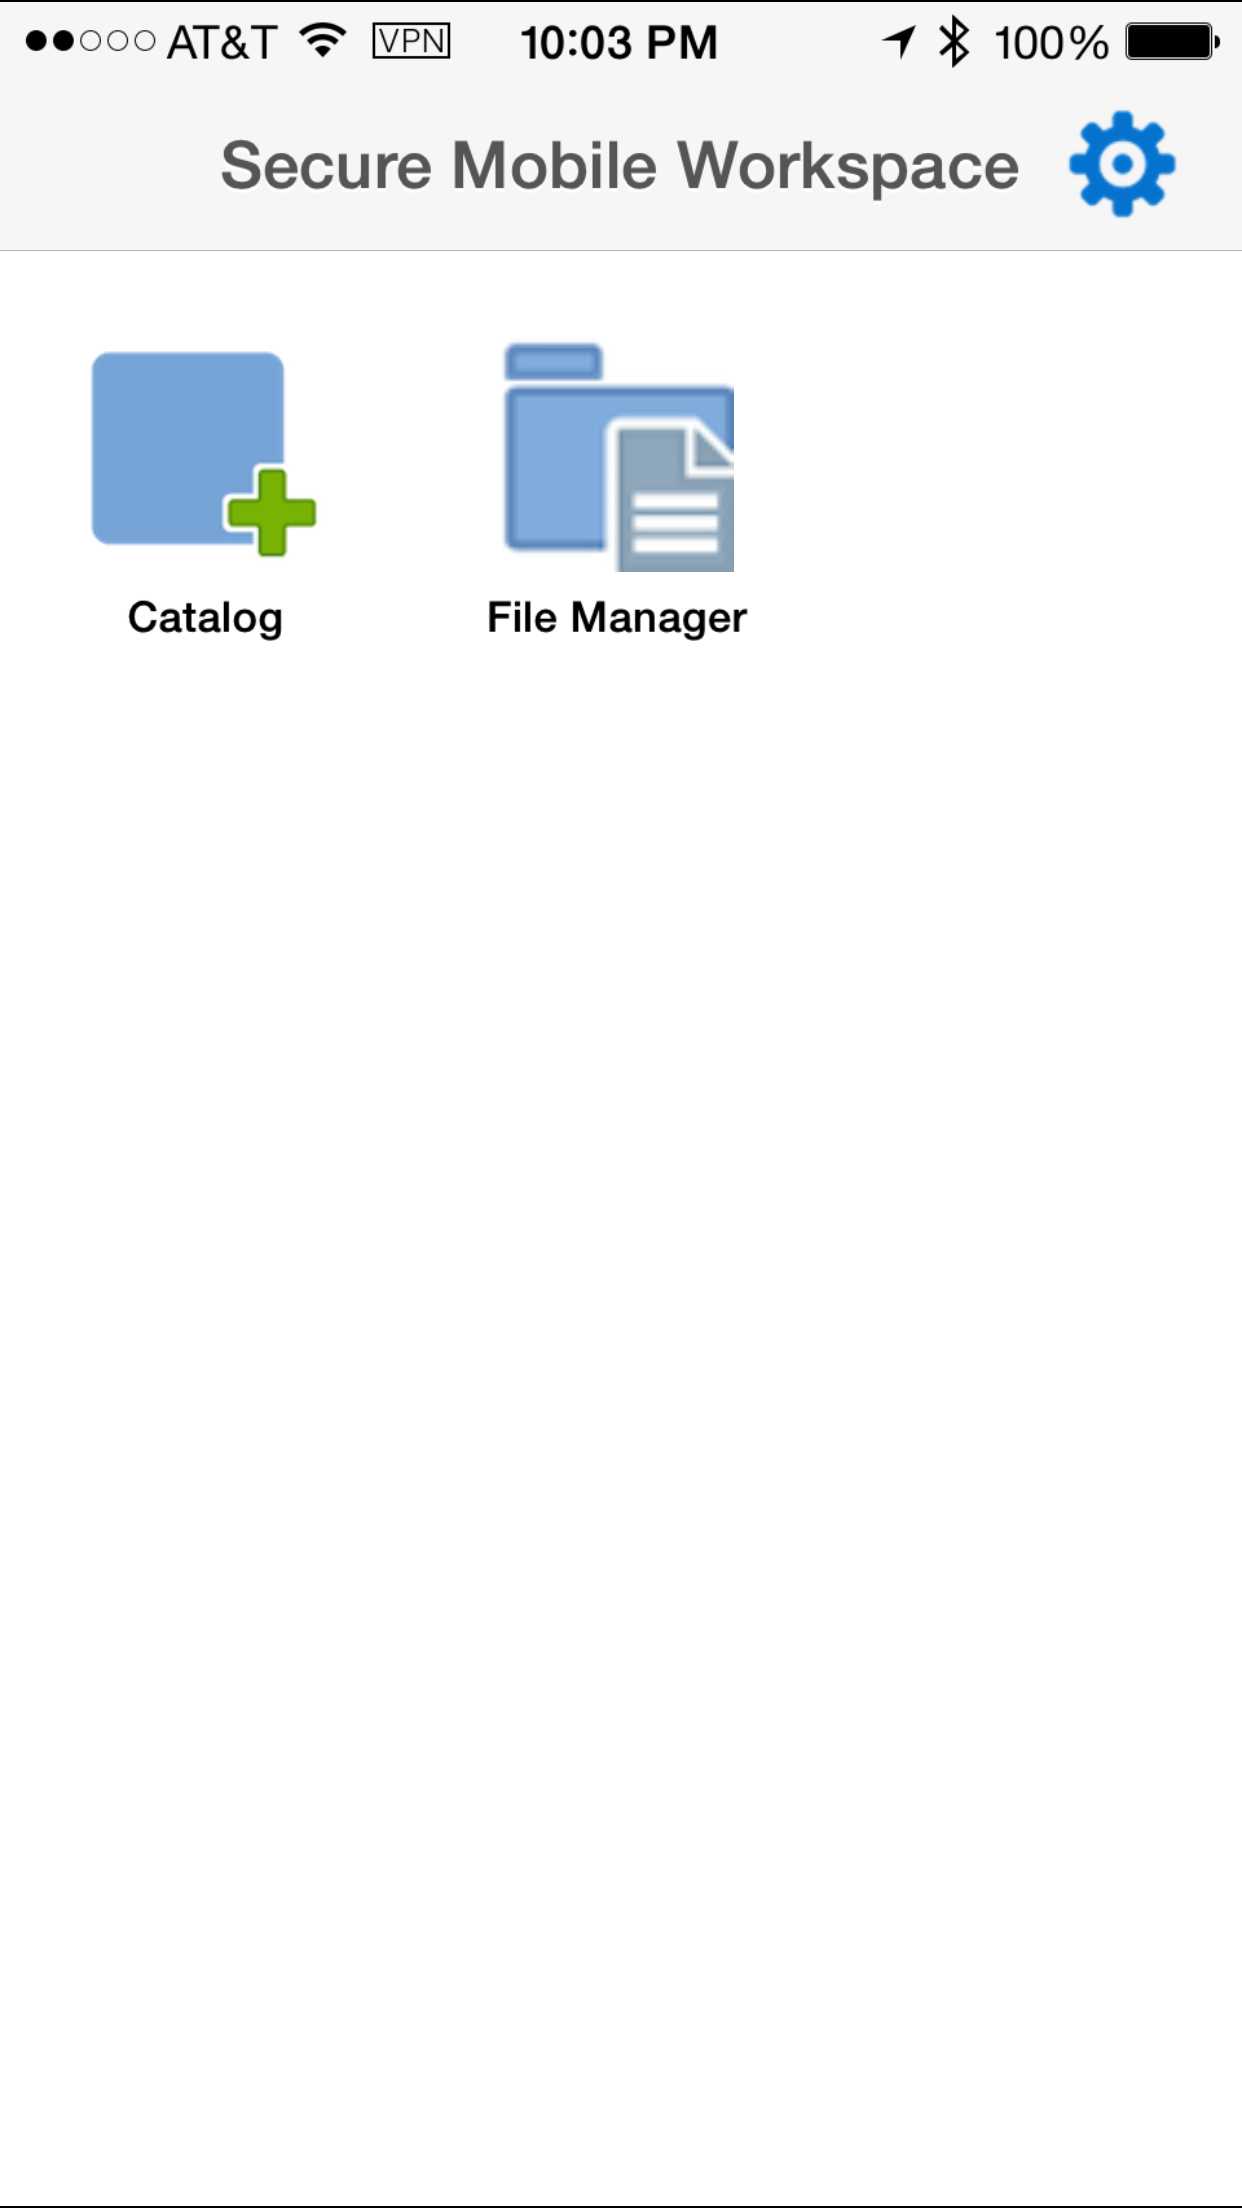
-
There are two ways to browse and access the SharePoint files. You can use App Catalog (+catalog icon on your secure workspace) to install Shared Folder App (this is called Direct browsing route) or you can Manually browse required folder(s) using file manager.
-
To browse manually, Click on
File Managerto access SharedFiles > Enter Address Manuallyas shown in the following screen.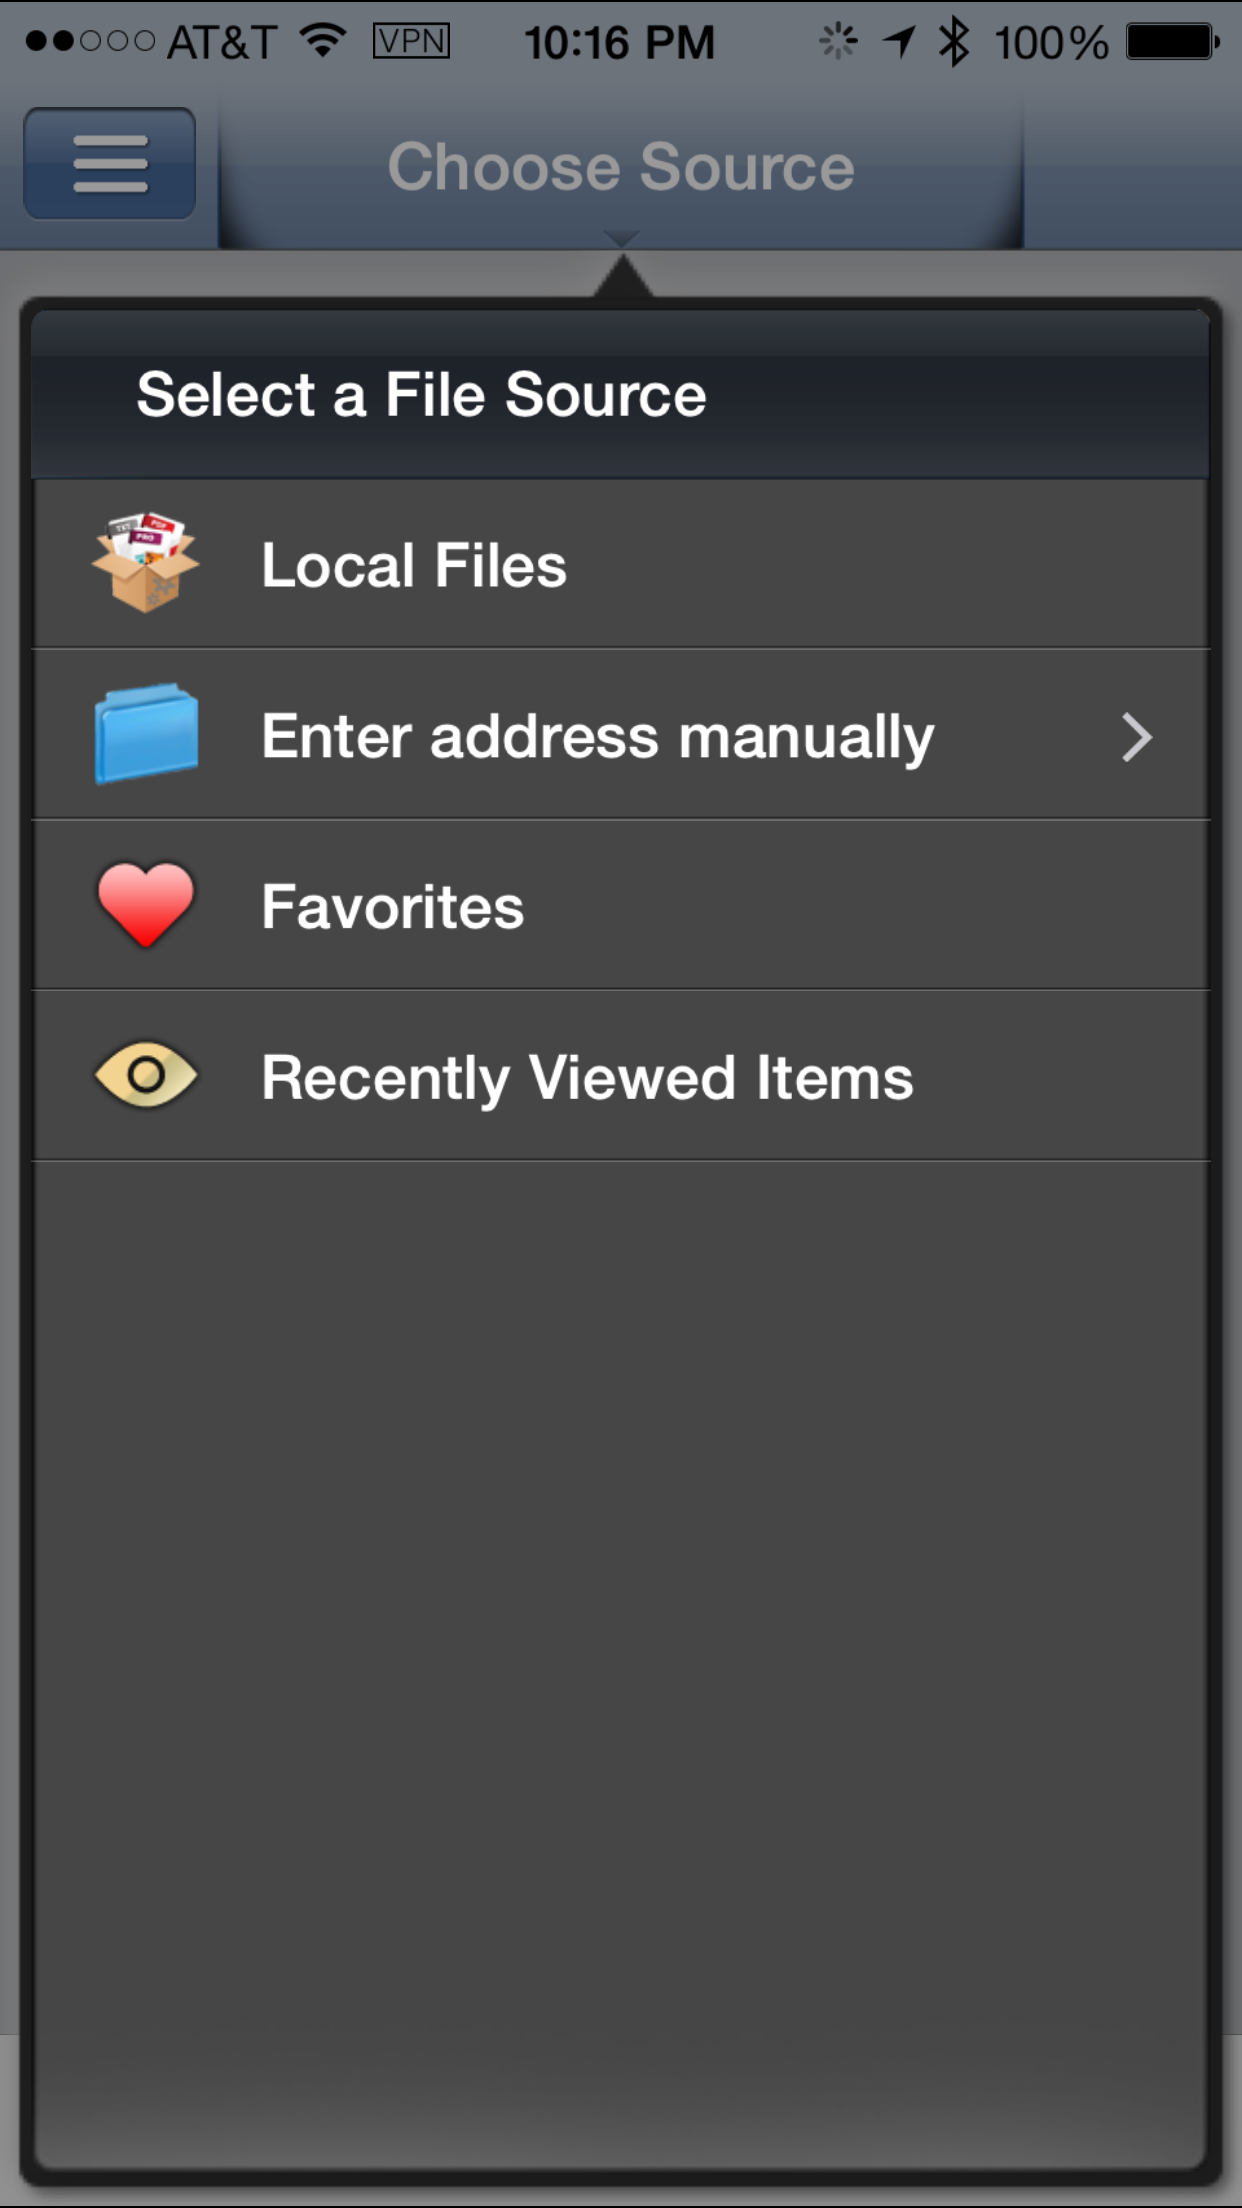
-
Enter network file share address in the address field and click on done. For example:
smb://iamserver2.idc.oracle.com/share(network file share address).
Note the url assmb://iamserver2.idc.oracle.com/share
Note the protocol used for FileShare is SMB(Server Message Block). ClickDone.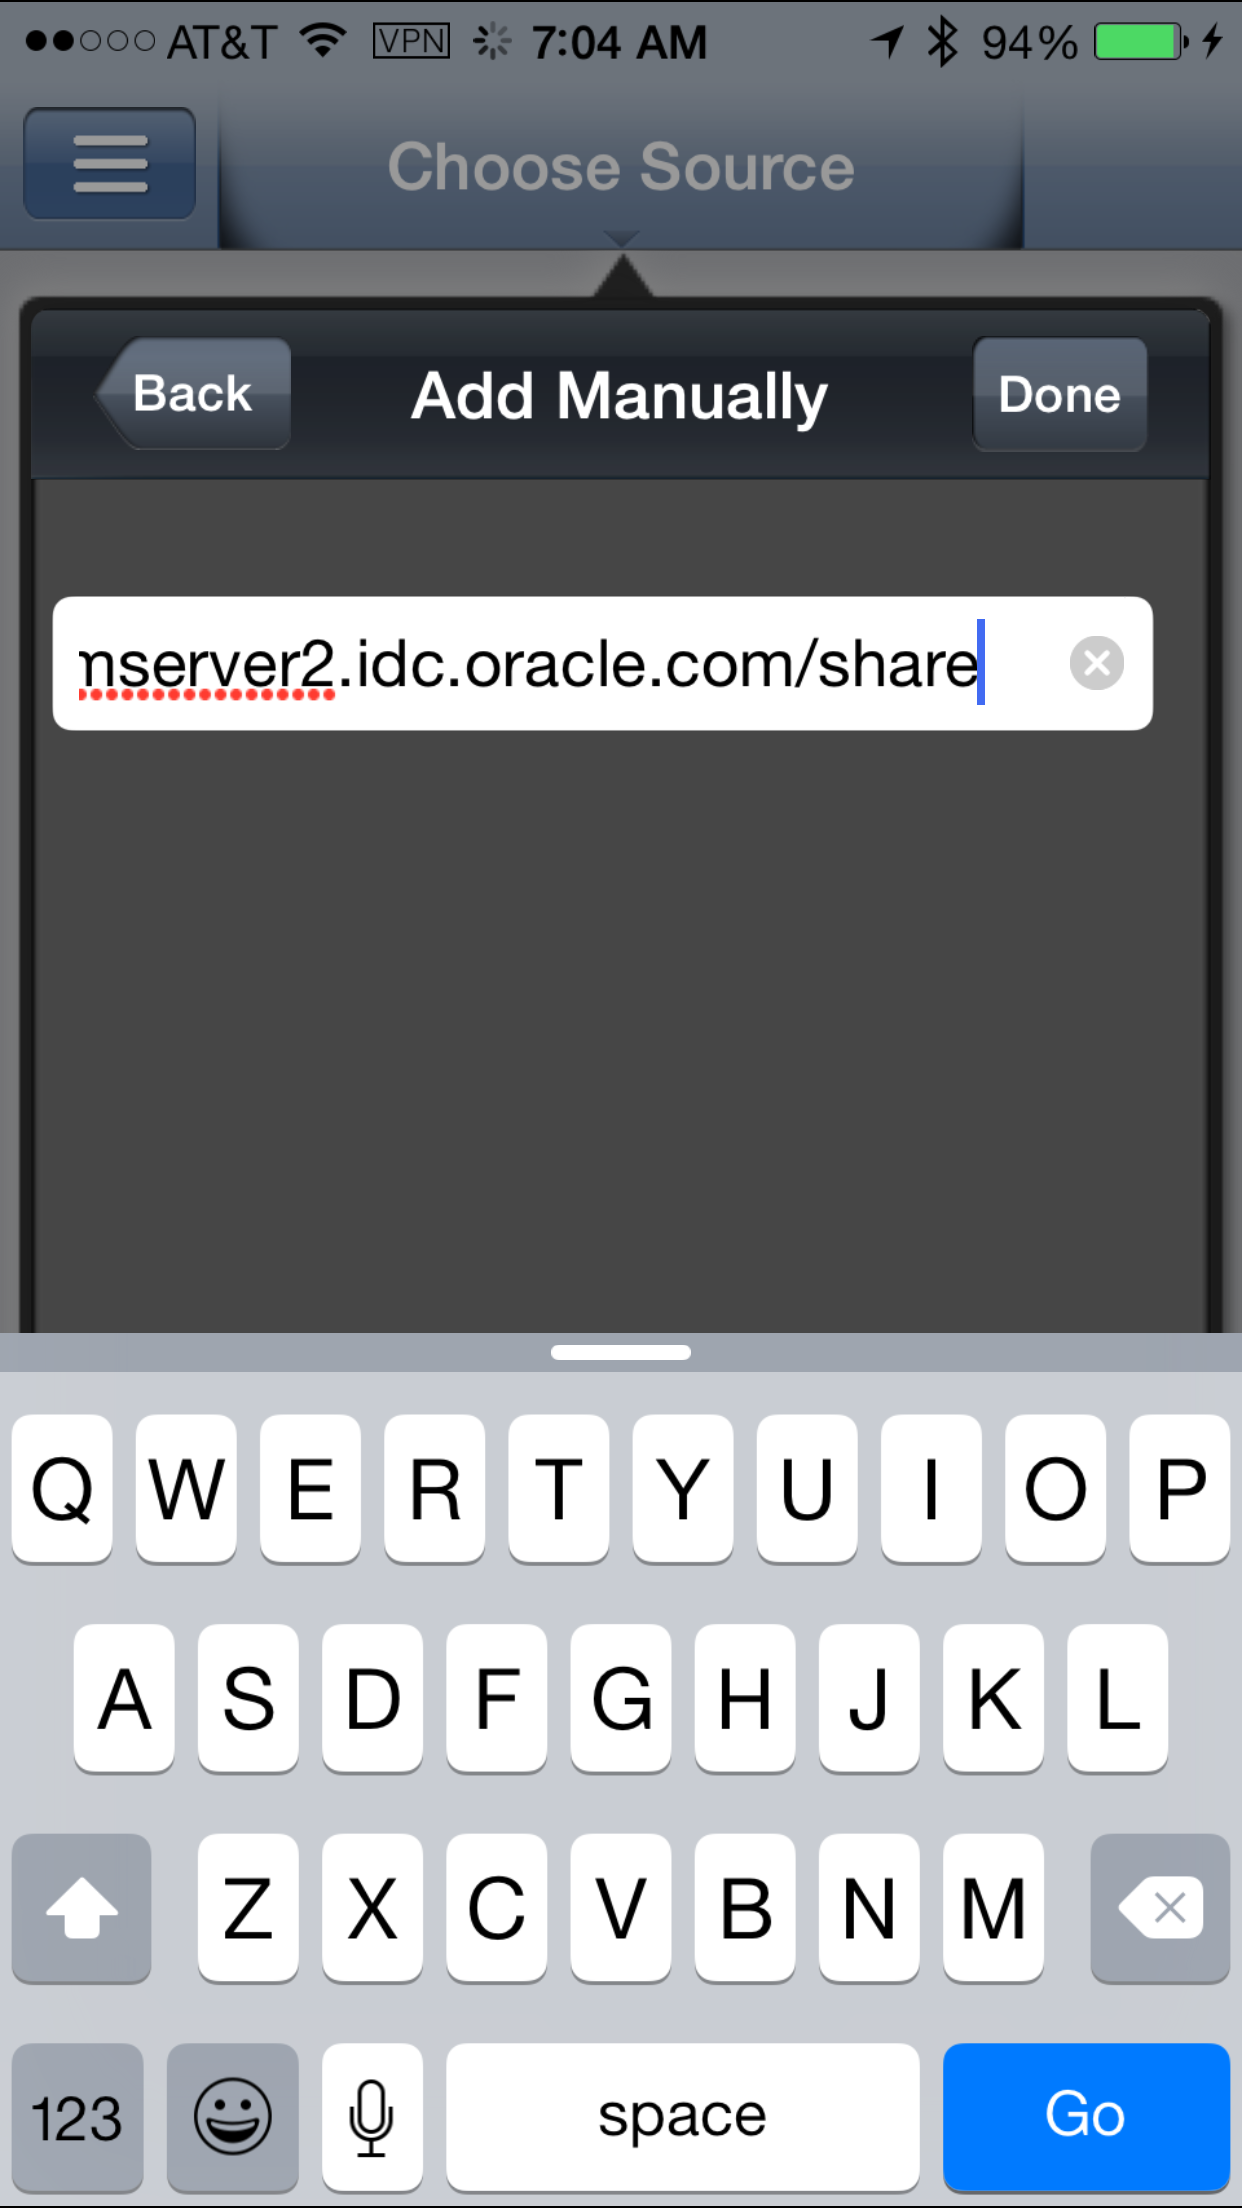
-
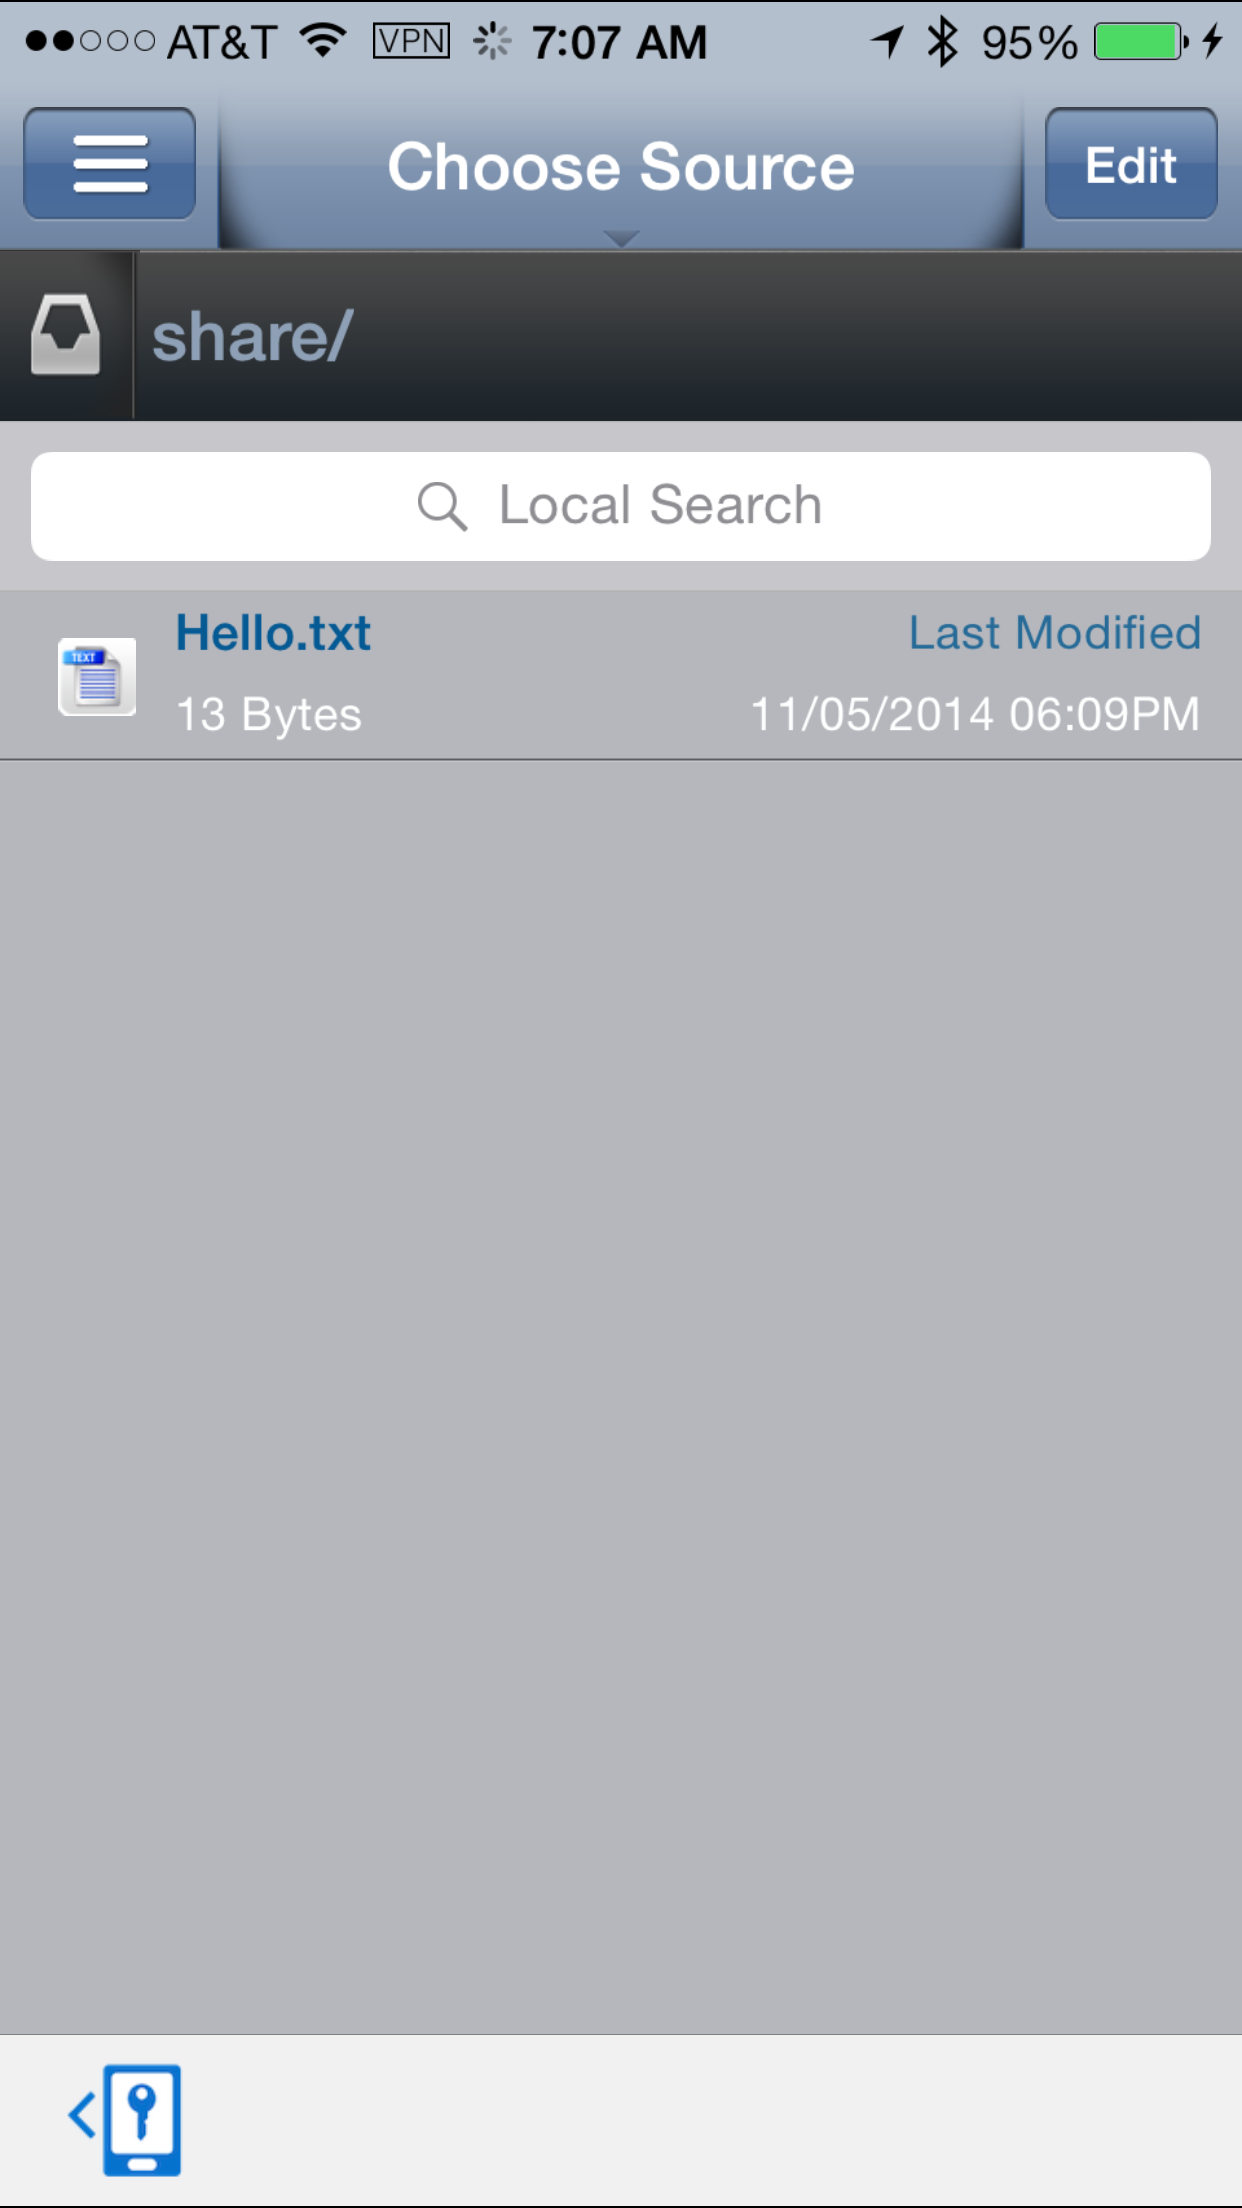
You can see hello.txt file listed as shown in the screen. This was the file we had created under shared folder "share" under Pre-requisites section.
Manually Accessing the SharePoint Files
You can manually access the SharePoint files.
- Navigate to your mobile device and login to
secure workspace as
vishalp@idc.oracle.com/Oracle123.
- Click on
File Managerto access SharedFiles > Enter AddressManuallyas shown in the following screen. -
Click on File Manager to access
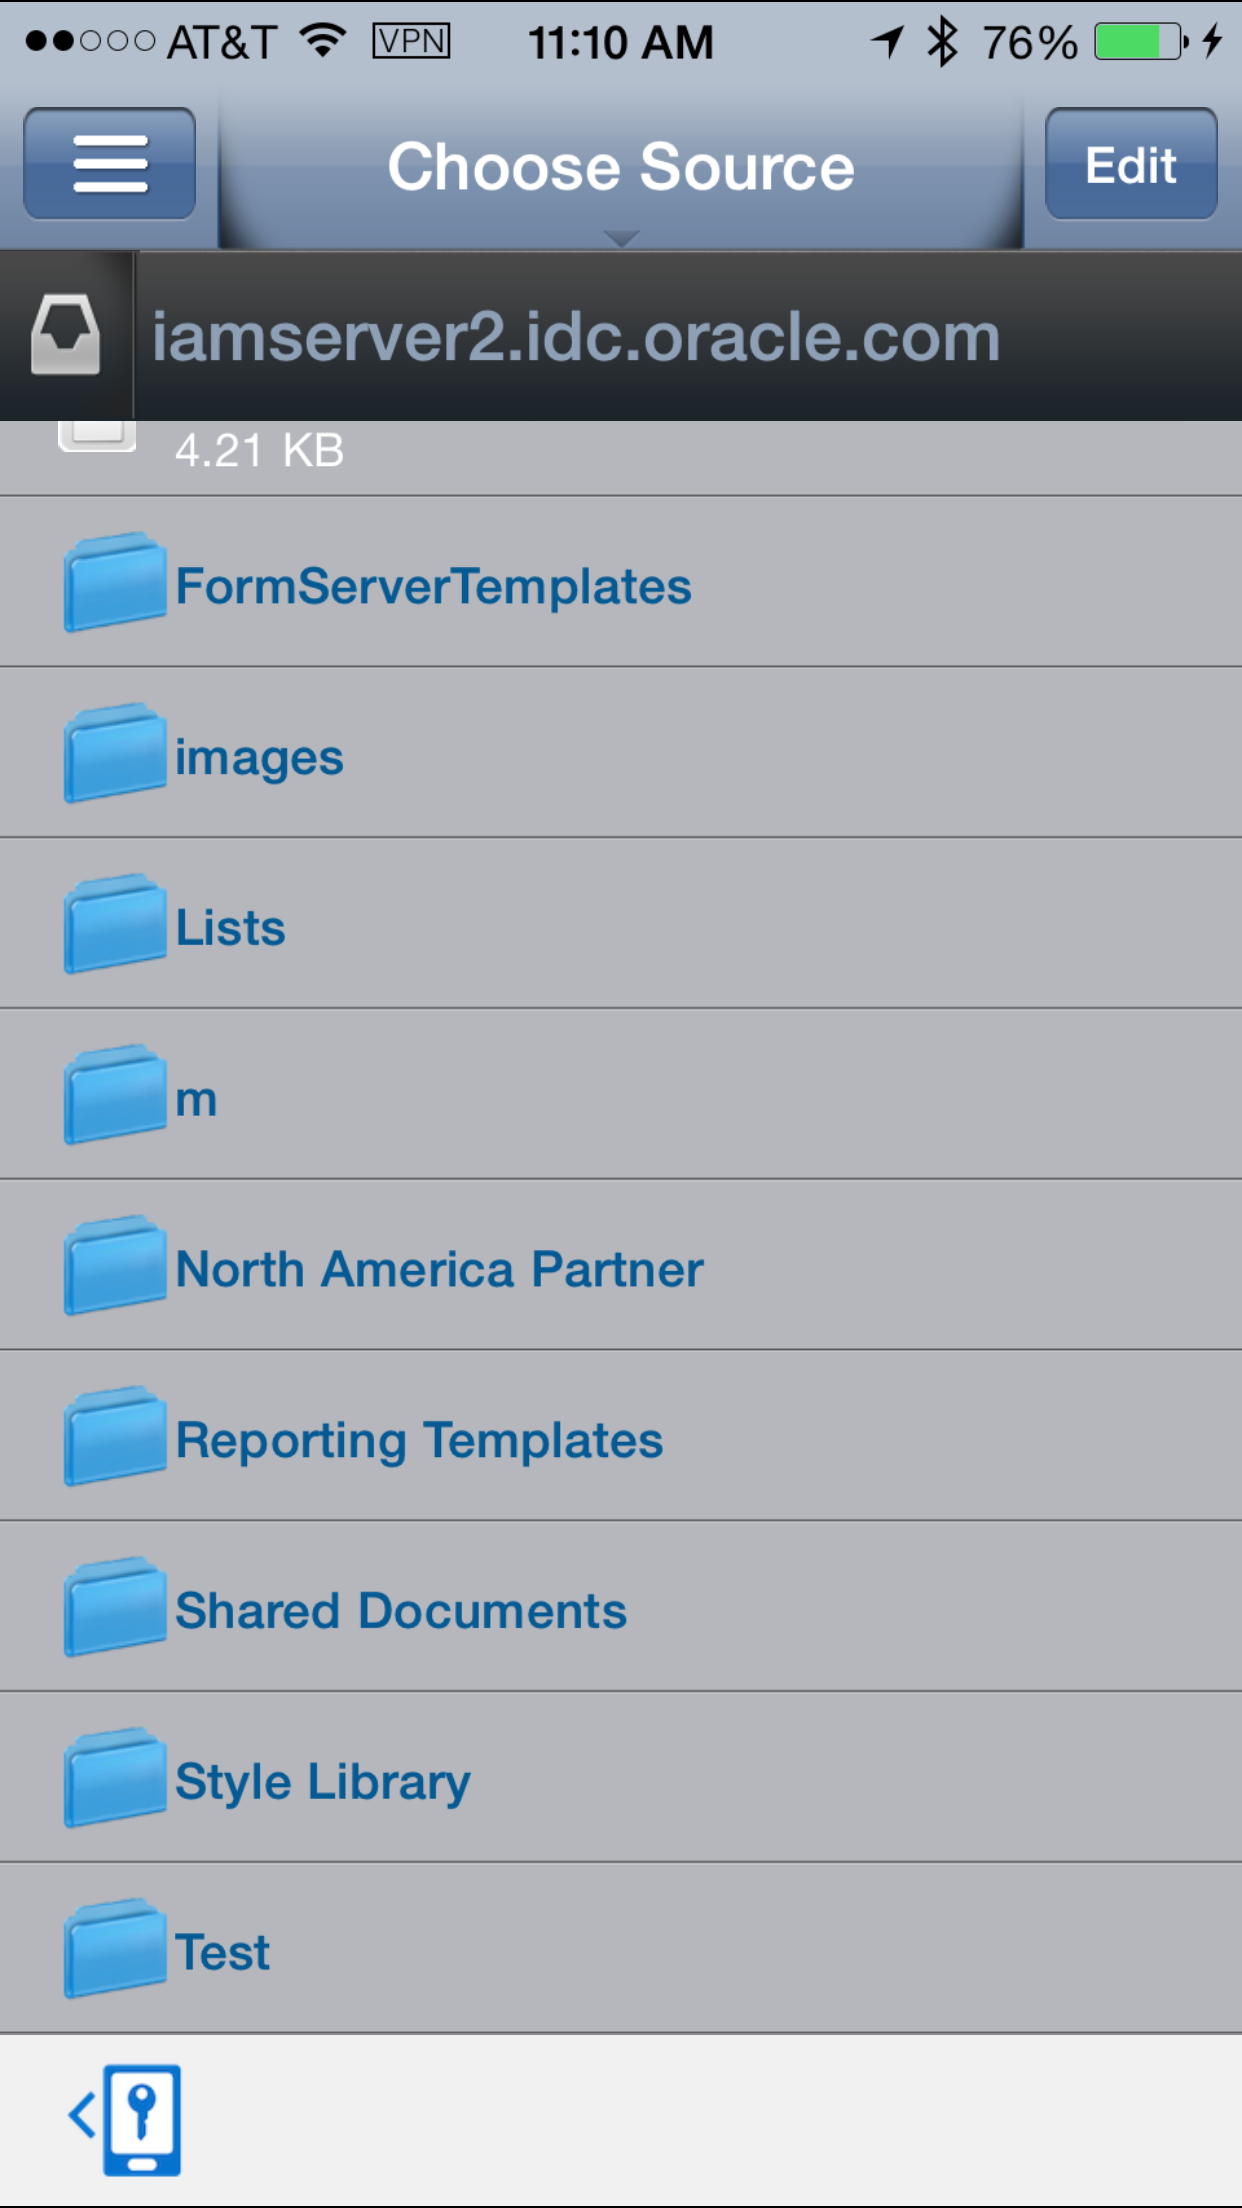
Shared
                                    Files.
Enter Address Manually as shown in the following screen. Enter SharePoint address, for example:http://iamserver2.idc.oracle.com/in the address field and click onDone.
-
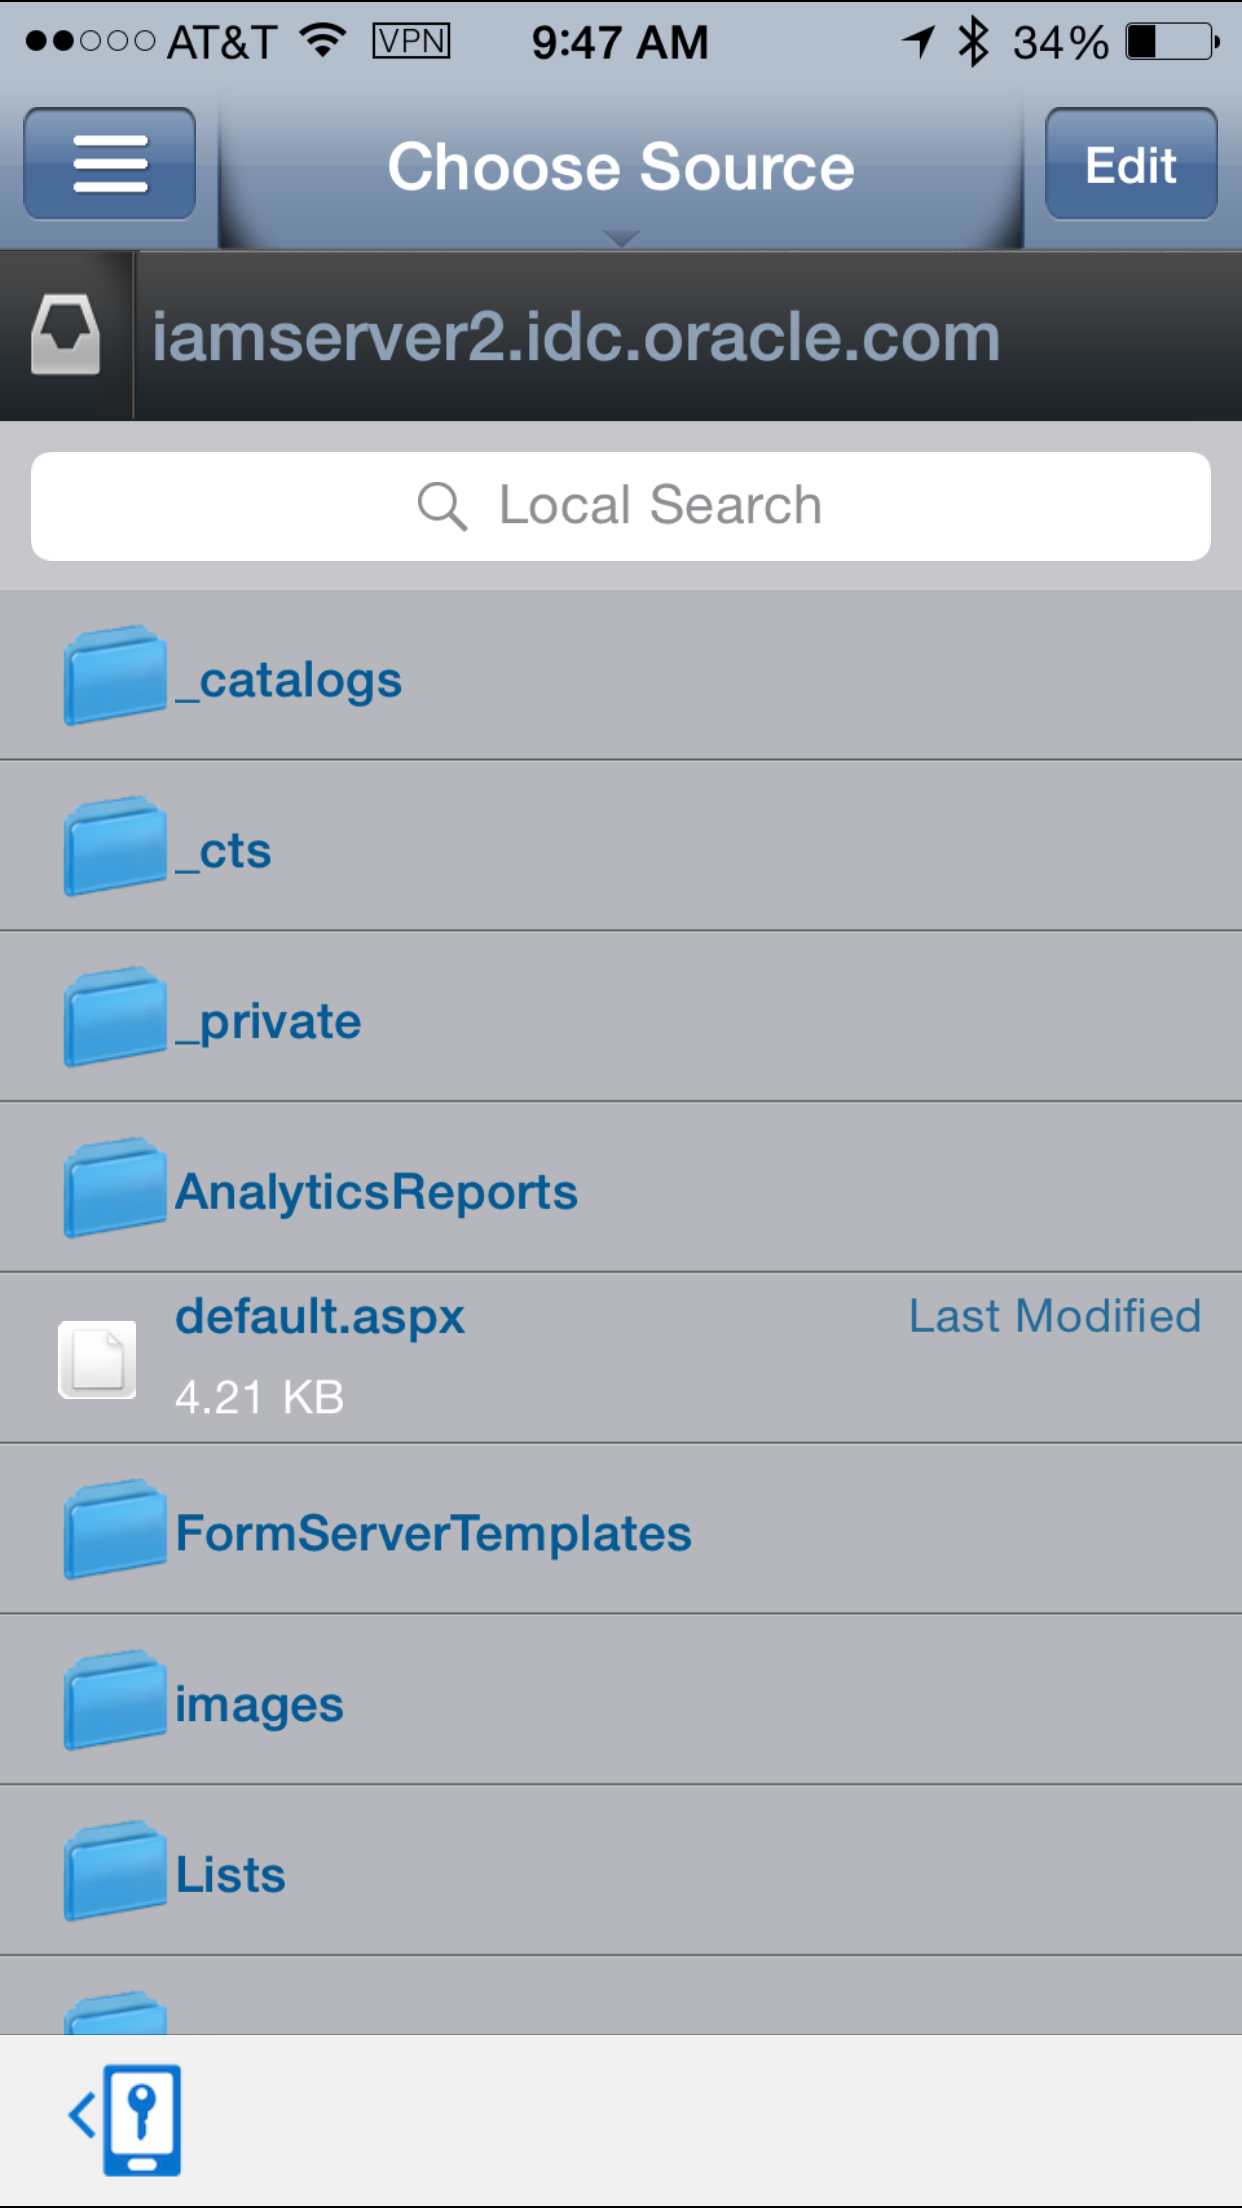
Note: If you want to display only a particular folder in the catalog you could restrict it using the url such as
http://iamserver2.idc.oracle.com/Listswhich will display the contents of the Lists folder only. The files/folders you have access to, is controlled within MS SharePoint itself (based on user privileges). Here you are only controlling the content in SharePoint that you want to make accessible from the mobile device.
Configuring File Manager and Browsing Shared Folders
Workspace allows you to access Shared folder /file using Shared Folder App. Like, Web App, Shared Folder is a shortcut link to access the Shared Folder.
Creating a Shared Folder App in the App Catalog.
-
Go to
Access Console > Mobile
                                    Security > Mobile Security Manager >
                                    Mobile App Catalog
.
Click onAddto add to create new App, and fill in app details as shown below and click Add.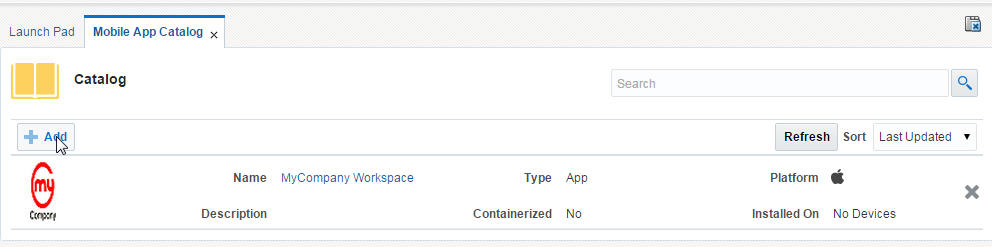
Fill in app details as shown below and click
Add. Here we have usedhttp://iamserver2.idc.oracle.com/forTarget Folder.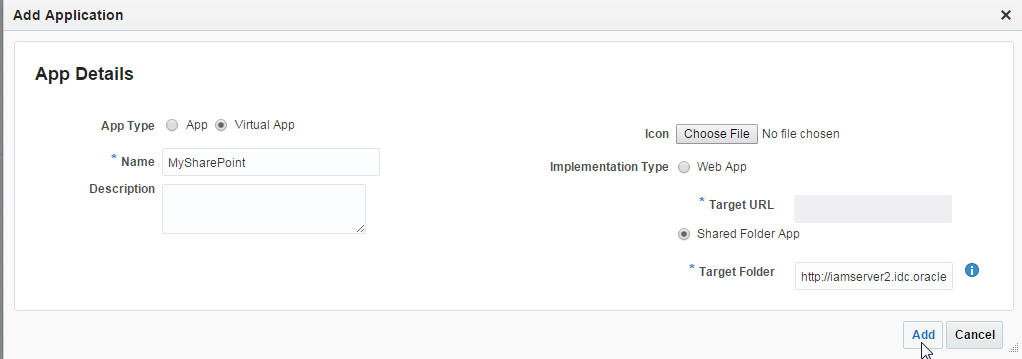
-
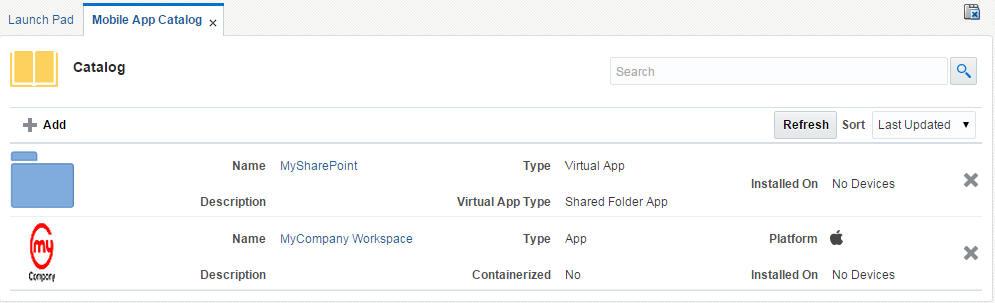
Click OK on the confirmation window.
The new App is available.
-
Navigate to
Mobile Securitytab> LauncPad > Mobile Security Manager > Mobile Security Policies. Click onMDM MAM Policy. UnderApps and Configurationtab, addMySharePointapp using theAddbutton underAppssection.
-
Click Apply.

-
Navigate to the mobile device and login to the secure workspace as
vishalp@idc.oracle.com.
Tap on theCatalogicon.
Select
MySharePointapp from the catalog.
-
Tap on
Installto install the MySharePoint app to the secure workspace.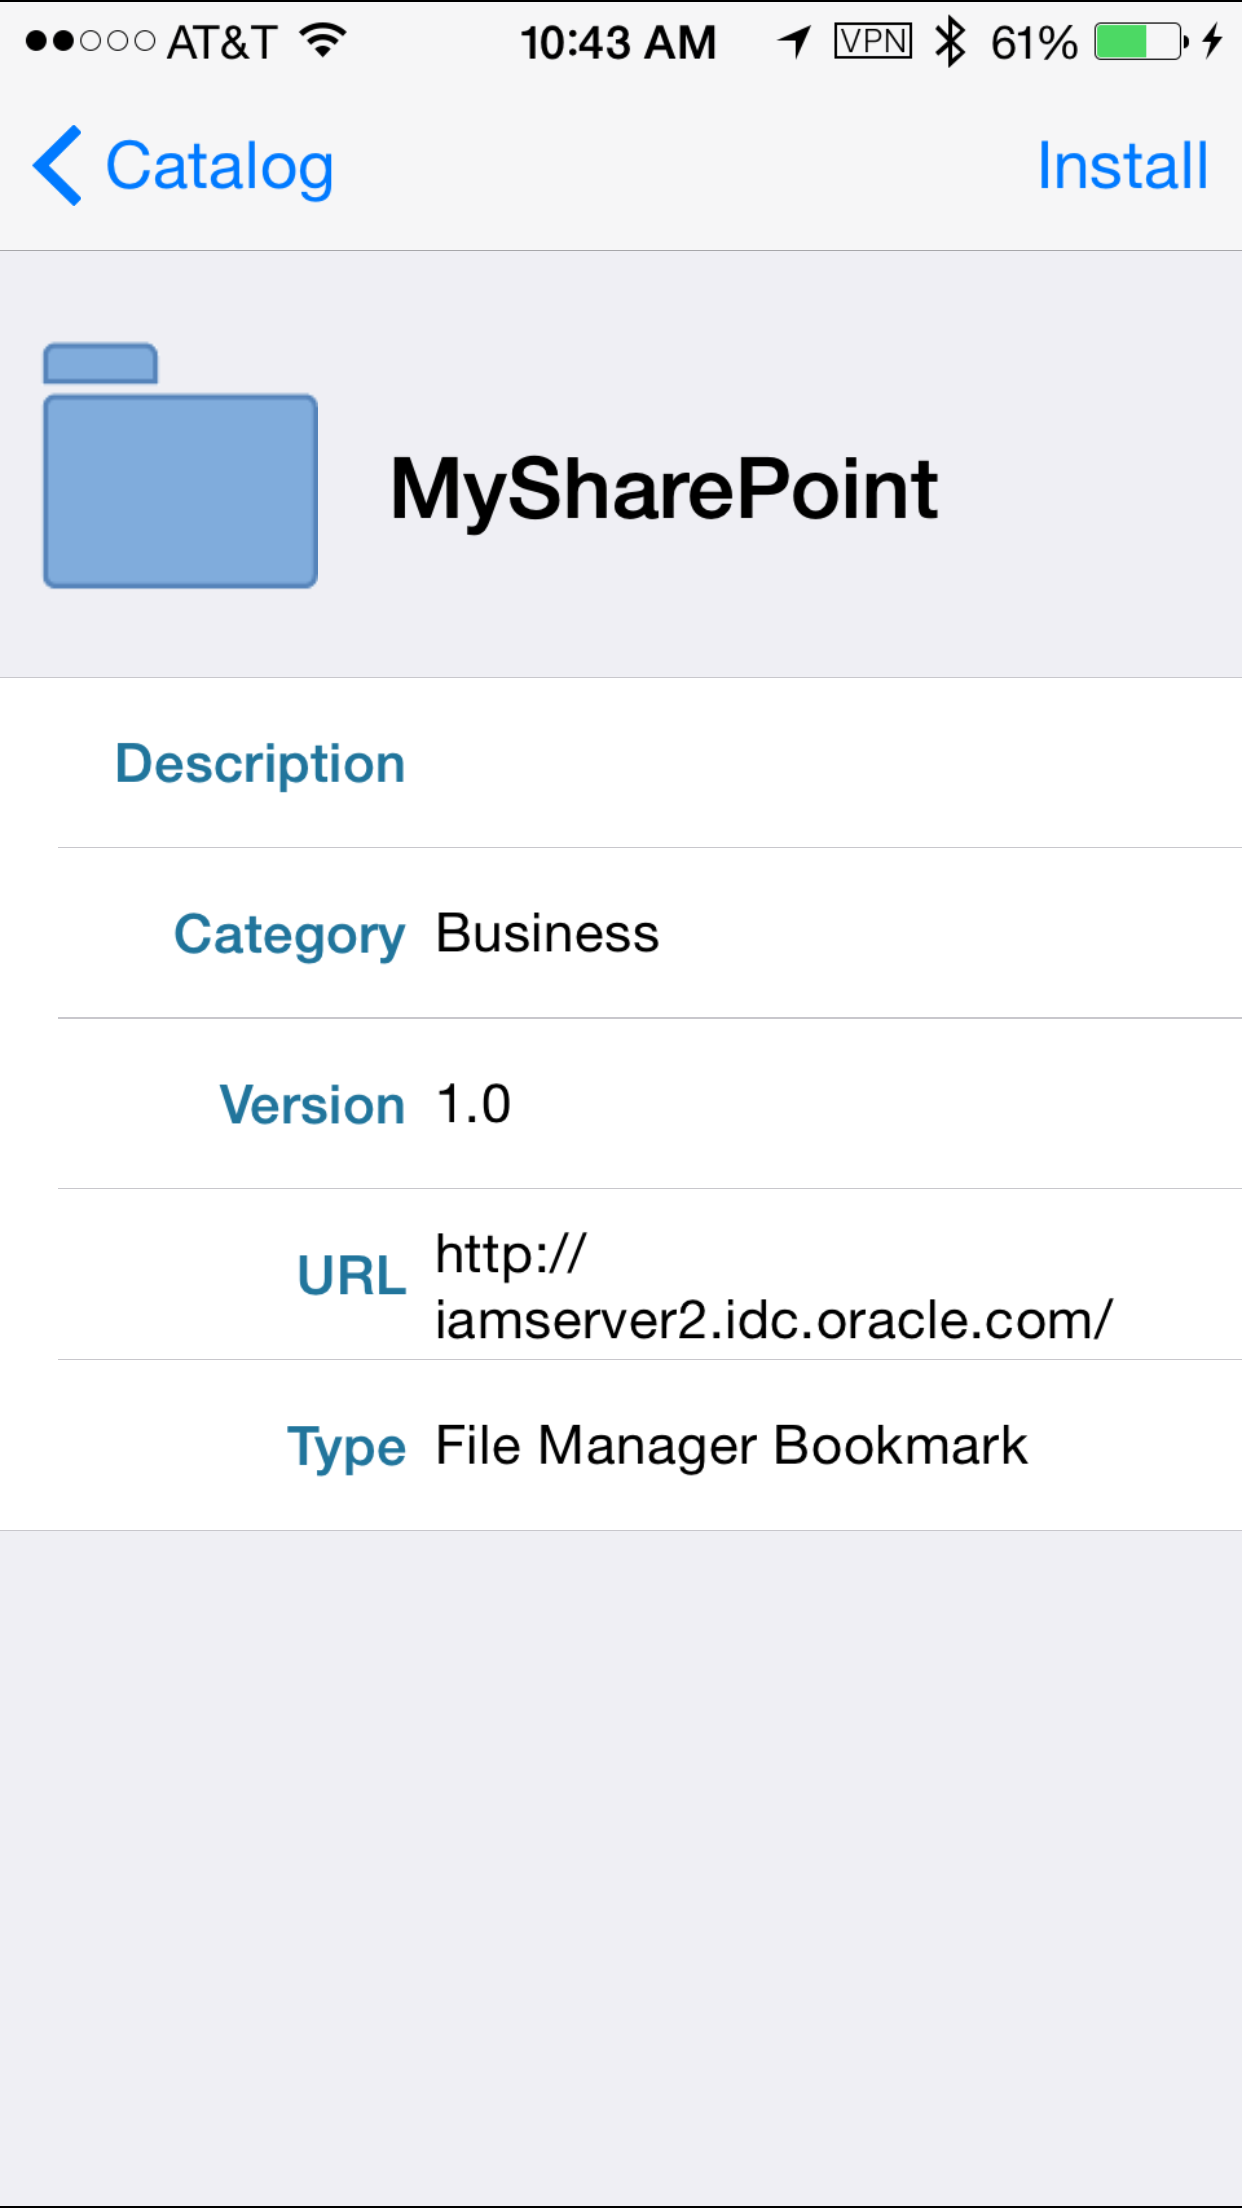
-
Once the app is installed within the secure workspace, launch it by tapping on the
MySharePointfolder.
It should automatically display the contents of the SharePoint repository that is accessible to vishalp user from the root directory down.

Move, Copy or Delete shared File/Folder using File Manager
Once you are able to browse to shared folders / files, you can tap on the folder / file to view the content. Also, you can copy, move or delete file(s) or folder(s).
-
Click on
Editicon on the top right corner. Now you can select any file/folder and then tap on Copy/Move/Delete icons at the bottom to perform appropriate actions.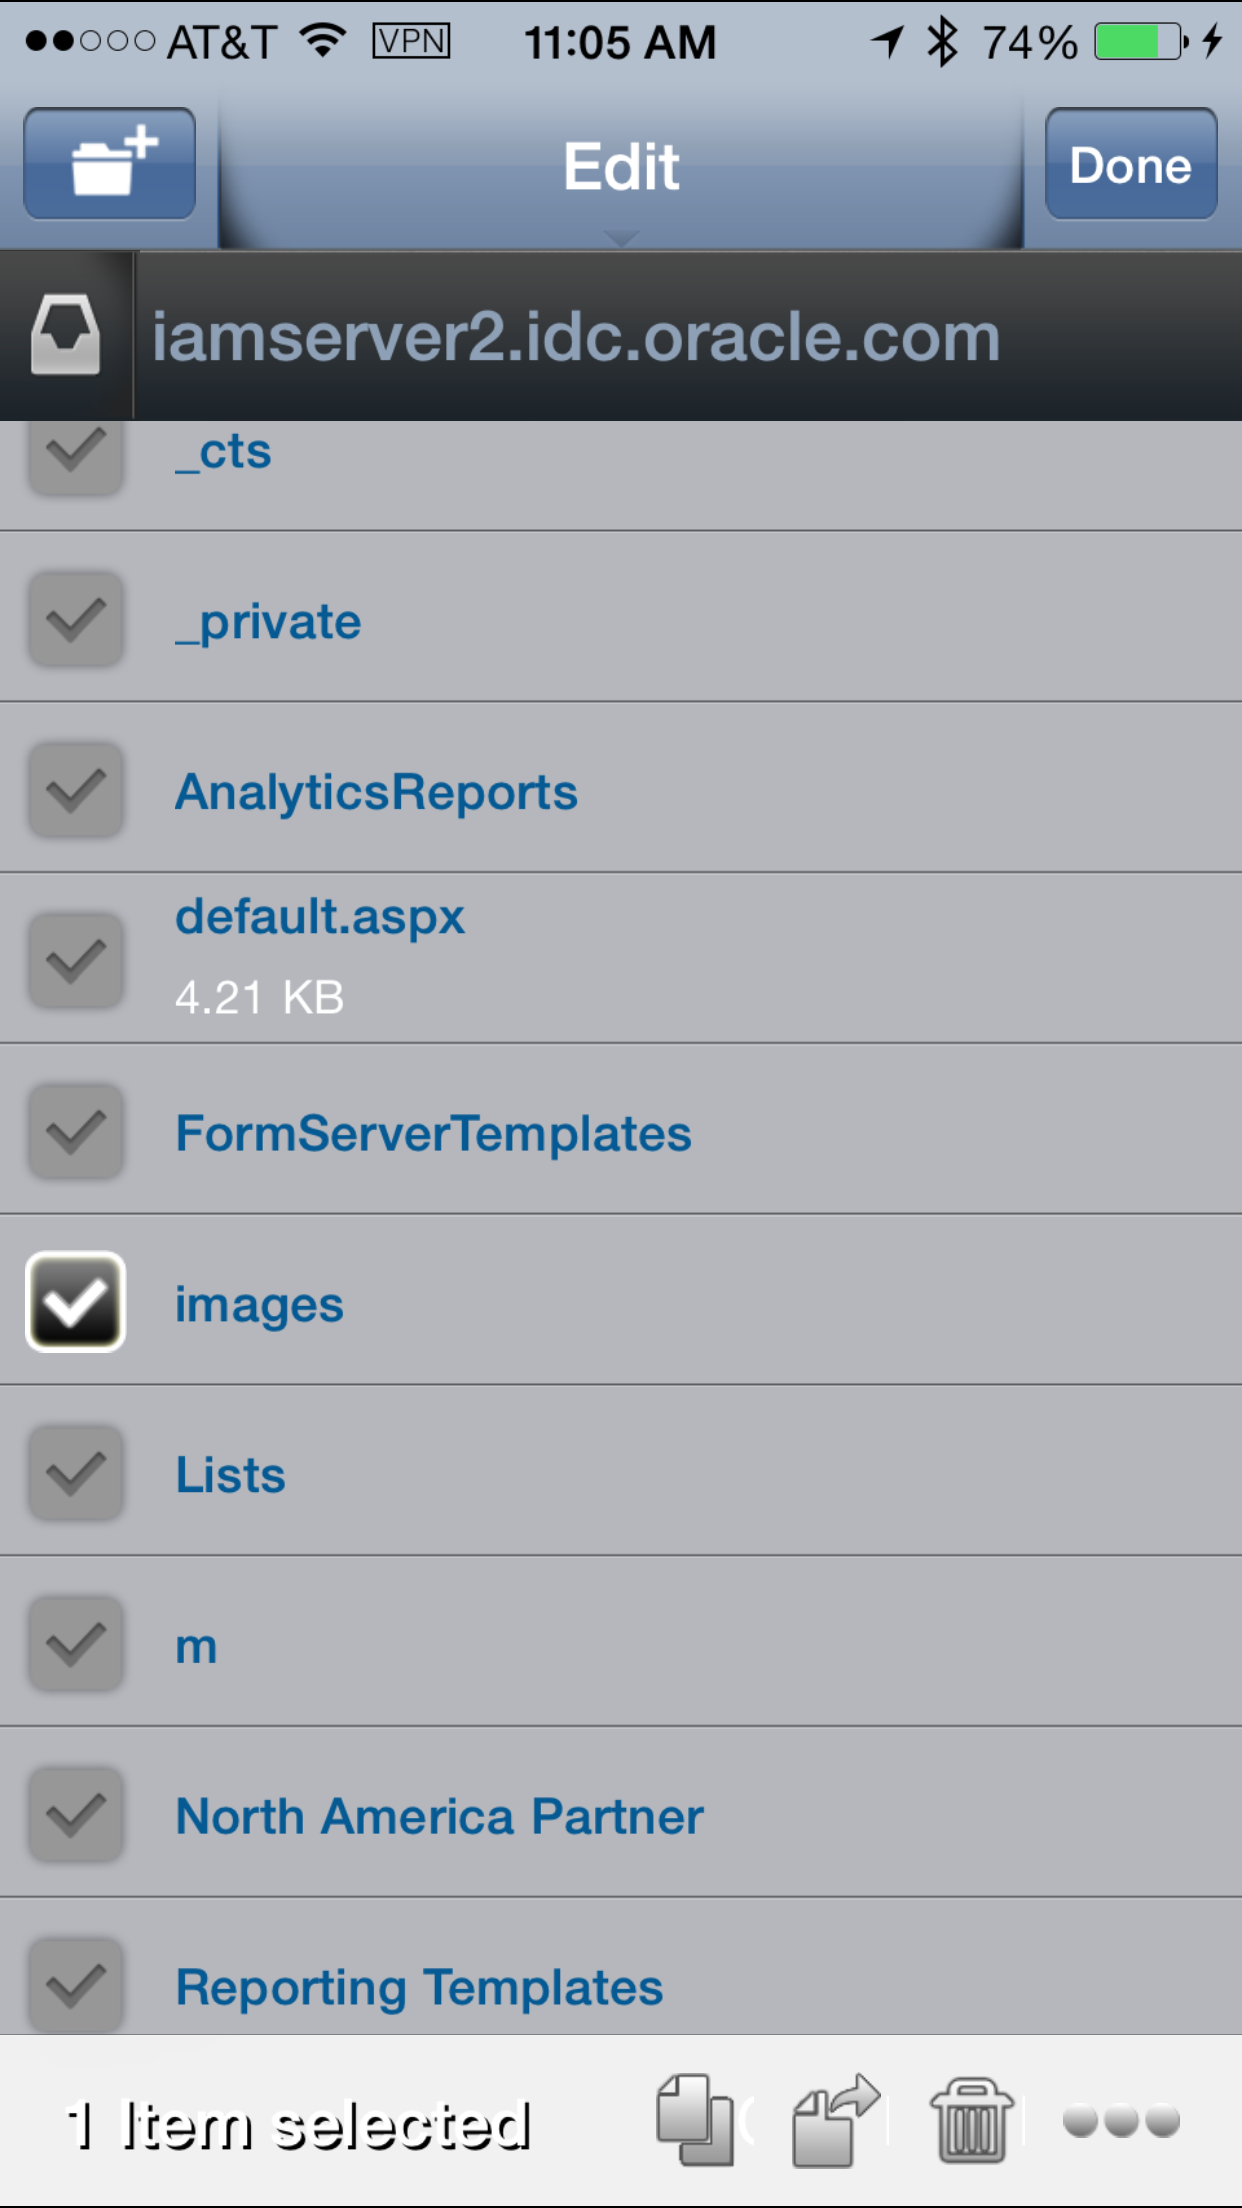
-
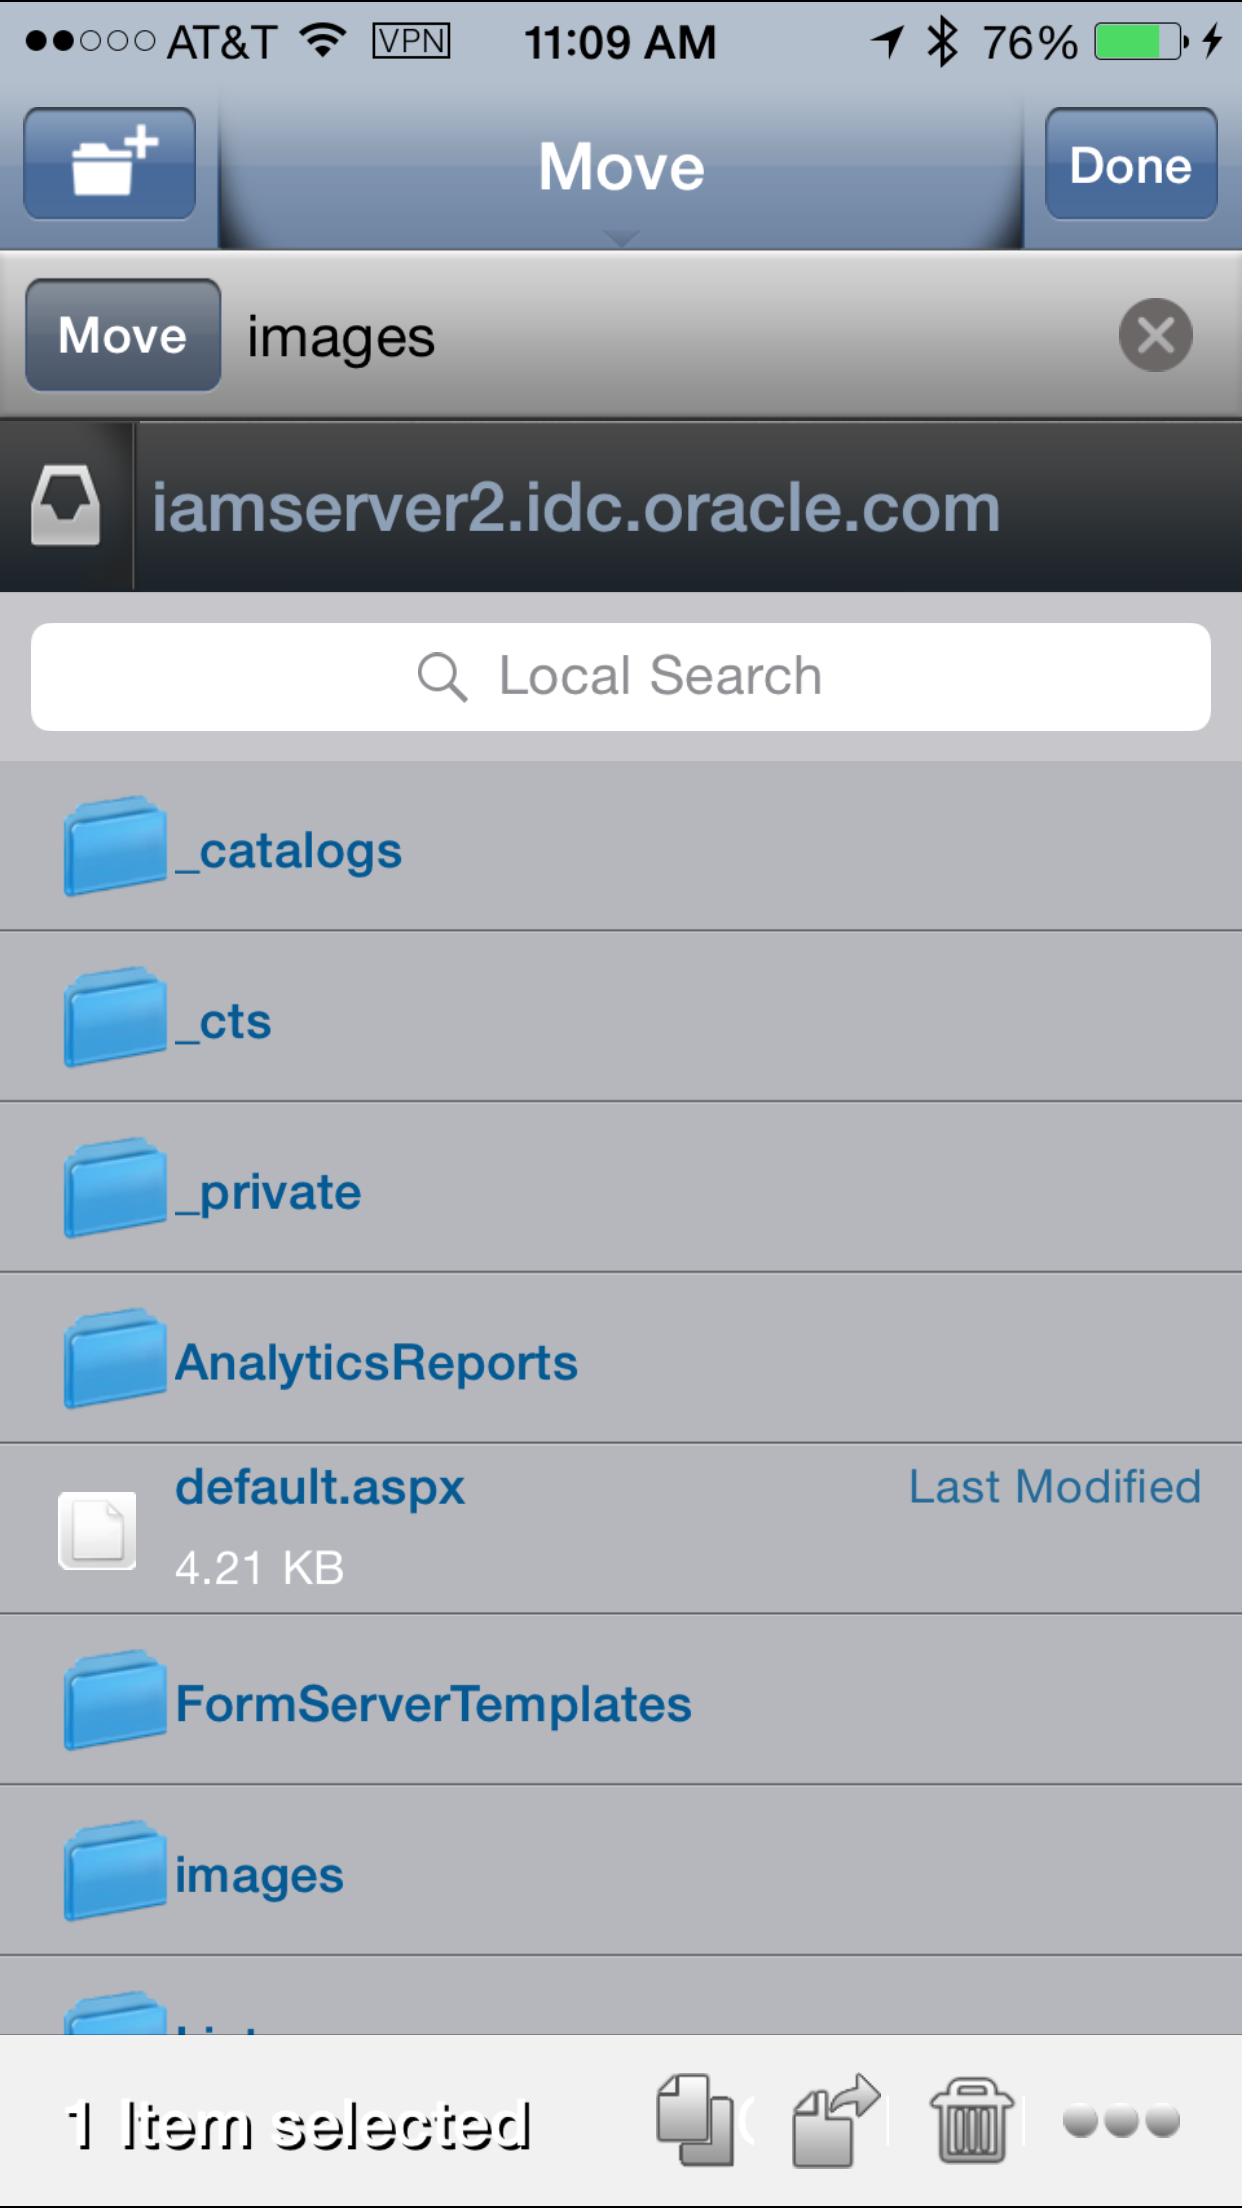
In order to Copy or Move, you need to choose destination file location where you want to paste or move. Mobile File Manager client asks to browse the location, once done click on
PasteorMovebutton as shown below.
-
You can also create a new folder by tapping on the
folder+icon on the top left corner. Provide the name of the folder and clickCreateas shown below.
SharePoint Access from Browser
You can use Secure Browser to browse SharePoint contents.
-
Login to secure Workspace > Tap on Browser icon > Type the SharePoint Address in the Address Bar:
http://iamserver2.idc.oracle.com
You should now see the contents of the SharePoint in the Secure Browser.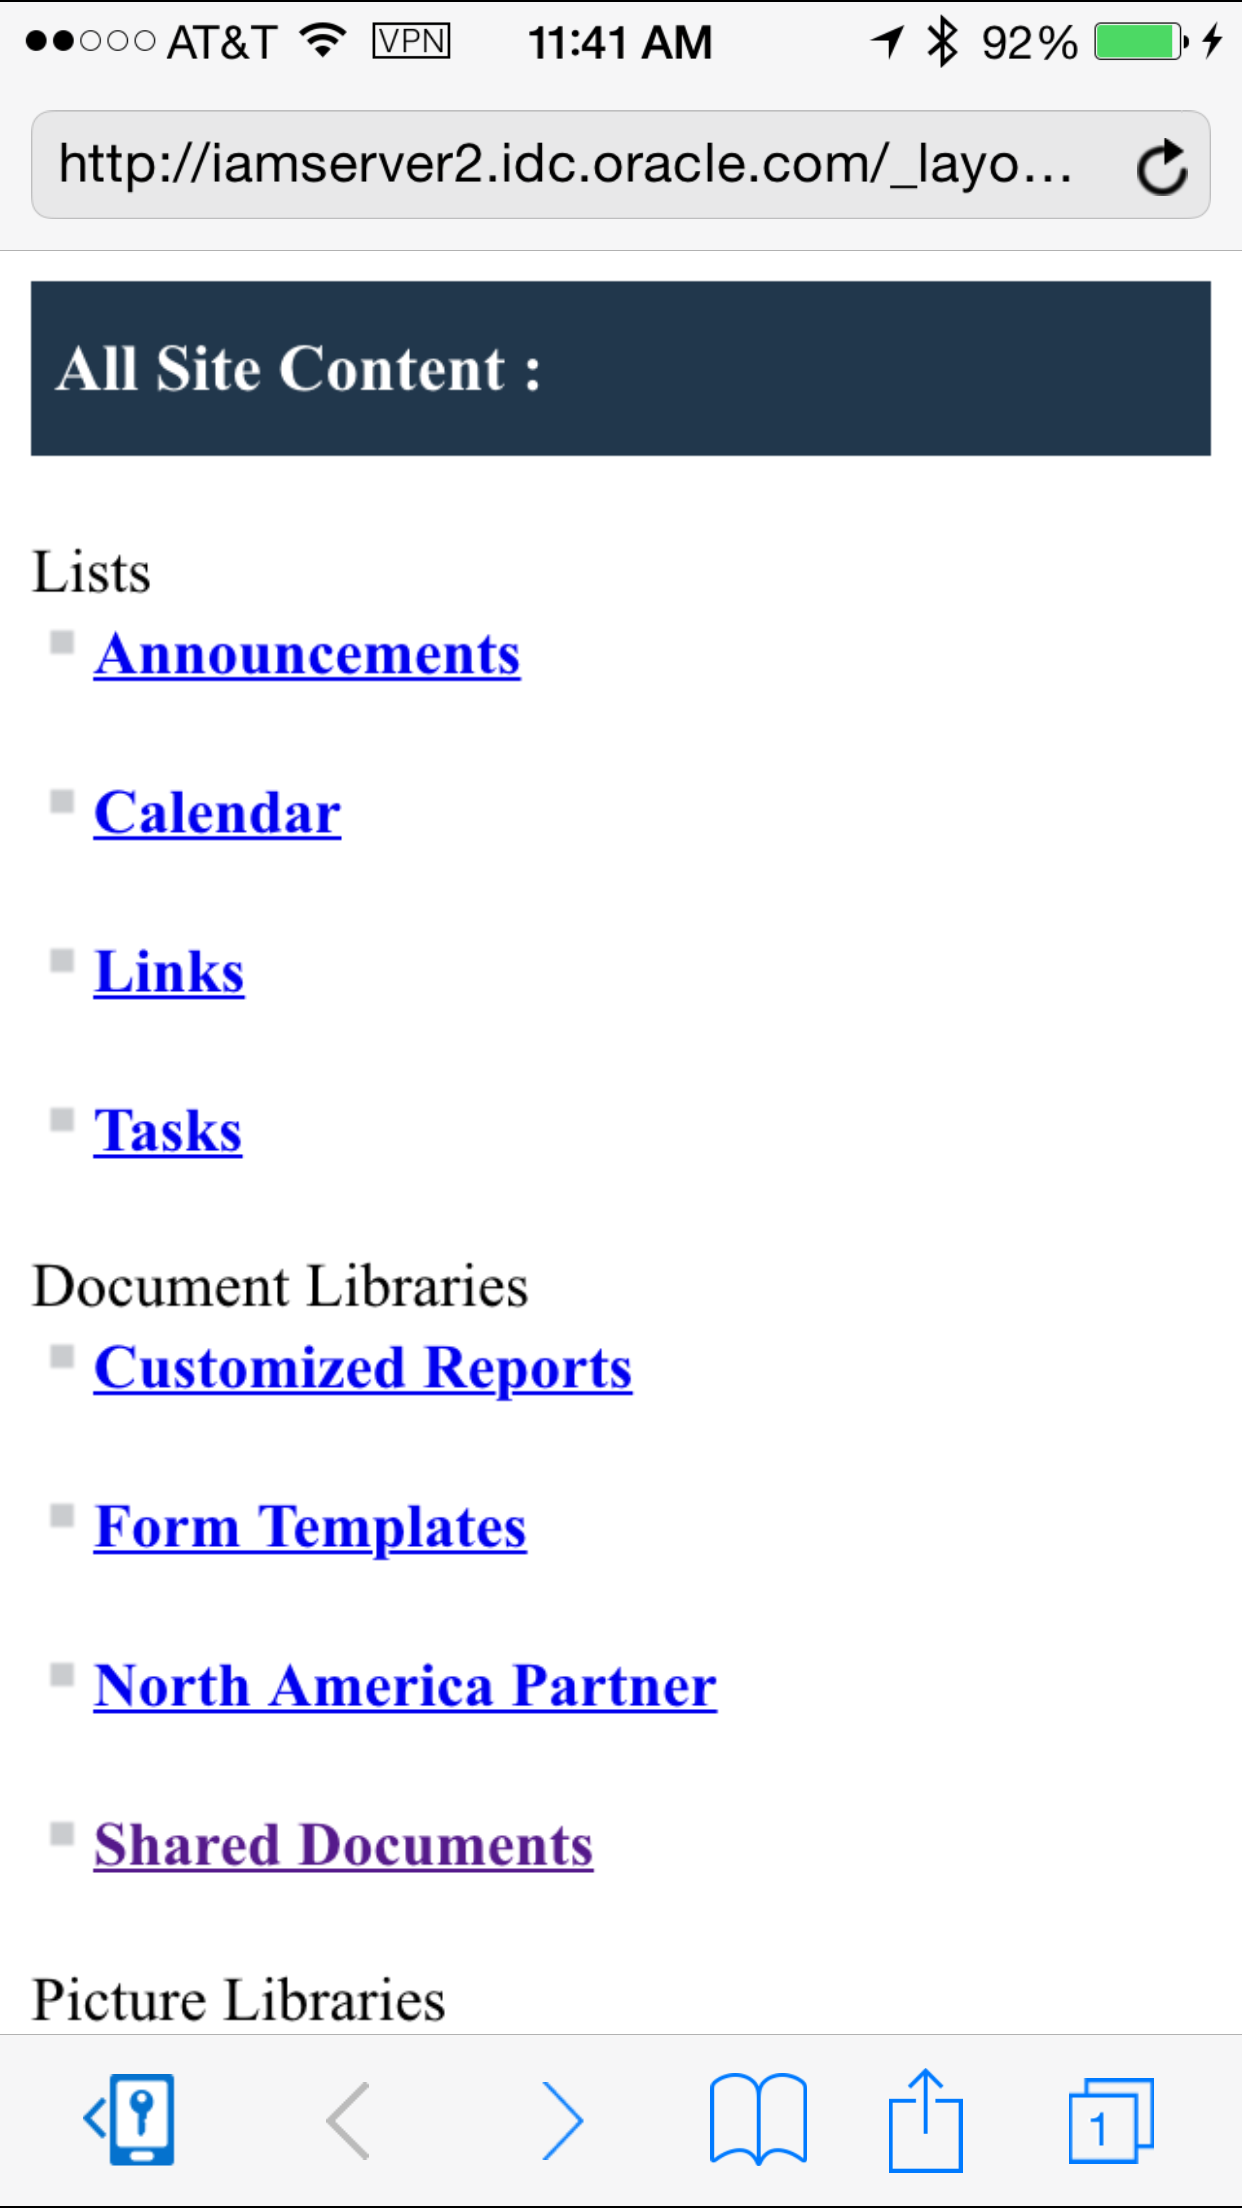
Basic Authentication for Accessing Shared Folder
By default, Workspace uses Kerberos SSO (either NTLM or SPNEGO) to access the File Servers or Share Point. Kerberos SSO is possible only when the File Server is in the same Kerberos domain and Workspace is registered with KINIT or PKINIT authentication mode. If the file server(s) are not in the Kerberos domain or if the Workspace is not registered using KINIT and PKINIT then, Basic Authentication can be used as alternative to access file server.
-
To setup Basic Authentication, Go to Access console
 > Configuration > Settings
                                    > Mobile Security Manager Settings >
                                    Server Settings
.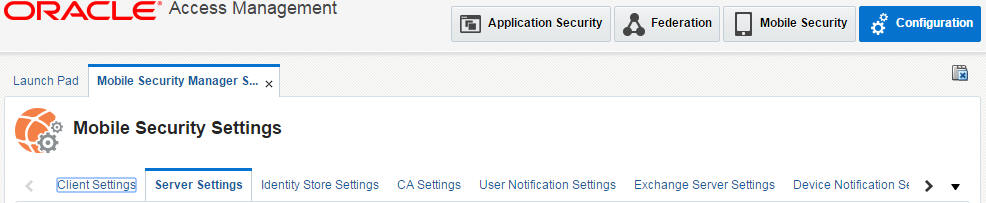
In this page, select the Basic Authentication as shown below.
Check the optionAuthN challange Enabled- This option allows you to set Whether the server should offer HTTP Basic authentication to the client. If checked, server will offer HTTP Basic authentication upon any unauthenticated requests. If unchecked, HTTP Basic credentials will be accepted by the server only if such credentials are sent proactively by the client, and all other unauthenticated requests will be rejected by the server without offering for authentication.
Check theNon-SSL allowedoption - This option allows you to set Whether the server should allow HTTP Basic authentication over a non-HTTPS connection. If unchecked, the server will allow Basic authentication only if the connection is secure. If checked, the server will allow HTTP Basic authentication over insecure connections as well. This sends login information over the network unencrypted, and is a SEVERE security risk. Checking this is strongly discouraged.
ClickApply.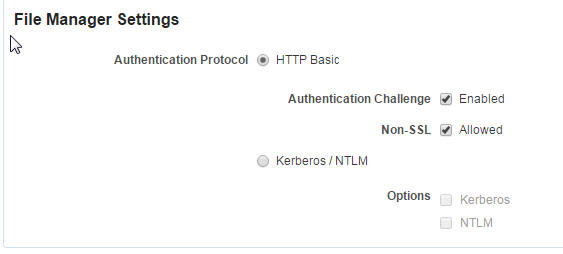
-
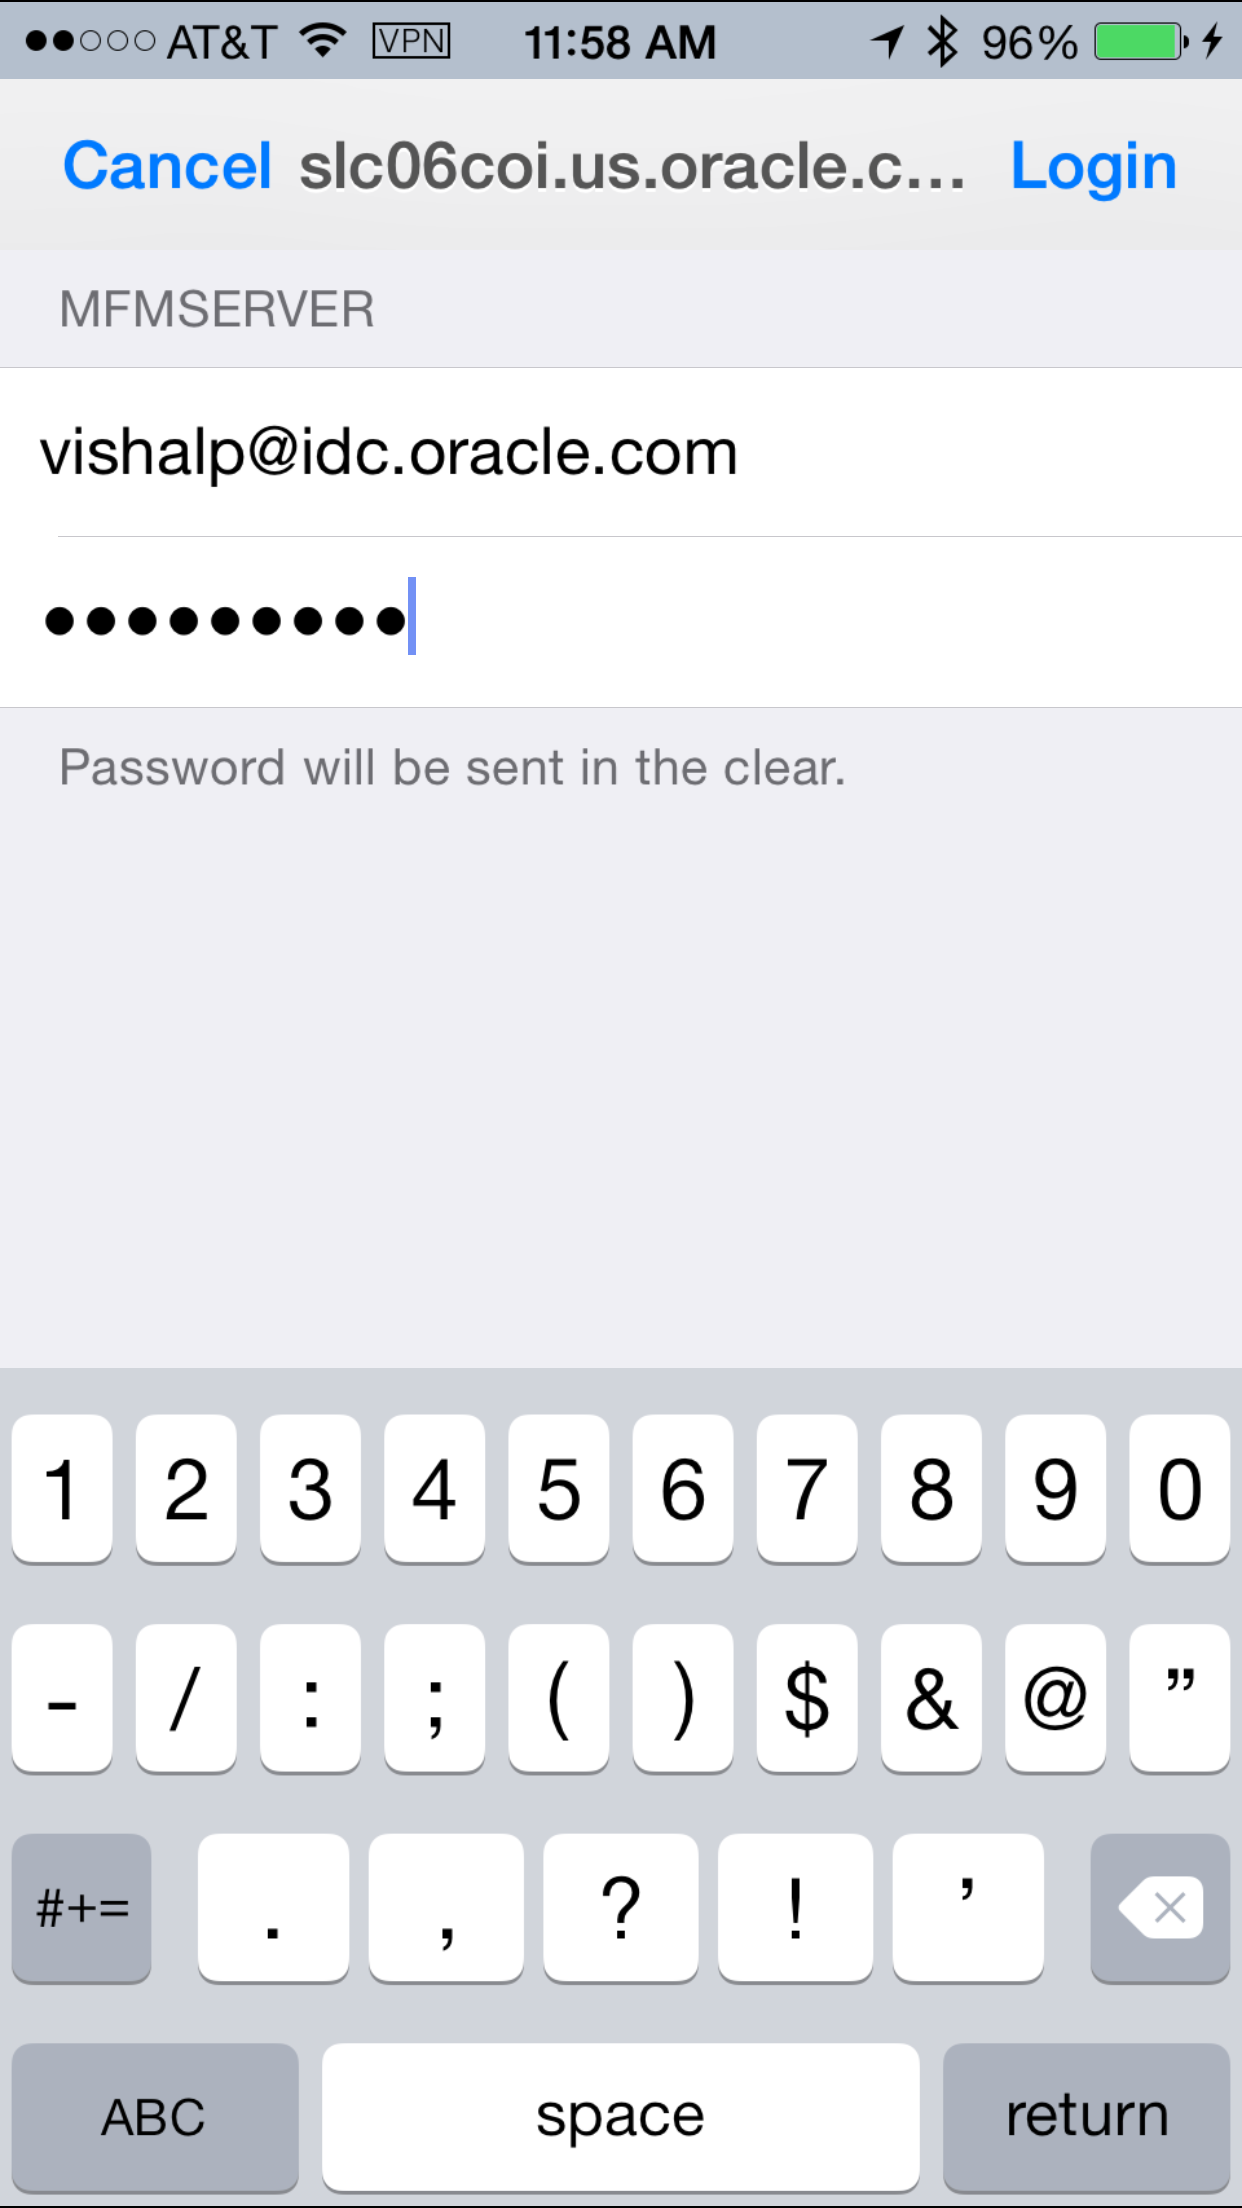
Navigate to the mobile device. Login to secure Workspace. Tap on
File Managericon. Browse the desired location -http://iamserver2.idc.oracle.com/. This time File Manager should prompt you for Basic Authentication credentials.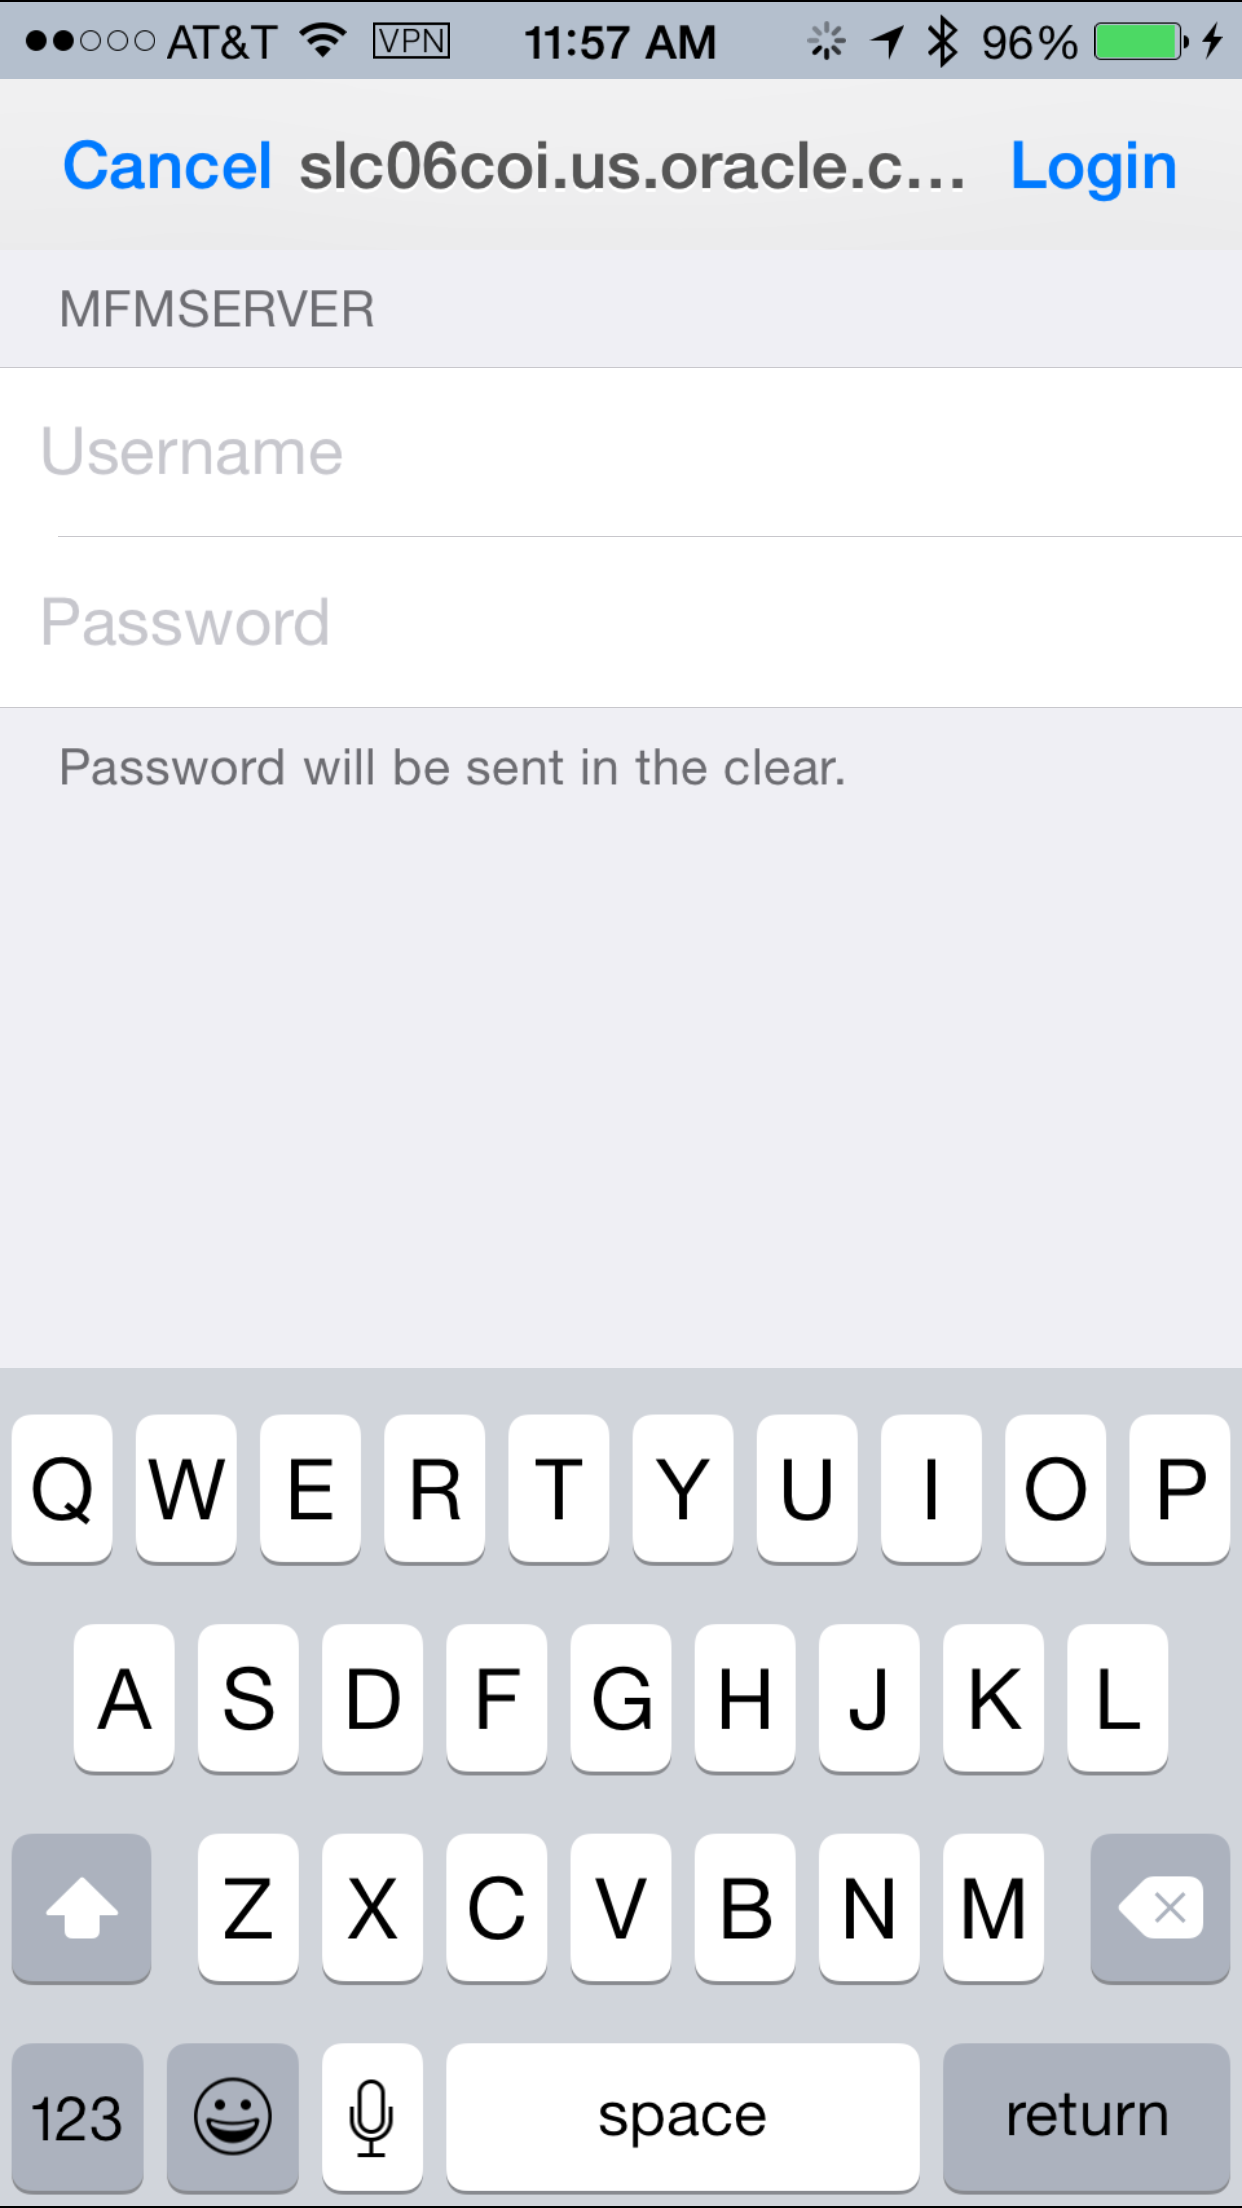
Enter the basic authentication credentials to access file(s).