Overview
Purpose
In this tutorial you learn to install, configure, and uninstall the Oracle WebLogic Server 12.1.3 Zip Distribution. You also learn to install, configure, and run the WebLogic Server 12.1.3 supplemental code examples.
Time to Complete
Approximately 30 minutes
Introduction
The WebLogic Server 12.1.3 Zip Distribution is a useful archive that you install by simply extracting it to the local file system. WebLogic Server also provides demonstrations of Java Platform, Enterprise Edition (Java EE) features, a sample application, and additional WebLogic Server application program interface (API) examples.
Hardware and Software Requirements
The following is a list of hardware and software requirements:
- A Linux development machine with sufficient CPU, memory, and hard disk space.
- Sufficient hardware to run WebLogic Server (For details, see the list of certified platforms.)
- Java Development Kit (JDK 1.7) on the development machine.
Prerequisites
Before starting this tutorial, you should have access to Oracle Technology Network to download the WebLogic Server 12.1.3 Zip Distribution.
Downloading the WebLogic Server 12.1.3 Zip Distribution
-
Open a browser and navigate to http://www.oracle.com/technetwork/middleware/weblogic/downloads/wls-for-dev-1703574.html.
-
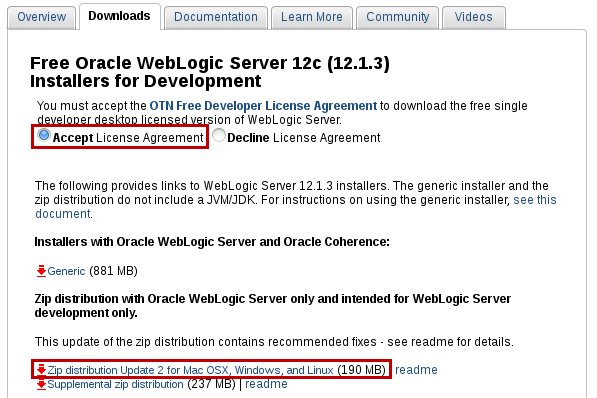
On the Downloads tab, click Accept License Agreement, and then click Zip distribution Update 2 for Mac OSX, Windows, and Linux.
-
Log in to Oracle Technology Network and save the zip file to your local file system.
The site may prompt you for your Oracle Technology Network (OTN) user name and password.
Downloading the WebLogic Server 12.1.3 Supplemental Zip
-
Open a browser and navigate to http://www.oracle.com/technetwork/middleware/weblogic/downloads/wls-for-dev-1703574.html.
-
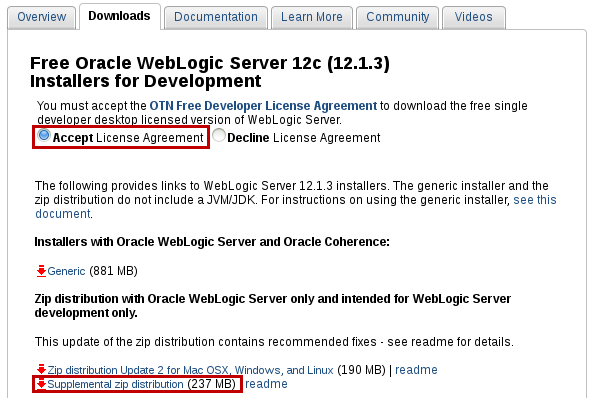
On the Downloads tab, click Accept License Agreement, and then click Supplemental zip distribution.
-
Save the zip file to your local file system.
Installing and Configuring the WebLogic Server 12.1.3 Zip Distribution and Supplemental Code Examples
-
Open a Linux terminal shell and log in as the
oracleuser. -
Execute
export
                                  JAVA_HOME=/u01/jdk1.7.0_79
(or the version of the JDK 1.7 you have installed) to setJAVA_HOME. -
Execute
export MW_HOME=/u01/wls12130to setMW_HOME. - Execute
export
                                CONFIG_JVM_ARGS="-Djava.security.egd=file:/dev/./urandom"
to set the random generator. -
Execute
cd /u01to change the directory to the location where you want to install WebLogic Server. In this tutorial,/u01is the location. -
Execute
unzip wls1213_dev_update2.zipto install the Zip Distribution in the/u01/wls12130directory.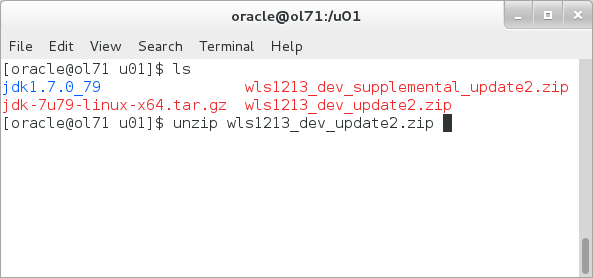
-
Execute
unzip
                                  wls1213_dev_supplemental_update2.zip
to install the supplemental code examples in the/u01/ws12130directory.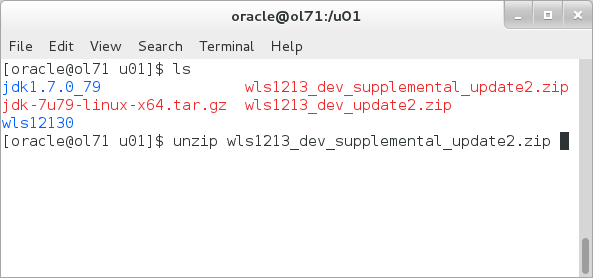
-
Execute
cd /u01/wls12130to navigate to thewls12130installation directory. -
Execute
./configure.shto unpack the Java Archive (JAR) files.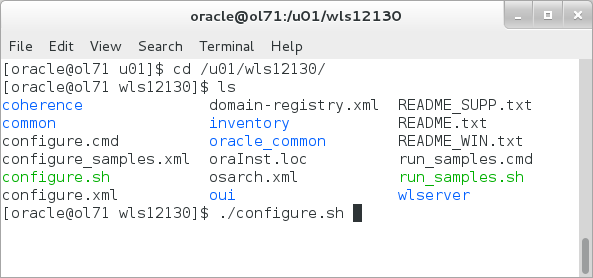
-
At the prompt, enter
yto configure a new domain.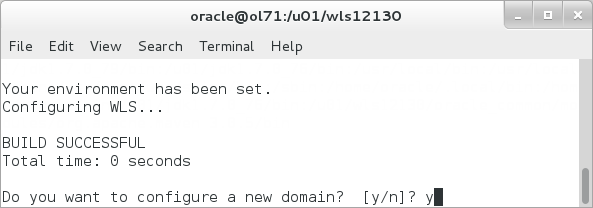
-
At the prompts, enter a username (for example,
weblogic) and a password, and then reenter the password.
A domain called mydomain is created and the WebLogic Server starts.
Note that it may take several minutes to create the domain.
-
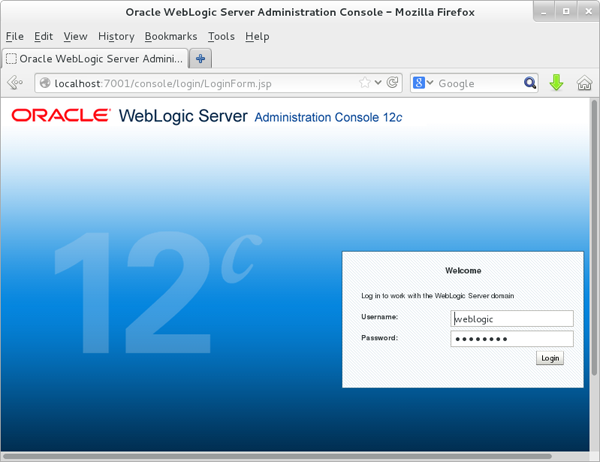
Open a browser and navigate to http://localhost:7001/console to access the WebLogic Server Administration Console.
-
Log in with the username and password that you used in step 10.
The console for mydomain is displayed.
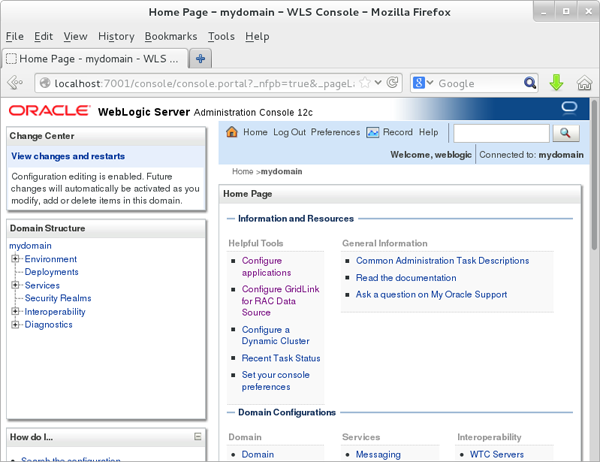
You successfully installed WebLogic Server 12.1.3, and the new domain is running.
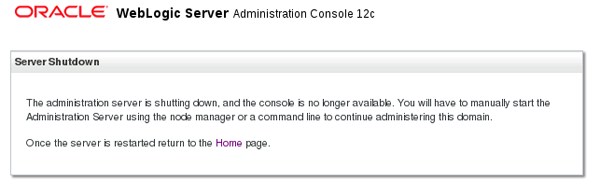
In the next tutorial section, you will be working with the WebLogic Server code examples domain. Therefore, shut this WebLogic Server down.
-
Under Domain Structure tree, expand Environment and select Servers.
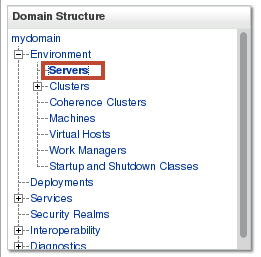
The Summary of Servers window is displayed.
-
On the Control tab, select the myserver check box. From the Shutdown menu, select Force Shutdown Now.
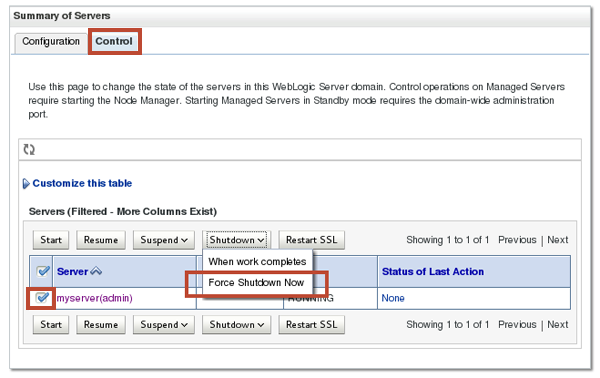
The WebLogic Server shuts down.
Next, create the code examples domain.
Creating and Starting the Code Examples Domain
-
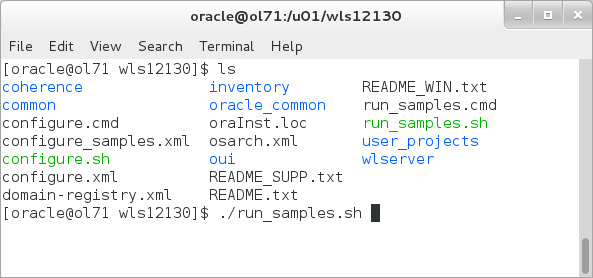
In the terminal shell, execute ./run_samples.sh.
-
At the prompts, enter a username (for example,
weblogic) and a password, and then reenter the password.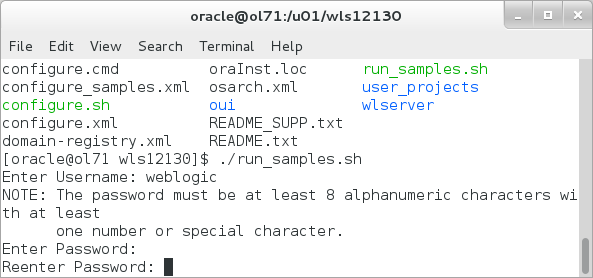
-
Execute
cd
                                  /u01/wls12130/wlserver/samples/domains/wl_server
to change to the code examples domain directory.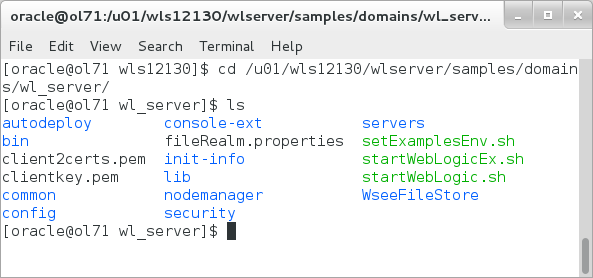
-
Execute ./startWebLogic.sh.

The code example domain starts, and the server enters the running state.

-
If the page does not open automatically, then open a browser and access the running WebLogic Server domain; for example, http://127.0.0.1:7001/index.jsp.
The WebLogic Server home page is displayed. You can access the code examples and sample applications on this page.
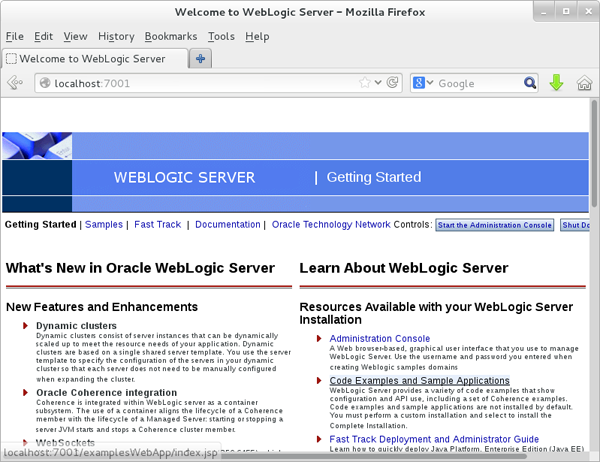
Leave your browser open for the next section.
Note that it may take several minutes to create the various code examples domains.
The code examples domain is created and ready to use.
Running the Code Examples
In this topic, you learn how to run deployed code examples and some code examples that require building and deploying.
Running the Deployed Code Examples
-
In the Learn About WebLogic Server pane, click Code Examples and Sample Applications.
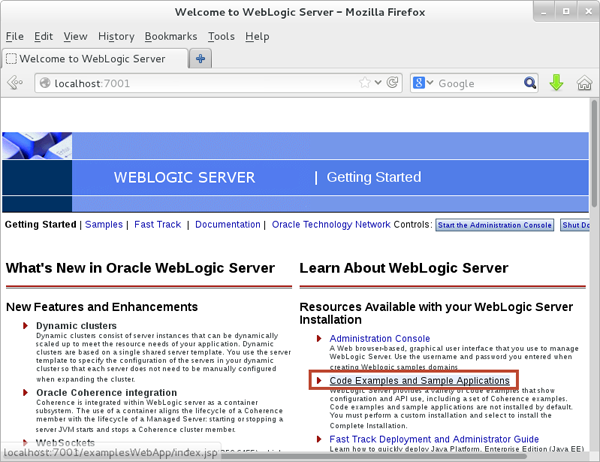
The WebLogic Server Examples page is displayed.
-
Scroll down to the Using Bean Validation with JPA Entities and click Run the example.
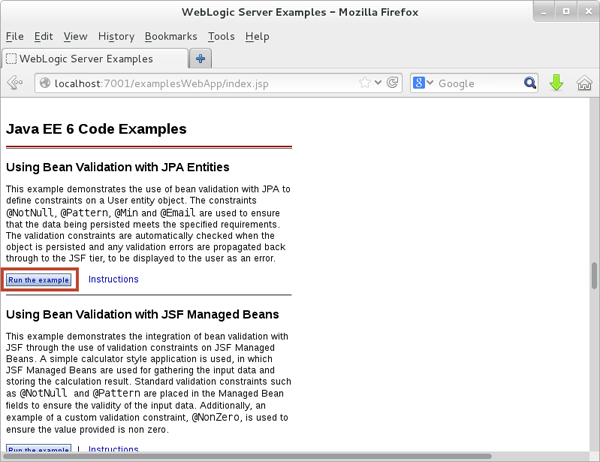
The Bean Validation in Entity code example is displayed.
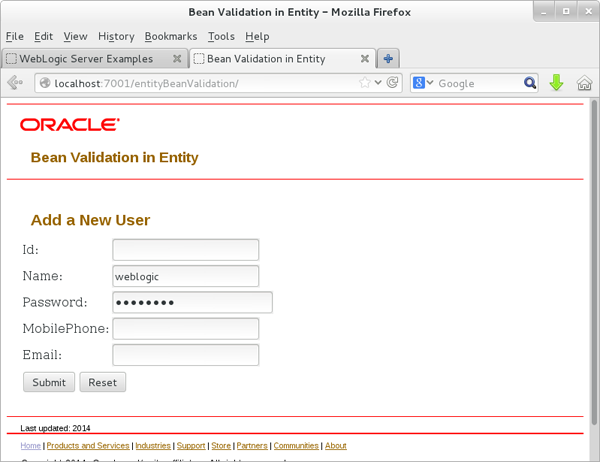
-
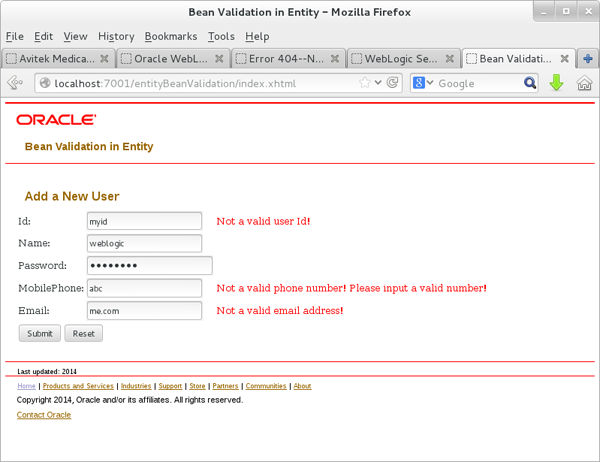
Enter data and click Submit.
The code example displays input validation.
Running the Code Examples That Require Building and Deployment
-
In the terminal shell, ensure that the WebLogic Server code examples domain is running. You will use it as the deployment target in later steps.
-
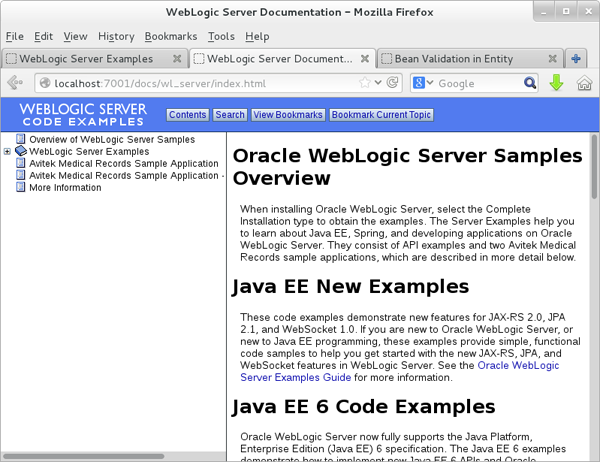
On the WebLogic Server Examples page, click View the WebLogic Server API Examples Documentation.
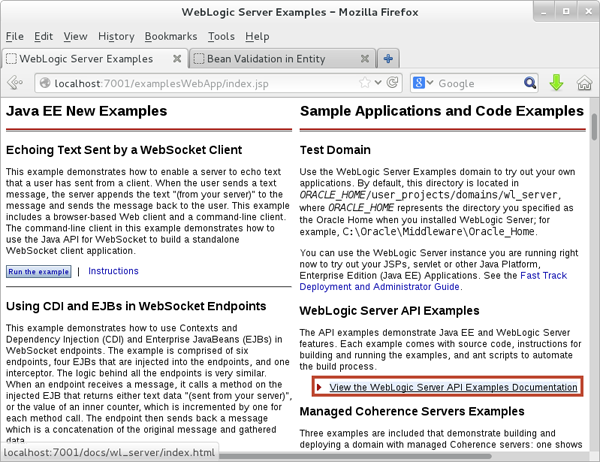
The WebLogic Server Documentation page is displayed.
-
In the left pane, expand WebLogic Server Examples, Additional Code Examples, API and EJB. Select EJB 3.0 with JPA, Session Bean and AJAX to view the code example in the right pane.
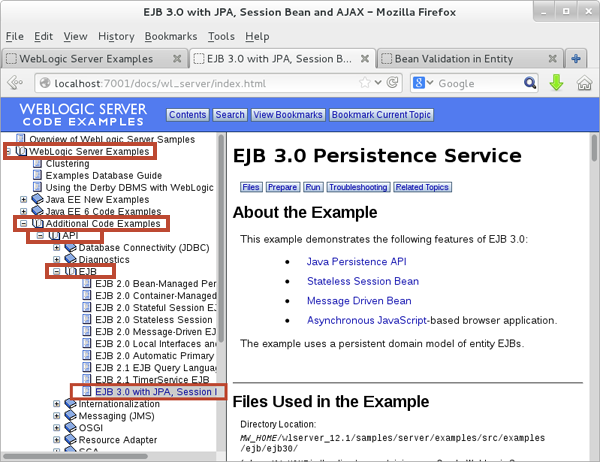
-
Review the instructions for the EJB 3.0 with JPA, Session Bean and AJAX code example.
-
Open a Linux terminal shell and log in as the
oracleuser. -
Execute
.
/u01/wls12130/wlserver/samples/domains/wl_server/bin/setExamplesEnv.sh
to set your environment.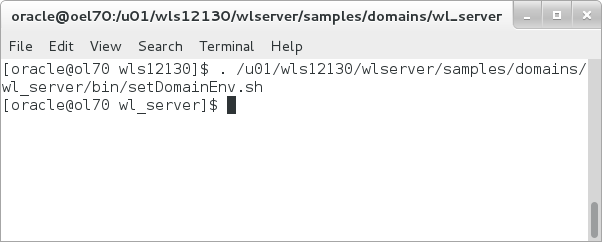
-
Execute
cd
                                      /u01/wls12130/wlserver/samples/server/wl_server/examples/src/examples/ejb/ejb30
to change to theejb30code example directory.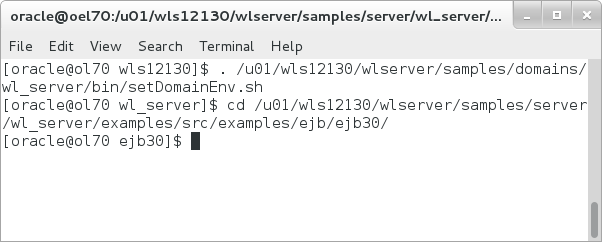
-
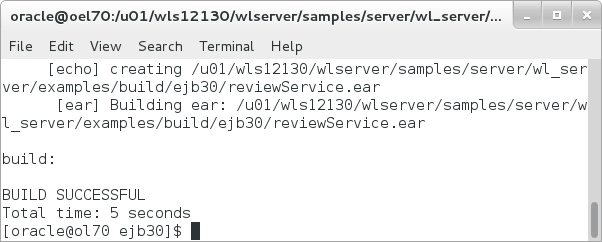
Execute
ant buildto build the example.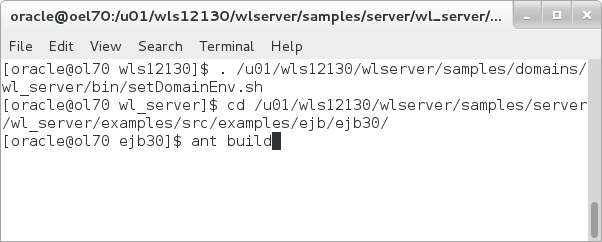
-
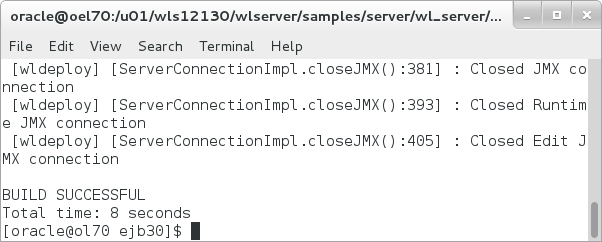
Execute
ant deployto deploy the example to the WebLogic Server code examples domain.
The build is successful.
-
In the browser window, navigate to http://127.0.0.1:7001/reviewService to open the EJB 3.0 Sample Application.
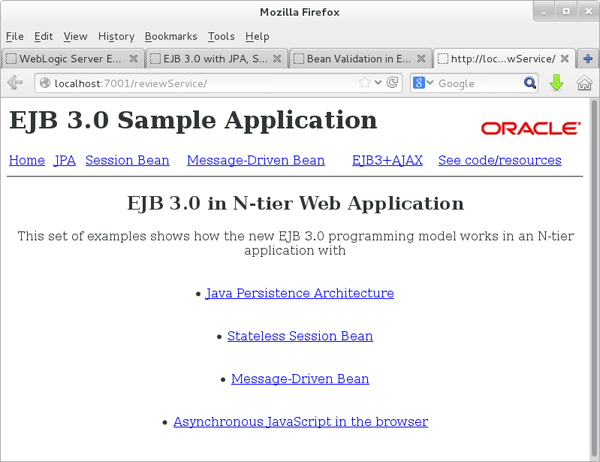
The build is successful.
Running the Avitek Medical Records Sample Applications
WebLogic Server provides two versions of the Avitek Medical Records sample application, one constructed with Java Server Faces (JSF) and another constructed with Spring. In this section, you learn how to run the sample applications.
Running the Avitek Medical Records Sample Application (JSF Version)
-
First, stop the Samples Server that may be running from the previous steps by entering
control-cin the terminal session to stop the server. -
Execute
cd
                                      /u01/wls12130/wlserver/samples/domains/medrec
to change to the domain directory. -
Execute
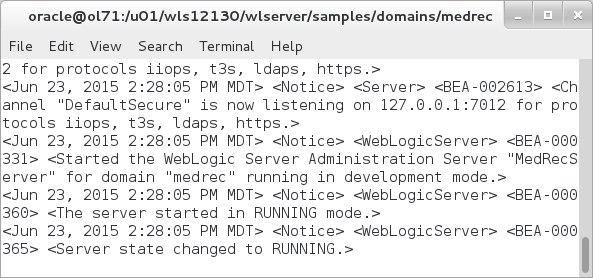
./startWebLogic.shto start the Avitek Medical Records domain.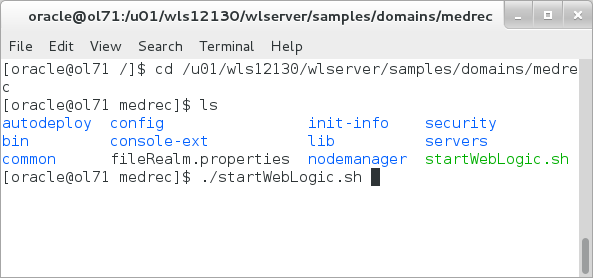
The medrec domain starts.
-
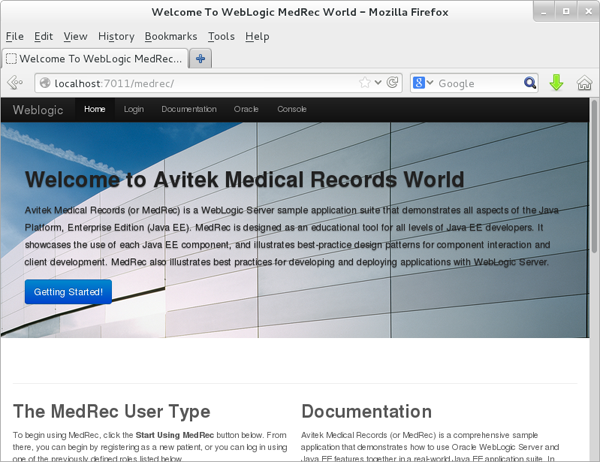
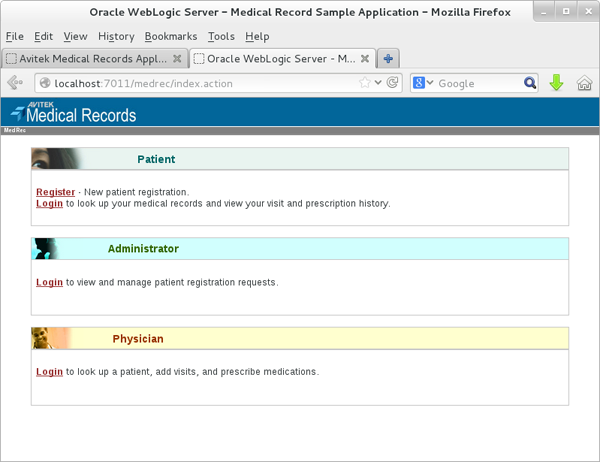
If the page does not get opened automatically then open a browser window, navigate to http://127.0.0.1:7011/medrec.
The Avitek Medical Records Sample Application is displayed.
Running the Avitek Medical Records Sample Application (Spring Version)
-
First, stop the Medrec Server that may be running from the previous step by entering
control-cin the terminal shell to stop the server. -
Execute
cd
                                      /u01/wls12130/wlserver/samples/domains/medrec-spring
to change to the domain directory. -
Execute
./startWebLogic.shto start the Avitek Medical Records domain.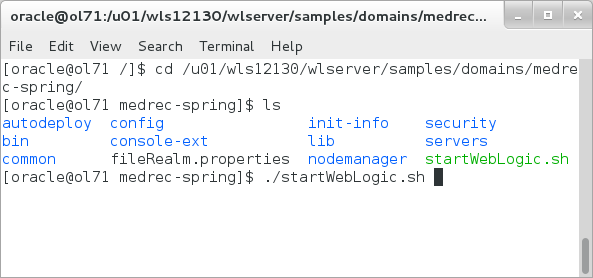
The medrec domain starts.

-
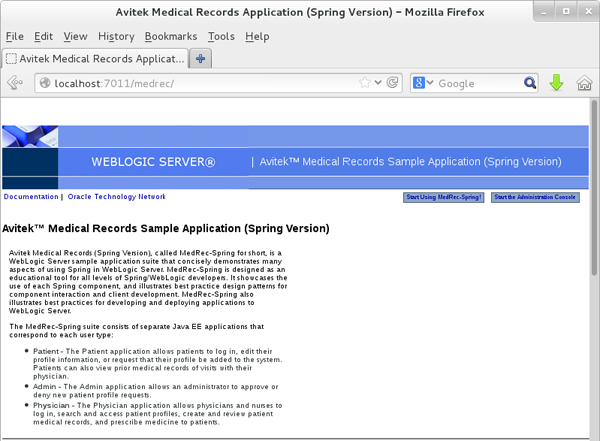
If the page does not get opened automatically then open a browser window and navigate to http://127.0.0.1:7011/medrec.
The Avitek Medical Records Sample Application (Spring Version) is displayed.
-
In the browser, click Start Using MedRec-Spring.
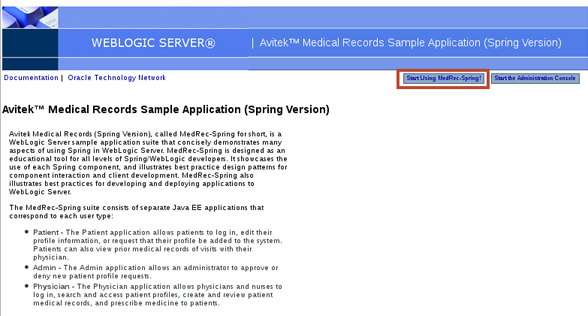
The Avitek Medical Records Sample Application - Spring Version login page is displayed.
Uninstalling the WebLogic Server 12.1.3 Zip Distribution
-
If a WebLogic Server is running, shut it down using the WebLogic Server Administration Console or stop the server by entering
control-cin the terminal shell. -
In the terminal shell, navigate to the location where you installed the WebLogic Server Zip Distribution files. In this tutorial,
/u01is the location. -
Delete the files. In this tutorial, execute
rm -rf wls12130.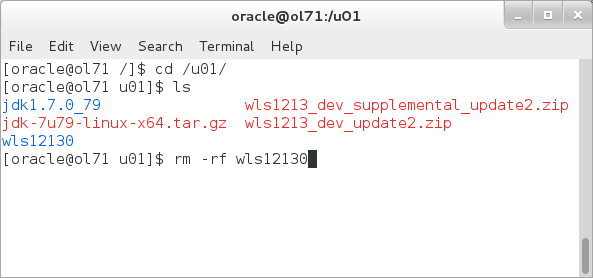
Summary
In this tutorial, you learned to:
- Install and configure the WebLogic Server 12.1.3 Zip Distribution
- Install the WebLogic Server 12.1.3 Supplemental Zip, which includes the code examples
- Start the WebLogic Server 12.1.3 Code Examples domain
- Run the WebLogic Server 12.1.3 Code Examples
- Run the Avitek Medical Records Sample Application
- Uninstall the WebLogic Server 12.1.3 Zip Distribution
Resources
- WebLogic Server 12.1.3 Documentation
- To learn more about WebLogic Server, refer to additional Oracle By Example tutorials in the Oracle Learning Library.
Credits
- Lead Curriculum Developer: Tom Eliason
- Other Contributors: TJ Palazzolo