Before You Begin
Purpose
Use Java Development Kit (JDK) 1.8 with WebLogic Server 12.1.3, including installing, creating a domain, and running an application that uses the JDK 1.8 feature for lambda expressions.
Time to Complete
30 minutes
Background
Lambda expressions enable you to pass functionality as an argument to another method, such as what action should be taken when someone clicks a button - treat functionality as method argument, or code as data. Lambda expressions let you express instances of single-method classes compactly. In this tutorial, a calculator application with mathematical operations utilizes lambda expressions.
Hardware and Software Requirements
The following is a list of hardware and software requirements:
- A Linux development machine with sufficient CPU, memory, and hard disk space
- Sufficient hardware to run WebLogic Server (For details, see the list of certified platforms.)
Prerequisites
Before starting this tutorial, you should have access to Oracle Technology Network to download the WebLogic Server 12.1.3 Zip Distribution and the NetBeans IDE.
Downloading and Installing JDK 1.8
-
Access the Linux development machine and start a web browser with internet access.
-
Navigate to http://www.oracle.com/technetwork/java/javase/downloads/.
-
Click the JDK 1.8 download link and click Accept License Agreement.
-
Download the JDK 1.8 .tar.gz file to your Linux machine in the
/u01directory.Note: this tutorial uses jdk-8u31-linux-x64.gz - other versions of JDK 1.8 may also work but they have not been tested with this tutorial.
-
Open a secure shell session into the Linux machine.
-
Execute
cd /u01to change directory.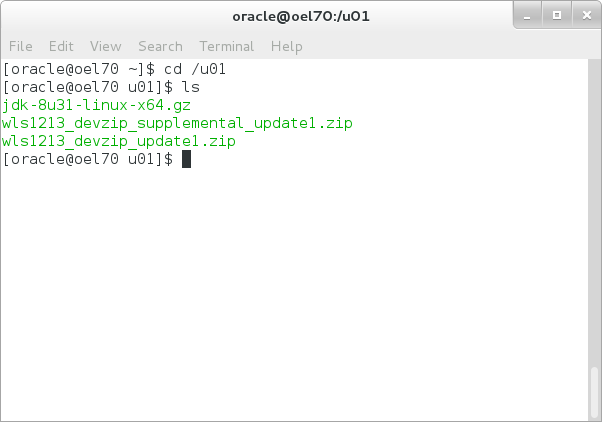
-
Execute
tar -xzvf jdk-8u31-linux-x64.gz(or the JDK 1.8 version you downloaded) to extract the JDK.
Note that the JDK_HOME is /u01/jdk1.8.0_31.
Downloading the WebLogic Server 12.1.3 Zip Distribution
-
Open a browser and navigate to http://www.oracle.com/technetwork/middleware/weblogic/downloads/wls-for-dev-1703574.html.
-
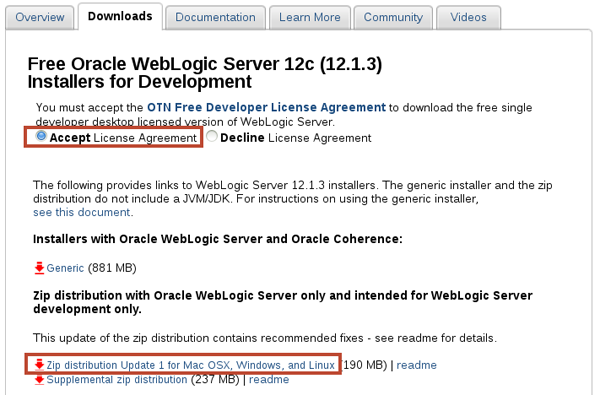
On the Downloads tab, click Accept License Agreement, and then click Zip distribution Update 1 for Mac OSX, Windows, and Linux.
-
Log in to Oracle Technology Network and save the zip file to your local file system. This tutorial uses the location
/u01.
The site may prompt you for your Oracle Technology Network (OTN) user name and password.
Note that this tutorial uses the WebLogic Server Zip Distribution Update 1 - other versions of the WebLogic Server Zip Distribution may also work but they have not been tested with this tutorial.
Installing and Configuring the WebLogic Server 12.1.3 Zip Distribution with JDK 1.8
-
Open a Linux terminal shell and log in as the
oracleuser. -
Execute
export
                                  JAVA_HOME=/u01/jdk1.8.0_31
to set the JAVA_HOME environment variable.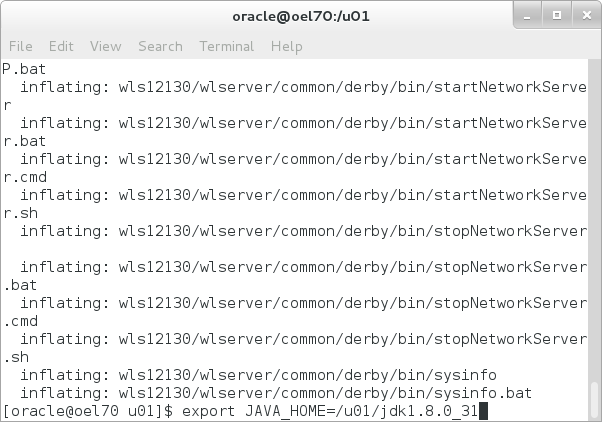
-
Execute
export MW_HOME=/u01/wls12130to set the MW_HOME environment variable.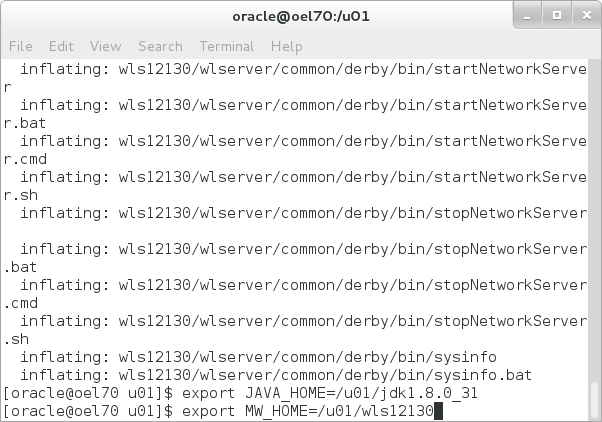
-
Execute
cd /u01to change the directory to the location where you want to install WebLogic Server. In this tutorial,/u01is the location. -
Execute
unzip wls1213_devzip_update1.zipto install the Zip Distribution in the/u01/wls12130directory.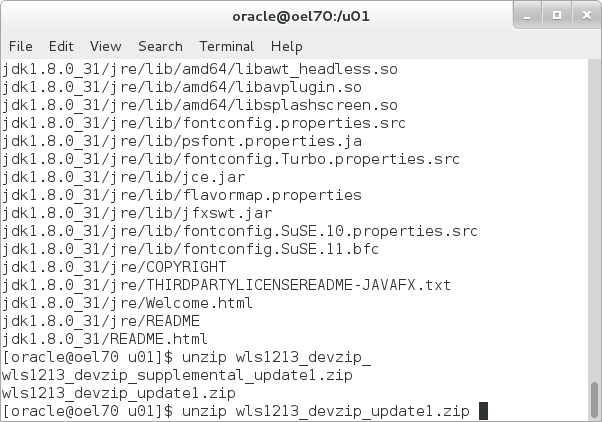
-
Execute
./configure.shto unpack the Java Archive (JAR) files.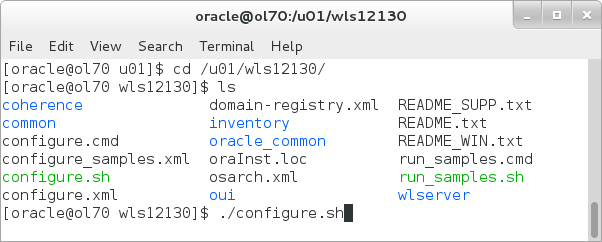
-
At the prompt, enter
yto configure a new domain.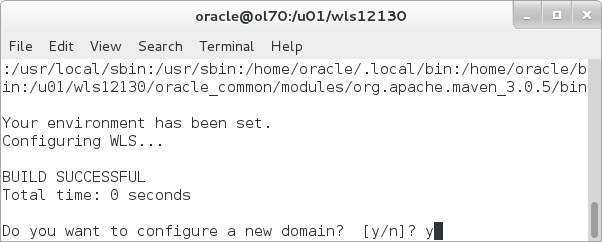
-
At the prompts, enter a username (for example,
weblogic) and a password, and then reenter the password.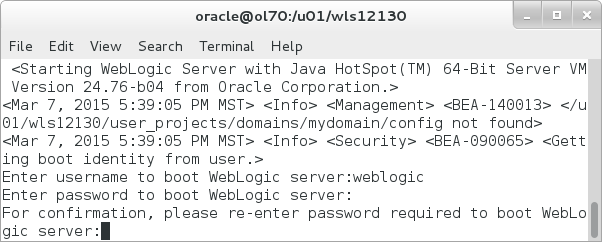
A domain called mydomain is created and the WebLogic Server starts.
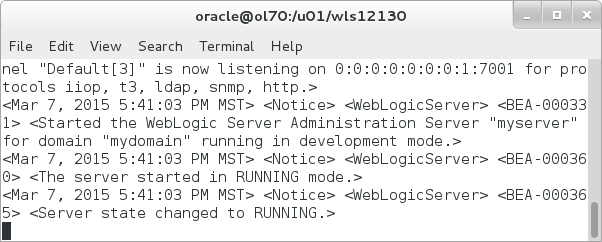
You successfully installed WebLogic Server 12.1.3, and the new domain is running.
In the next tutorial section, you will be working with the WebLogic Server code examples domain. Next, shut this WebLogic Server down.
Downloading the WebLogic Server Application for JDK 1.8
-
Download this WebLogic Web application, calculator.war to the Linux machine.
-
Copy the calculator.war file to the
/u01location.You will deploy the calculator.war web application in the next steps.
Deploying the JDK 1.8 Application to WebLogic Server 12.1.3
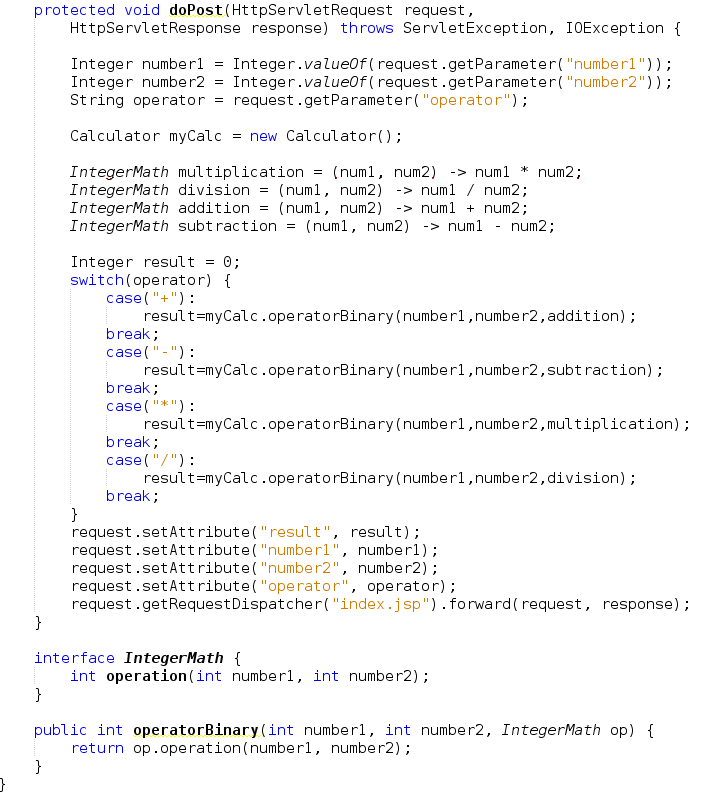
The calculator application uses the JDK 1.8 feature for lambda expressions - in the code below, the servlet doPost method declares several math functions: multiplication, division, addition, and subtraction. Those functions are used to calculate the result.
-
Open a browser on the Linux machine and navigate to http://localhost:7001/console to access the WebLogic Administration Console.
-
Enter
weblogicfor Username andwelcome1for Password and click Login. - In the Domain Structure pane,
click Deployments.
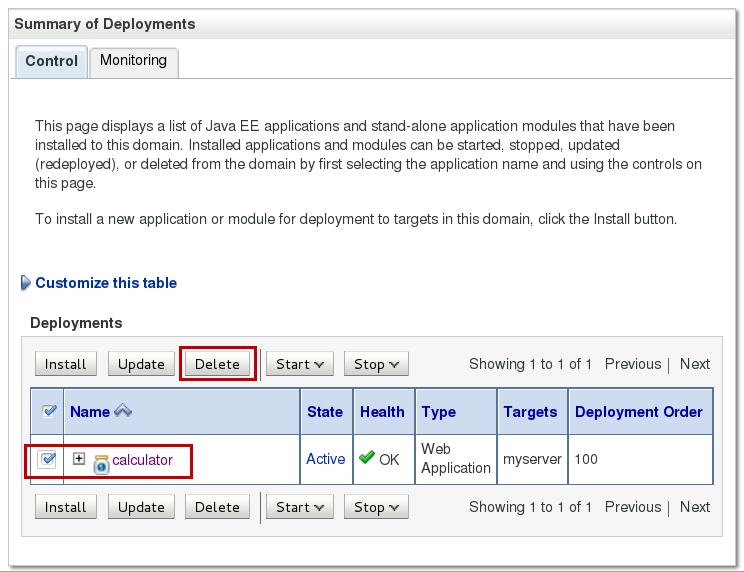
- In the Summary of Deployments pane, click the Install button.
- In the Install Application Assistant, navigate to the /u01 directory, select the calculator.war file and click Next.
-
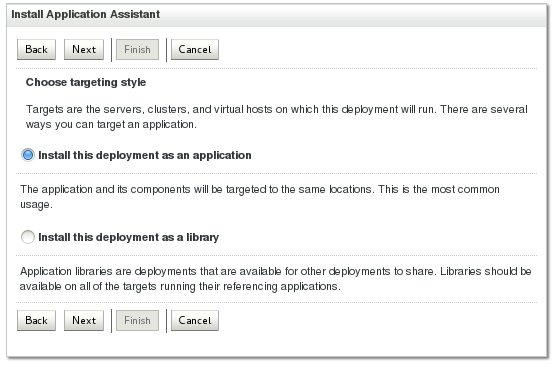
Click Next to Install this deployment as an application.
-
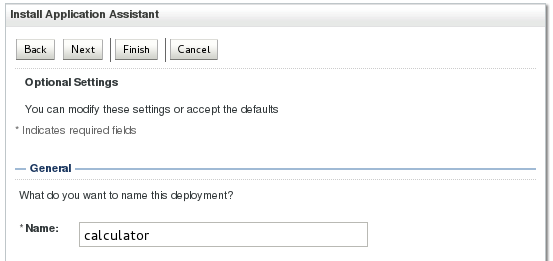
Click Next to accept the application name.
-
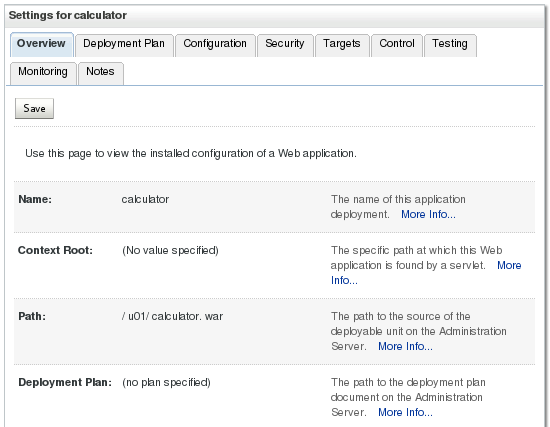
Click Finish to complete the deployment.
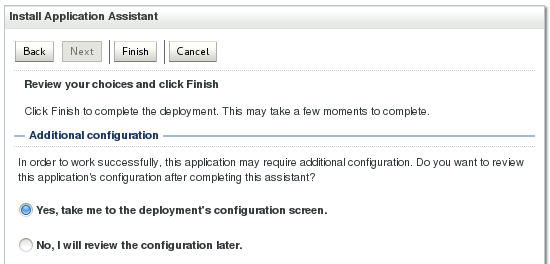
The calculator.war application is deployed.
-
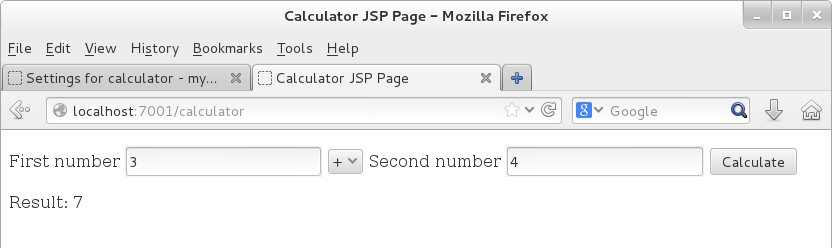
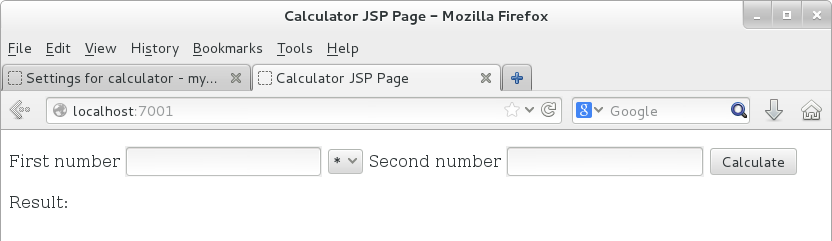
In the browser, navigate to the http://localhost:7001/ URL and the calculator application displays.
-
Enter a pair of numbers, select an operation, and click the Calculate button. The result displays.
-
Navigate to http://localhost:7001/console to access the WebLogic Administration Console.
-
In the Domain Structure pane, click Deployments.
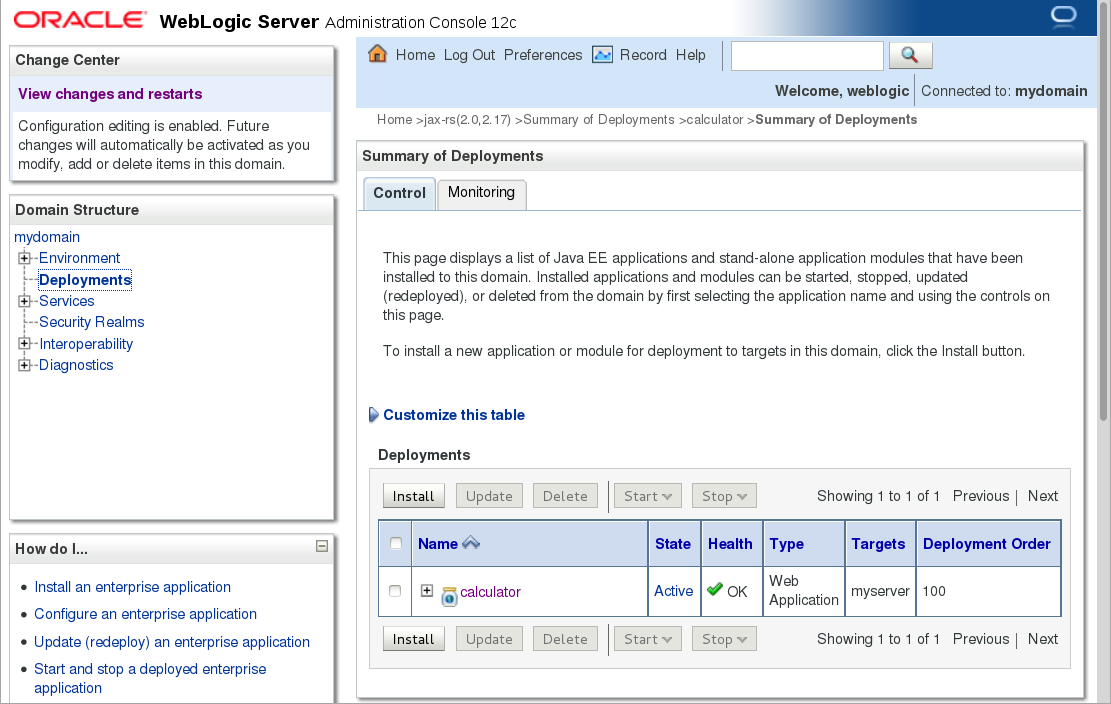
-
Click the check box next to the calculator application and click the Delete button.
The calculator application is deleted from this WebLogic Server and you are ready to proceed to the next section.
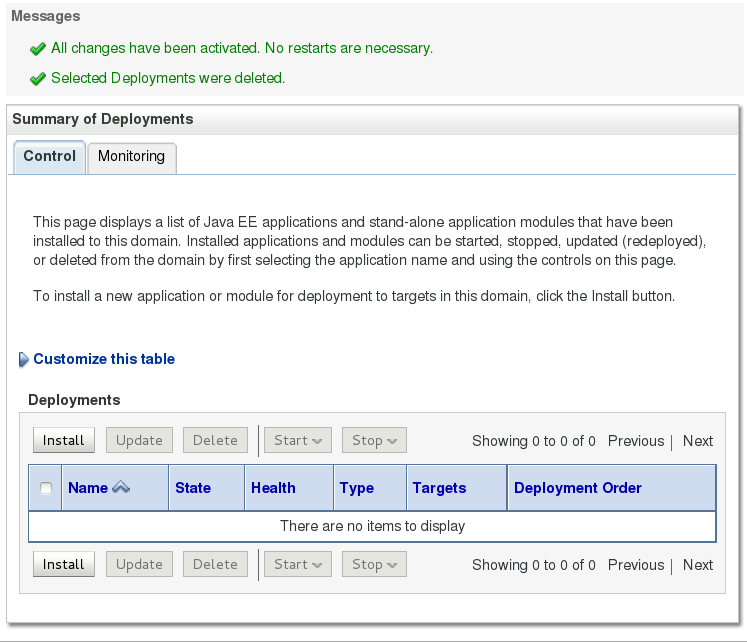

The next section in this tutorial uses the source code for the calculator application and NetBeans to build and deploy the calculator application to this WebLogic Server. Therefore, delete the calculator application from this WebLogic Server.
Downloading and Installing NetBeans 8.0.2 using JDK 1.8
-
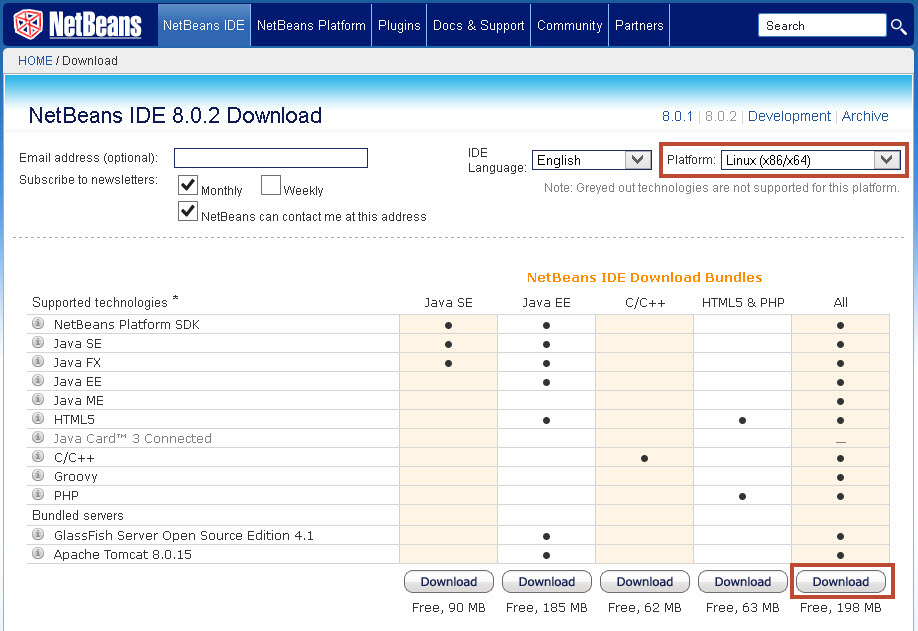
In the browser navigate to https://netbeans.org/downloads/.
-
Select Linux (x86/x64) for Platform and click the link to download the NetBeans installer.
-
Save the NetBeans installer archive file to your local file system.
-
On the Linux machine, open a secure shell as the
oracleuser. -
In the secure shell terminal session, move the NetBeans installer archive file to the
/u01directory. -
Change to the
/u01directory and execute./netbeans-8.0.2-linux.shto start the installer.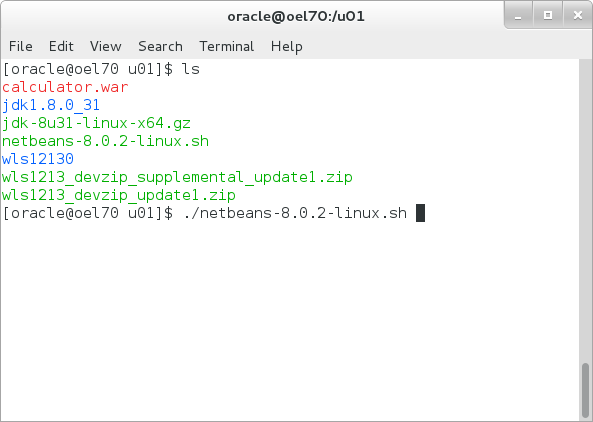
-
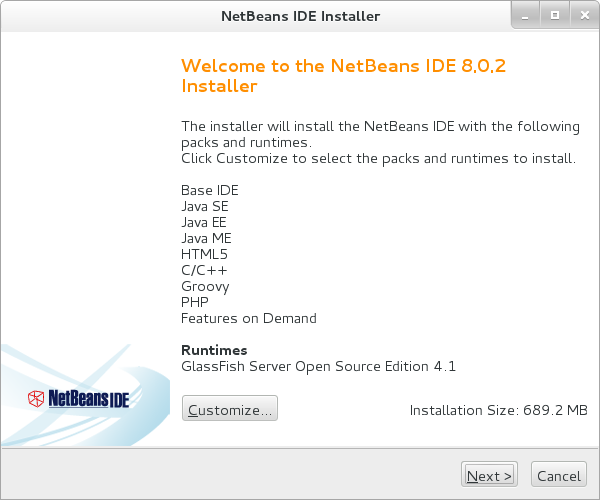
Click Next.
-
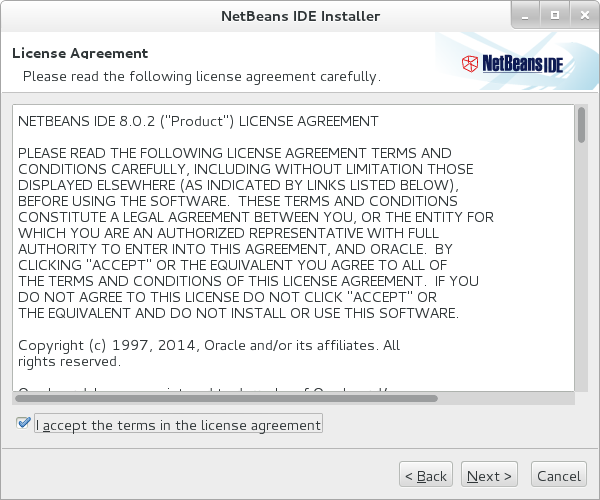
Click I accept the terms in the license agreement and click Next.
-
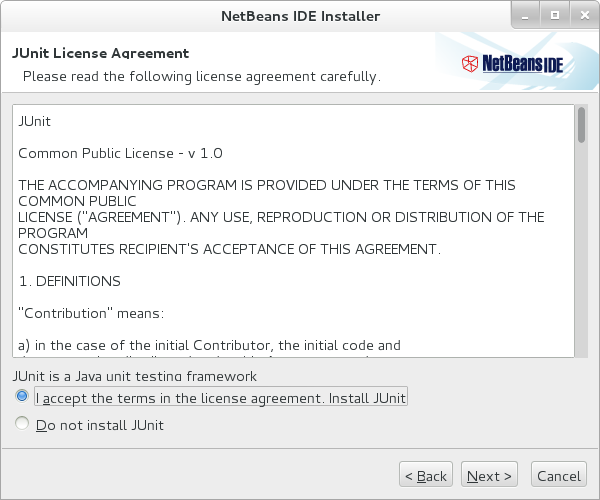
Click I accept the terms in the license agreement and click Next.
-
Enter
/u01/netbeans-8.0.2for the NetBeans IDE location, enter/u01/jdk1.8.0_31for the JDK location, and click Next.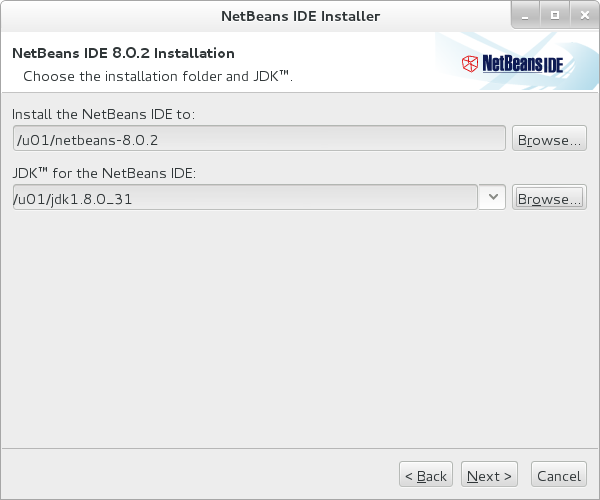
-
Enter
/u01/glassfish-4.1for the GlassFish location, enter/u01/jdk1.8.0_31for the JDK location, and click Next.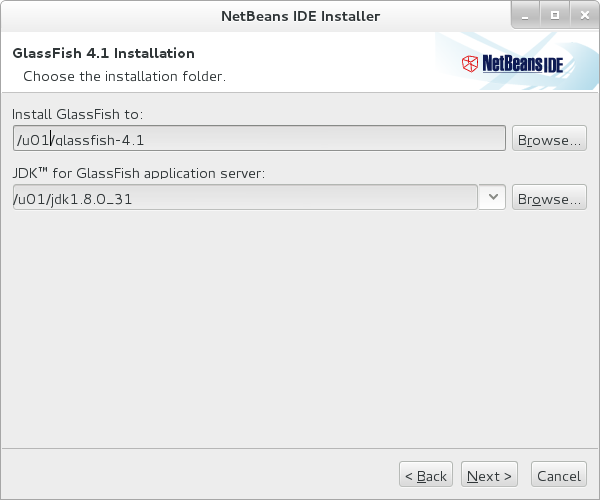
-
Click Install.

-
Click Finish.

Configuring NetBeans 8.0.2 for WebLogic Server 12.1.3
-
In the secure shell on the Linux machine, execute
cd /u01/netbeans-8.0.2/to change to the NetBeans IDE directory. -
Execute
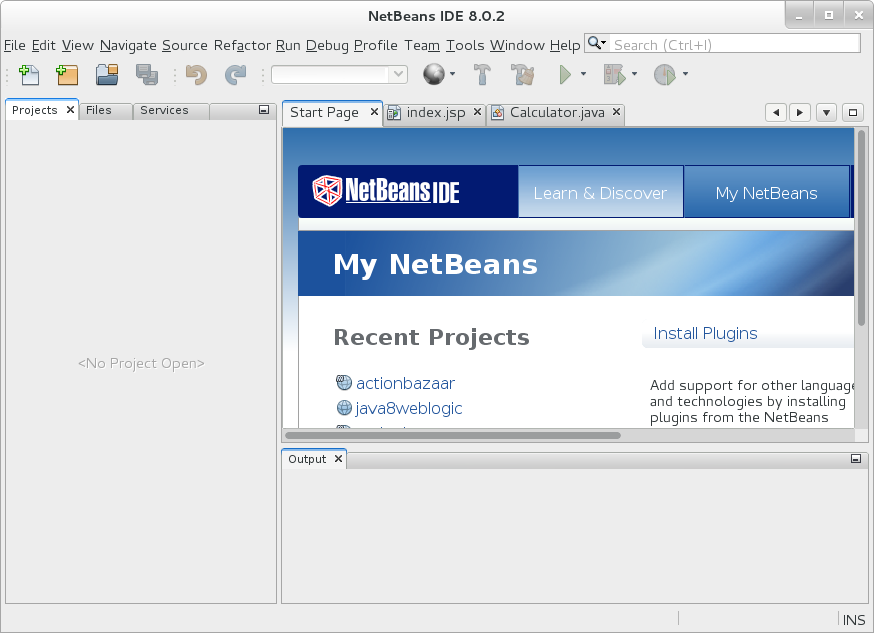
bin/netbeansto start the NetBeans IDE.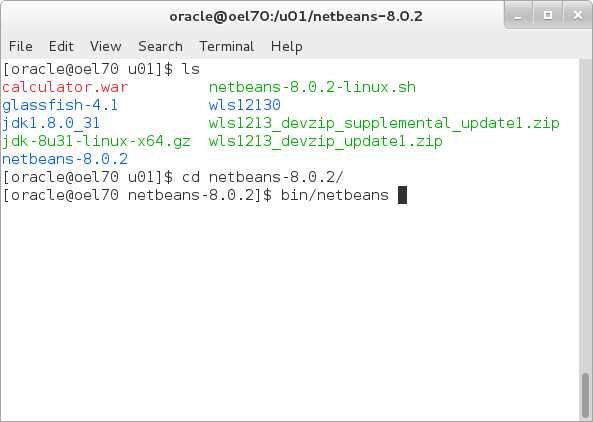
The NetBeans IDE displays.
-
Click the Services tab in the NetBeans IDE, then right-click the Servers entry and select Add Server... to start the process of configuring WebLogic Server.

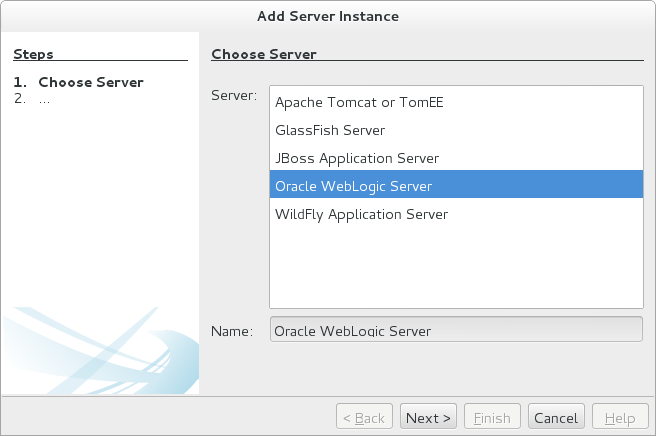
-
In the Add Server Instance window select Oracle WebLogic Server and click Next.
-
Enter
/u01/wls12130/wlserverfor the Server Location and click Next.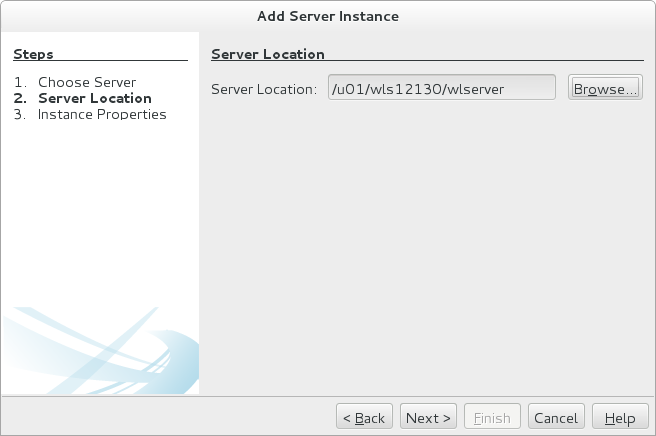
-
Enter
/u01/wls12130/user_projects/domains/mydomainfor the Domain,weblogicfor Username,welcome1for Password and click Finish.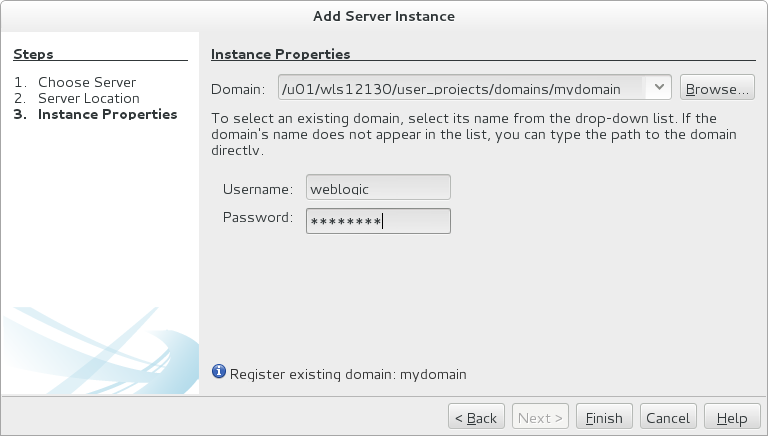
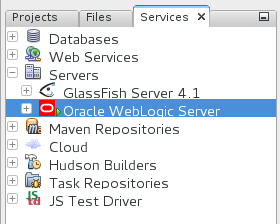
The new Oracle WebLogic Server displays in the Servers entry.
Downloading the NetBeans Project for JDK 1.8
-
Download this NetBeans Web application project, java8weblogic.tar to the Linux machine.
-
Copy the java8weblogic.tar file to the
/u01location. -
In the secure shell session on the Linux machine,
execute tar -xvf
                                  java8weblogic.tar
to extract the project.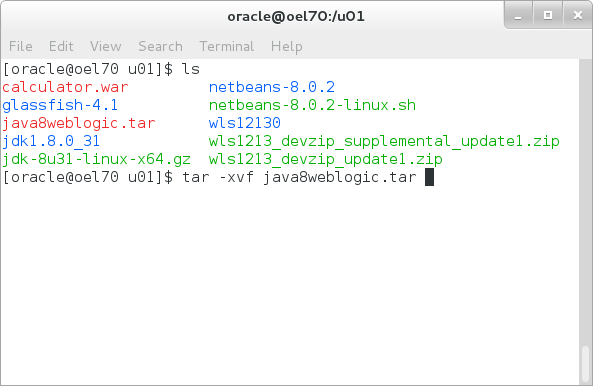
Opening and Running the JDK 1.8 Web Application in NetBeans 8.0.2
-
In the NetBeans IDE, select the File menu and click Open Project...
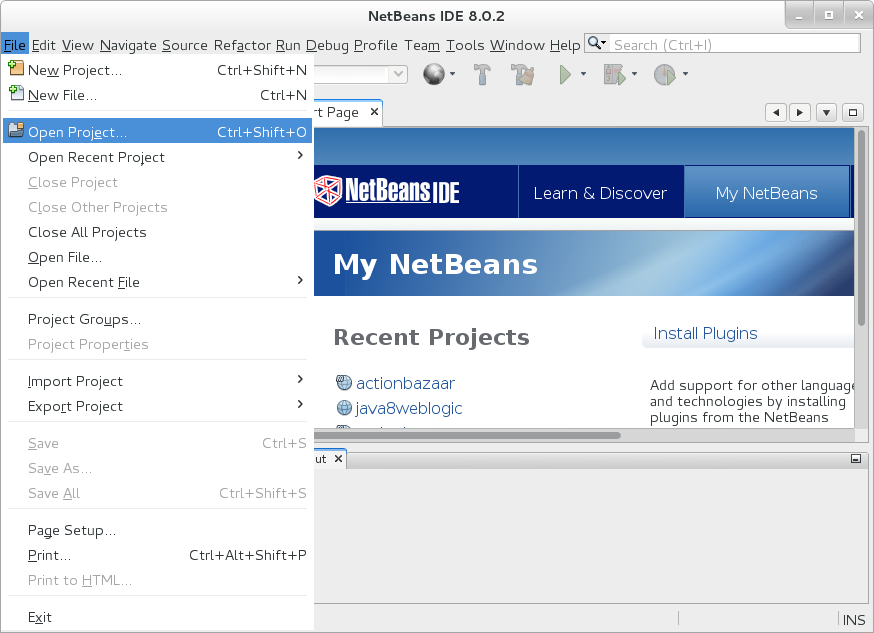
-
Select the java8weblogic project and click Open Project.

-
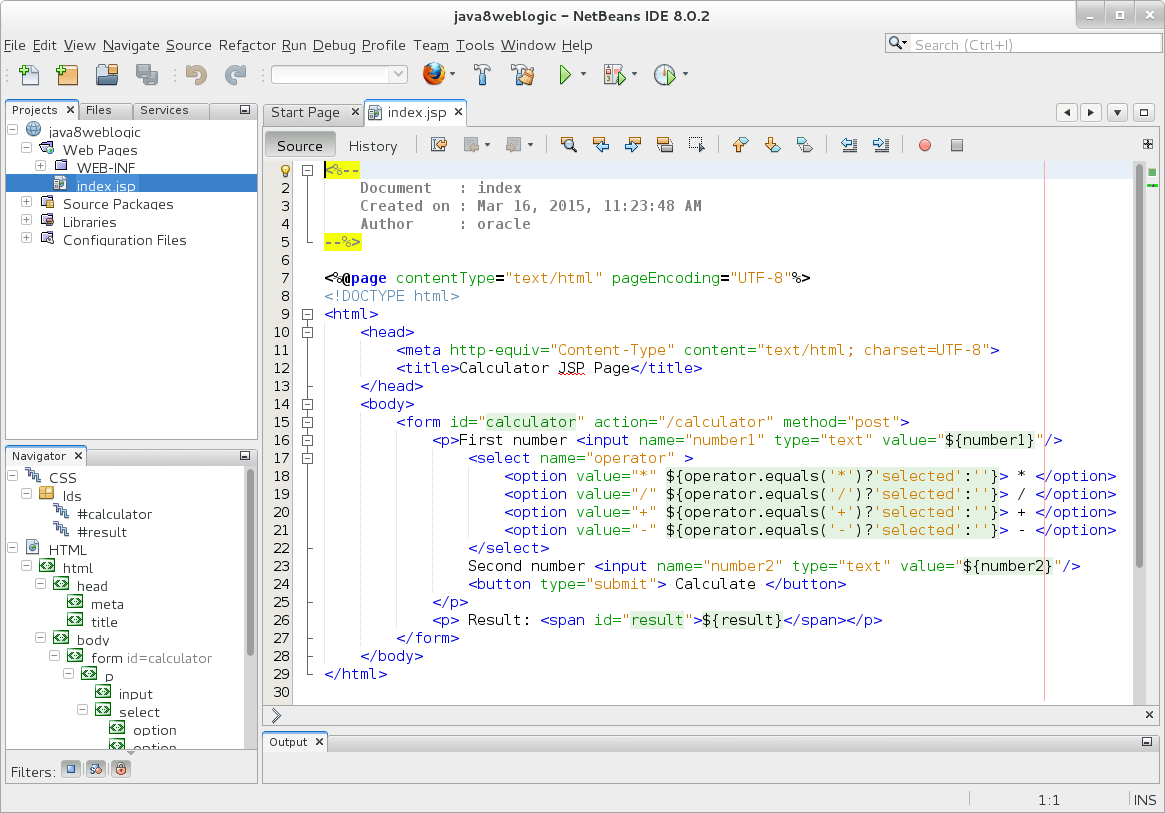
Expand the java8weblogic project in the left pane and open the index.jsp file.
The index.jsp file displays - notice that the page is a form that performs a POST to the calculator servlet.
-
Right-click the java8weblogic project and select Run. The JDK 1.8 calculator application displays.
Want to Learn More?
Credits
- Lead Curriculum Developer: Tom Eliason
- Other Contributors: TJ Palazzolo