Overview
Purpose
In this tutorial you learn to install and configure the Oracle Maven Repository with NetBeans - using NetBeans to connect to the repository and create a web application from a Maven archetype.
Time to Complete
Approximately 45 minutes.
Introduction
The Oracle Maven Repository is an on-line repository that contains artifacts provided by Oracle. You may use these artifacts to compile, test, package, perform integration testing, or deploy applications.
Hardware and Software Requirements
The following is a list of hardware and software requirements:
- A Linux development machine with sufficient CPU, memory, and hard disk space
- Sufficient hardware to run WebLogic Server (For details, see the list of certified platforms.)
- Java Development Kit (JDK 1.7) on the development machine.
- Installing the following products in these locations has been tested with this tutorial:
- JDK 1.7 -
/u01/jdk1.7.0_76 - WebLogic Server 12.1.3 -
/u01/wls12130 - NetBeans 8.0.2 -
/u01/netbeans-8.0.2 - Apache Maven 3.3.3 -
/u01/apache-maven-3.3.3
While other versions of these products may function for this tutorial, they have not been tested.
Prerequisites
Before starting this tutorial, you should have access to Oracle Technology Network to download the JDK 1.7 on the development machine.Downloading and Installing JDK 1.7
-
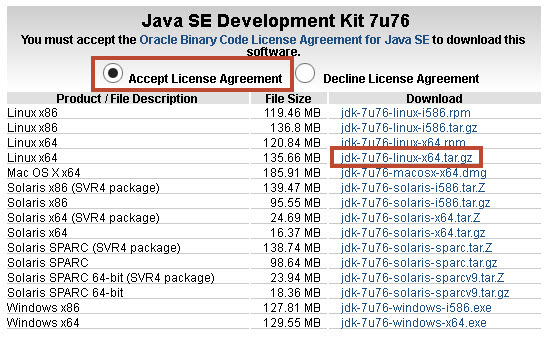
Open a browser and navigate to http://www.oracle.com/technetwork/java/javase/downloads/.
-
Click to Accept the License Agreement and click on the link to download the
jdk-7u76-linux-x64.tar.gz. -
Sign in to Oracle Tech Network.
-
Save the JDK 1.7 file to your local file system.
-
Open a secure shell terminal session to the Linux development machine and login as the
oracleuser. -
Move the JDK 1.7 file to the
/u01directory. - Execute
tar -xvf jdk-7u76-linux-x64.gzto extract the JDK to the/u01directory.
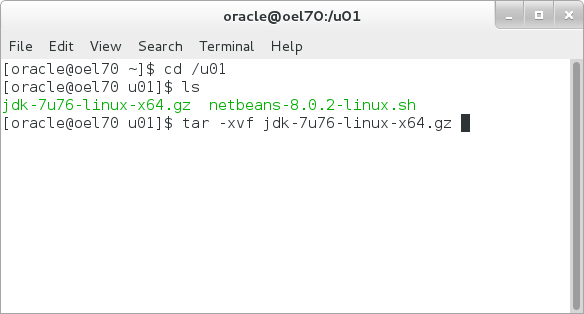
The JDK is installed at /u01/jdk1.7.0_76.
Downloading and Installing NetBeans
-
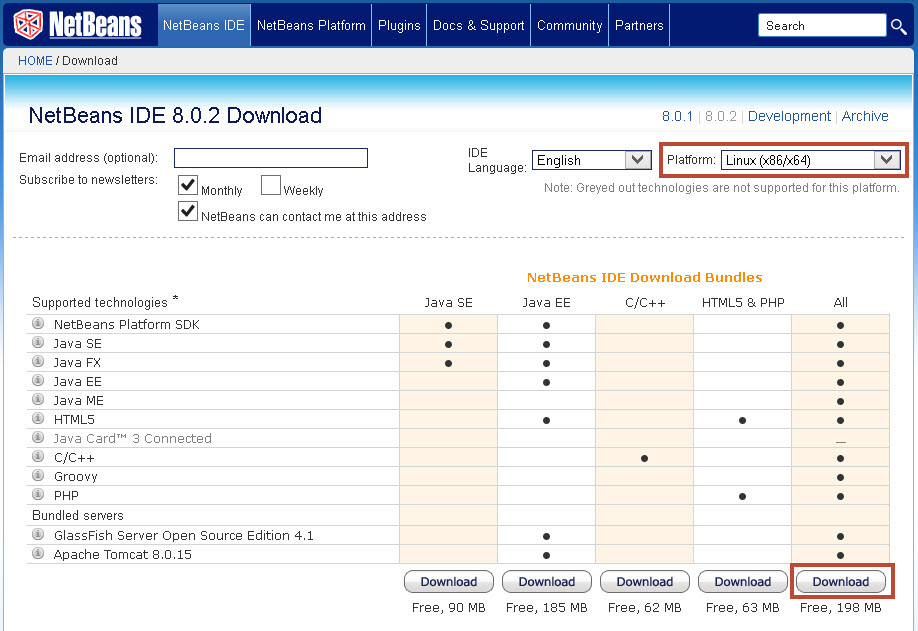
In the browser navigate to https://netbeans.org/downloads/.
-
Select Linux (x86/x64) for Platform and click on the link to download the NetBeans installer.
-
Save the NetBeans installer archive file to your local file system.
-
In the secure shell terminal session, move the NetBeans installer archive file to the
/u01directory. - Execute
export JAVA_HOME=/u01/jdk1.7.0_76to set the JAVA_HOME environment variable. -
Execute
./netbeans-8.0.2-linux.sh
                                  --userdir "/u01/.nbi"
to start the NetBeans installer.Note that the --userdir parameter specifies user directory; the default is the user's home directory.

-
Click Next in the NetBeans IDE Installer.

-
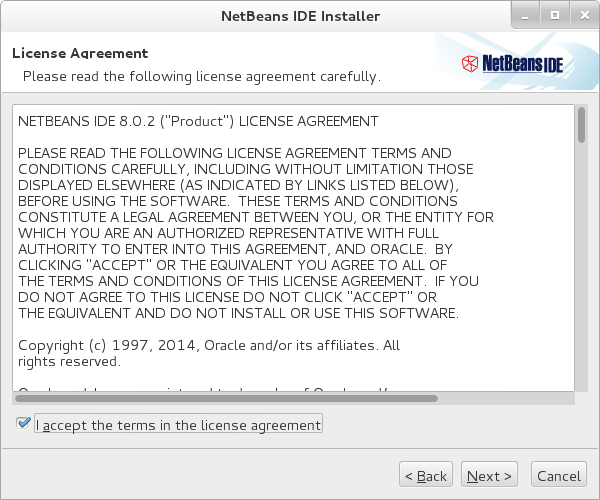
Check the box to accept the License Agreement and click Next in the NetBeans IDE Installer.
-
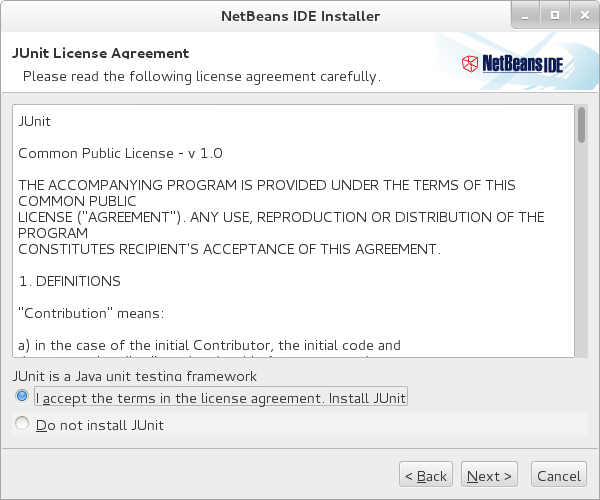
Select the radio button to accept the JUnit License Agreement and click Next in the NetBeans IDE Installer.
-
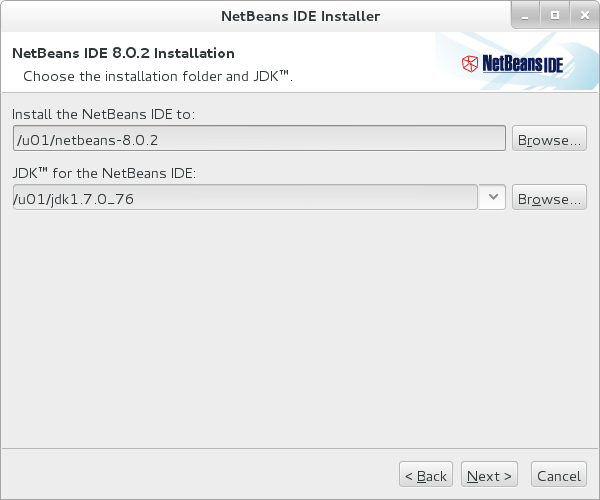
Configure the NetBeans IDE 8.0.2 Installation with the following settings.
-
For the NetBeans IDE installation directory, select the
/u01/netbeans-8.0.2directory. -
For the JDK for the NetBeans IDE, select the
/u01/jdk1.7.0_76directory. -
Click Next in the NetBeans IDE Installer.
-
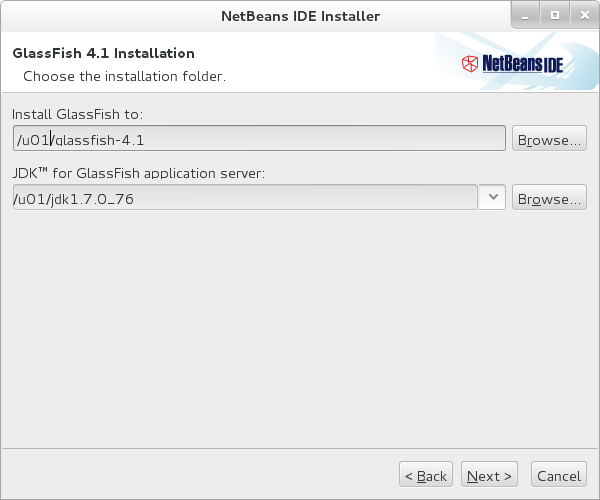
Configure the Glassfish 4.1 Installation with the following settings.
-
For the Glassfish installation directory, select the
/u01/glassfish-4.1directory. -
For the JDK for glassfish, select the
/u01/jdk1.7.0_76directory. -
Click Next in the NetBeans IDE Installer.
-
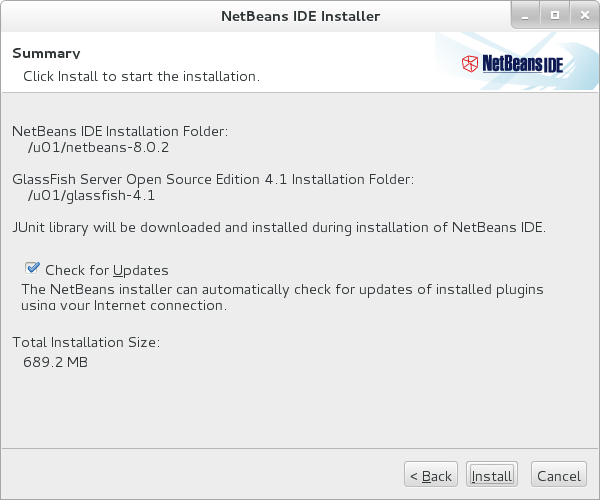
Click Install in the NetBeans IDE Installer.
-
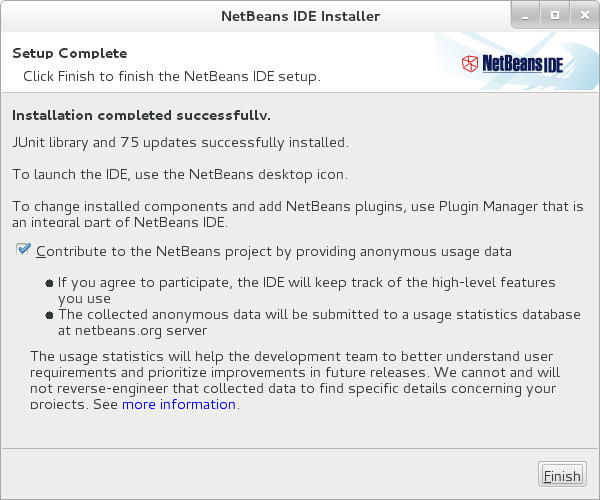
Click Finish in the NetBeans IDE Installer.
Registering for the Oracle Maven Repository
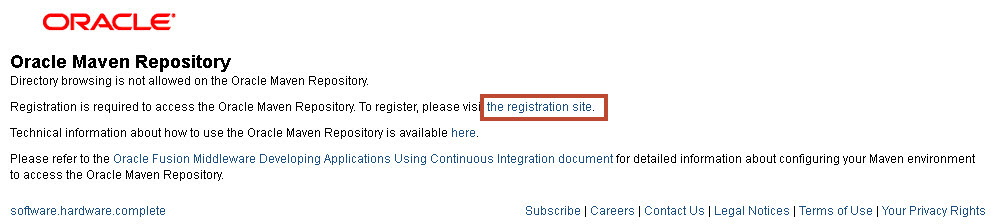
- In the browser navigate to http://maven.oracle.com.
-
Click on the link to the registration site.
-
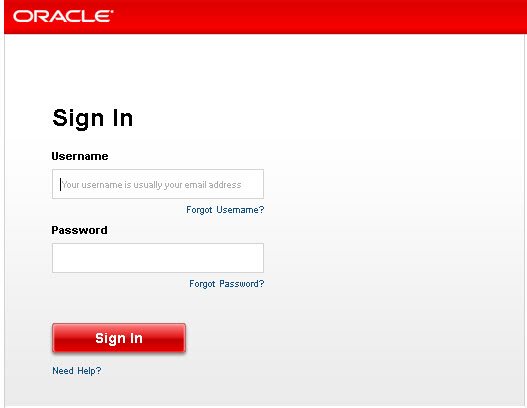
Sign In to the Oracle Technology Network.
-
Click to Accept the License Agreement.
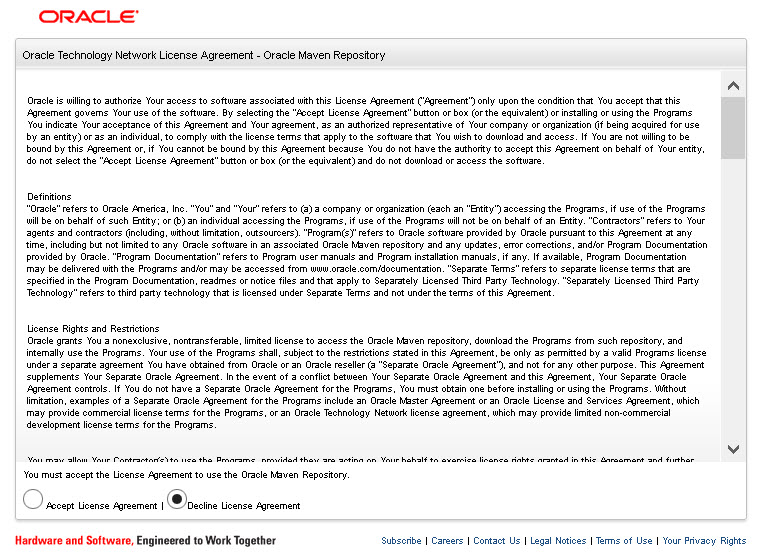
Access to the Oracle Maven Repository is granted.

Downloading, Installing, and Configuring Maven
Note that if you are using a network that requires a proxy, you might need to add proxy settings to perform these activities. For more information on configuring a proxy with Maven, visit: https://maven.apache.org/guides/mini/guide-proxies.html.
- In the browser navigate to https://maven.apache.org/download.cgi and download Maven 3.3.3 - other versions of Maven may work, but this tutorial has only been tested with Maven 3.3.3.
-
Open a terminal shell where the files are downloaded and where you want to install; in this exercise, /u01 is the location.
-
Execute
tar -xzvf
                                  apache-maven-3.3.3-bin.tar.gz
to extract Apache Maven.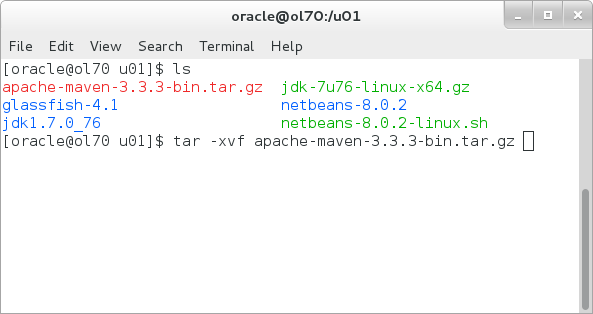
-
Edit the Apache Maven settings file,
/u01/apache-maven-3.3.3/conf/settings.xmland add a profile to the <profiles> section of the document:<profile> <id>main</id> <activation> <activeByDefault>true</activeByDefault> </activation> <repositories> <repository> <id>maven.oracle.com</id> <url>https://maven.oracle.com</url> <layout>default</layout> <releases> <enabled>true</enabled> </releases> </repository> </repositories> </profile>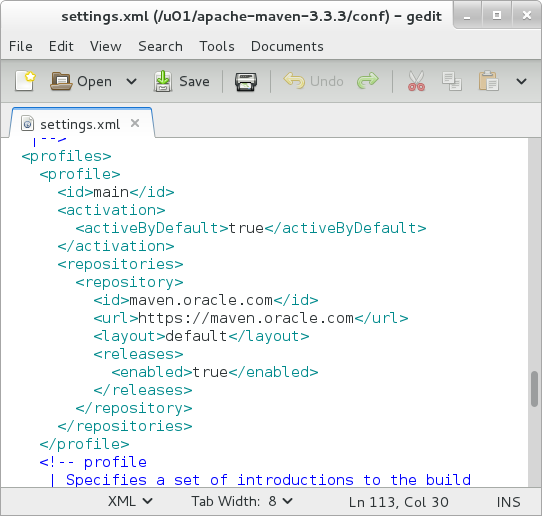
-
In the Apache Maven settings file,
/u01/apache-maven-3.3.3/conf/settings.xml,add a server and insert your Oracle Technology Network username and password:<server> <id>maven.oracle.com</id> <username>username</username> <password>password</password> <configuration> <basicAuthScope> <host>ANY</host> <port>ANY</port> <realm>OAM 11g</realm> </basicAuthScope> <httpConfiguration> <all> <params> <property> <name>http.protocol.allow-circular-redirects</name> <value>%b,true</value> </property> </params> </all> </httpConfiguration> </configuration> </server>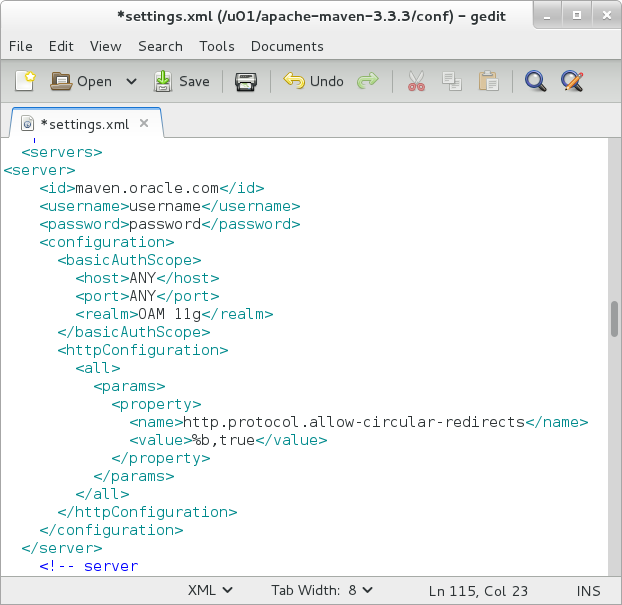
-
Save the Apache Maven settings.xml file.
The completed settings.xml file is also available to download within this tutorial.
Configuring NetBeans
-
Open a terminal shell as the oracle user to the installation directory; in this exercise,
/u01is the location. -
Execute
cd netbeans-8.0.2to navigate into the NetBeans directory. -
Execute
bin/netbeansto start the NetBeans IDE.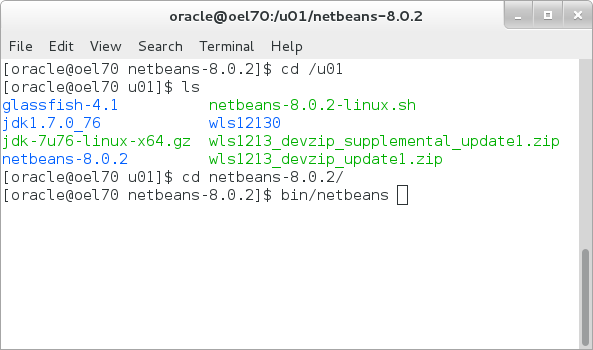
-
The NetBeans IDE launches; from the Tools menu, select Options.
-
In the Options window, click on Java and click Activate to activate Java support.

-
In the Options window, click the Maven tab and click Activate to activate Maven support.
-
Enter settings for Maven:
- In Maven Home, enter
/u01/apache-maven-3.3.3. - In Global Execution Options,
enter
--errors -e -X
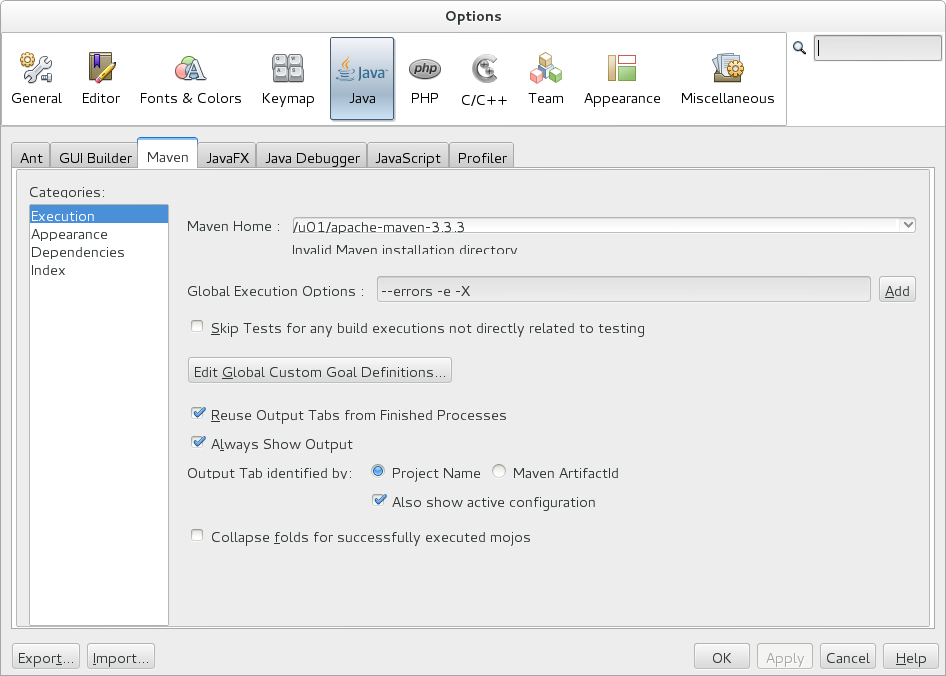
- In Maven Home, enter
-
Click OK to close the NetBeans Options window.
-
In the NetBeans IDE window, click on the Services tab and the Maven Repositories entry.

- Right-click on Maven Repositories and select Add Repository.
-
In the Add Repository dialog, enter the information to register the Oracle Maven Repository:
- Enter
maven.oracle.comin the ID field. - Enter
maven.oracle.comin the Name field. - Enter
https://maven.oracle.comin the URL field. - Click Add.
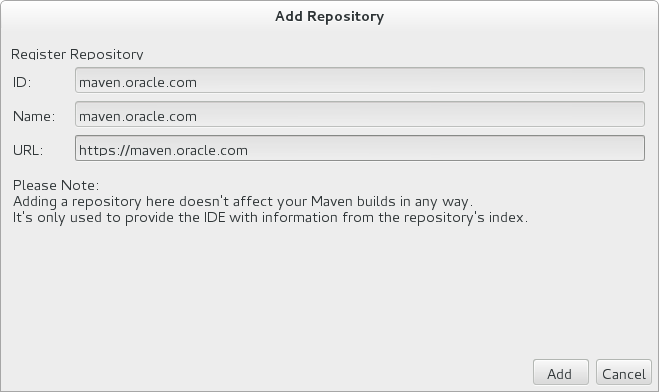
- Enter
- NetBeans is configured to use the Oracle Maven
Repository - the next topic will create a new web
application using a Maven archetype from the
repository.
Creating a Basic Web Application from an Archetype
-
In the NetBeans IDE, from the File menu, select New Project...
-
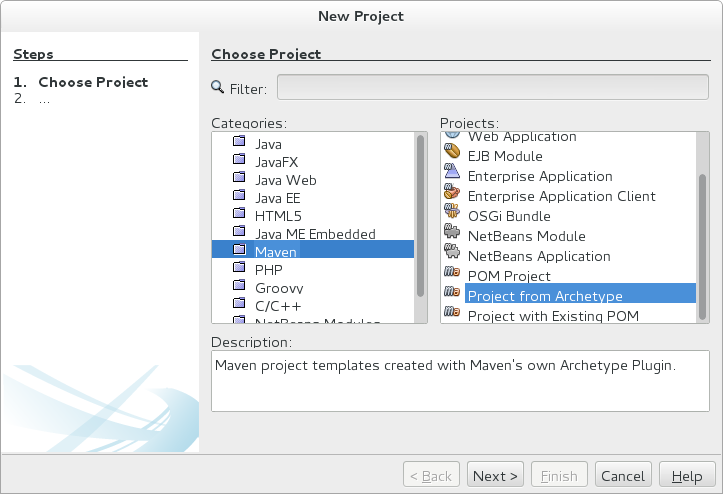
Select Maven for the Category and Project from Archetype for the Project in the New Project dialog box and click Next.
-
Enter
weblogicin the Search box and select the basicWebapp-archetype and then click Next.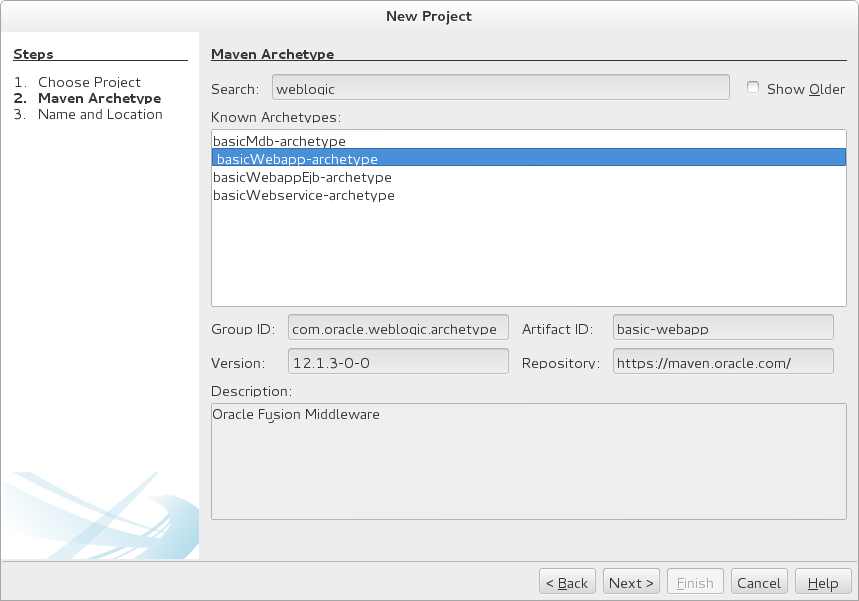
-
Enter
weblogicmavenprojectin the Project Name field and click Finish.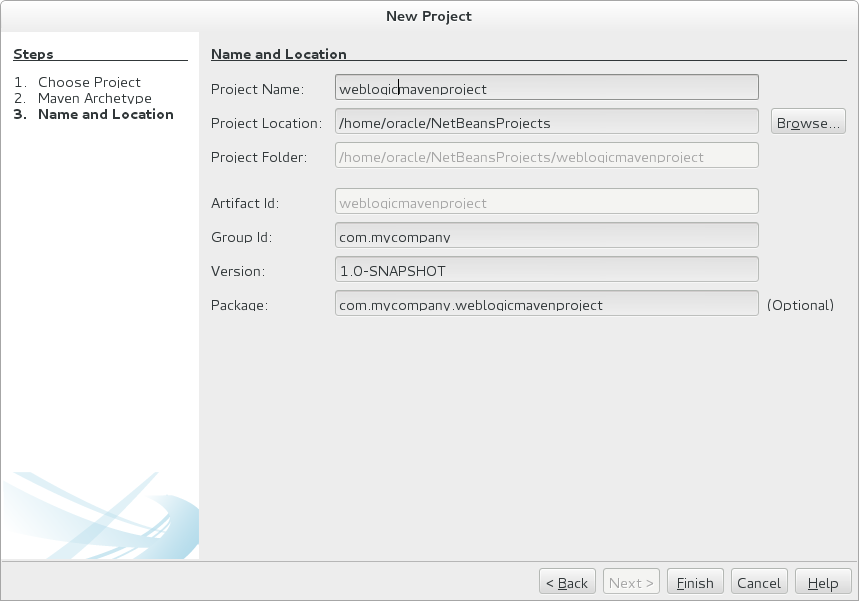
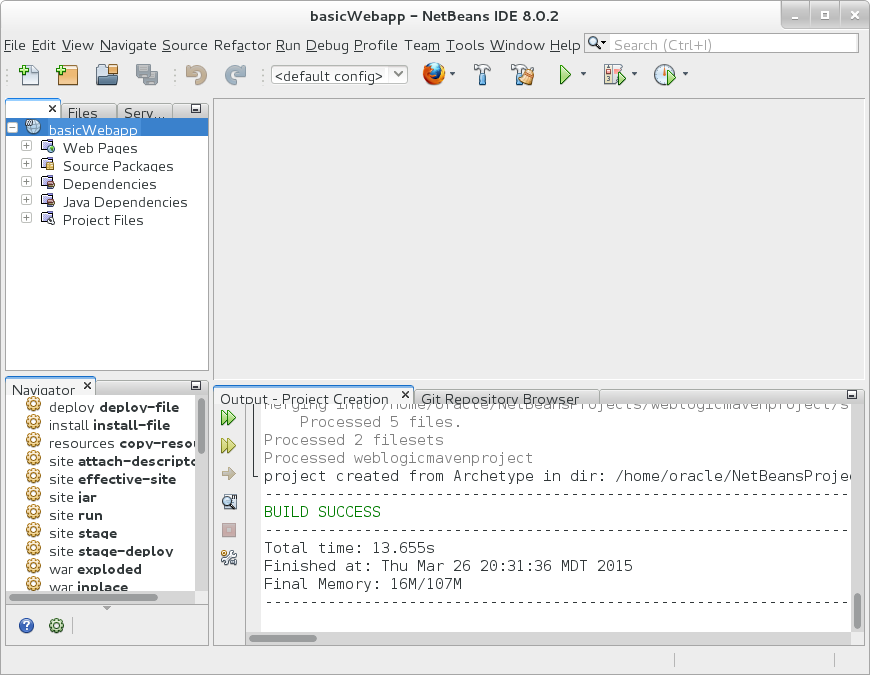
NetBeans downloads the Maven archetype and creates the project.
The next tutorial in this series configures the
Oracle WebLogic Maven Plug-in for deploying and
testing the web application.
Summary
In this tutorial, you learned to:
- Install and Configure NetBeans
- Install and Configure Apache Maven for the Oracle Maven Repository
- Create a new web application using a Maven archetype from the Oracle Maven Repository
Resources
- Oracle® Fusion Middleware Developing Applications Using Continuous Integration
- Configuring the Oracle Maven Repository
- WebLogic Server 12.1.3 Documentation
- To learn more about WebLogic Server refer to additional OBEs in the Oracle Learning Library
Credits
- Lead Curriculum Developer: Tom Eliason
- Other Contributors: TJ Palazzolo
Version
- 02.01.002.MavenRepository