Overview
Purpose
In this tutorial you learn to configure and deploy the Avitek Medical Records (MedRec) Sample Application to WebLogic Server 12c (12.2.1).
Time to Complete
Approximately 15 minutes.
Introduction
The MedRec sample application demonstrates aspects of the Java Platform, Enterprise Edition (Java EE) and MedRec is designed as an educational tool for all levels of Java EE developers. Configuring and deploying MedRec to WebLogic Server 12c (12.2.1) is a prerequisite for several other tutorials and this tutorial uses a single-server domain.
What Do You Need?
The following is a list of hardware and software requirements:
- A Linux development machine with sufficient CPU, memory, and hard disk space
- Sufficient hardware to run WebLogic Server (For details, see the list of certified platforms.)
- Java Development Kit (JDK 1.8) on the development machine.
- Installing the following products in these locations has been tested with this tutorial:
- JDK 1.8 version 74 -
/scratch/u01/app/jdk - WebLogic Server 12.2.1 -
/scratch/u01/app/fmw1221_infra - Completed the prerequisite tutorials since this tutorial uses the WebLogic Installation from the prerequisites:
While other versions of these products may function for this tutorial, they have not been tested.
Starting the WebLogic Domain
-
Open a secure shell terminal session to the Linux development machine and login as the
oracleuser. - Change to the jrf_restricted_domain directory:
[oracle@ol71 ~]$ cd /scratch/u01/domains/jrf_domain - Execute the startWebLogic.sh script to start
WebLogic Server:
[oracle@ol71 ~]$ ./startWebLogich.sh - Enter the username and password to boot WebLogic
Server. The username in these tutorials is
weblogicand the password isWelcome1.
After starting the WebLogic Server, it enters the RUNNING state:Enter username to boot WebLogic server:weblogicEnter password to boot WebLogic server:Welcome1...
<Jul 30, 2015 2:20:43 PM MDT> <Notice> <WebLogicServer> <BEA-000360> <The server started in RUNNING mode.> <Jul 30, 2015 2:20:43 PM MDT> <Notice> <WebLogicServer> <BEA-000365> <Server state changed to RUNNING.>The WebLogic Server is ready for use in this tutorial.
Creating the Derby Database
- Open a secure shell terminal session to the
Linux development machine and login as the
oracleuser. - Change to the medrec database migration
directory:
[oracle@ol71 ~]$ cd /scratch/u01/app/fmw1221_infra/wlserver/samples/server/medrec/database-migration - Edit the project.properties file:
[oracle@ol71 ~]$ vi ../project.properties - Add a line to the project.properties files to
set the property db to derby:
# --------------- infrastructure info ----------------- database = derby db = derby - Save the changes and quit the vi editor:
# --------------- infrastructure info ----------------- database = derby db = derby:wq - Set your shell environment by sourcing the
setExamplesEnv.sh file (the command below starts with a period and a space):
The script outputs that the environment has been set:[oracle@ol71 database-migration]$ . ../../setExamplesEnv.sh
Your environment has been set.
[oracle@ol71 database-migration]$ - Execute the Ant target data.import to import the
medrec application into the Derby database:
The script outputs that the build is successful:[oracle@ol71 database-migration]$ ant data.import
data.importer.run:
     [java] [EL Info]: server: 2015-07-30 14:43:23.222--Detected server platform: org.eclipse.persistence.platform.server.NoServerPlatform.
     [java] [EL Info]: server: 2015-07-30 14:43:23.299--ServerSession(1007880005)--Detected server platform: org.eclipse.persistence.platform.server.NoServerPlatform.
     [java] Jul 30, 2015 2:43:23 PM org.hibernate.validator.internal.util.Version <clinit>
     [java] INFO: HV000001: Hibernate Validator 5.1.3.Final
     [java] All the data has been imported successfully!

BUILD SUCCESSFUL
Total time: 5 seconds
[oracle@ol71 database-migration]$
Creating the Derby Data Source
- Open a browser, and in the browser navigate to http://localhost:7001/console.
-
Enter the Username and Password for this domain - this tutorial uses
weblogicfor the Username andwelcome1for the Password. Click Login.
Description of this image -
In the Change Center pane, click Lock and Edit.
-
In the Domain Structure pane, click Services and Data Sources.
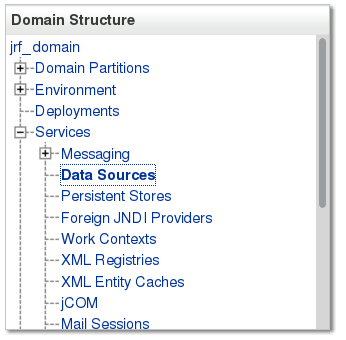
Description of this image The Summary of JDBC Data Sources displays.
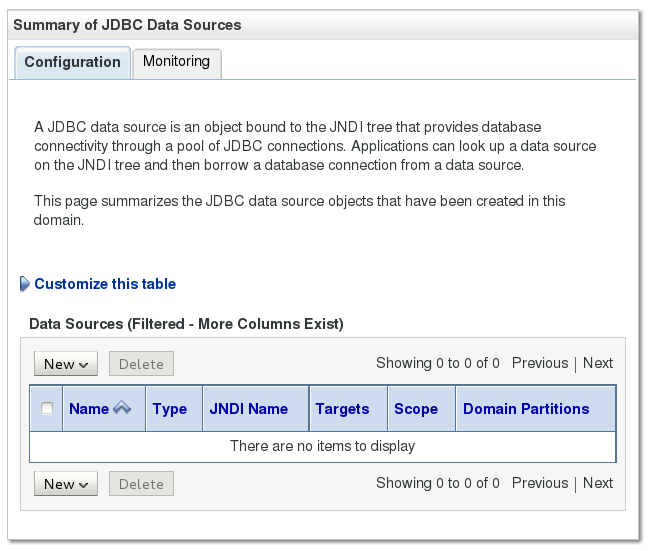
Description of this image -
In the Summary of JDBC Data Sources, select Generic Data Source from the New drop down menu.
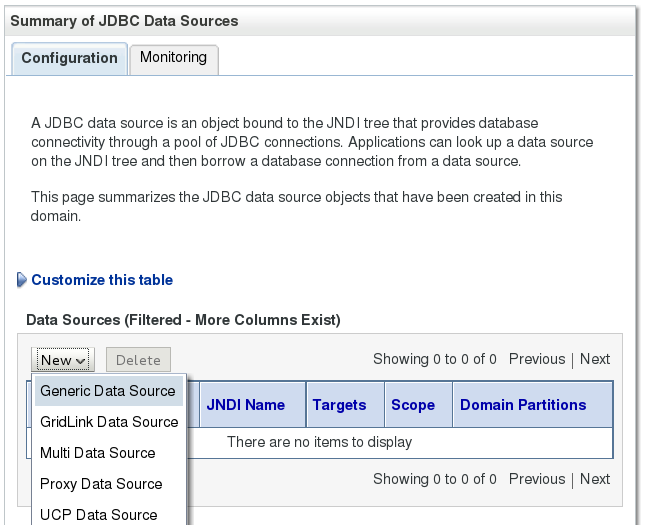
Description of this image -
Enter
MedRecGlobalDataSourceXAfor Name,jdbc/MedRecGlobalDataSourceXAfor JNDI Name, select Derby from the Database Type drop down menu and click Next.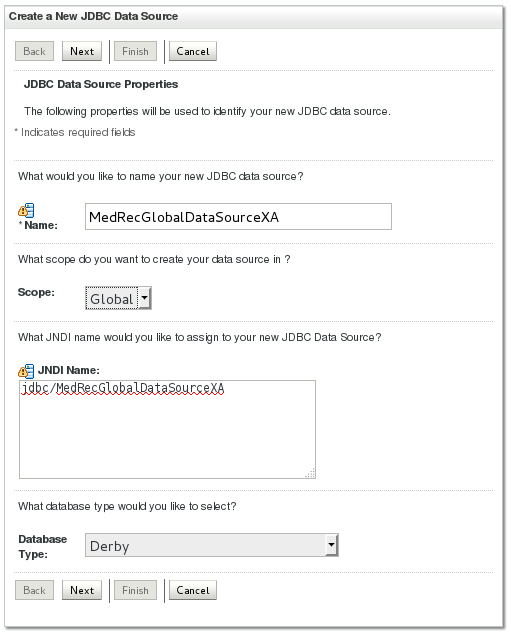
Description of this image -
From the Database Driver drop down menu, select Derby's Driver (Type 4 XA) Versions:Any and click Next.

Description of this image -
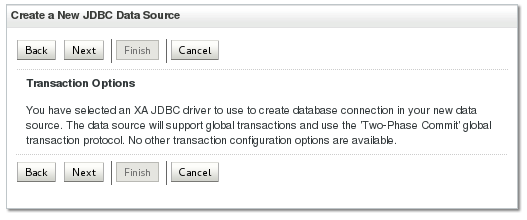
Click Next.
Description of this image -
Enter
medrecfor Database Name,localhostfor Host Name,1527for Port,medrecfor Database User Name,medrecfor Password,medrecfor Confirm Password, and click Next.
Description of this image -
Click the Test Configuration button.
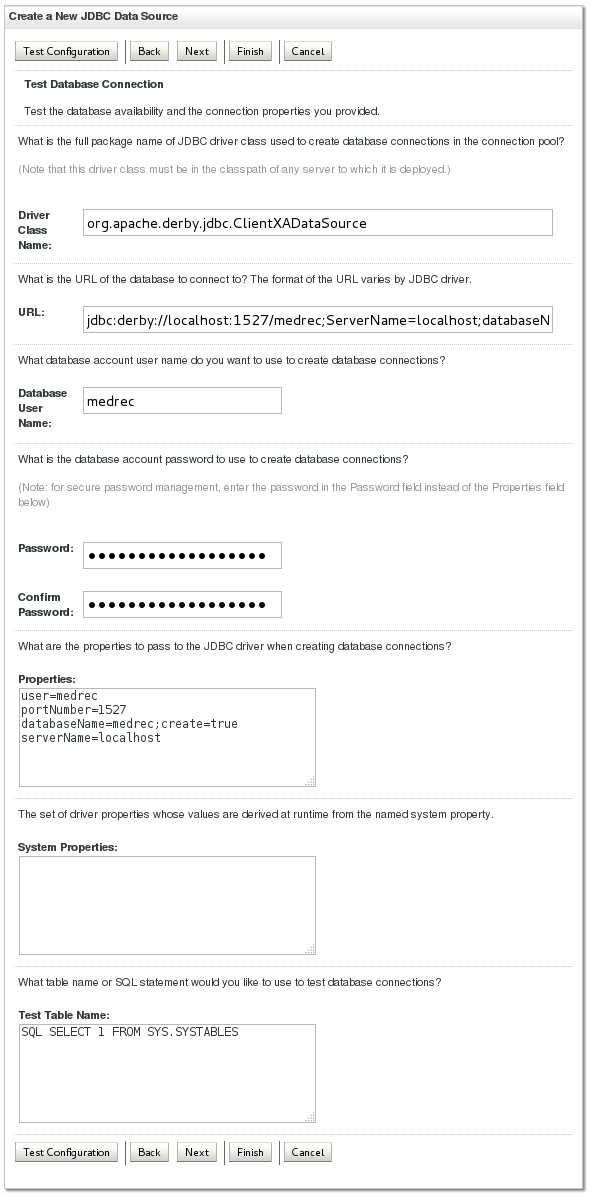
Description of this image -
The connection test succeeds. Click Next.

Description of this image -
In Select Targets page, click AdminServer and click Finish.

Description of this image -
In the Change Center pane, click Activate Changes.
-
The domain changes activate.

Description of this image
Deploying the MedRec Sample Application
-
In the Domain Structure pane, click Deployments.

Description of this image -
In the Change Center pane, click Lock & Edit.
-
In the Summary of Deployments pane, click Install.

Description of this image -
Navigate to the path that contains the medrec.ear file; this tutorial uses
/scratch/u01/app/fmw1221_infra/wlserver/samples/server/medrec/dist/standalone/medrec.ear.Select the medrec.ear file and click Next.
Description of this image -
Select Install this deployment as an application and click Next.

Description of this image -
For Available targets for medrec, select AdminServer and click Next.

Description of this image -
Enter
medrecfor Name and click Next.
Description of this image -
Click Finish.

Description of this image The deployment settings display.

Description of this image -
In the Change Center panel, click Activate Changes.

Description of this image The changes are activated.

Description of this image -
In the Summary of Deployments panel, click the Control tab and select the medrec application by clicking the checkbox.

Description of this image -
Click the Start button and select Servicing all requests.

Description of this image -
In the Start Application Assistant, click Yes.

Description of this image The start request is sent to the medrec deployment.

Description of this image
Testing the MedRec Sample Application
-
In the browser, navigate to the MedRec application URL, http://localhost:7001/medrec and click Getting Started!

Description of this image -
In the Patient section of the page, click Login.

Description of this image -
Enter
fred@golf.comfor Email (if fred@golf.com is not entered by default), enterweblogicfor Password, and click Sign In.
Description of this image -
In the View Record Summary section of the page, click Go.

Description of this image -
The records for the current patient displays. Click Logout.

Description of this image -
Click Logout.

Description of this image The deployed MedRec sample application test is successful.
Summary
In this tutorial, you learned to:
- Create a Derby database for the MedRec Sample Application
- Create and Configure a JDBC Data Source for the MedRec Sample Application
- Deploy and Test the MedRec Sample Application
Resources
- WebLogic Server 12.2.1 Documentation
- To learn more about WebLogic Server refer to additional OBEs in the Oracle Learning Library
Credits
- Lead Curriculum Developer: Tom Eliason
- Other Contributors: TJ Palazzolo
Version
- 02-34-005-DeploySampleApplication