Before You Begin
Purpose
Configuring a Single Domain Partition uses WebLogic 12c (12.2.1) Multitenancy for several benefits:
- Separation between the Administrative Domain and Application Domain Partition - for Security Realms, JDBC Data Sources, JMS services, and other application services
- Management and Monitoring for Application Domain Partition components
- Use Virtual Targets to service the Application Domain Partition using another host and port
Time to Complete
Approximately 30 minutes.
Introduction
The sample Avitek Medical Records application (MedRec) is used in this tutorial - the MedRec application is a web front-end on a Derby database back-end, and it is configured to be deployed using a Resource Group Template.
The high-level process in this tutorial for configuring an application for WebLogic 12c (12.2.1) Multitenancy includes:
- Creating the Resource Group Template
- A Resource Group
Template is a
collection of
deployable
resources to be
used as a
template; for the
MedRec application
in this tutorial,
the Resource Group
Template includes
the medrec.ear and
the JDBC Data
Source
- Creating the Security Realm
- A Domain Partition can use the Domain Security Realm, or a different Security Realm; in this tutorial, the Domain Partition uses a different Security Realm to enable a different set of users to administrate the Domain Partition
- Creating the Virtual Target
- In this tutorial, the MedRec application uses the localhost address and port 9999.
- Creating the Domain Partition
- The Domain Parition in this tutorial is the realization of the Resource Group Template, custom Security Realm, and Virtual Target - creating a specific instance of the MedRec sample application.
What Do You Need?
The following is a list of hardware and software requirements:
- A Linux development machine with sufficient CPU, memory, and hard disk space
- Sufficient hardware to run WebLogic Server (For details, see the list of certified platforms.)
- Java Development Kit (JDK 1.8) on the development machine.
- Installing the following products in these locations has been tested with this tutorial:
- JDK 1.8 version
74 -
/scratch/u01/app/jdk - WebLogic Server
12.2.1 -
/scratch/u01/app/fmw1221_infra - Completed the prerequisite tutorials since this tutorial uses the WebLogic Installation, Database and Application Deployment from the prerequisites:
While other versions of these products may function for this tutorial, they have not been tested.
Starting the WebLogic Domain
-
Open a secure shell terminal session to the Linux development machine and login as the
oracleuser. - Change to the
jrf_domain
directory:
[oracle@ol71 ~]$ cd /scratch/u01/domains/jrf_domain - Execute the
startWebLogic.sh
script to start
WebLogic Server:
[oracle@ol71 ~]$ ./startWebLogich.sh - Enter the username
and password to boot
WebLogic Server. The
username in these
tutorials is
weblogicand the password isWelcome1.Enter username to boot WebLogic server:weblogicEnter password to boot WebLogic server:Welcome1After the server enters the RUNNING state, it is ready for this tutorial.
...
The server started in RUNNING mode.
...
Deleting an Application and JDBC Data Source
If the MedRec sample application and JDBC Data Source still deployed as a result of the prerequisite tutorial, delete them from the domain; later steps in this tutorial will deploy MedRec and its JDBC Data Source in a Domain Partition.
-
Open a web browser on the Linux development machine - this tutorial uses Firefox.
-
In the browser navigate to http://localhost:7001/em.
-
Enter the administrator Username and Password (in the prerequisite tutorial the Username
weblogicand PasswordWelcome1were used) and click Login.
Description of this image The Fusion Middleware Control 12c domain home page displays.

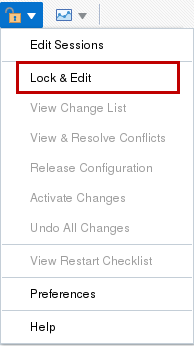
Description of this image -
This domain is running in production mode, so configuration changes are managed by the Change Center. In the Change Center menu, select Lock & Edit.
Description of this image The confirmation of the edit session lock displays.

Description of this image -
To delete the current medrec application deployment, select Deployments from the WebLogic Domain menu.
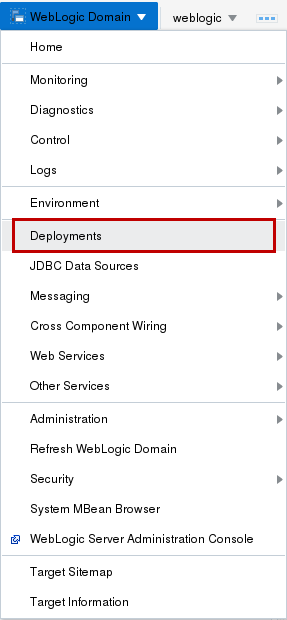
Description of this image The Deployments page displays.

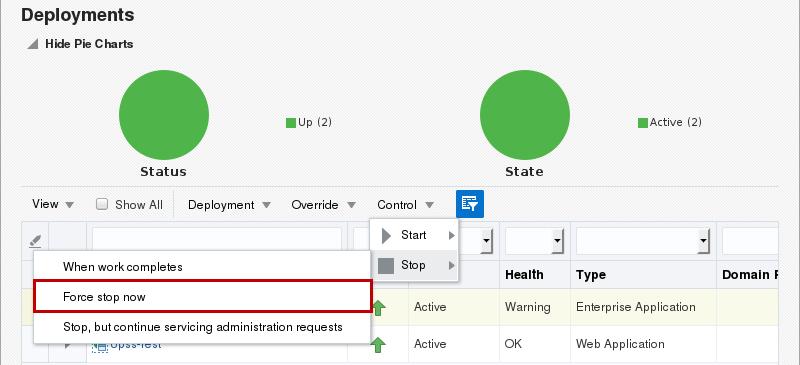
Description of this image -
In the Deployments page, select the current medrec deployment, click the Control menu, click Stop and click Force stop now.
Description of this image -
In the Confirmation dialog box, click Stop.
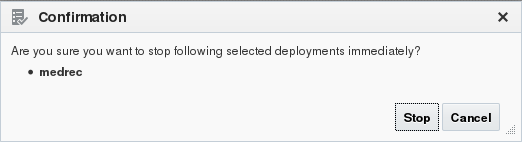
Description of this image The confirmation message to stop the deployment displays.

Description of this image -
In the Deployments page, click the medrec deployment, click the Deployment menu and select Undeploy.
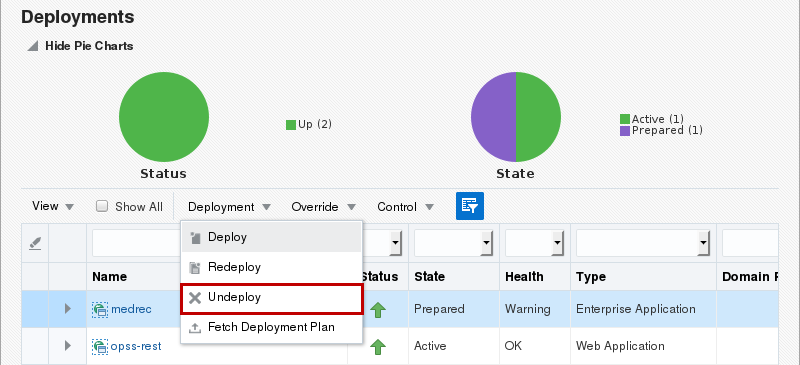
Description of this image -
In the Confirmation page, click Undeploy.
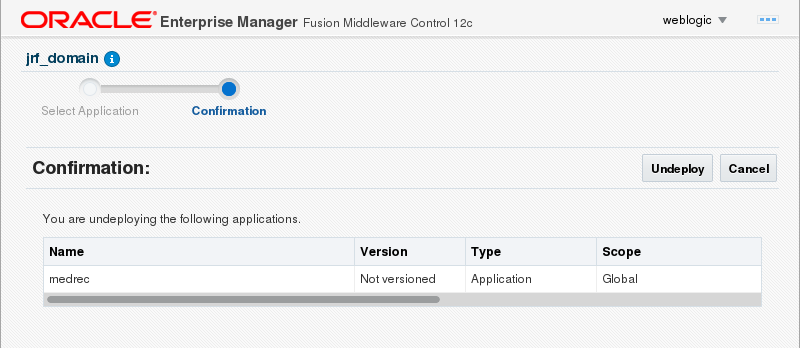
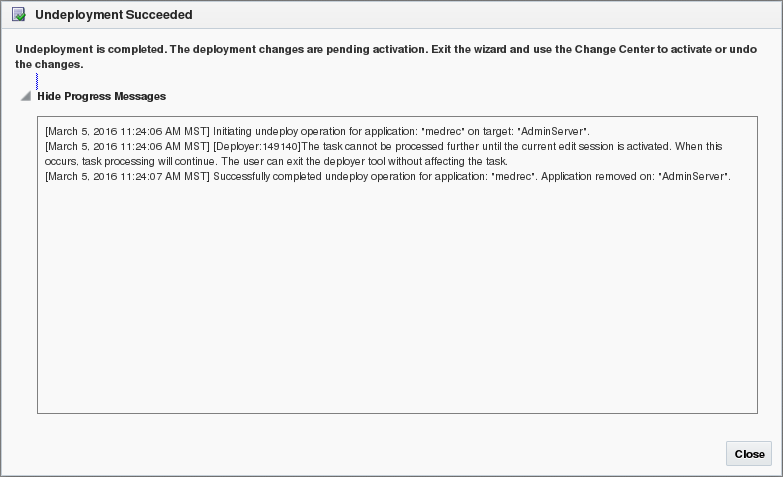
Description of this image -
In the Undeployment Succeeded dialog box, click Close.
Description of this image The updated Deployments page displays.
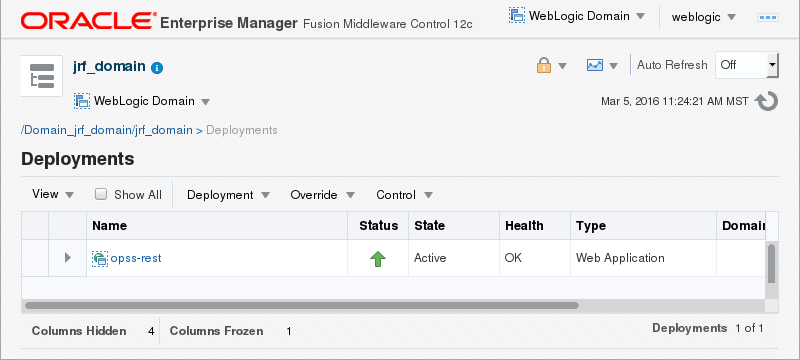
Description of this image -
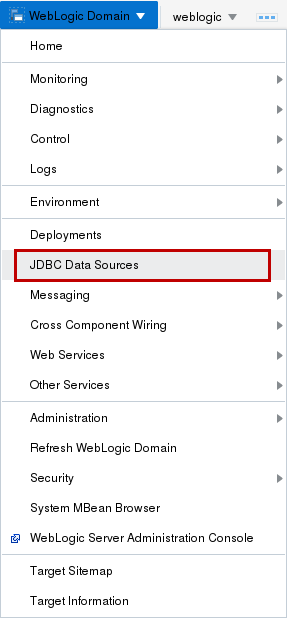
To delete the current medrec JDBC Data Sources, select JDBC Data Sources from the WebLogic Domain menu.
Description of this image The JDBC Data Sources page displays.
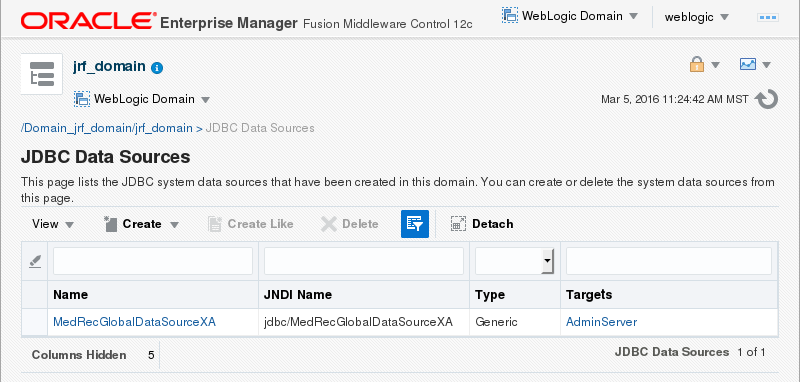
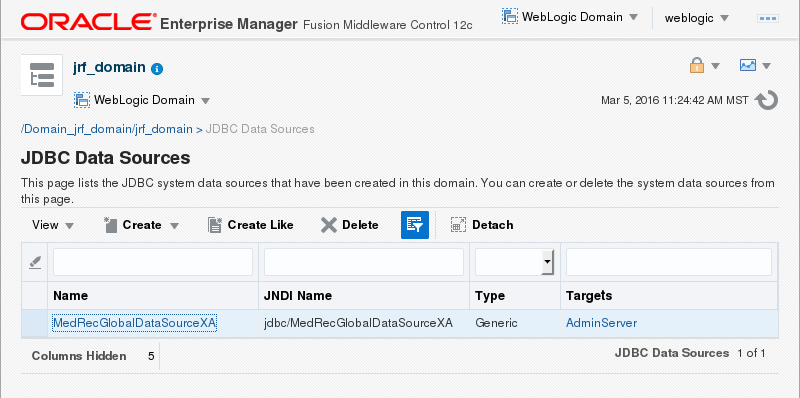
Description of this image -
In the JDBC Data Sources page, click the MedRecGlobalDataSourceXA table entry and click Delete.
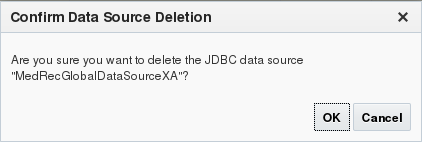
Description of this image -
In the Confirm Data Source Deletion dialog box, click OK.
Description of this image The confirmation message displays.
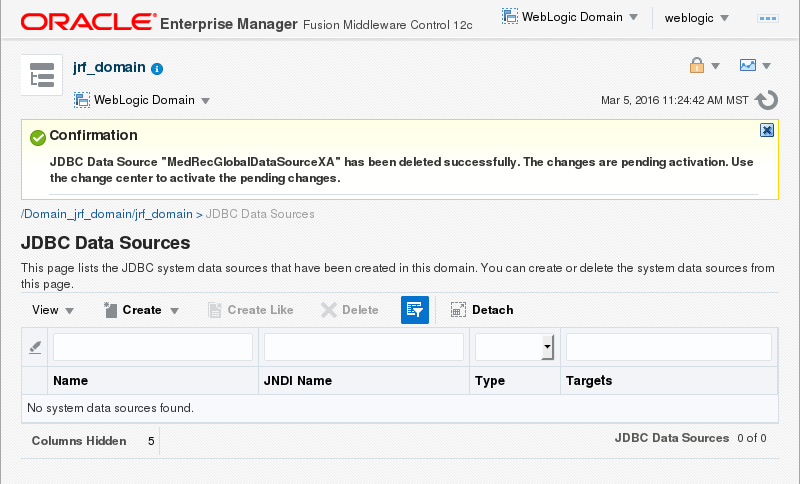
Description of this image -
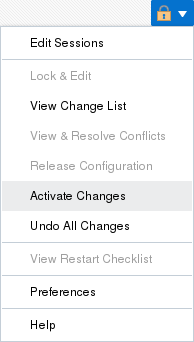
From the Change Center menu, select Activate Changes.

Description of this image The confirmation message displays that the changes have been activated.
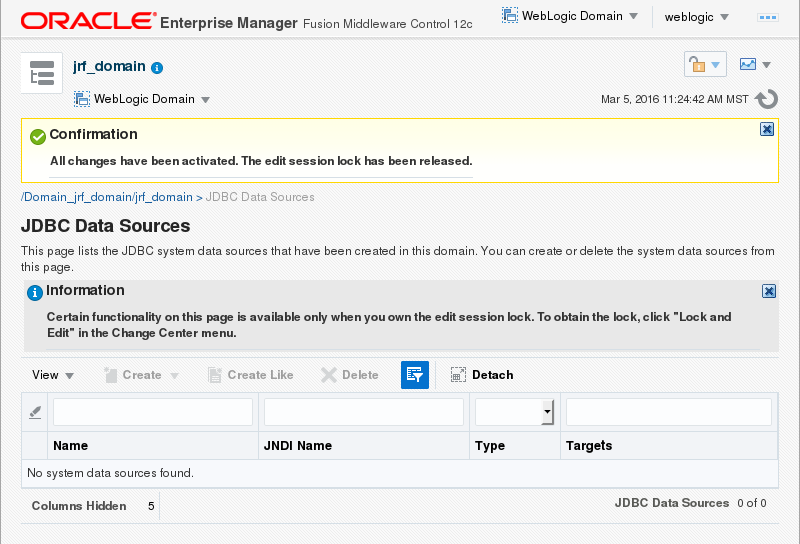
Description of this image
Enabling the Lifecycle Manager
Working with multitenancy and domain partitions requires that the Lifecycle Manager is enabled in a WebLogic Server 12.2.1 domain. If the Lifecycle Manager is not enabled, enable the Lifecycle Manager and restart the WebLogic Administration Server.
-
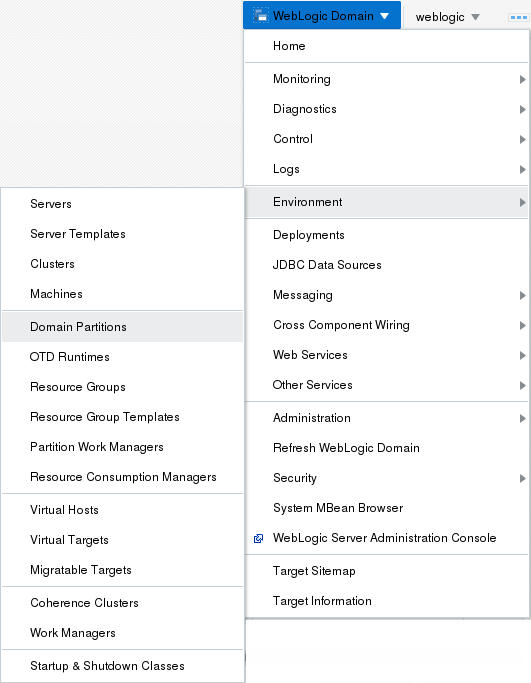
From the WebLogic Domain menu select Environment and then select Domain Partitions.
Description of this image -
If the Domain Partitions page displays a message that the Lifecycle Manager services are not available, click Enable Lifecycle Manager.

Description of this image The confirmation displays.

Description of this image -
To stop the WebLogic Administration Server, click the WebLogic Domain menu, select Environment and select Servers.

Description of this image -
Click the AdminServer table entry.
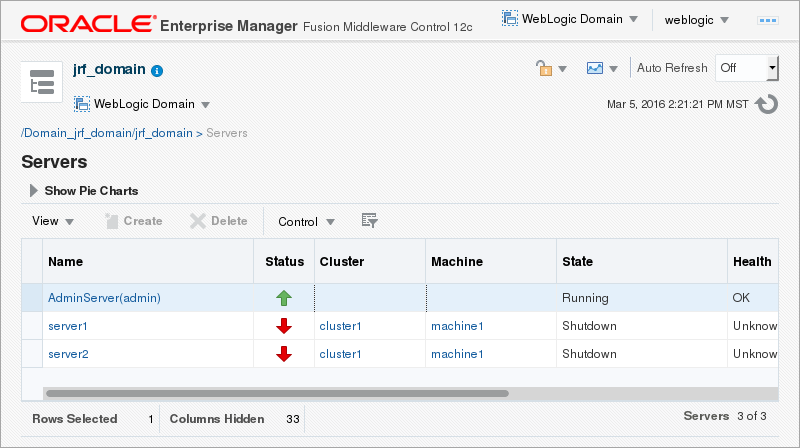
Description of this image -
Click the Control menu, then click Shutdown, and click Force Shutdown Now.

Description of this image -
In the Forcibly Shutdown Servers dialog box, click Forcibly Shutdown Servers.
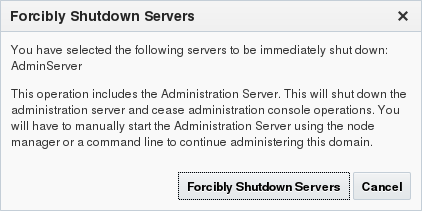
Description of this image The Forcibly Shutdown Servers dialog box displays a message to relogin after the AdminServer has been restarted.
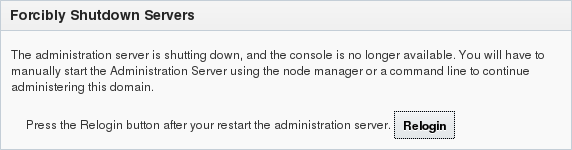
Description of this image -
Open a secure shell terminal session to the Linux development machine and login as the
oracleuser. - Change to the jrf_domain directory:
[oracle@ol71 ~]$ cd /scratch/u01/domains/jrf_domain - Execute the startWebLogic.sh script to start
WebLogic Server:
[oracle@ol71 ~]$ ./startWebLogich.sh - Enter the username and password to boot WebLogic
Server. The username in these tutorials is
weblogicand the password isWelcome1.Enter username to boot WebLogic server:weblogicEnter password to boot WebLogic server:Welcome1After the server enters the RUNNING state, it is ready to continue this tutorial.
...
The server started in RUNNING mode.
... -
Back in the web browser, in the Forcibly Shutdown Servers dialog box, click Relogin.
Description of this image -
The Fusion Middleware Control 12c login page displays. top the adminserver. Enter the administrator Username and Password (in the prerequisite tutorial the Username
weblogicand PasswordWelcome1were used) and click Login. Description of this image
Creating the Resource Group Template
-
From the WebLogic Domain menu, click Environment, and then click Resource Group Templates.

Description of this image The Resource Group Templates page displays.
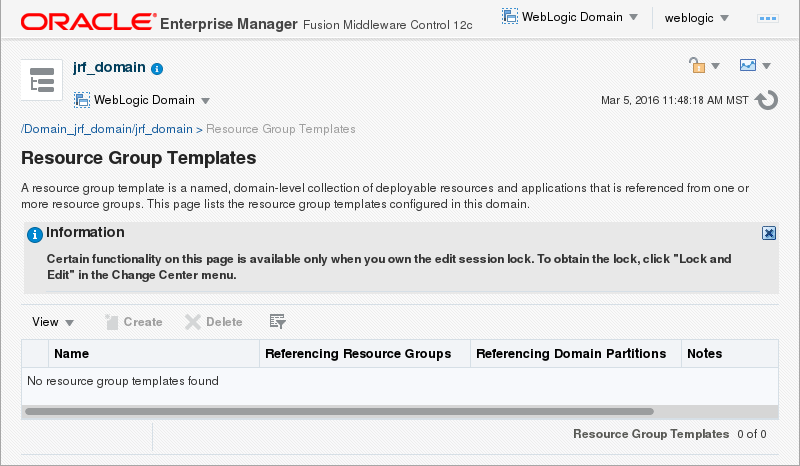
Description of this image -
From the Change Control menu, select Lock & Edit.
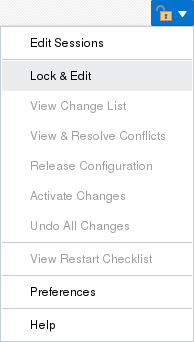
Description of this image The edit session lock confirmation message displays.
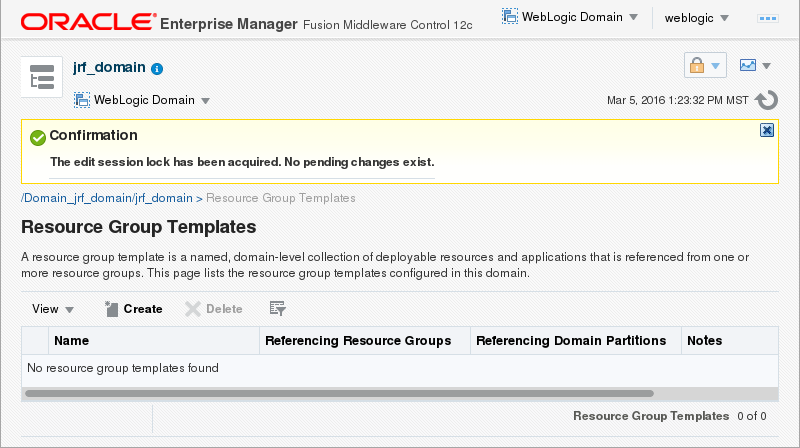
Description of this image -
In the Resource Group Templates page, click Create.
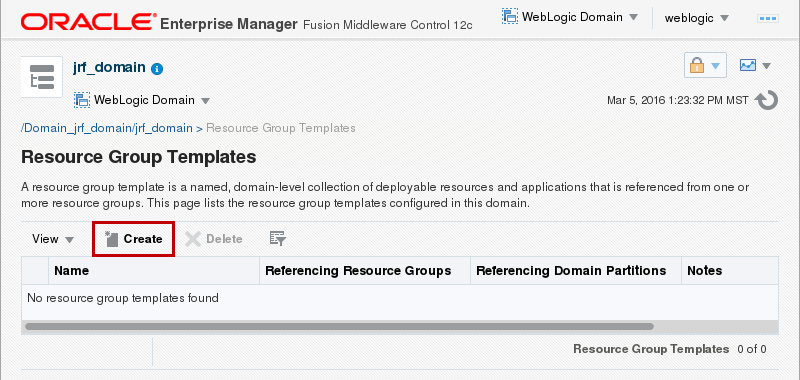
Description of this image -
In the Create a Resource Group Template dialog box, enter
MedRecRGTfor Name and click Create.
Description of this image -
The confirmation of the resource group template creation displays. Click the MedRecRGT table entry.
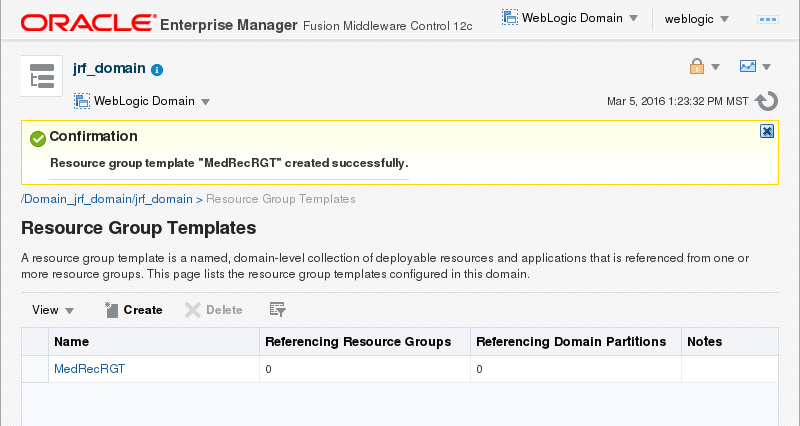
Description of this image -
In the Resource Group Template : MedRecRGT page, click the Deployments tab.
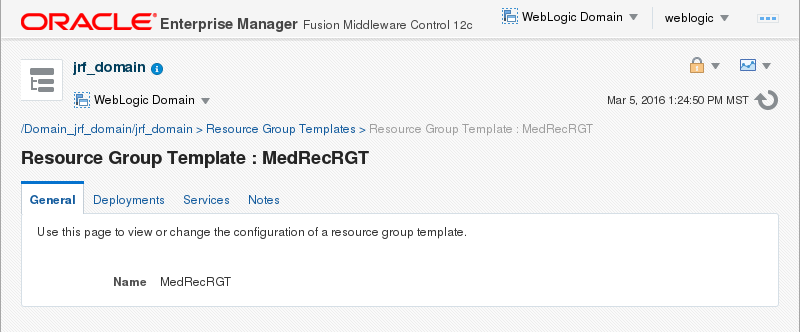
Description of this image - The Deployments tab displays.
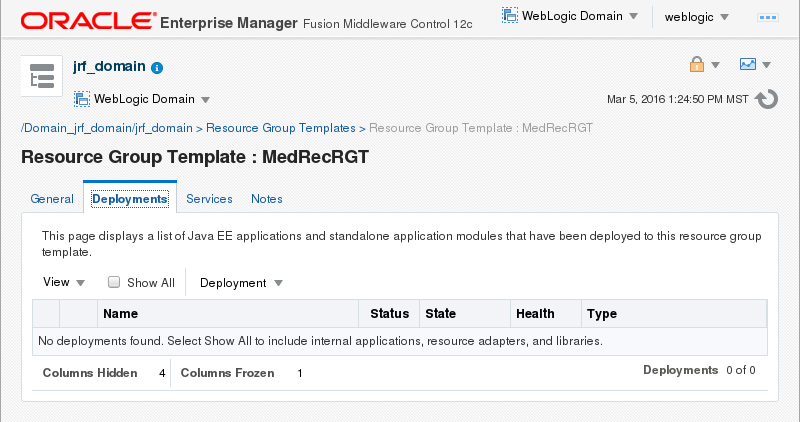
Description of this image -
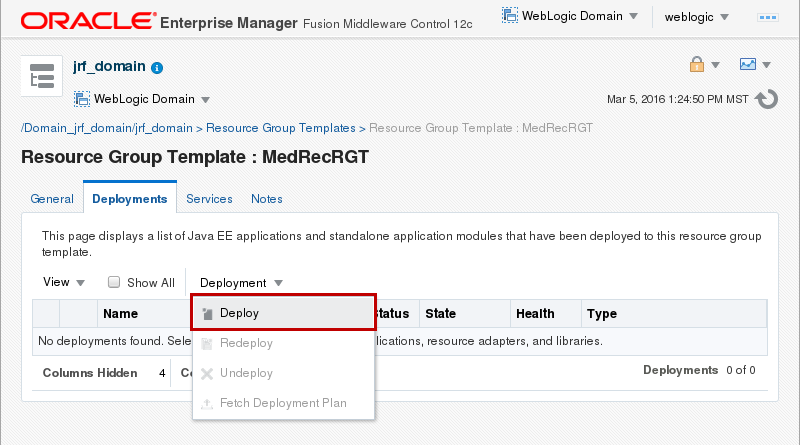
In the Resource Group Template : MedRecRGT page, click the Deployment menu, and select Deploy.
Description of this image -
In the Deploy Java EE Application: Select Archivereate a Resource Group Template page, click Archive or exploded directory is on the server where Enterprise Manager is running. Click Browse... and select the file at
/scratch/u01/app/fmw1221_infra/wlserver/samples/server/medrec/dist/standalone/medrec.earand click Next.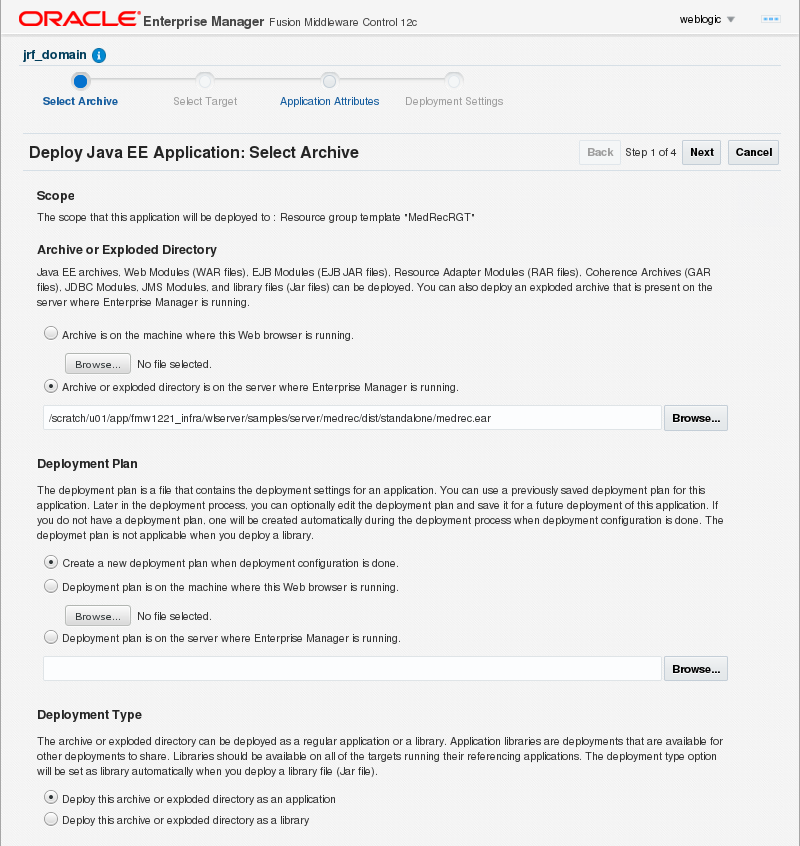
Description of this image -
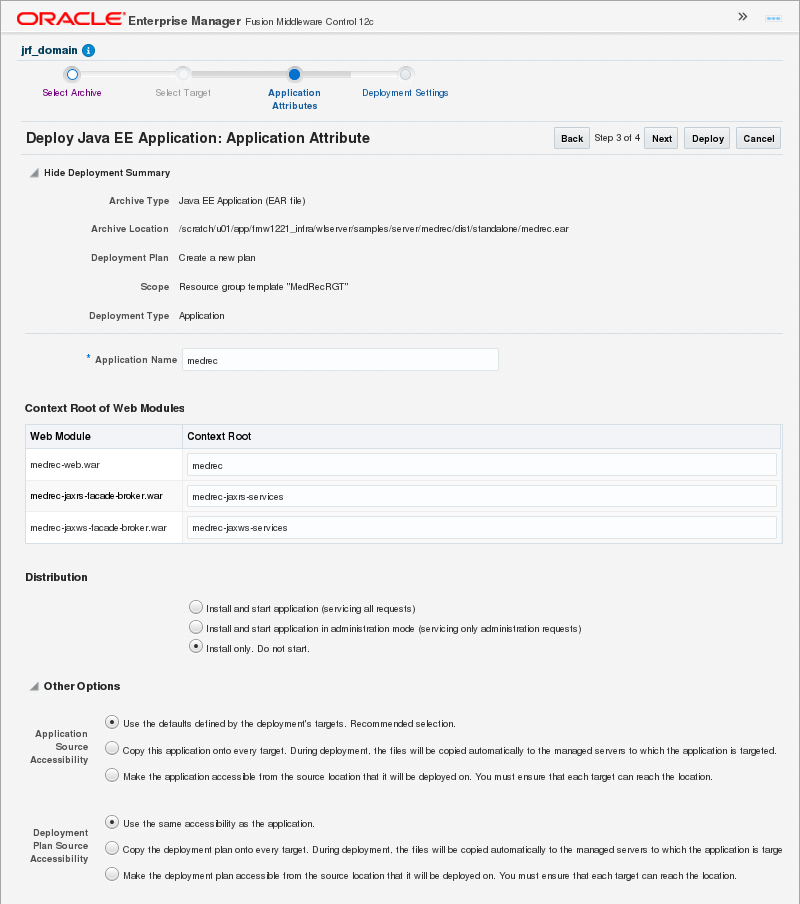
Review the application attributes and click Next.
Description of this image -
Review the deployment settings and click Deploy.
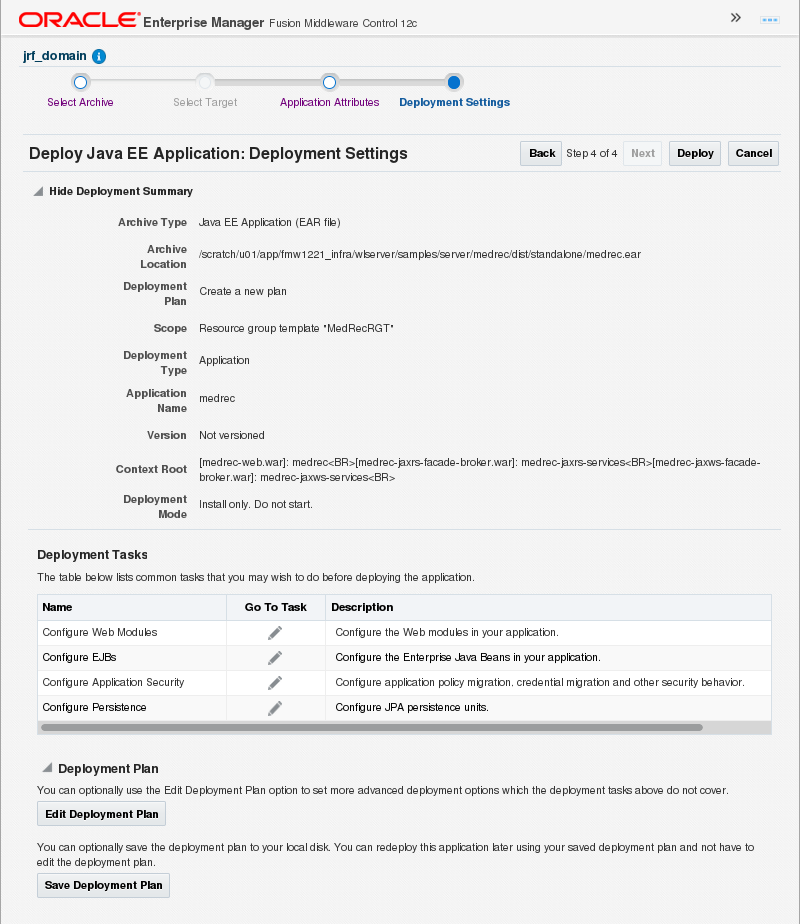
Description of this image -
In the Deployment Succeeded dialog box,
click Close.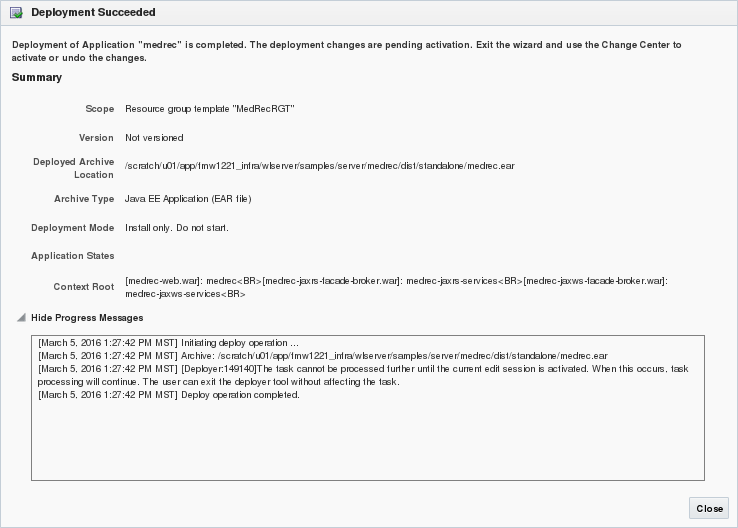
Description of this image -
The updated Deployments tab displays. Click Services.

Description of this image -
In the Resource Group Template : MedRecGT page, in the Services tab, click Create and select Generic Data Source.

Description of this image -
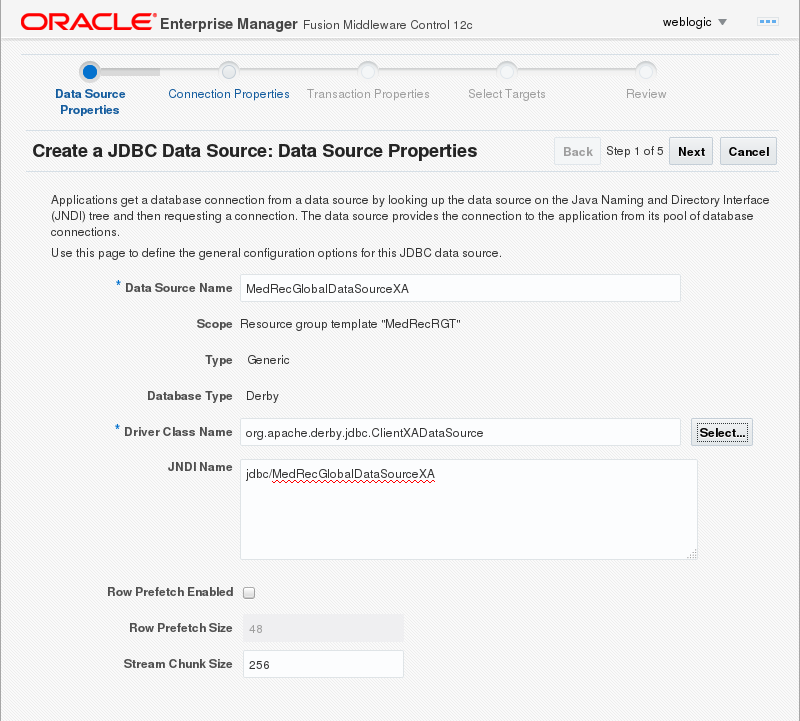
In the Data Source Name field, enter
MedRecGlobalDataSourceXA. In the JNDI Name field, enterjdbc/MedRecGlobalDataSourceXA. Next to the Driver Class Name field, click Select...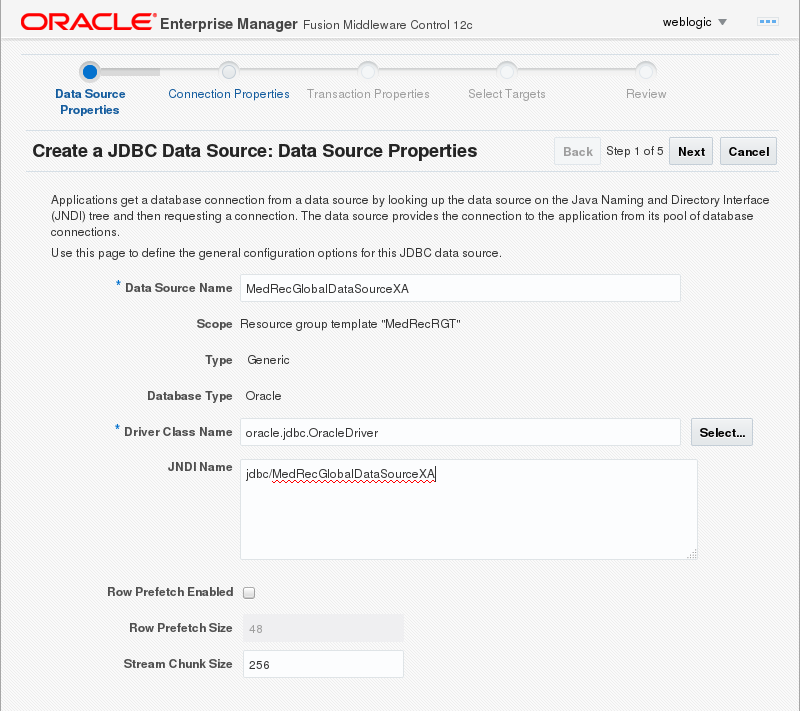
Description of this image -
From the Database Type drop down menu, select Derby and click OK.
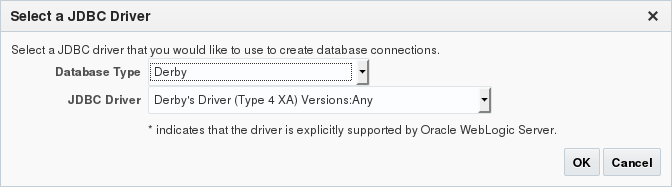
Description of this image -
Click Next.
Description of this image -
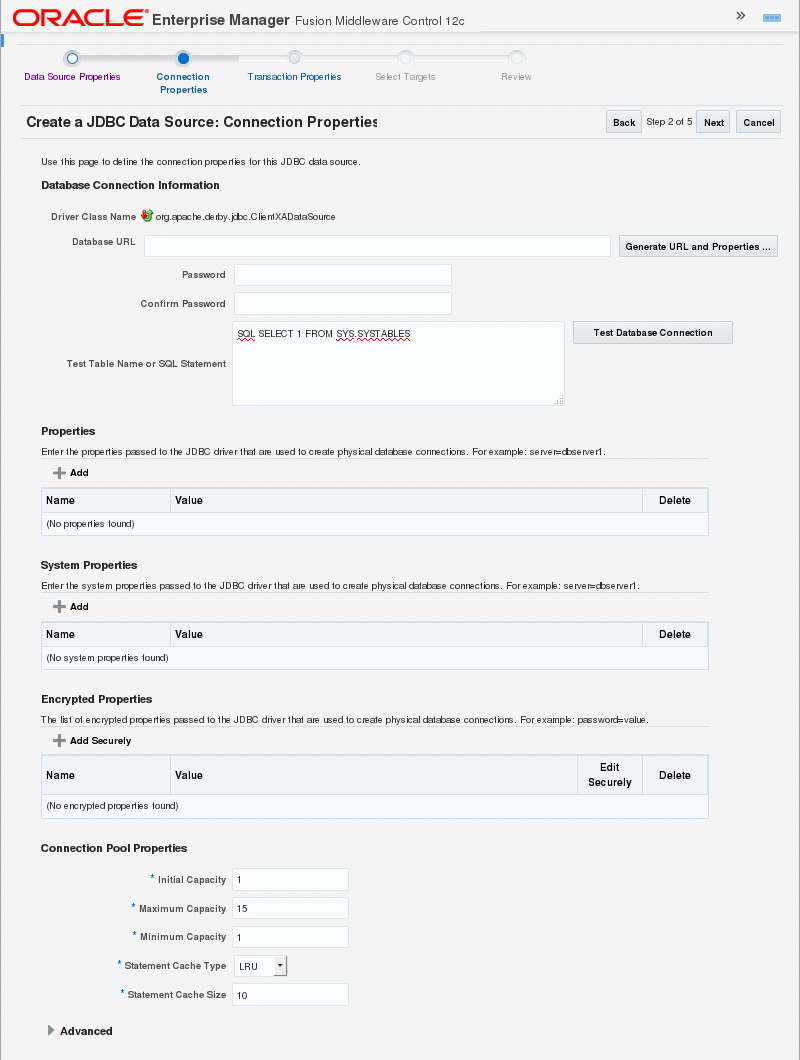
Click the Generate URL and Properties... button.
Description of this image -
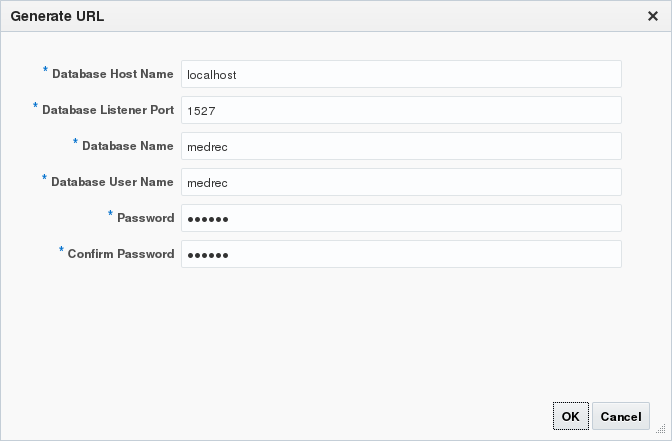
In the Generate URL reate dialog, enter the following values and click OK:
-
Database Host Name: localhost - Database Listener Port: 1527
- Database Name: medrec
- Database User Name: medrec
- Password: medrec
- Confirm Password: medrec
Description of this image -
-
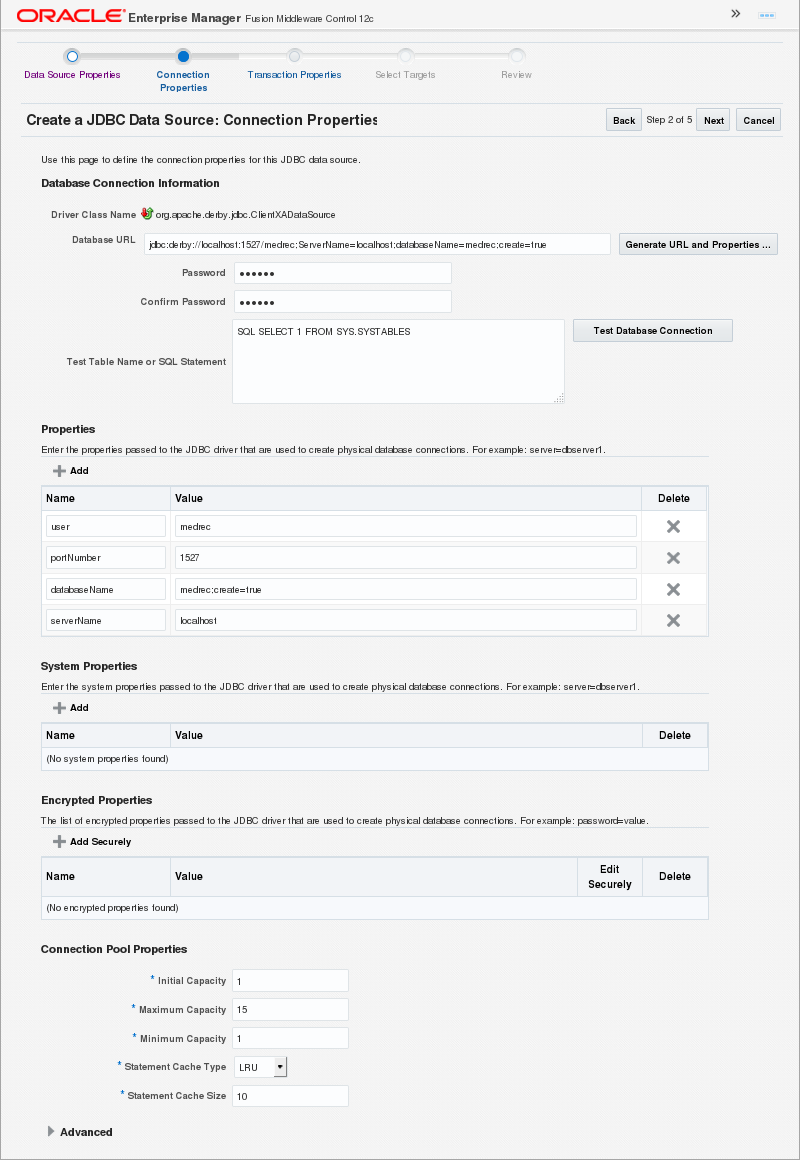
Review the connection properties and click Test Database Connection.
Description of this image -
In the Confirmation dialog box, click OK.
Description of this image -
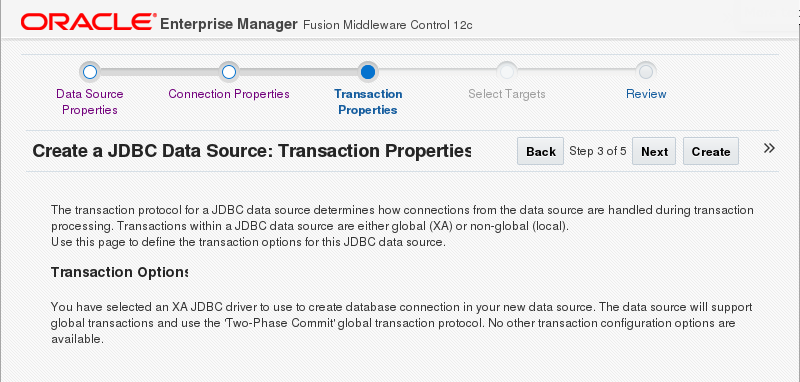
In the Create a JDBC Data Source: Connection Properties page, click Next.
In the Create a JDBC Data Source: Transaction Properties page, click Next.
Description of this image -
Review the settings for the JDBC Data Source and click Create.
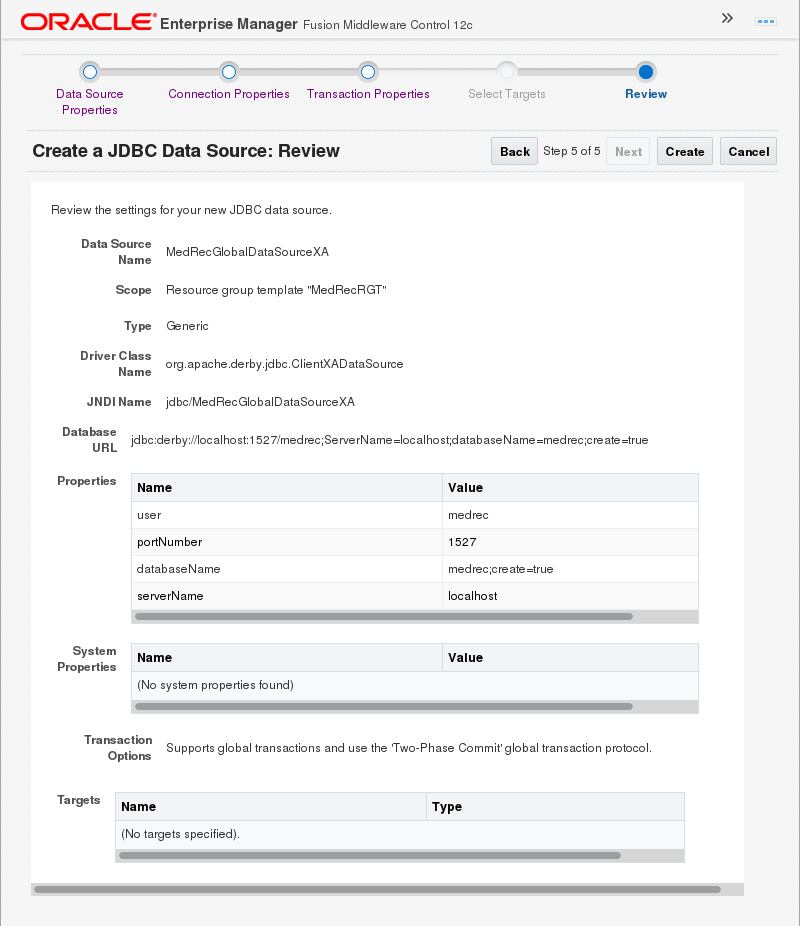
Description of this image The confirmation for the new JDBC Data Source displays.
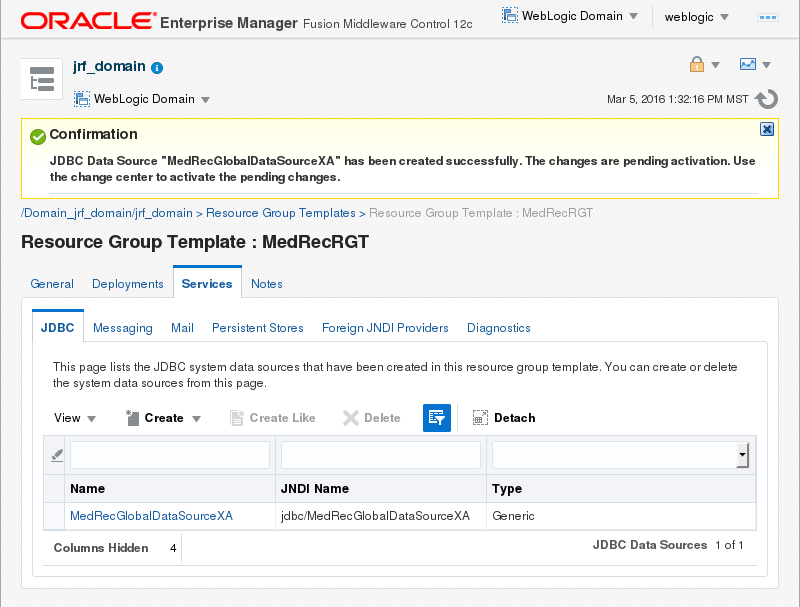
Description of this image
Creating a Security Realm and the MedRec Administrator User
-
From the WebLogic Domain drop down menu, select Security and then Security Realms.
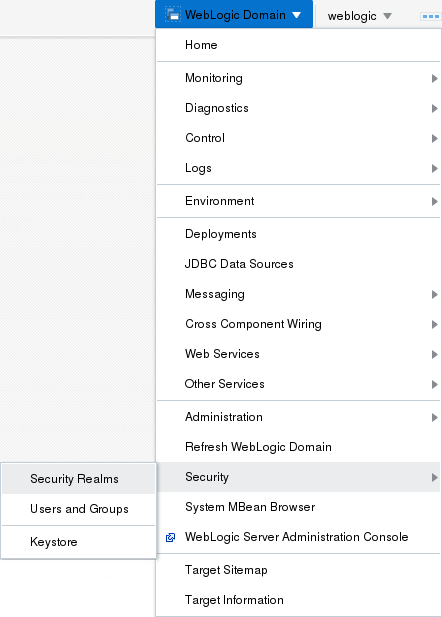
Description of this image -
The security realms display. Click Create.
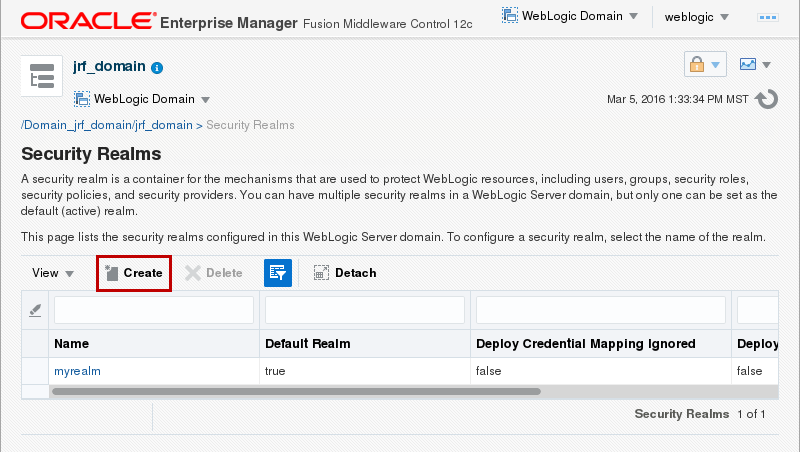
Description of this image -
Enter
MedRecRealmfor Name and click Create.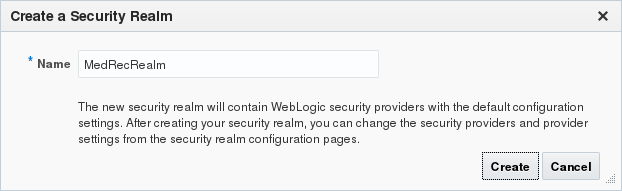
Description of this image The confirmation for the new security realm displays.
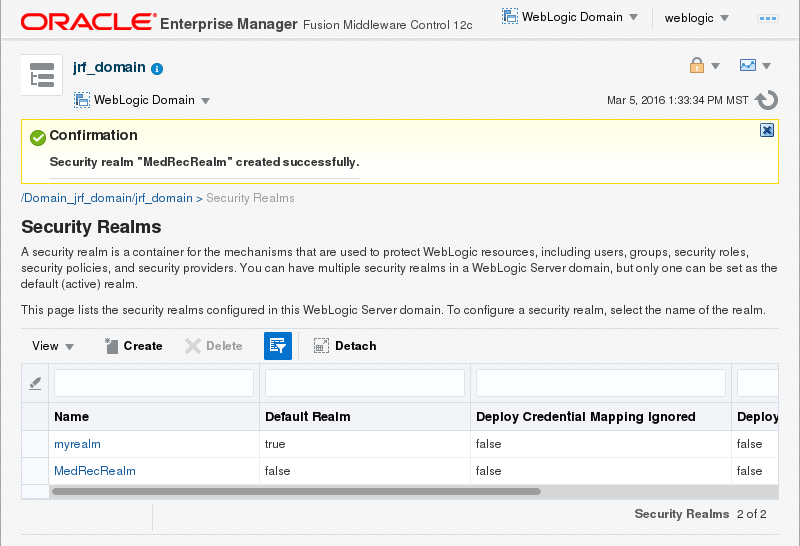
Description of this image -
From the Change Center drop down menu, select Activate Changes.
Description of this image -
The confirmation for the activation changes displays.

Description of this image -
From the WebLogic Domain menu, select Security and then select Users and Groups.
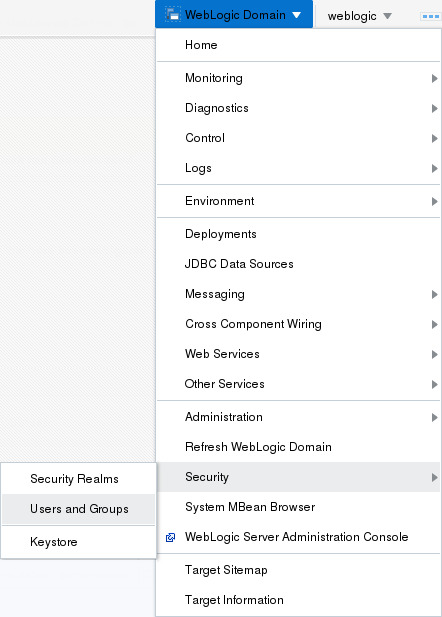
Description of this image -
In the Users and Groups page, select MedRecRealm from the Select a Realm drop down menu.
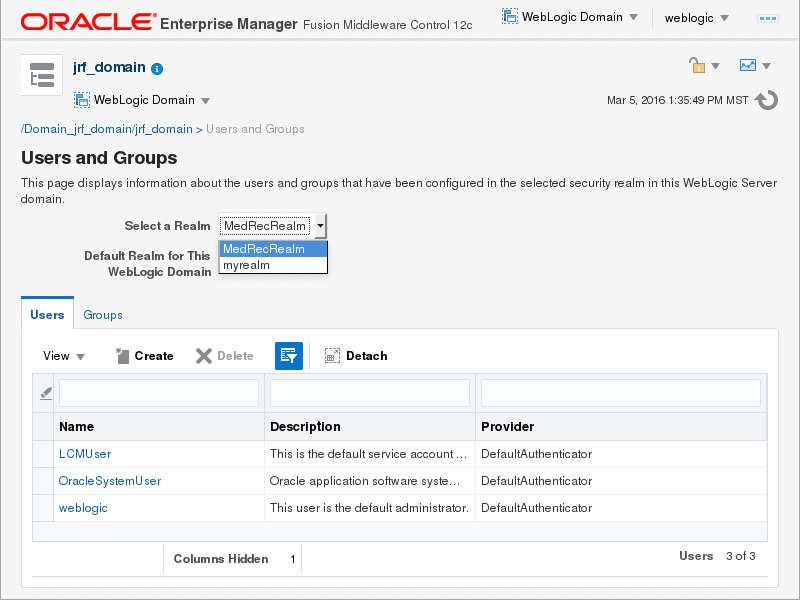
Description of this image -
In the Users and Groups page, click Create.
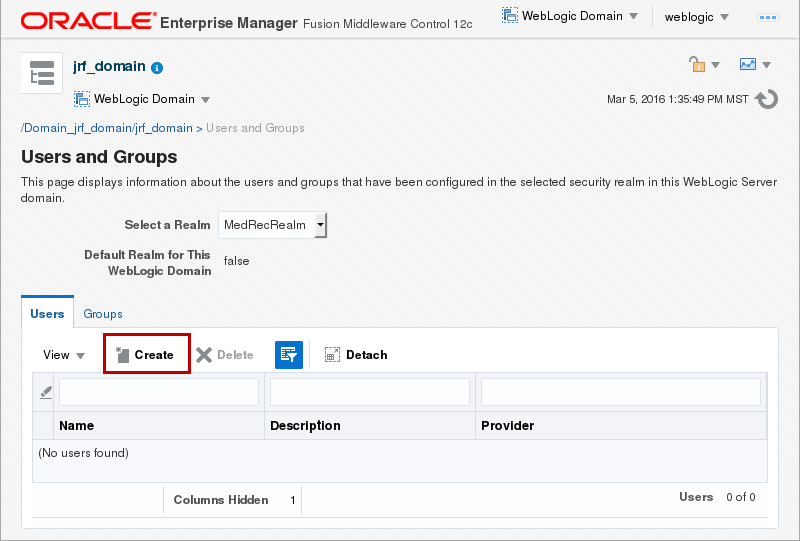
Description of this image -
In the Create a New User dialog box, enter
administratorfor Name, enter a Password, Confirm Password and click Create.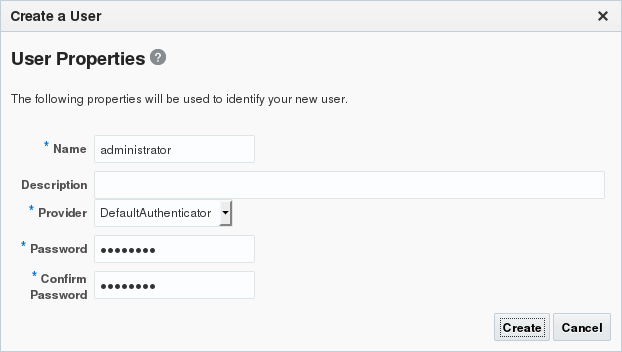
Description of this image The medrec administrator user is created.
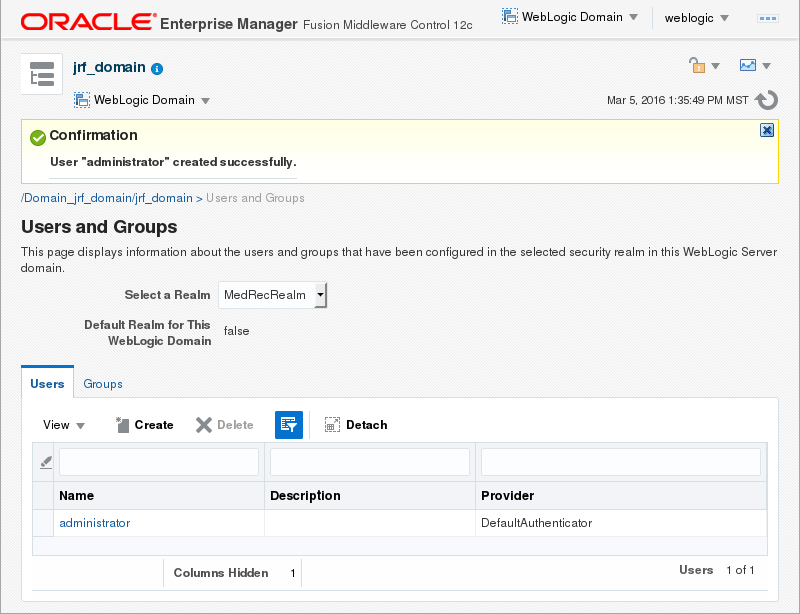
Description of this image
Creating a Virtual Target
-
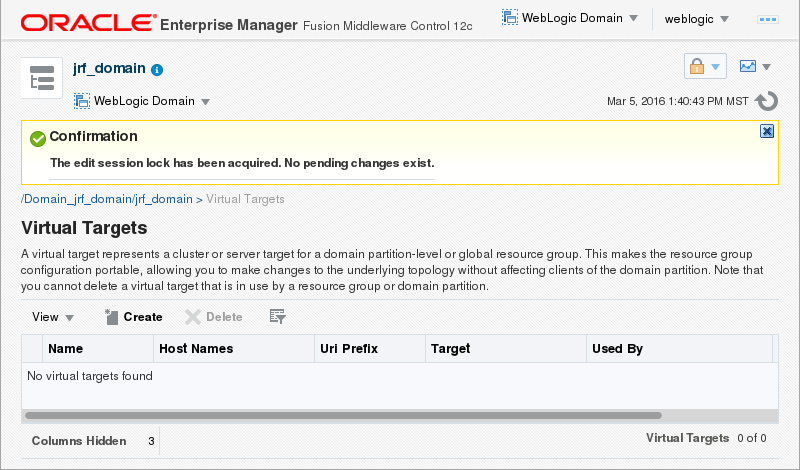
From the WebLogic Domain drop down menu select Environment and Virtual Targets.
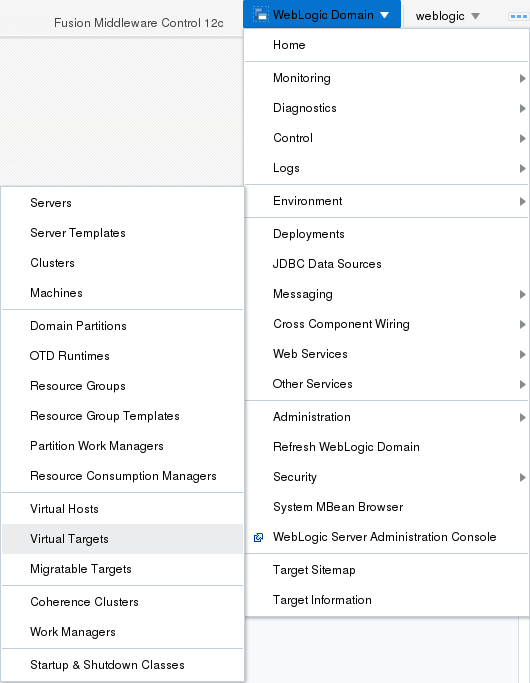
Description of this image The Virtual Targets page displays.
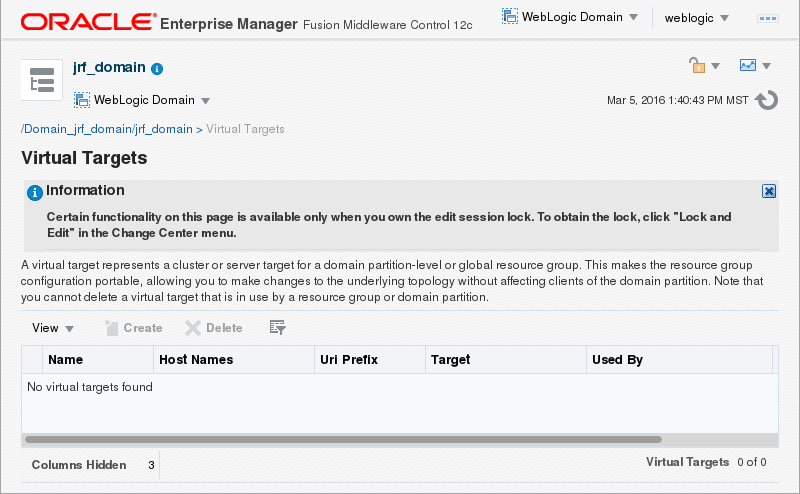
Description of this image -
From the Change Center drop down menu, select Lock & Edit.

Description of this image The confirmation message for the edit session lock displays.
Description of this image -
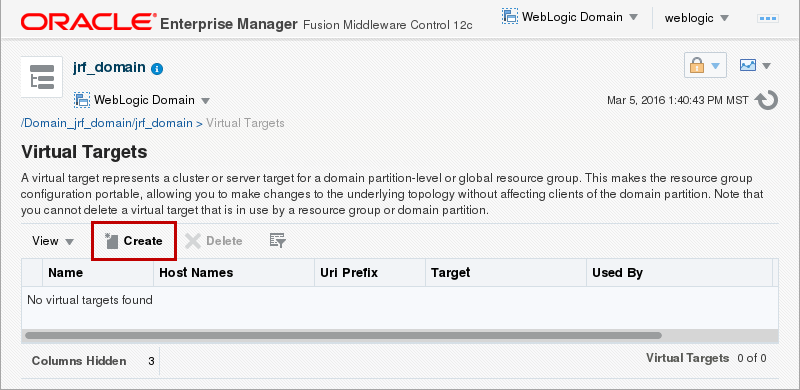
In the Virtual Targets page, click Create.
Description of this image -
Enter
MecRecVTfor Name, enter/medrecvtfor Uri Prefix, and click Next.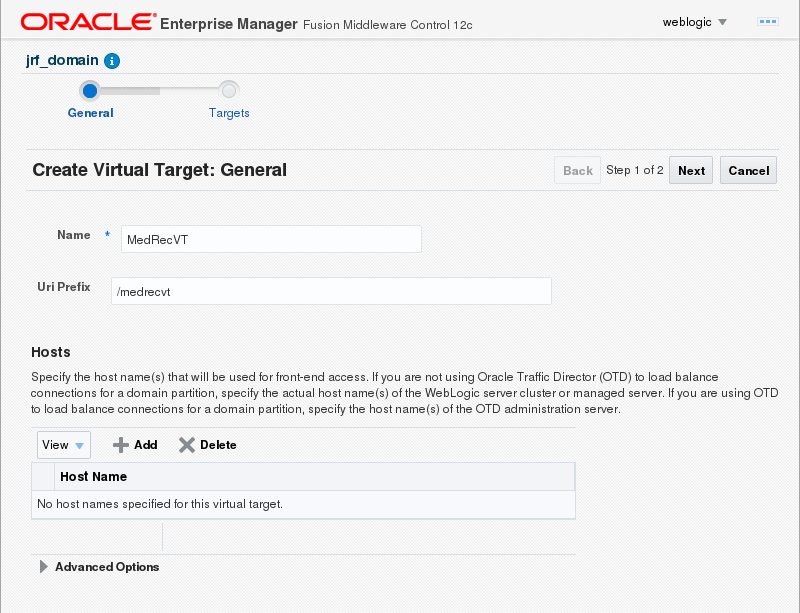
Description of this image -
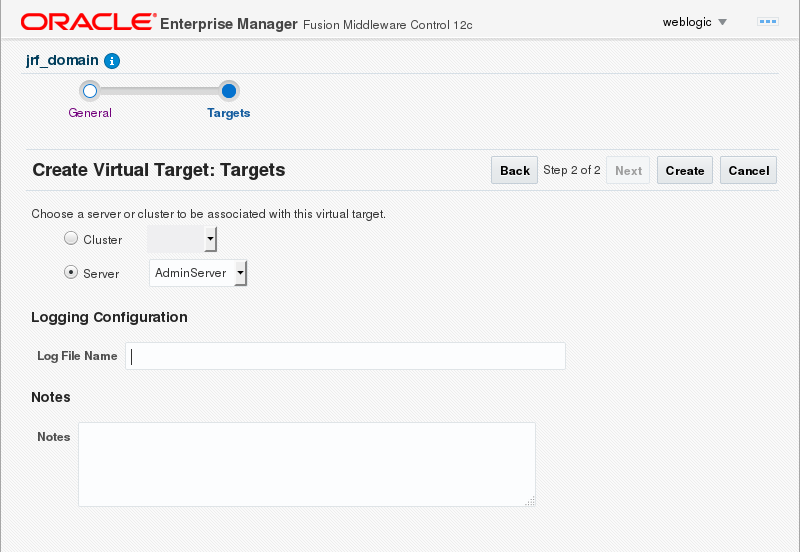
Select AdminServer for the Server drop down menu and click Create.
Description of this image -
The virtual target is created successfully.
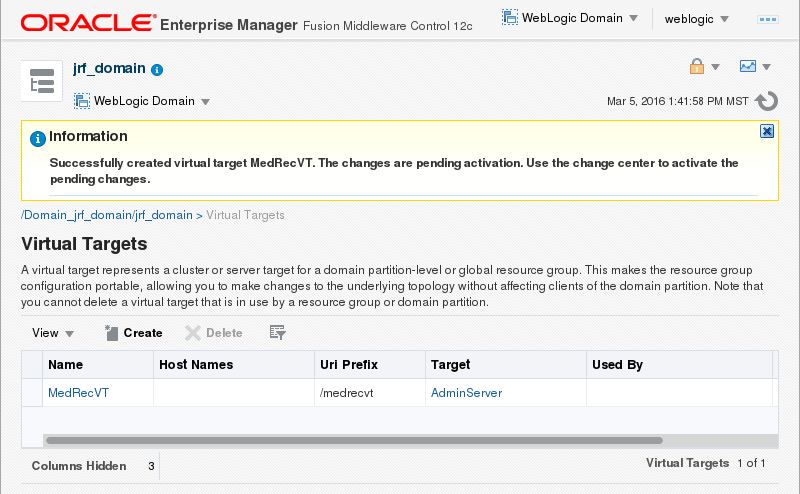
Description of this image -
From the Change Center drop down menu, select Activate Changes.
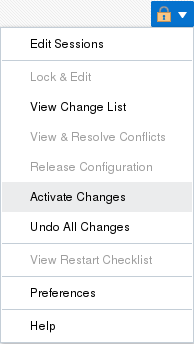
Description of this image The confirmation for the change activation displays.

Description of this image
Creating a Domain Partition
-
From the WebLogic Domain drop down menu select Environment and Domain Partitions.
Description of this image -
The Domain Partitions page displays. Click Create.

Description of this image -
Enter
MedRecPartitionfor Name, select MedRecRealm for Security Realm and click Next.
Description of this image -
Click to select the MedRecVT virtual target, click Set as Default, and click Next.
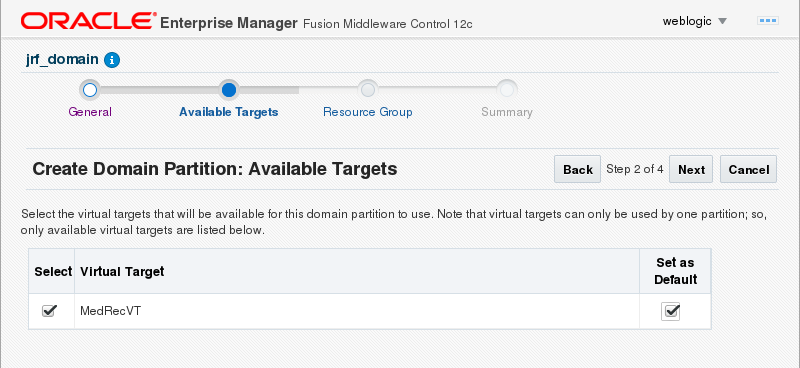
Description of this image -
Enter
MedRecRGfor Resource Group Name, select MedRecRGT for Resource Group Template, shuttle the MedRecVT to Selected Targets, and click Next.
Description of this image -
Review the Create Domain Partition: Summary and click Create.

Description of this image The domain partition MedRecPartition is created. Note that the confirmation message indicates that the Administration server must be restarted for the changes to take effect.
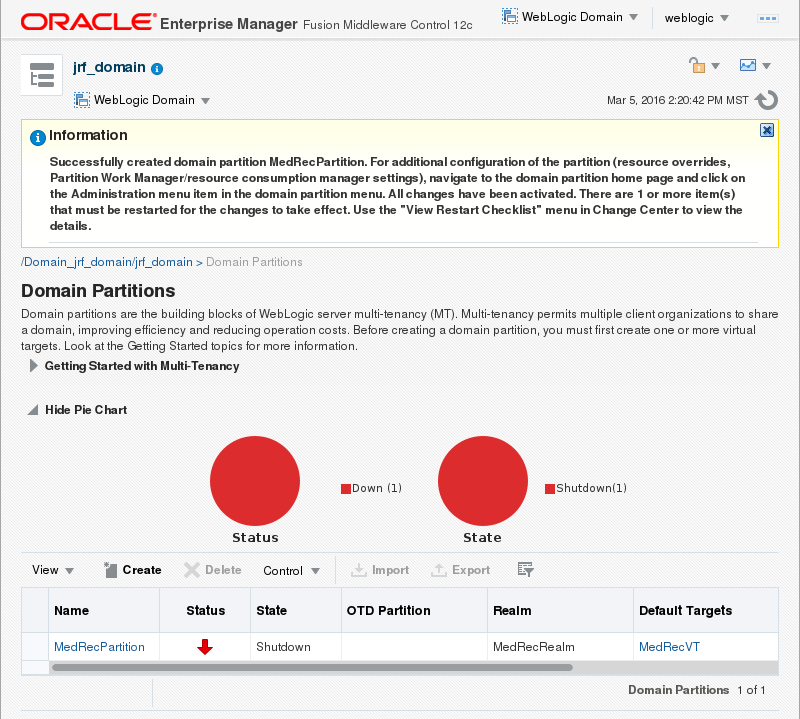
Description of this image -
To stop the WebLogic Administration Server, click the WebLogic Domain menu, select Environment and select Servers.
Description of this image -
Click the AdminServer table entry.
Description of this image -
Click the Control menu, then click Shutdown, and click Force Shutdown Now.
Description of this image -
In the Forcibly Shutdown Servers dialog box, click Forcibly Shutdown Servers.
Description of this image The Forcibly Shutdown Servers dialog box displays a message to relogin after the AdminServer has been restarted.
Description of this image -
Open a secure shell terminal session to the Linux development machine and login as the
oracleuser. - Change to the jrf_domain directory:
[oracle@ol71 ~]$ cd /scratch/u01/domains/jrf_domain - Execute the startWebLogic.sh script to start
WebLogic Server:
[oracle@ol71 ~]$ ./startWebLogich.sh - Enter the username and password to boot
WebLogic Server. The username in these tutorials
is
weblogicand the password isWelcome1.Enter username to boot WebLogic server:weblogicEnter password to boot WebLogic server:Welcome1After the server enters the RUNNING state, it is ready to continue this tutorial.
...
The server started in RUNNING mode.
... -
Back in the web browser, in the Forcibly Shutdown Servers dialog box, click Relogin.
Description of this image -
The Fusion Middleware Control 12c login page displays. top the adminserver. Enter the administrator Username and Password (in the prerequisite tutorial the Username
weblogicand PasswordWelcome1were used) and click Login. Description of this image
Starting a Domain Partition
-
In the WebLogic Domain home page, click Domain Partitions.

Description of this image The list of domain partitions displays.
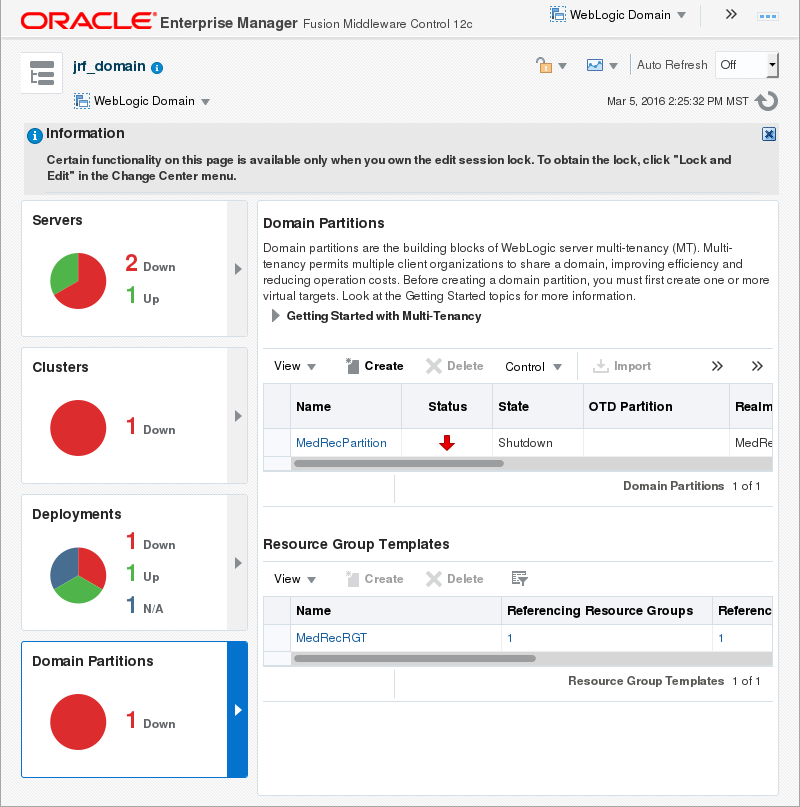
Description of this image -
Click the table entry for the MedRecPartition and select Start from the Control drop down menu.

Description of this image -
In the Confirmation dialog box, click Close.

Description of this image
Testing the Avitek Medical Records Application in
a Domain Partition
-
In the browser, navigate to http://localhost:7001/medrecvt/medrec; the welcome page for the Avitek Medical Records application displays.Click Getting Started!

Description of this image -
From the Patient section of the page, click Login.

Description of this image -
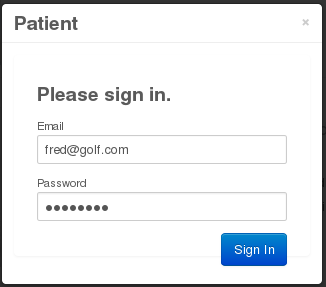
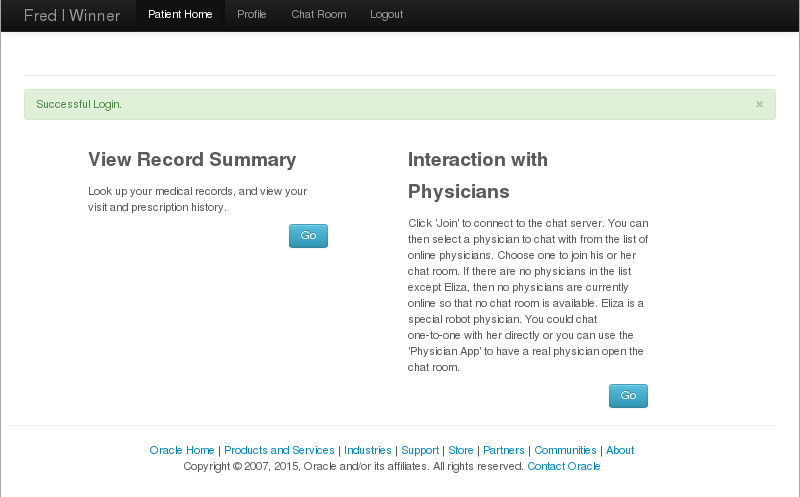
If the email is not already entered, enter fred@golf.com for Email, enter weblogic for Password, and click Sign In.
Description of this image -
Click Go in the View Record Summary section of the page.
Description of this image -
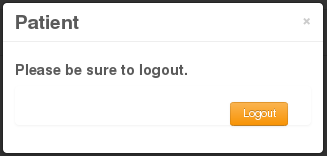
The Visit Records for the user Fred displays. Click Logout.

Description of this image -
Click Logout.
Description of this image -
From the Administrator section of the page, click Login.

Description of this image -
Enter administrator for Username, enter the password you used to create the administrator user in the MedRecRealm for Password, and click Sign In.
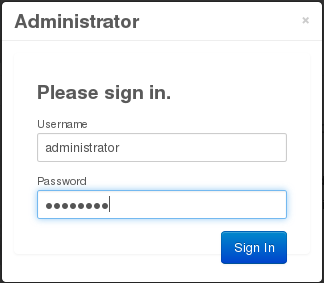
Description of this image -
Click Go in the Pending Requests section of the page.
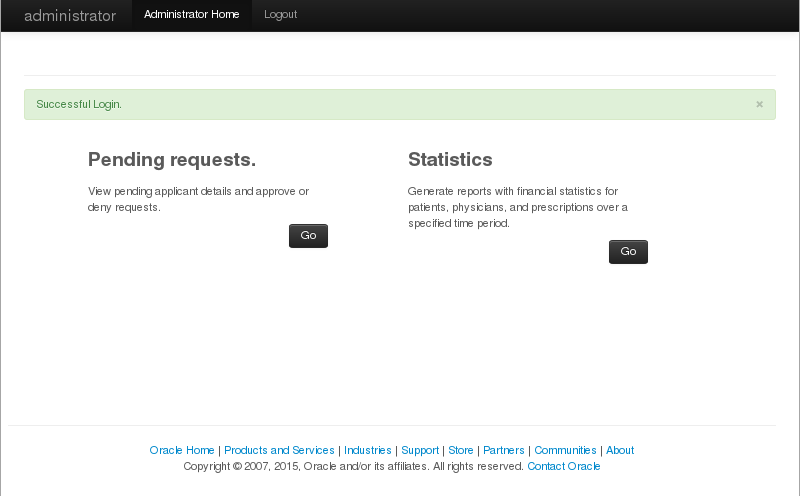
Description of this image -
The pending requests for this medrec application instance displays. Click Logout.
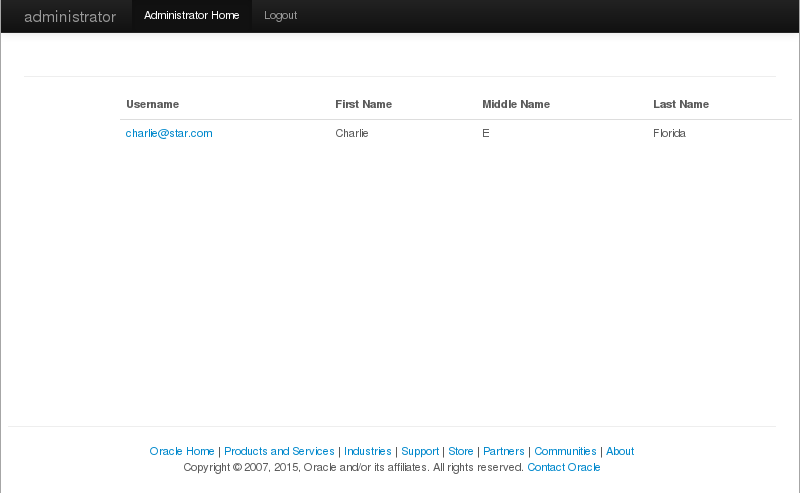
Description of this image -
Click Logout.
Description of this image
The WebLogic Server Single Domain Partition tutorial is complete - the Avitek Medical Records sample application is now running in a WebLogic Server domain parition.
Want to Learn More?
In this tutorial, you learned to:
- Configure WebLogic Server 12c (12.2.1) with a Domain Partition
- Deploy and Test the MedRec Application into a Domain Partition
Resources
- WebLogic Server 12.2.1 Documentation
- To learn more about WebLogic Server refer to additional OBEs in the Oracle Learning Library
Credits
- Lead Curriculum Developer: Tom Eliason
- Other Contributors: TJ Palazzolo
Version
- 02-35-006-SinglePartition