Using Whole Server Migration with Dynamic Clusters
Overview
Purpose
This tutorial shows you how to configure and migrate servers that are part of a WebLogic Server 12.1.3 dynamic cluster.
Time to Complete
Approximately 1 hour
Introduction
WebLogic Server 12.1.2 limited whole server migration to configured servers that were not part of a dynamic cluster. WebLogic Server 12.1.3 now enables you to configure whole server migration on dynamic and mixed clusters. The JMS subsystem is also supported for whole server migration on dynamic clusters.
Hardware and Software Requirements
The following is a list of hardware and software requirements:
- Web browser
- Oracle Java SE 1.7.0_15 or later (NOT Java SE 1.8!) (download)
- Oracle Database 11g or later (Express Edition may work as well but has not been tested) (download)
- WebLogic Server 12.1.3 (download)
- Linux or equivalent operating system with root access for making some configuration changes
- Minimum RAM: 4GB
- Minimum disk space: 20GB
- Two machines for whole server migration, three machines if you want a separate database server machine
Prerequisites
Before starting this tutorial, you should:
- Have the password for the root user
- Ensure that time is synchronized across all your machines
- Install all of the software listed in the Hardware and Software Requirements section
- The database is running
- Reference: Node Manager tutorial
- Reference: Configure Dynamic Cluster
- Reference: Configure JDBC Data Source
- Reference: Configure JMS
- Reference: Whole Server Migration
-
Created a WebLogic Server domain (NOT ON A SHARED FILESYSTEM) and have domain files set up on all machines where servers run
Entity Domain Settings Mode Development Template Basic WebLogic Server Domain [wlserver] Admin User weblogic/Welcome1 AdminServer hostname:7001
Node Manager Per-Domain
Host1: hostname1:5556
Host2: hostname2:5556
Credentials: weblogic/Welcome1Machines machine1
Node Manager: Host1:5556
machine2
Node Manager: Host2:5556Clusters Dynamic cluster: dyncluster1
Let WebLogic create the server template automaticallyServers Configured after domain creation:
Two dynamic servers:
dyn-serv-1 (machine1) Port 8001
dyn-serv-2 (machine2) Port 8002
Both servers are in dyncluster1
- Started the WebLogic administration server
When your environment is configured continue with the next topic.
Configure sudo Access
Node Manager manages configuring IP addresses dynamically when servers are started or shut down. Node Manager uses the $DOMAIN_HOME/bin/server_migration/wlsifconfig.sh script to accomplish this task. The wlsifconfig.sh script uses the ifconfig and arping commands, which require root access for changing system network settings. Ensure that your domain, including all Node Managers, is shut down before you begin.
-
Open the sudoers file for editing.
$ su - $ visudo -
Configure your user with sudo access for the ifconfig and arping commands with no password requirement. Locate the entry for the root user and add the entry for your user. The oracle user is used in this course. Your file should resemble the following.
root ALL=(ALL) ALL oracle ALL=NOPASSWD: /sbin/ifconfig,/sbin/arping -
Save your changes and exit the file.
-
Exit to your original user.
-
Repeat this process on your other machine.
-
Test your configuration by executing the following commands on each machine. After executing all commands, your environment should be in its original state.
$ sudo ifconfig etho0:1 [floating-ip-address] netmask 255.255.255.0 up
$ ifconfig
$ sudo ifconfig etho0:1 [floating-ip-address] netmask 255.255.255.0 down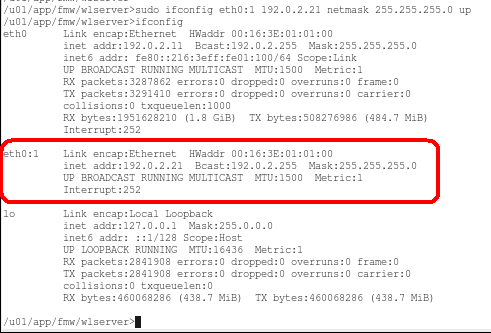
Next, you configure Node Manager to migrate IP addresses.
Configure the Node Manager for Whole Server Migration
Node Manager uses the $DOMAIN_HOME/bin/server_migration/wlsifconfig.sh script to migrate IP dynamic IP addresses. In this section, you configure the environment so Node Manager can execute the script.
-
Open the $HOME/.bash_profile script for editing.
$ gedit $HOME/.bash_profile & -
Add the wlsifconfig.sh script to the PATH.
export PATH=[DOMAIN_HOME]/bin/server_migration:$HOME/bin:$PATH -
Save your changes and exit the file.
-
Source the script to set the PATH in your current environment.
. $HOME/.bash_profile -
Test the wlsifconfig.sh script. After executing all commands, your environment should be in its original state.
$ wlsifconfig.sh -addif [interface] [dynamic IP address] 255.255.255.0 up
$ ifconfig
$ wlsifconfig.sh -removeif [interface] [dynamic IP address]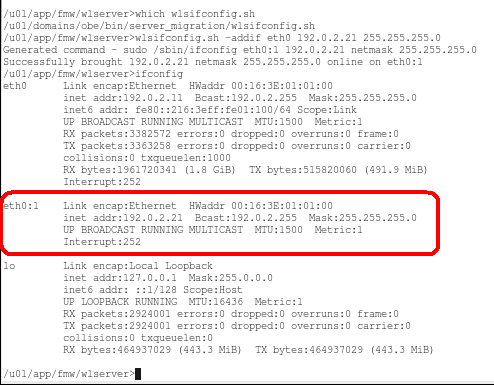
-
Open the [DOMAIN_HOME]/nodemanager/nodemanager.properties file for editing.
$ gedit [DOMAIN_HOME]/nodemanager/nodemanager.properties & -
Add the following line to the end of the file to configure Node Manager to use a pool of IP addresses it can migrate.
eth0=[start IP address]-[end IP address],NetMask=255.255.255.0
-
Save your changes and exit the file.
-
Execute the following commands to start Node Manager on each machine.
$ cd [DOMAIN_HOME]/bin
$ ./startNodeManager.sh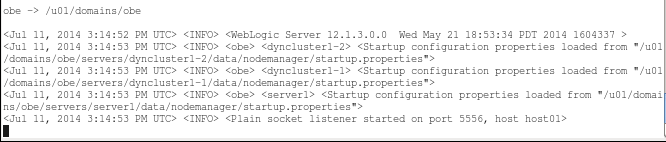
-
Repeat this process on your other machine.
Now that Node Manager is ready to migrate IP addresses, let's configure the WebLogic domain to automatically migrate servers.
Configure WebLogic Components and Whole Server Migration
Whole server migration is not configured by default. Follow these steps to configure your dynamic cluster and its servers for automatic migration. You also configure JMS components that migrate with the server.
Create the Database Leasing Table
When a WebLogic cluster is small, database leasing provides a better migration experience. WebLogic includes SQL scripts to create the database leasing table for the most common databases. This course uses an Oracle database, and uses the SQL for creating the table in an Oracle database.
-
Execute the following command to create the database leasing table. Replace the oracle user with your user and Welcome1 wtih your password. Replace [WL_HOME] with your actual WebLogic installation folder because environment variables will not work.
$ sqlplus oracle/Welcome1 @[WL_HOME]/server/db/oracle/920/leasing.ddl
SQL> quit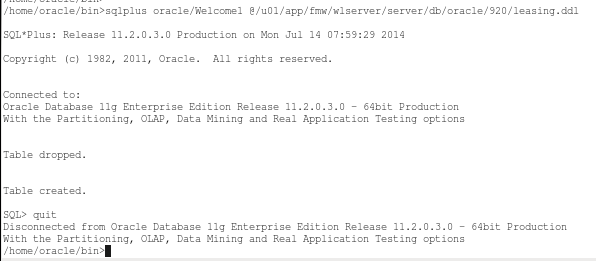
Now that the database is configured for whole server migration, let's assign virtual IP addresses to the servers in the cluster.
Assign Virtual IP Addresses to a Dynamic Cluster
You have already configured Node Manager with a pool of dynamic IP addresses it can use to migrate IP addresses on the machines where servers run. Now, you configure the server template that the dynamic cluster is based on to use IP addresses that are included in that pool.
-
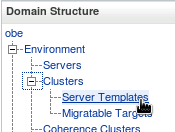
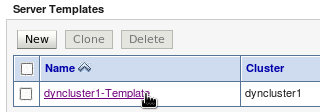
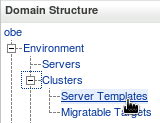
Navigate to Server Templates in the administration console.
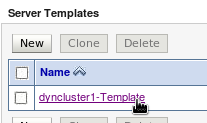
-
Select your server template.
-
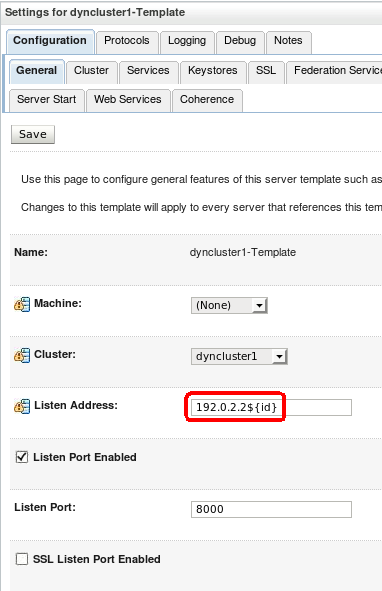
Select the Configuration > General tabs and configure the template with the values listed in the table below.
- You do not specify a machine for the template because WebLogic automatically assigns each server in a dynamic cluster across the machines that are part of the cluster.
- You configure the listen address so that the last number of the IP address is calculated based on the ID of the server. The first server that starts will be id=1 and the next is id=2.
- You configure the listen port, which is the starting point for calculated port numbers. The initial setting is 8000, so the first server in the cluster will use port 8001 and subsequent servers will continue to increment the number by one.
NameValueMachineNoneCluster[your-dynamic-cluster-name]Listen Address[your-dynamic-IP-address]${id}Listen Port EnabledYesListen Port8000
Now that you have configured your servers to use dynamic IP addresses, let's configure WebLogic JMS-related components that migrate with the servers.
Configure WebLogic Components
You configure JDBC and JMS components in your domain, which are used to demonstrate migrating JMS on a dynamic cluster.
Configure a JDBC Data Source
-
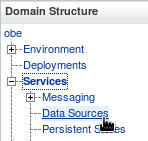
Navigate to Data Sources in the administration console.
-
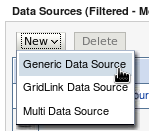
Click New > Generic Data Source to create a new data source.
-
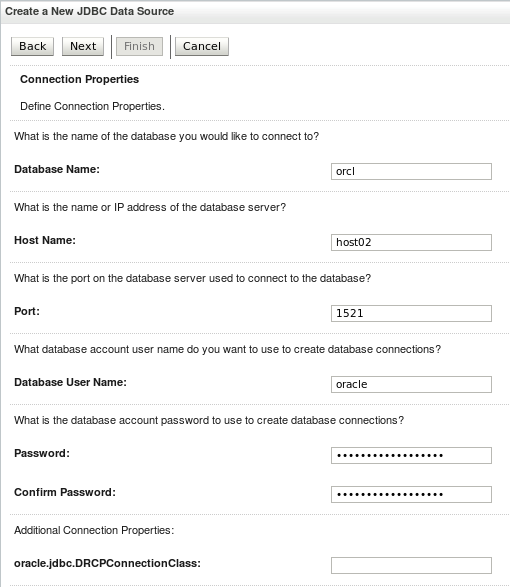
Walk through the JDBC data source configuration wizard and configure a data source with the values listed in the table below.
NameValueNameJDBC Data Source-0JNDI Namejdbc.ds0Database TypeOracleDatabase DriverOracle's Driver (Thin) for Instance connections; Versions: Any (Do NOT choose an XA Driver)Supports Global TransactionsFalseDatabase Name[your-data-base-name] Example: orclHost Name[your-database-host-name] Example: host02Port[your-database-port] Example: 1521Database User Name[your-database-user-name] Example: oraclePassword[your-database-user-password] Example: Welcome1
-
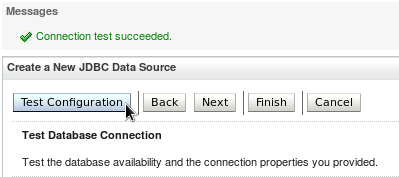
Test the database connection and verify that your settings work.
-
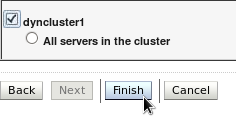
Target the data source to your dynamic cluster.
Configure a JDBC Persistent Store
-
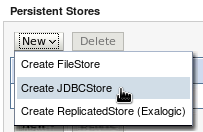
Navigate to Persistent Stores in the administration console.

-
Click New > Create JDBC Store to create a new persistent store.
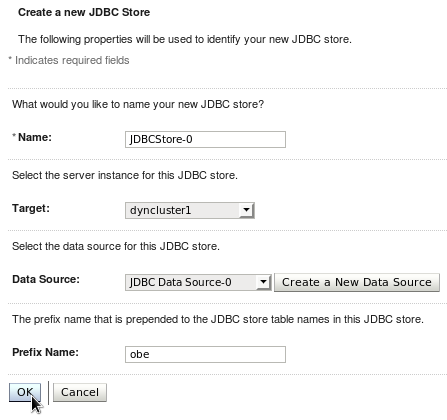
-
Configure your persistent store with the values listed in the table below.
The obe prefix ensures that this store uses a unique table name in the database.
NameValueNameJDBCStore-0Targetdyncluster1Data SourceJDBC Data Source-0Prefix Nameobe
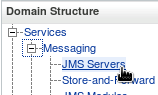
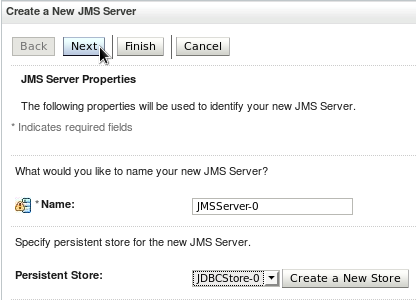
Configure a JMS Server
-
Navigate to JMS Servers in the administration console.
-
Click New to create a new JMS Server.
-
Configure the JMS Server with the settings in the table below.
NameValueNameJMSServer-0Persistent StoreJDBCStore-0
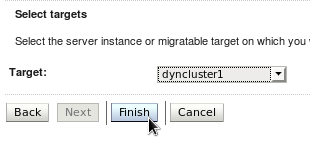
-
Target the JMS Server to the dynamic cluster.
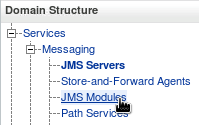
Configure a JMS Module
-
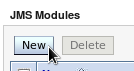
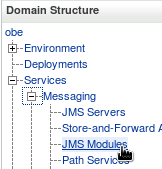
Navigate to JMS Modules in the administration console.
-
Click New to create a new JMS Module.
-
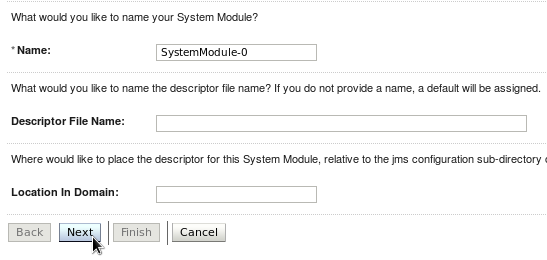
Configure the JMS Module with the settings in the table below.
NameValueNameSystemModule-0Descriptor File Nameleave defaultLocation in Domainleave default
-
Target the JMS Module to the dynamic cluster.

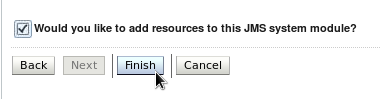
-
Select the option to add resources to the module and click Finish.
Configure a Subdeployment
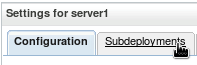
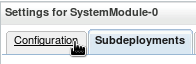
-
Click the Subdeployment tab.
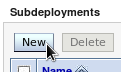
-
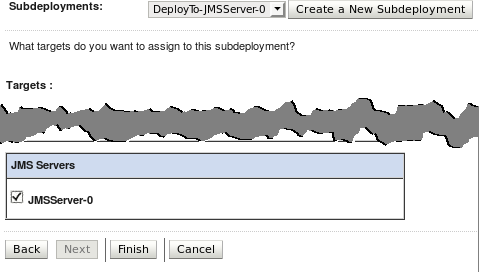
Click New to create a new subdeployment in order to target resources to your JMS Server.
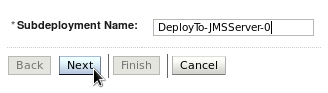
-
Name your subdeployment DeployTo-JMSServer-0.
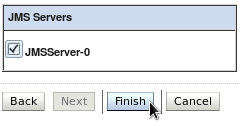
-
Target your connection factory to JMSServer-0 and click Finish.
Configure a JMS Connection Factory
-
Click the Configuration tab.
-
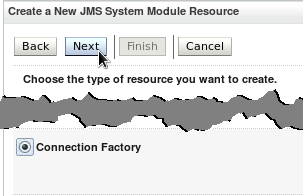
Click New to create a new JMS resource.
-
Select Connection Factory as the type of resource to create.
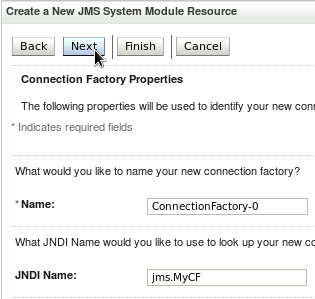
-
Configure the connection factory with the settings in the table below.
NameValueNameConnectionFactory-0JNDI Namejms.MyCF
-
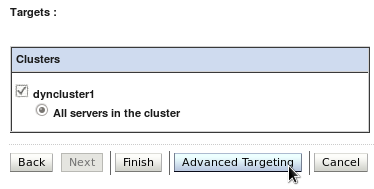
On the Targets page, click Advanced Targeting to use your subdeployment to target the JMS Server.

-
Select the DeployTo-JMSServer-0 subdeployment you created previously, ensure that JMSServer-0 is selected as the only target, and click Finish.

Configure a JMS Distributed Queue
-
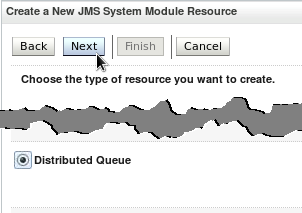
Click New to create a new JMS resource.

-
Select Distributed Queue as the type of resource to create.
-
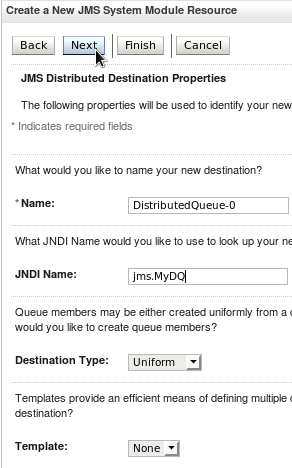
Configure the distributed queue with the settings in the table below.
NameValueNameDistributedQueue-0JNDI Namejms.MyDQAll other parametersleave at default settings
-
On the Targets page, click Advanced Targeting to use your subdeployment to target the JMS Server.
-
Select the DeployTo-JMSServer-0 subdeployment you created previously, ensure that JMSServer-0 is selected as the only target, and click Finish.
Now that you have configured JMS resources, let's configure whole server migration for the dynamic cluster.
Configure Automatic Server Migration
-
Navigate to Server Templates in the administration console.
-
Select your template.
-
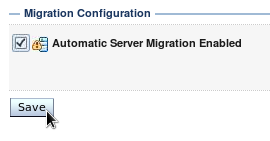
Click the migration tab to configure migration settings.

-
Select Automatic Server Migration Enabled and save your changes. This enables whole server migration for servers that are based on this template.
-
Navigate to Clusters in the administration console.
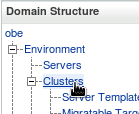
-
Select your dynamic cluster.
-
Click the migration tab to configure migration settings.

-
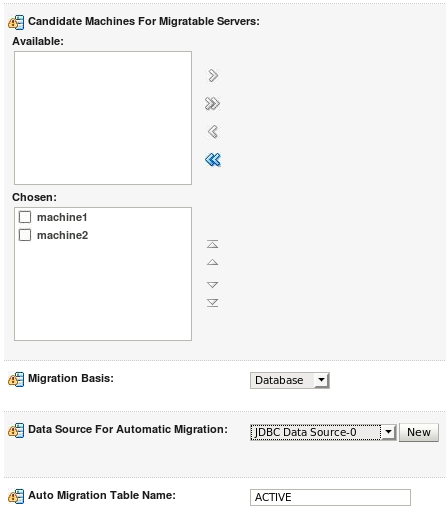
Locate the Candidate Machines For Migratable Servers field. Use the
 button to move both of your machines from the Available column to the Chosen column. Continue to configure migration with settings in the table below. NameValueMigration BasisDatabaseData Source for Automatic MigrationJDBC Data Source-0Auto Migration Table NameACTIVEAll other parametersleave at default settings
- Save your changes.
Now that automatic whole server migration is configured, let's test it to see it work.
Test Whole Server Migration
Perform the following steps to test your configuration and cause WebLogic Server to automatically migrate a server.
Start Servers in the Dynamic Cluster
At this point, you should have only the AdminServer running. If not, then you must shutdown any other server processes. You may even want to restart your AdminServer to ensure that all configuration changes have taken place. Before restarting the AdminServer, you can use the Change Center in the upper left-hand corner of the administration console to check if any restarts are required. You start the servers that form your dynamic cluster across the machines of your domain. After they are started, you can force a situation that causes migration to occur.
-
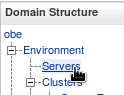
Navigate to Servers in the administration console.
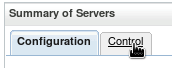
-
Click the Control tab to access tools for managing the life cycle for your servers.
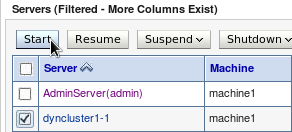
-
Select the first server in your dynamic cluster and click Start. This server should be located on the same machine that the AdminServer is running on. Starting this server first ensures that the server on machine1 becomes the cluster master.
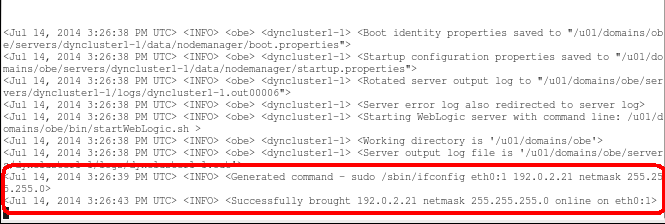
-
View the Node Manager console window and verify that it successfully adds the IP address dynamically to the machine.
-
Click the
 button in the administration console to cause the page to refresh automatically. Watch the administration console window and the Node Manager console window for changes. Proceed after you see that the server is in a RUNNING state. Verify dynamic IP address handling in the Node Manager console window.
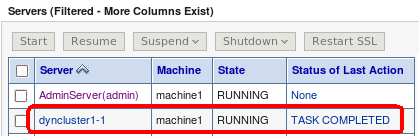

-
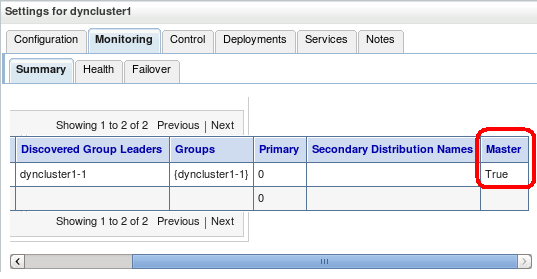
Navigate to your dynamic cluster in the administration console and click the Monitoring tab and the Summary sub tab. Horizontally scroll the page all the way to the right and verify that the server you started is the cluster master.
-
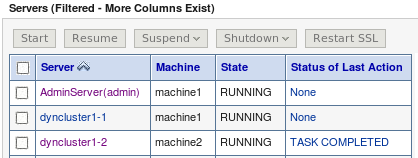
Repeat these steps to start the other managed server running on machine2.
Now that your domain is running, let's place messages on the JMS queues.
Place Messages on JMS Queue
This tutorial includes JMS components to show that WebLogic supports migration of JMS resources that are targeted to servers in a dynamic cluster. Part of showing that migration is successful is showing that data is accessible in a JMS queue after migration occurs. You use the administration console to place some messages on a JMS queue belonging to a server that you are going to migrate. After migration occurs, you will verify that you can still access the message on the queue.
-
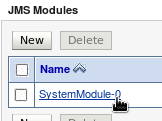
Navigate to JMS Modules in the administration console.
-
Select your JMS module.
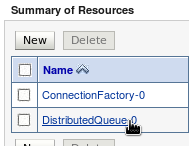
-
Select your distributed queue.
-
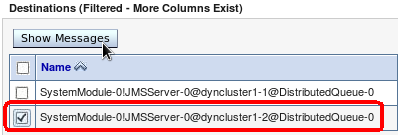
Click the Monitoring tab.

-
Select the queue for server 2 (the server ID will have a 2 in the server name) and click Show Messages.
-
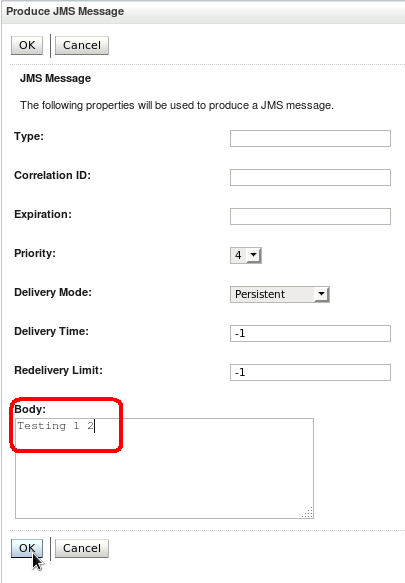
Click New to create a new JMS message to place on the queue.

-
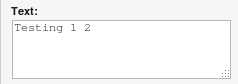
Locate the Body field and type in a message. Leave all of the other fields at their default values and click OK.
-
Verify that your message has been persisted to the queue.

-
Repeat these steps again to add more messages.
Now that you have some messages on your queue, let's migrate one of your servers.
Migrate a Server
At this point, you should have the following set up:
- The AdminServer and server 1 of your dynamic cluster running on machine 1.
- Server 2 of your dynamic cluster running on machine 2.
- Node Manager running on each machine.
- Server 1 and server 2 were both started using the Node Manager.
- The database running on a machine that is accessible to the servers on both machines.
- Servers are configured to migrate automatically.
- Database leasing is configured.
- JMS resources are configured and targeted to the dynamic cluster via the JMS Server subdeployment.
- Some messages placed on the JMS queue for server 2.
- Server 1 was started first to ensure it is the cluster master.
After everything is set up, you are ready to migrate a server. Perform the following steps to migrate server 2 from machine 2 to machine 1.
-
Again, verify that all of your servers are running.
-
Press the enter key in both Node Manager terminal windows to clear the screens of any previous messages. This makes it easier to see what is happening during migration.
-
Open the killServers.sh script, paste it into a new file on machine 2, and execute the following command to make the file executable.
$ chmod +x killServers.sh -
The killServers.sh script kills all java processes running on the machine. You have some different options to use to cause server migration to occur. You can kill the Node Manager and server processes that are running on machine 2, or you can make the machine inaccessible from machine 1 somehow. If your database is not running on machine 2, you can power the machine off, unplug the network from the machine, or anything similar that accomplishes the same thing. If your database is running on server 2 like mine is, then you must kill the Node Manager and server on machine 2 to emulate a machine crash, which is achieved by executing the killServers.sh script as shown below. Choose which approach you will use and execute it now.
$ ./killServers.sh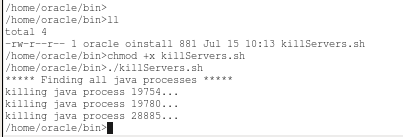
-
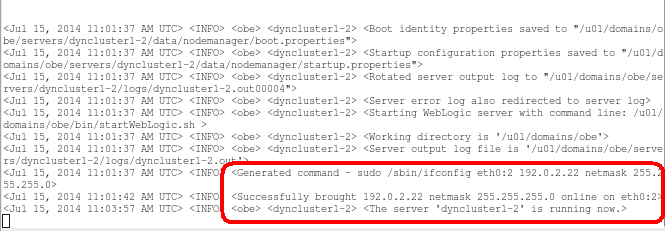
Wait for a minute or two until you see some output in the Node Manager terminal window on machine 1. You should see messages indicating that server 2 is now being migrated and started on machine 1. You should see messages stating that the IP address for server 2 is brought up on machine 1 and that server 2 is being started. After the server is started, you will also see a message that server 2 is now running.
-
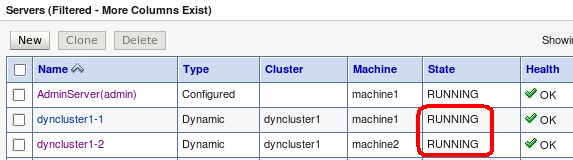
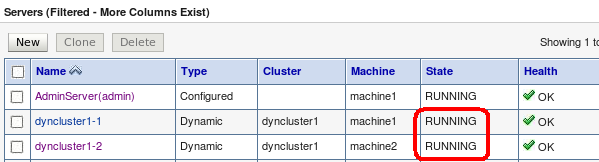
Verify in the administration console that both servers are still running.
-
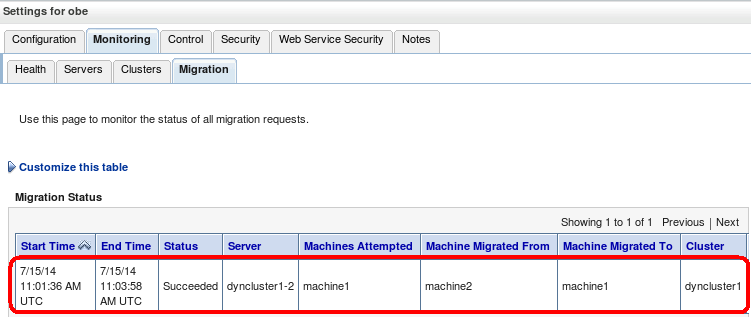
Server 2 still lists machine 2 as its machine here, so you should check to see if an actual migration occurred. Navigate to your domain in the console, click the Monitoring tab, and then click the Migration tab. This page shows migrations that have taken place.
-
Verify that you can access the JMS messages you created earlier. Return to the monitoring tab for your distributed queue on server 2 and click Show Messages. You should now be able to select your messages and view them in the console. This is because the messages are persisted to the database, which is accessible from server even when it is running on machine 1.
Congratulations! You just configured and used WebLogic Server whole server migration with JMS and dynamic clusters. Now that you have a working environment, you can experiment with other migration scenarios.
Summary
In this tutorial, you learned to configure whole server migration on dynamic clusters with JMS components.
Resources
- Documentation: Node Manager tutorial
- Documentation: Configure Dynamic Cluster
- Documentation: Configure JDBC Data Source
- Documentation: Configure JMS
- Documentation: Whole Server Migration
- Self-Study: WebLogic Server 12c (12.1.3) New Features
- To learn more about WebLogic Server 12c refer to additional OBEs in the Oracle Learning Library
Credits
- Lead Curriculum Developer: Mark Lindros
To navigate this Oracle by Example tutorial, note the following:
- Topic List:
- Click a topic to navigate to that section.
- Expand All Topics:
- Click the button to show or hide the details for the sections. By default, all topics are collapsed.
- Hide All Images:
- Click the button to show or hide the screenshots. By default, all images are displayed.
- Print:
- Click the button to print the content. The content that is currently displayed or hidden is printed.
To navigate to a particular section in this tutorial, select the topic from the list.