Configuring Data Relationship Management with Hyperion Shared Services
Purpose
This tutorial covers steps to configure Data Relationship Management with Hyperion Shared Services to enable external authentication with Oracle Internet Directory.
Time to Complete
Approximately 30 min.
Overview
Data Relationship Management (DRM) supports users that are natively authenticated by the application using stored password information or users that are authenticated by an external user directory. DRM administrators set up the authentication method in DRM Console by specifying one of the following methods:
- Internal — configures authentication by DRM
- CSS — configures authentication by an external user directory supported by Hyperion Shared Services (Shared Services)
- Mixed — enables you to specify an authentication option (Internal or CSS) for each user
In this tutorial, you install and configure Oracle Internet Directory (OID) as an external user directory for Shared Services and configure DRM to enable external user authentication.
Software and Hardware Requirements
The following is a list of software requirements:
- Oracle Database 11g 11.1.0.7.0
- Oracle Hyperion Foundation Services 11.1.2.1.0
- Oracle Hyperion Data Relationship Management, Fusion Edition 11.1.2.1.0
Prerequisites
Before starting this tutorial, you should:
| . | Have access to or have installed Oracle Hyperion Enterprise Performance Management 11.1.2.1.0 and Oracle Hyperion Data Relationship Management, Fusion Edition 11.1.2.1.0. |
|---|---|
| . | Have access to edelivery.oracle.com for software download. |
Installing Oracle Internet Directory
In this topic, you download and install Oracle Internet Directory.
Setting up the OID schema using RCU
. |
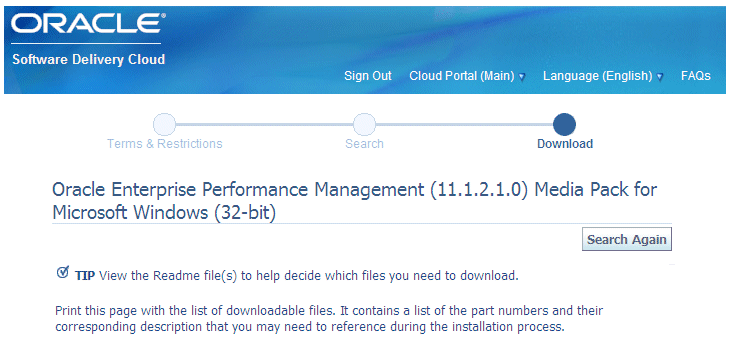
From edelivery.oracle.com, access the Oracle Enterprise Performance Management 11.1.2.1.0 Media Pack for Windows 32 bit and download Oracle Fusion Middleware Repository Creation Utility 11g (11.1.1.4.0) for Microsoft Windows (32-bit).
For example, download the V24312-01.zip file into the C:\Software\RCU directory
|
|---|---|
. |
Extract the V24312-01.zip archive and then run the utility from the command line: C:\Software\RCU\rcuHome\BIN\rcu.bat
|
. |
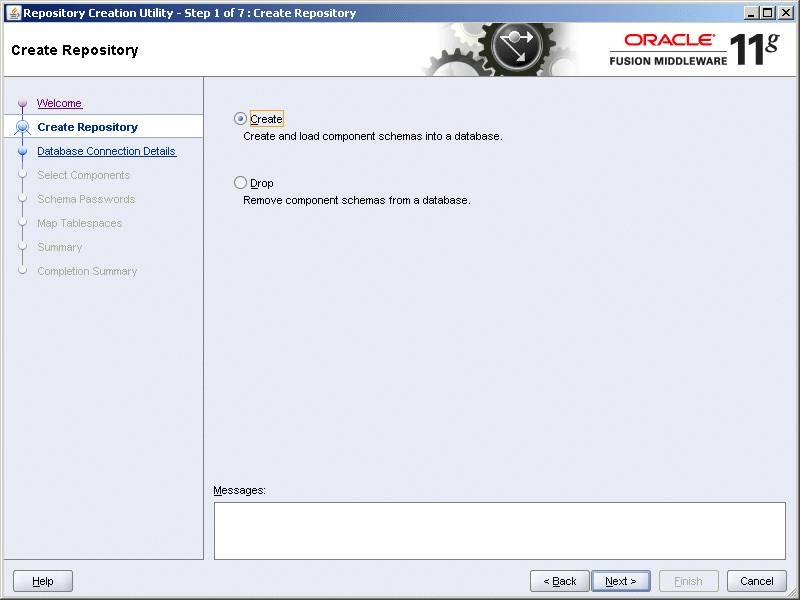
Click Next.
|
. |
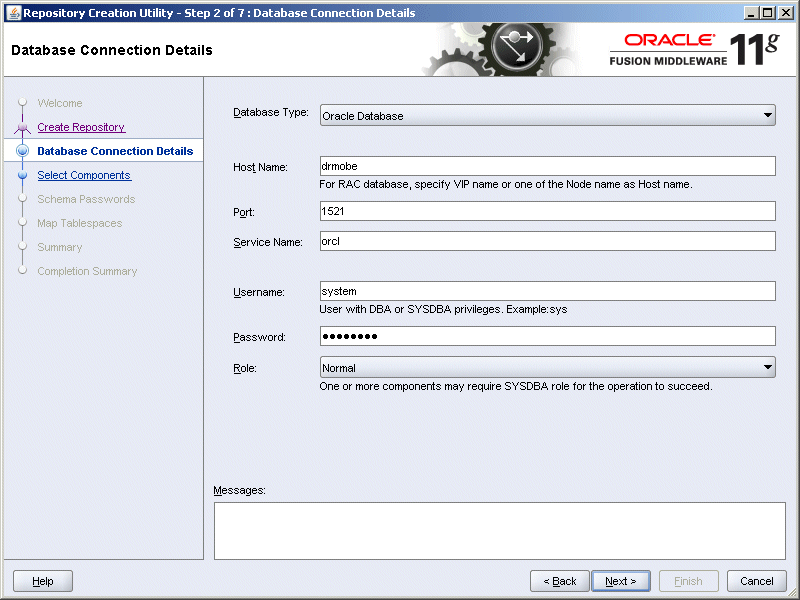
Select Create and click Next. In the Database Connection Details page, specify database connection details including host name, port number, service name, username, and password.
|
. |
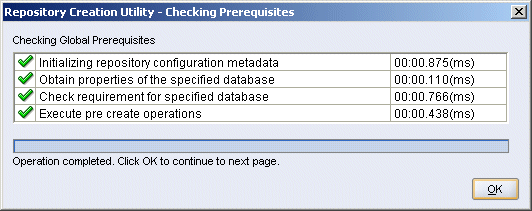
Click Next. The utility performs prerequisites check. Click OK to close the Checking Prerequisites dialog box.
|
. |
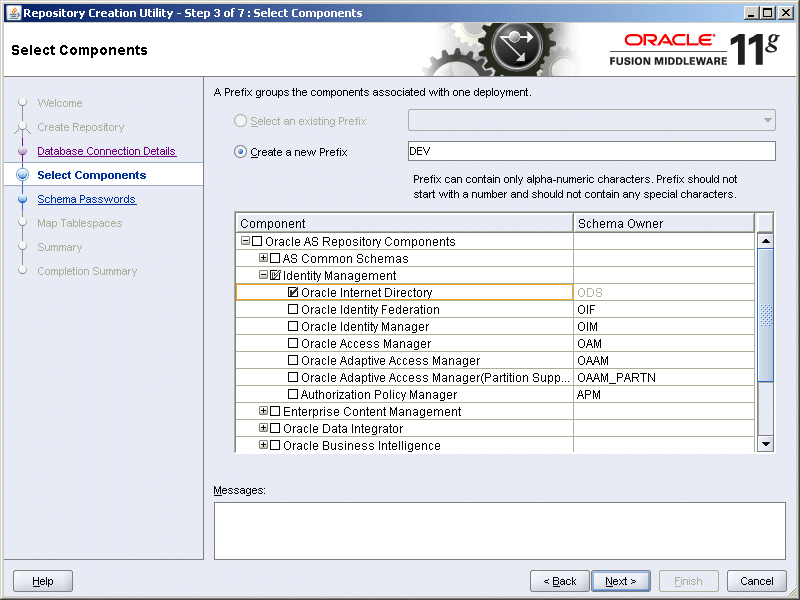
In the Select Components page, expand Identity Management and select Oracle Internet Directory.
|
. |
Click Next. The utility performs prerequisites check. Click OK to close the Checking Prerequisites dialog box.
|
. |
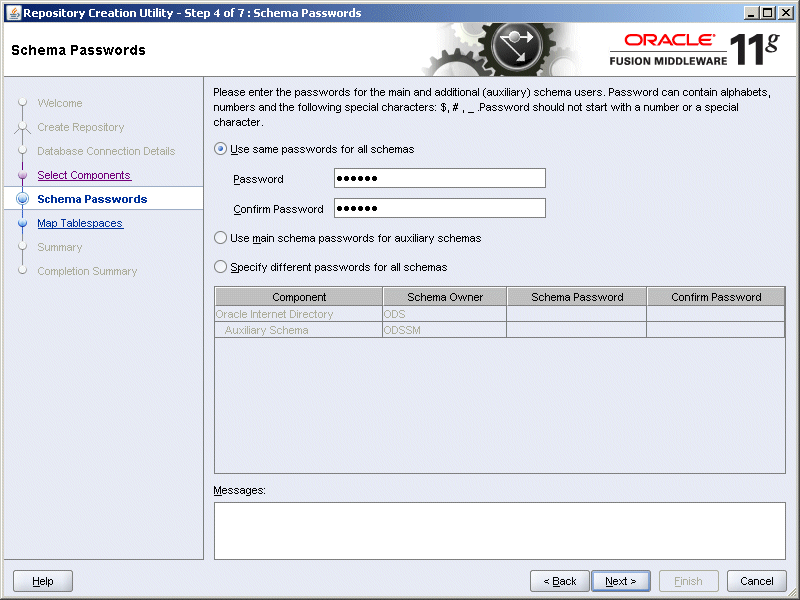
In the Schema Passwords page, leave Use same passwords for all schemas selected and set the password to oracle.
|
. |
Click Next.
|
. |
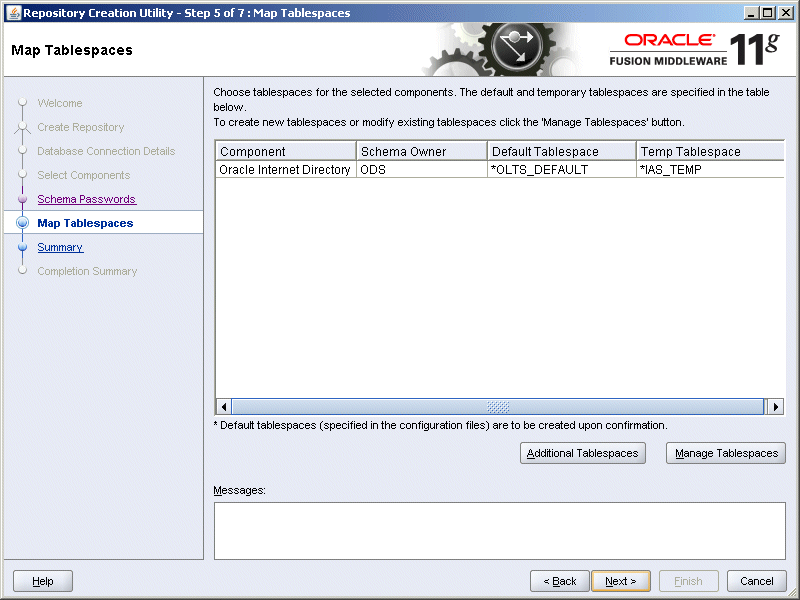
In the Map Tablespaces page, click Next. The utility displays a warning dialog box with the following message: Any tablespaces that do not already exist in the selected schemas will be created. Click OK to create tablespaces.
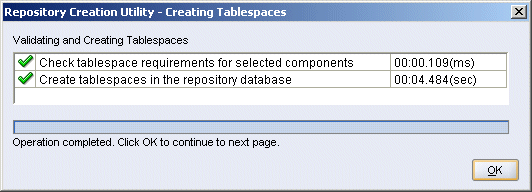
The utility validates and creates tablespaces and displays a confirmation dialog box. Click OK.
|
. |
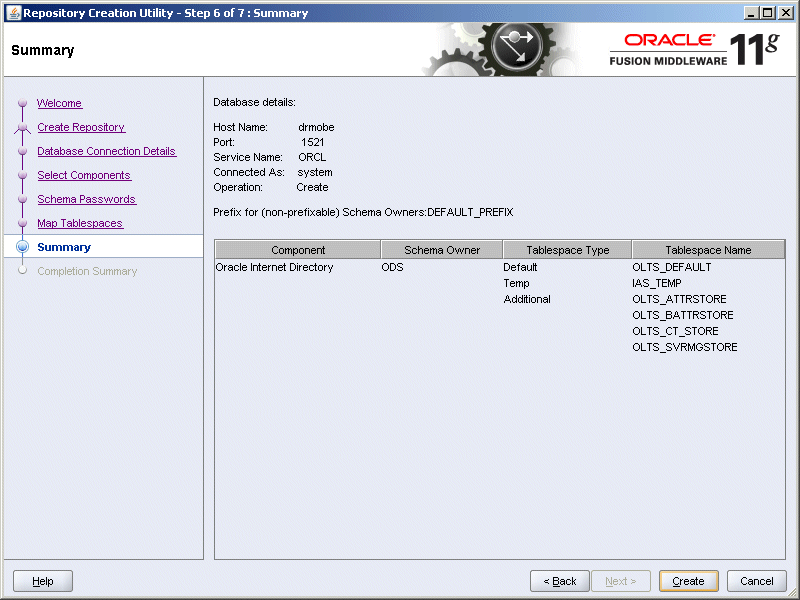
In the Summary page, verify the operations about to be performed based on your selections from the previous steps and click Create.
|
. |
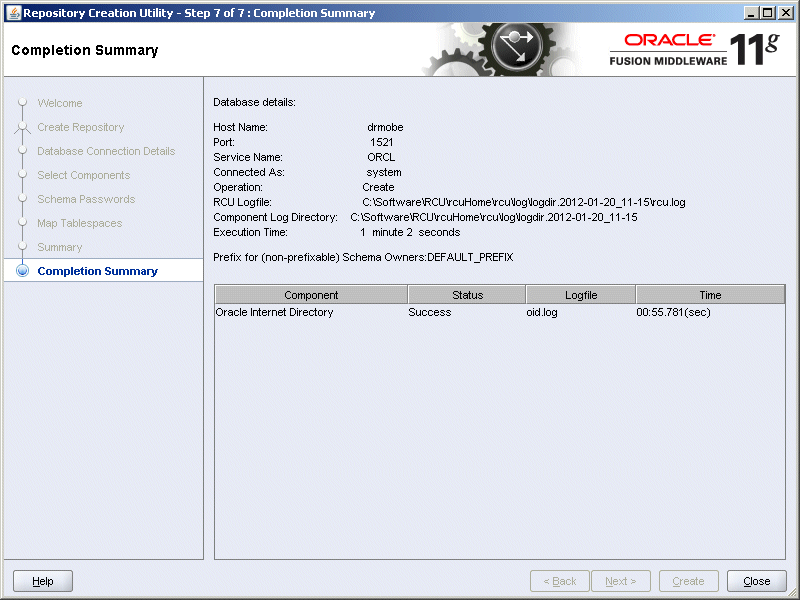
In the Completion Summary page, verify that the operations have been completed successfully and click Close.
|
Installing Oracle Identity Management 11g (11.1.1.2.0)
. |
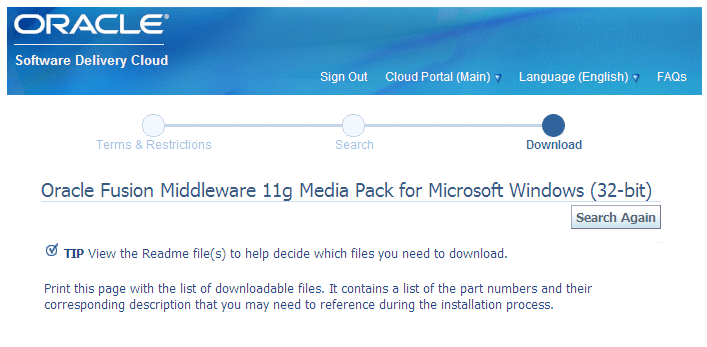
From edelivery.oracle.com, access the Oracle Fusion Middleware 11g Media Pack for Microsoft Windows (32-bit) and download Oracle Identity Management 11g (11.1.1.2.0) for Microsoft Windows (32-bit).
|
|---|---|
. |
Extract the V18691-01.zip archive and then run the setup.exe in the Disk1 folder. In the Welcome page, click Next.
|
. |
In the Select Installation Type page, select Install Software - Do Not Configure and click Next.
|
. |
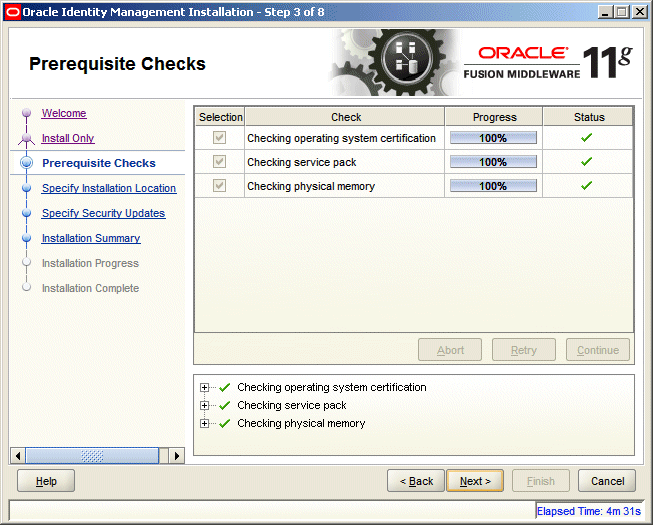
In the Prerequisite Checks page, verify that all prerequisites are met and click Next.
|
. |
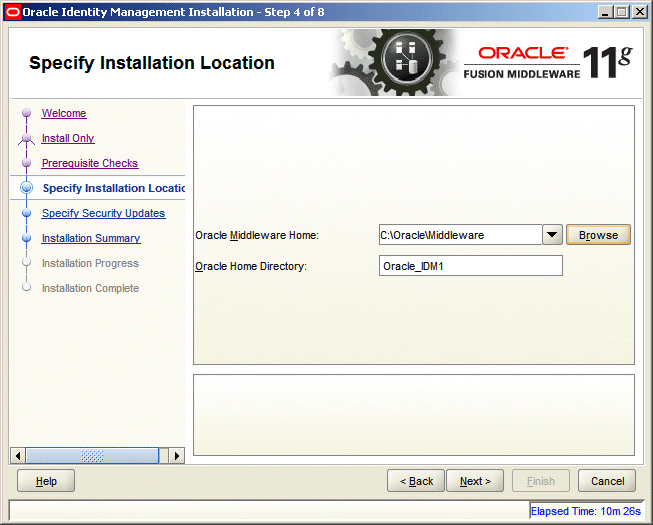
In the Specify Installation Location page, specify location for Oracle Middleware Home directory (for example, C:\Oracle\Middleware) and Oracle Home directory (for example, Oracle_IDM1) and click Next. Note: The Oracle Home directory will be created under the Oracle Middleware Home directory.
|
. |
In the Specify Security Updates page, clear the I wish to receive security updates via My Oracle Support and click Next.
|
. |
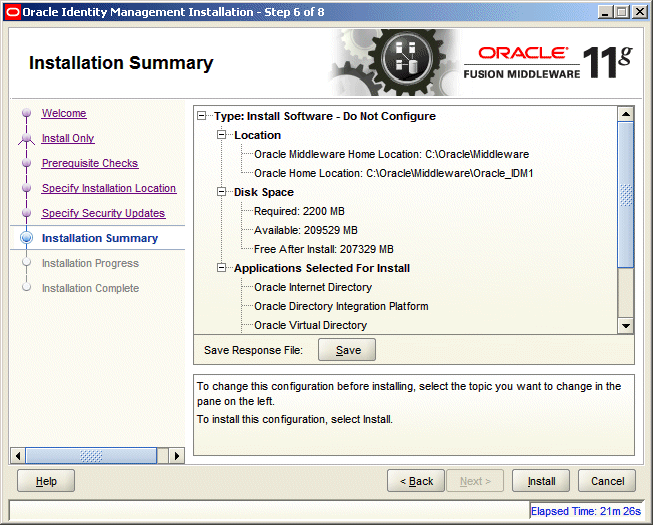
In the Installation Summary page, verify applications that you have selected for installation and click Install.
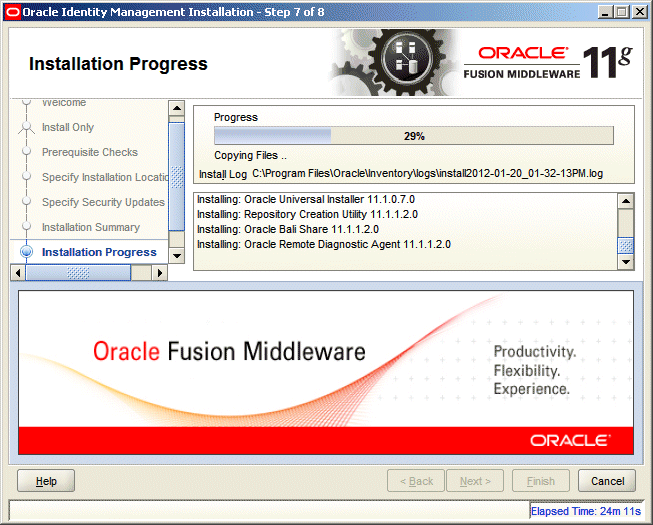
The installer performs installation of the selected applications. When finished click Next.
|
. |
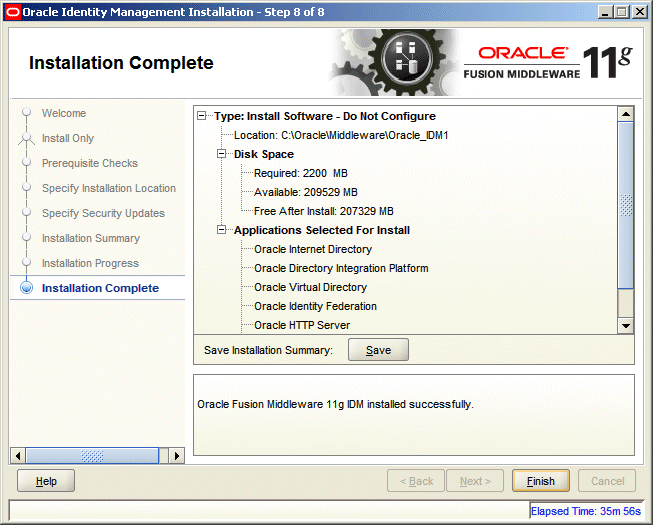
In the Installation Complete page, verify that the installation was successful and click Finish.
|
Upgrading Oracle Identity Management 11g to 11.1.1.4.0
. |
From edelivery.oracle.com, access the Oracle Fusion Middleware 11g Media Pack for Microsoft Windows (32-bit) and download Oracle Identity Management 11g Patch Set 3 (11.1.1.4.0) for Microsoft Windows (32-bit).
|
|---|---|
. |
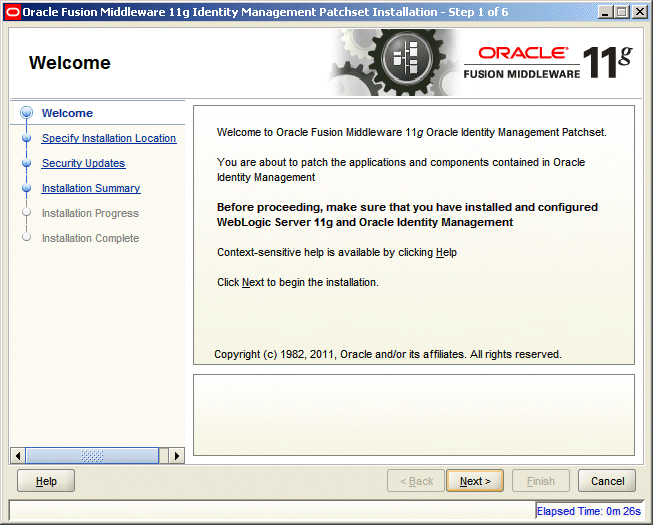
Extract the V24323-01.zip archive and then run the setup.exe in the Disk1 folder. In the Welcome page, click Next.
|
. |
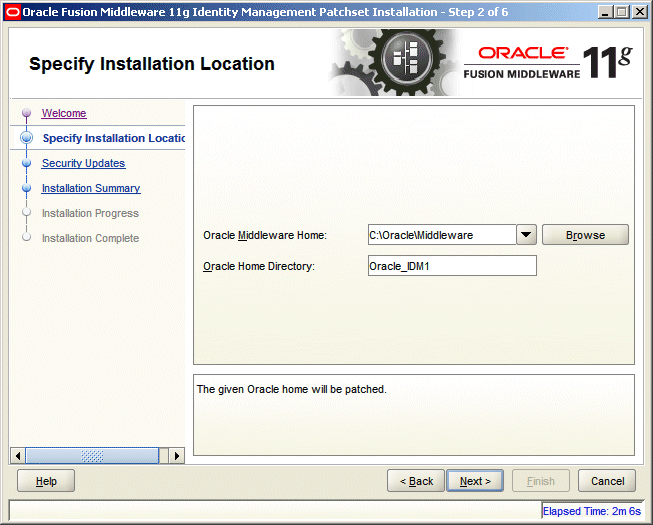
In the Specify Installation Location page, , specify location for Oracle Middleware Home directory C:\Oracle\Middleware and Oracle Home directory Oracle_IDM1 and click Next.
|
. |
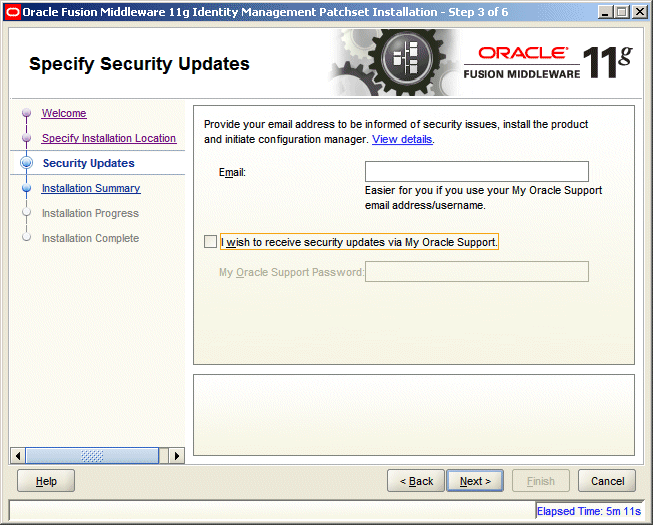
In the Specify Security Updates page, clear I wish to receive security updates via My Oracle Support and click Next.
|
. |
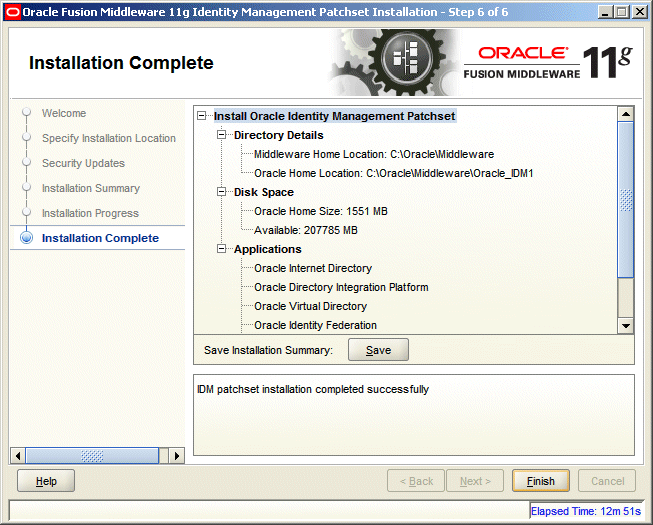
In the Installation Summary page, verify applications that you have selected for installation and click Install.
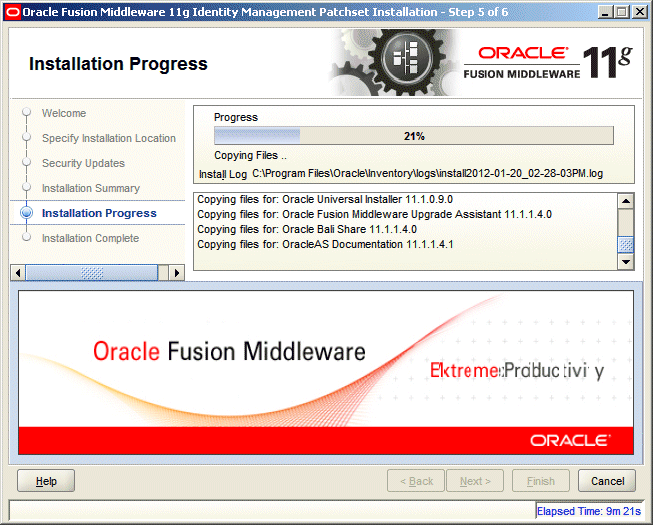
The installer performs installation of the selected applications. When finished click Next.
|
. |
In the Installation Complete page, verify that the installation was successful and click Finish.
|
Configuring Oracle Internet Directory
In this topic you configure OID as an external user directory.
. |
Run C:\Oracle\Middleware\Oracle_IDM1\bin\config.bat to launch Oracle Identity Management 11g Configuration Wizard. In the Welcome page, click Next.
|
|---|---|
. |
In the Select Domain page, select Configure Without A Domain and click Next.
|
. |
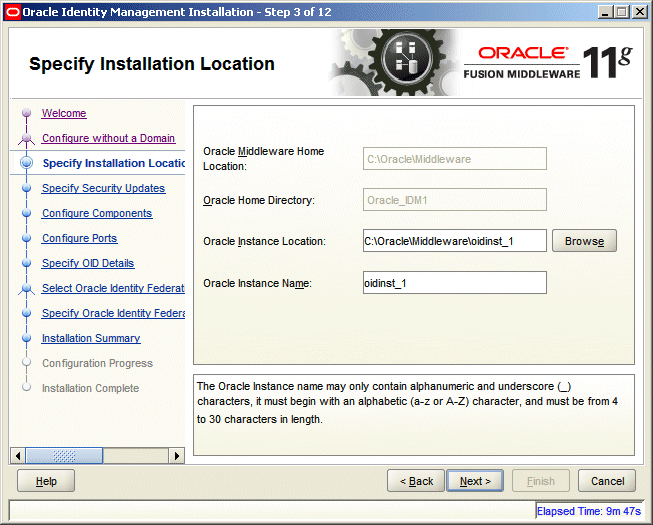
In the Specify Installation Location page, specify Oracle Instance Location (for example, C:\Oracle\Middleware\oidinst_1) and Oracle Instance Name (for example, oidinst_1) and click Next. Note: The Oracle Instance name may only contain alphanumeric and underscore (_) characters. It must begin with an alphabetic (a-z or A-Z) character, and must be from 4 to 30 characters in length
|
. |
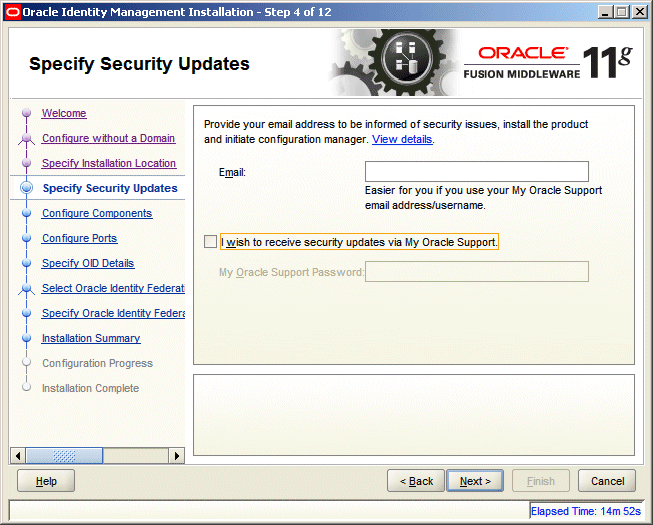
In the Specify Security Updates page, clear I wish to receive security updates via My Oracle Support and click Next.
|
. |
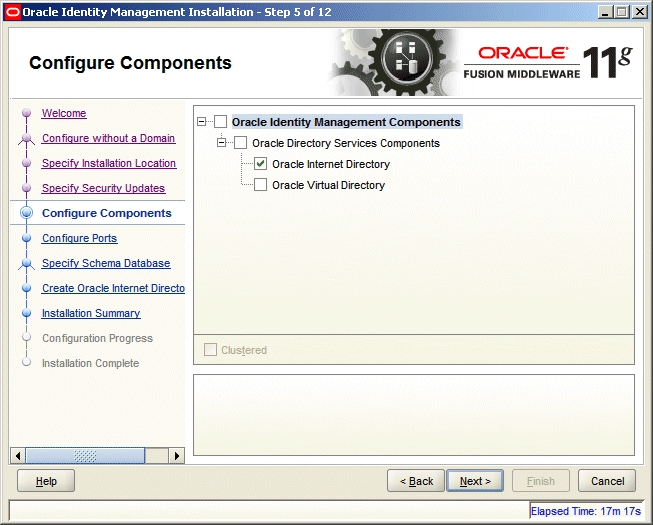
In the Configure Components page, select Oracle Internet Directory only and click Next.
|
. |
In the Configure Components page, select Oracle Internet Directory only and click Next.
|
. |
In the Configure Ports page, select Auto Port Configuration and click Next.
|
. |
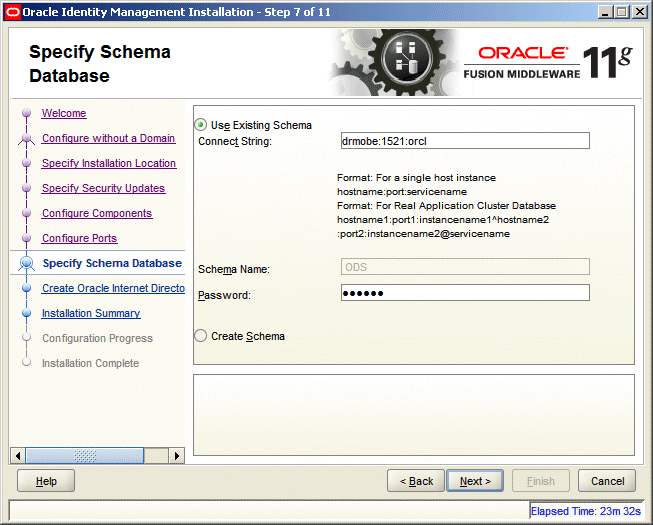
In the Specify Schema Database page, select the Use Existing Schema option because the Oracle Internet Directory schema has already been loaded using RCU. Enter the database connection information to access the OID schema and click Next.
|
. |
In the Create Oracle Internet Directory page, enter Realm (for example, dc=us,dc=oracle,dc=com) and the administrator password (for example, oracle1) and click Next.
|
. |
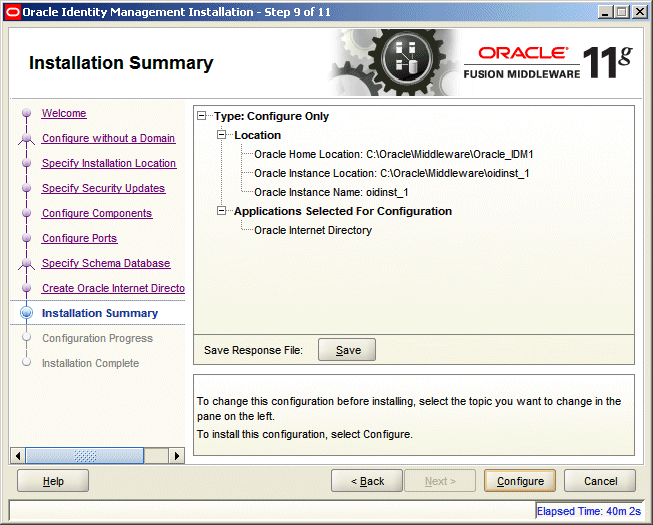
In the Installation Summary page, verify applications that you have selected for configuration and click Configure.
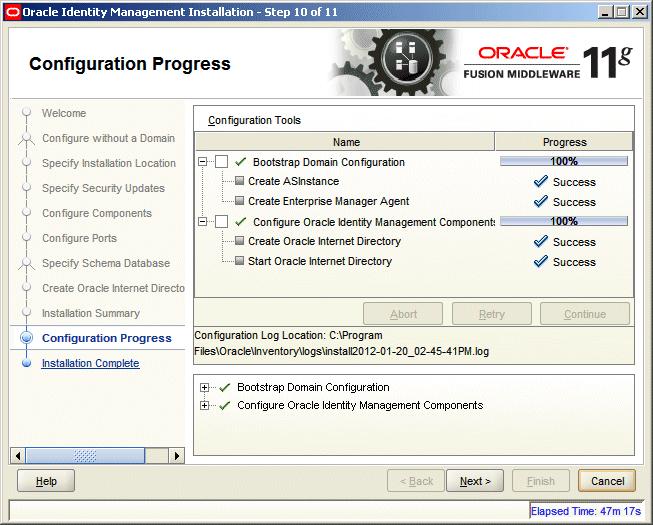
The installer performs configuration of the selected applications. In the Configuration Progress page, click Next when finished.
|
. |
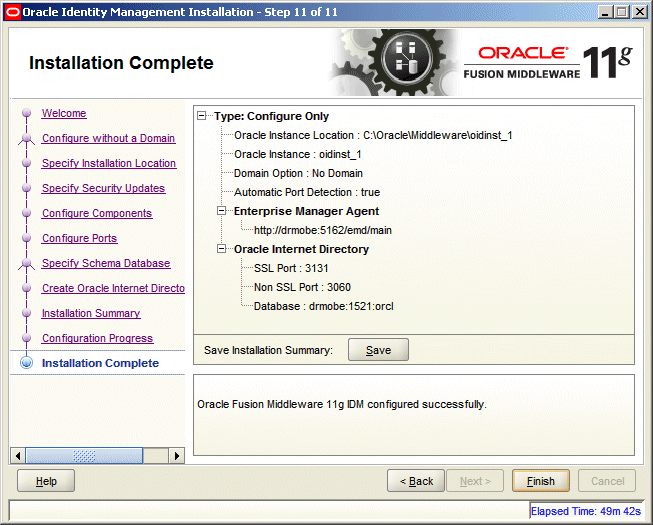
In the Installation Complete page, verify that the configuration completed successfully and click Finish.
|
. |
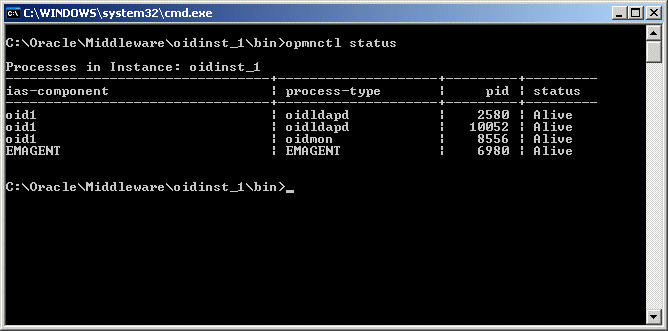
Verify Oracle Internet Directory a. Verify that OID processes are alive. At the command prompt, enter: $ORACLE_INSTANCE/bin/opmnctl status
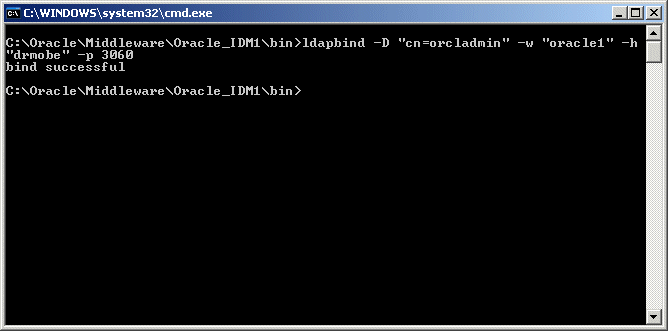
b. Bind the orcladmin user to OID by executing the following command on the OID non-SSL port: $ORACLE_HOME/bin/ldapbind -D "cn=orcladmin" -w "oracle1" -h "drmobe" -p 3060
|
. |
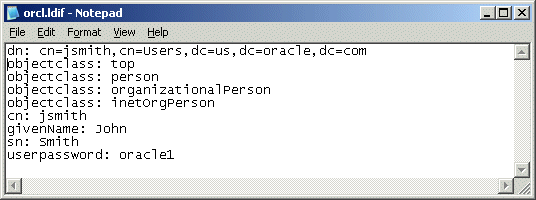
Create a script for adding a new OID user script in Notepad and save the script as C:\orcl.ldif: dn: cn=jsmith,cn=Users,dc=us,dc=oracle,dc=com
|
. |
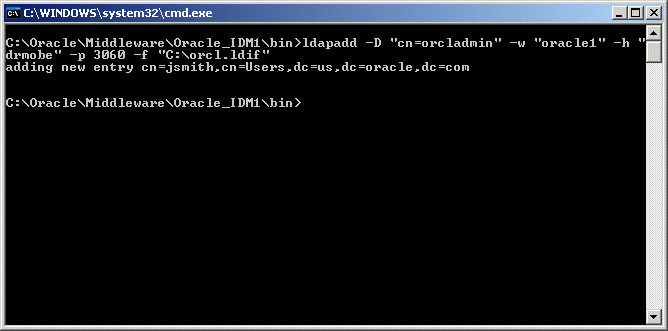
Add the new OID user by entering the following command: $ORACLE_HOME/bin/ldapadd -D "cn=orcladmin" -w "oracle1" -h "drmobe" -p 3060 -f "C:\orcl.ldif"
|
. |
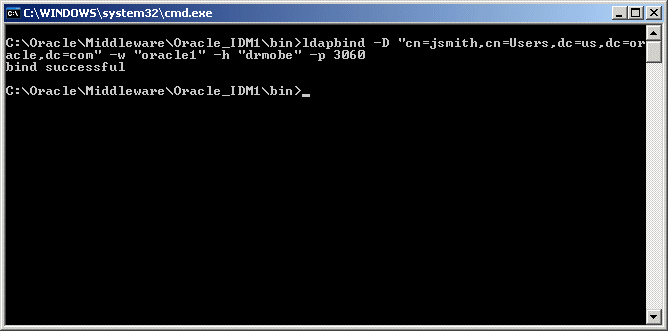
Test the new user by entering the following command: $ORACLE_HOME/bin/ldapbind -D "cn=jsmith,cn=Users,dc=us,dc=oracle,dc=com" -w "oracle1" -h "drmobe" -p 3060
|
Configuring Shared Services to Use OID
In this topic, you add a user directory named OID in Shared Services and configure it to access installed Oracle Internet Directory.
. |
In Windows Services Control panel ensure that the following services are started:
|
|---|---|
. |
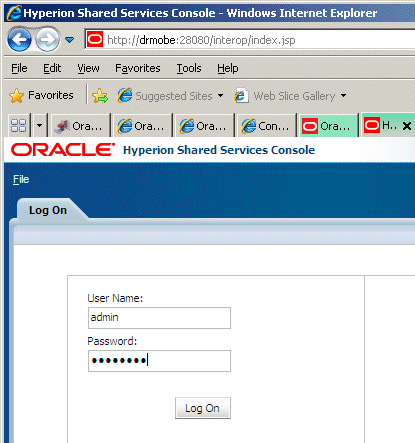
Log on to Shared Services by navigating to the following URL in the browser, entering administrator credentials, and clicking Log On: http://drmobe:28080/interop/index.jsp
|
. |
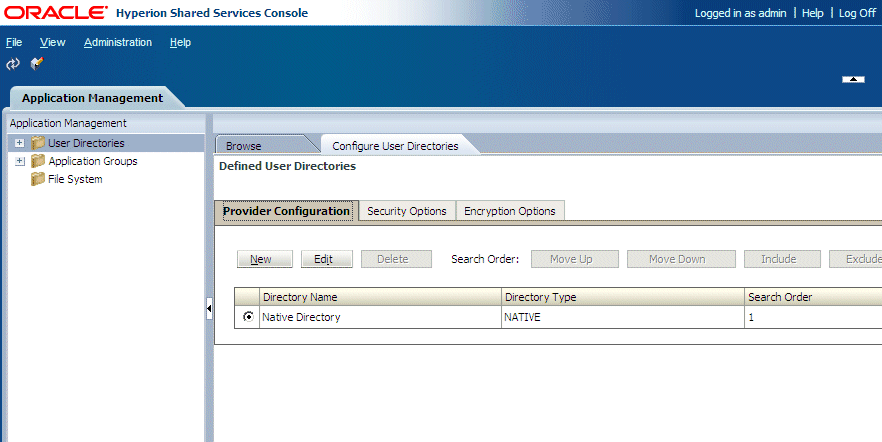
Select Administration and then Configure User Directories.
|
. |
Click New.
|
. |
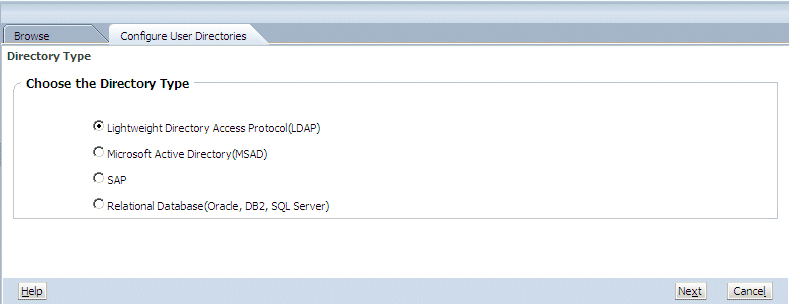
In the Directory Type page, select Lightweight Directory Access Protocol(LDAP) and click Next. In the LDAP Connection Information tab, perform the following steps:
Click Next.
|
. |
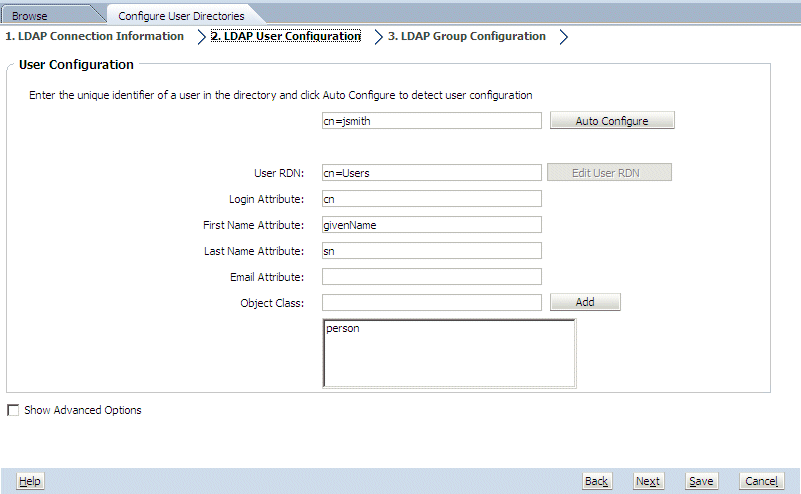
In the LDAP User Configuration tab, enter the unique identifier of a user in the directory (for example, cn=jsmith) and click Auto Configure. The remaining fields are populated with the user configuration.
Click Next.
|
. |
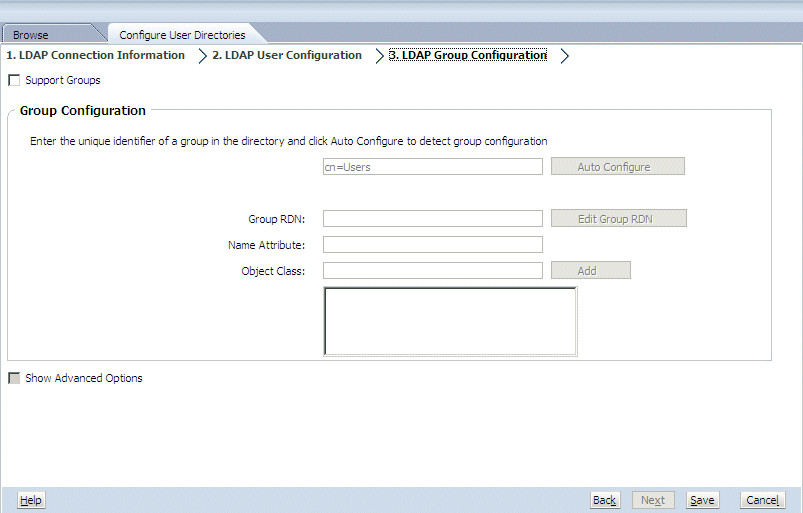
In the LDAP Group Configuration tab, deselect Support Groups.
Click Save.
|
. |
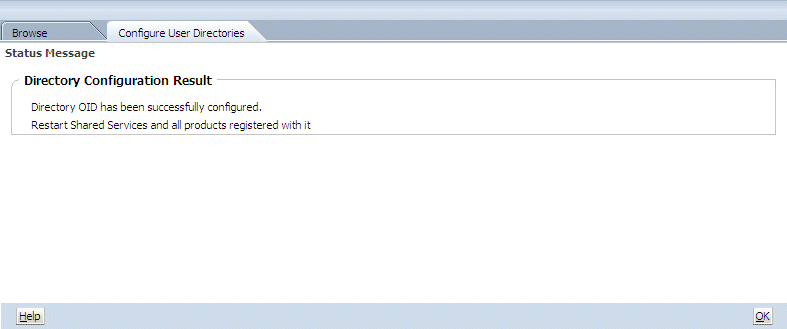
In the Status Message page, verify that the OID directory has been successfully configured and click OK.
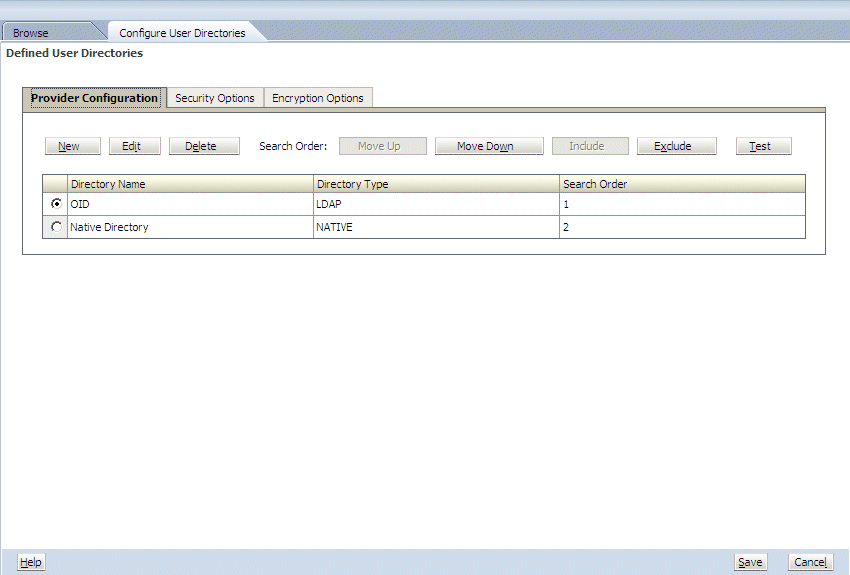
The OID directory is now listed in the Defined User Directories tab.
|
. |
Log off the Shared Services Console and restart the Shared Services (Hyperion Foundation Services - Managed Server) service.
|
Configuring CSS Mode for Data Relationship Management
In this topic, you configure Data Relationship Management with Shared Services to enable external user authentication.
. |
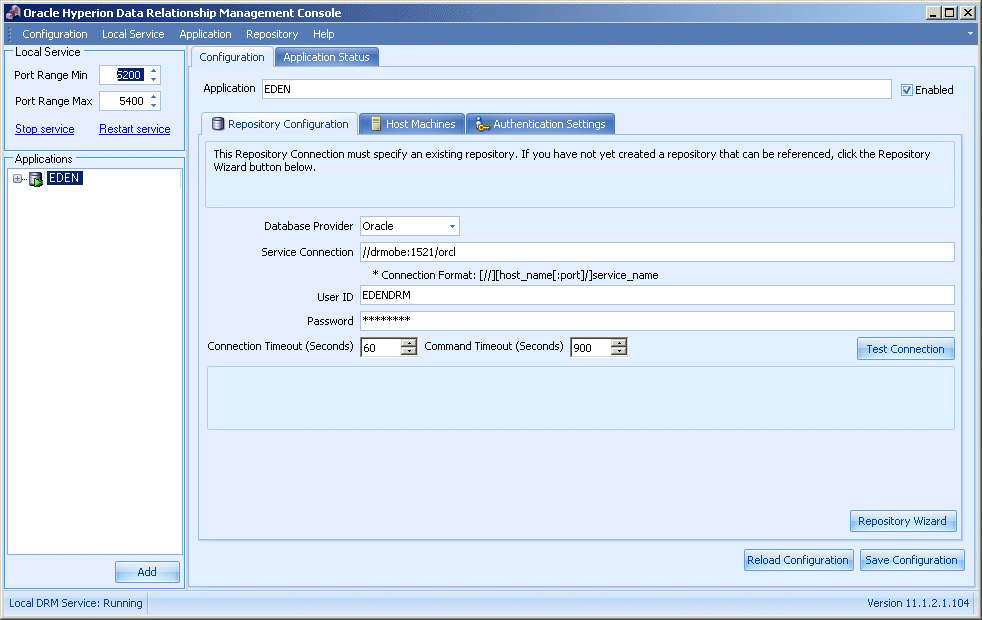
Launch DRM Configuration Console and ensure that the EDEN application is selected in the Application pane.
|
|---|---|
. |
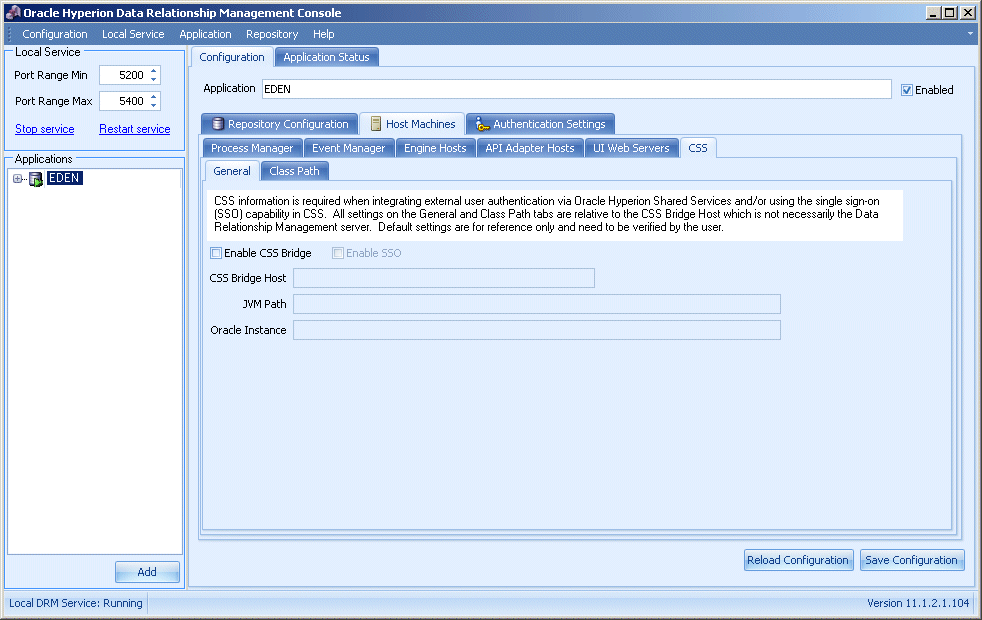
Select the Host Machines, CSS subtab, and General subtab.
|
. |
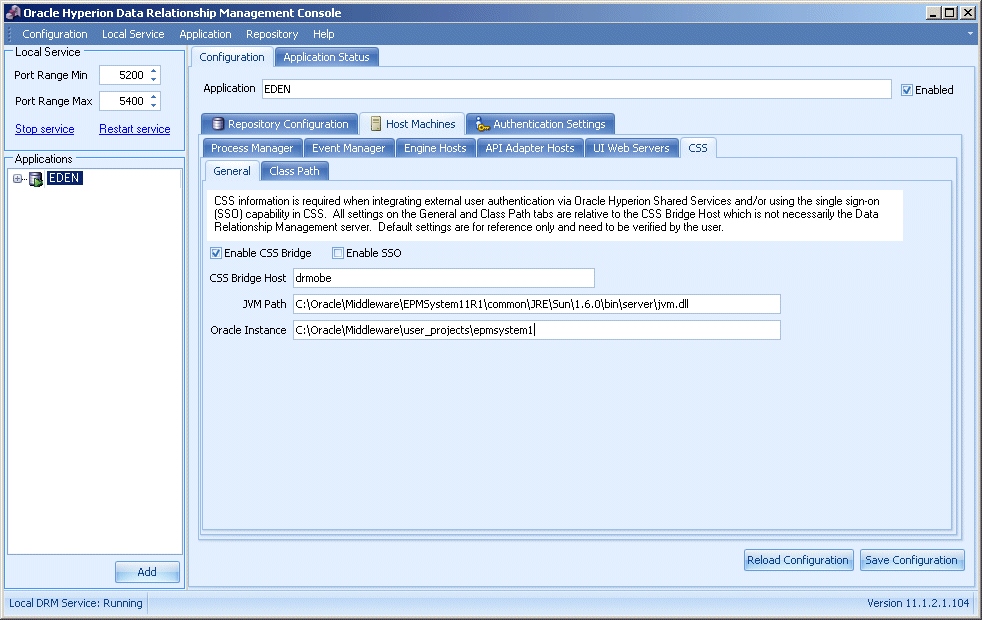
Select Enable CSS Bridge and enter your hostname in the CSS Bridge Host field (for example, drmobe). Leave the default values for the JVM Path field and the Oracle Instance field.
|
. |
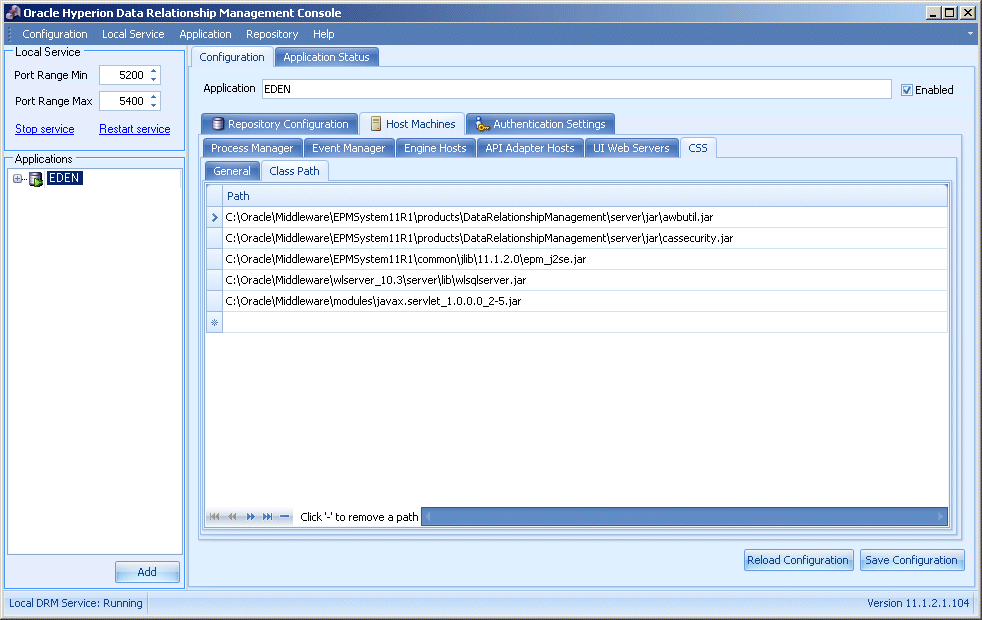
Select the Class Path subtab. Leave paths to required .jar files as is.
|
. |
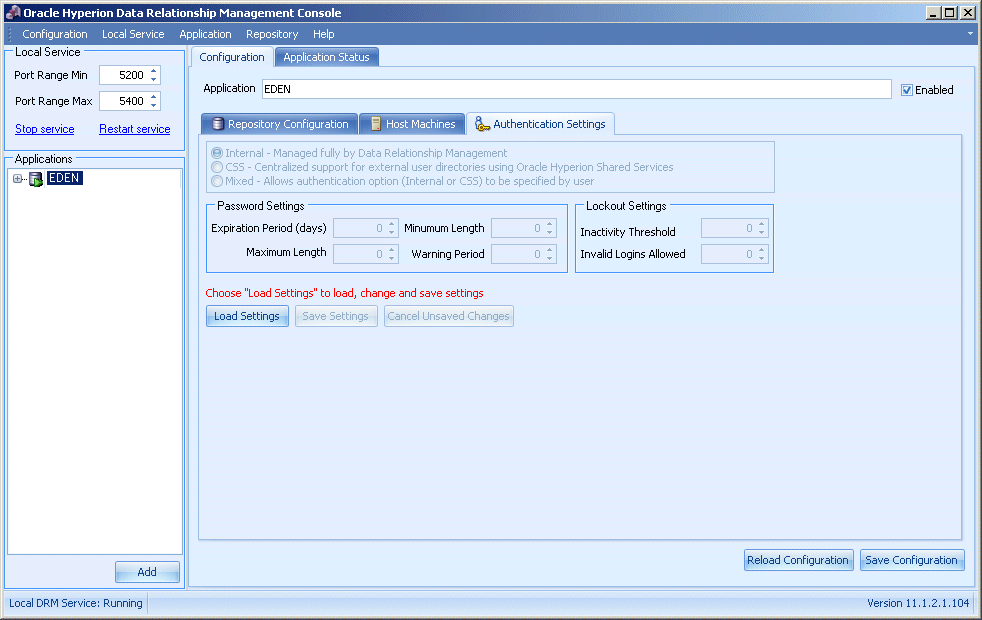
Select the Authentication Settings tab.
|
. |
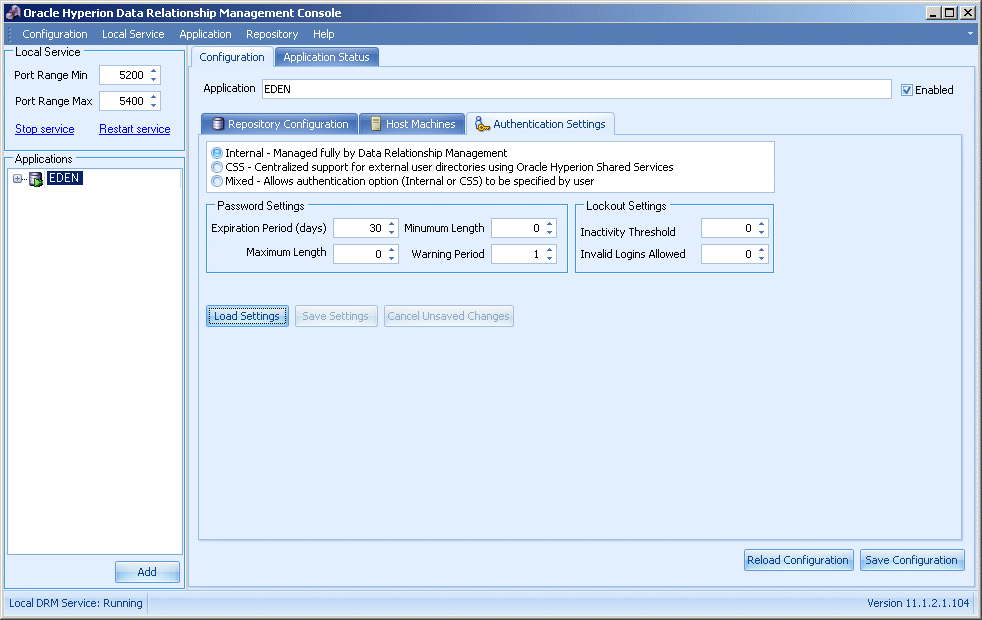
Click Load Settings to populate the current settings as saved in the DRM system preferences.
|
. |
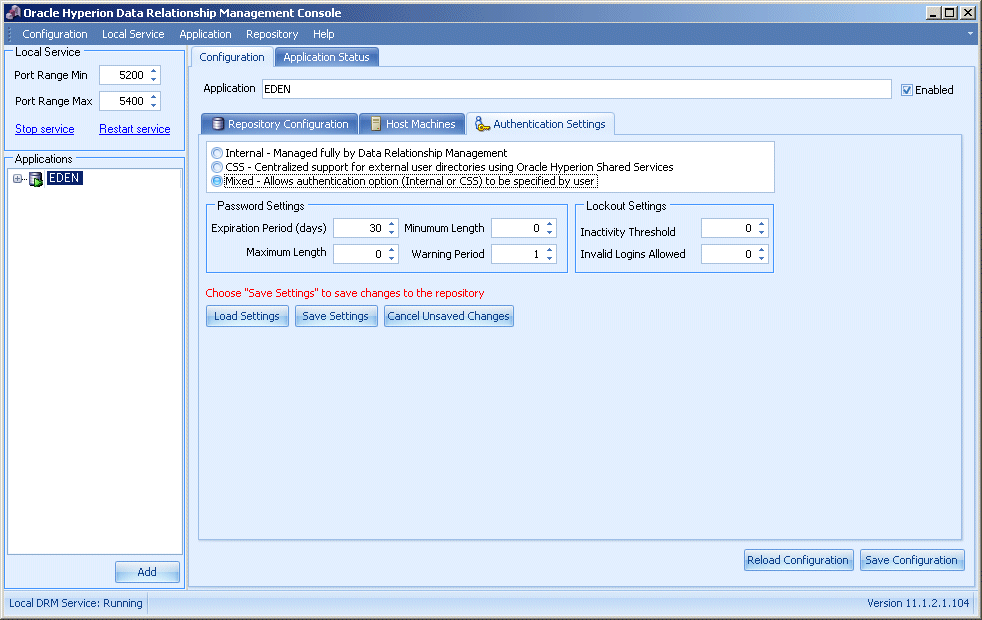
Select Mixed to allow internal or CSS (Common Security Services) mode for authentication.
|
. |
Select Save Settings and click OK in the Message dialog box.
|
. |
Click Save Configuration and Restart service. Click Yes in the Configuration Warning dialog box.
|
. |
Restart the Shared Services (Hyperion Foundation Services - Managed Server service).
|
. |
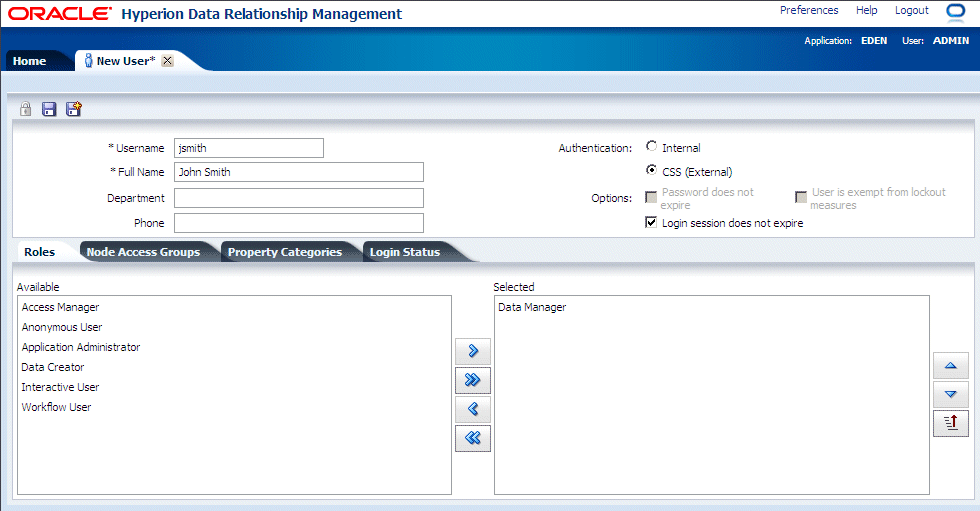
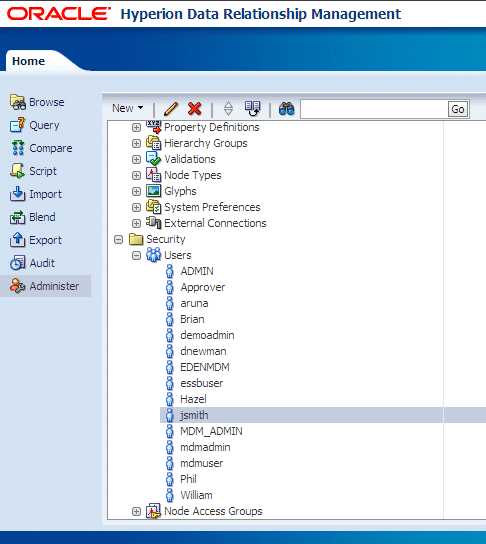
Log in to the DRM Web Client as administrator and define the OID user using the following credentials:
|
. |
Click Save. The user jsmith is added to the list of users.
|
. |
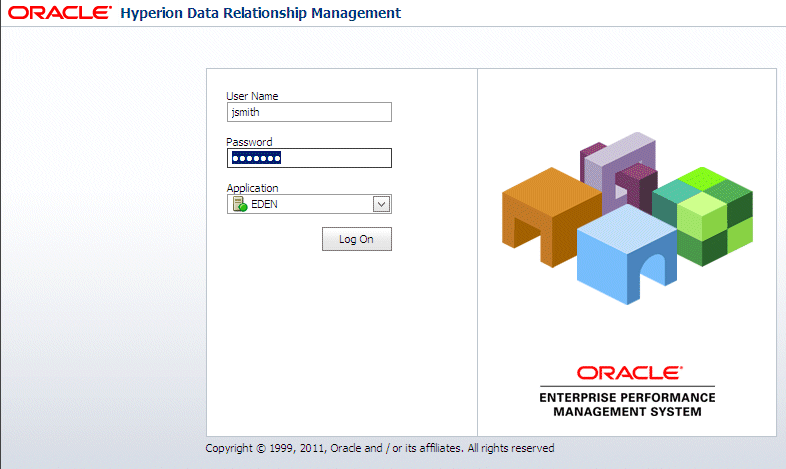
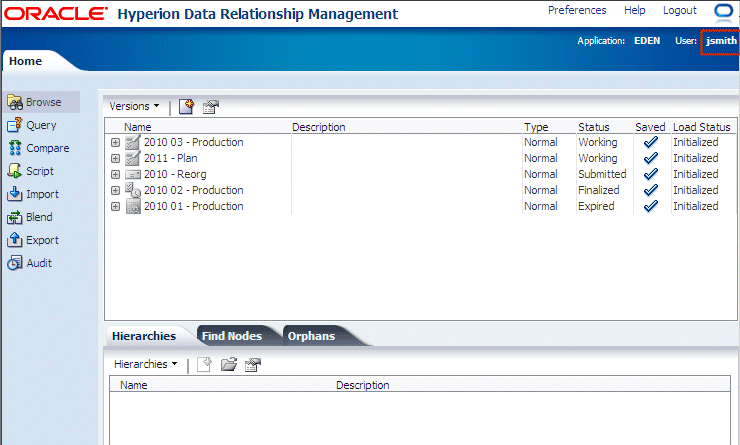
Log off and log on Web Client as the OID user (jsmith/oracle1).
|
Summary
In this tutorial, you should have learned how to:
- Install and configure Oracle Internet Directory as an external user directory
- Configure Shared Services to use Oracle Internet Directory
- Configure Data Relationship Management with Shared Services to enable external user authentication
Resources
- Oracle EPM System, Fusion Edition 11.1.2.1 Documentation Library
- To learn more about Data Relationship Management, refer to additional OBEs in the OLL Web site
![]()
