Configuring ERP Integrator to Import Oracle Fusion Financials Data
Purpose
This tutorial covers configuring Oracle® Hyperion Financial Data Quality Management ERP Integration Adapter for Oracle Applications, Fusion Edition (ERP Integrator) to import data from Oracle Fusion Financials into Oracle® Hyperion Financial Management, Fusion Edition. You then use ERP Integrator to drill through from a Financial Management data grid and view source data in Oracle Fusion Financials.
Time to Complete
Approximately 1 hour.
Overview
Oracle Hyperion Financial Data Quality Management ERP Integration Adapter for Oracle Applications, Fusion Edition Release 11.1.2.1 Patch Set Update (PSU) 11.1.2.1.501 adds support for Oracle Fusion Financials to ERP Integrator. This tutorial covers applying ERP Integrator PSU 11.1.2.1.501, and then using ERP Integrator to drill through from a Financial Management data grid to view source data in Oracle Fusion Financials.
Software and Hardware Requirements
The following is a list of software requirements:
- You must install Oracle Data Integrator 11g before applying PSU 11.1.2.1.501. ERP Integrator does not work with Oracle Data Integrator 10g after you apply this patch set.
Prerequisites
Before starting this tutorial, you should:
. |
Have installed and configured Oracle Data Integrator 11g (11.1.1.5). |
|---|---|
. |
Have installed Oracle Data Integrator Studio and Oracle Data Integrator Agent. Oracle recommends that you install Oracle Data Integrator Agent on the same server as ERP Integrator to make file sharing easier. |
. |
Have installed and configured EPM System, including Financial Management and ERP Integrator. |
. |
Have created a common shared directory that is accessible by the Orale Data Integrator Agent and ERP Integrator web application. |
. |
Have backed up your EPM System files. |
Installing ERP Integrator PSU 11.1.2.1.501
In this topic, you download and install ERP Integrator PSU 11.1.2.1.501.
. |
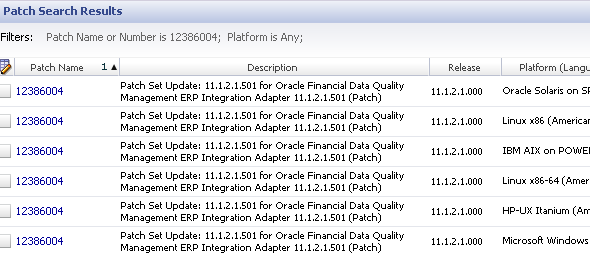
Download the appropriate version of PSU 11.1.2.1.501 for your platform from the Oracle Support website. In this tutorial, you install the Microsoft Windows x64 version. The patch number is 12386004.
|
|---|---|
. |
Extract the ZIP file to [EPM_ORACLE_HOME]\Opatch, where EPM_ORACLE_HOME is the directory where EPM System products are installed.
|
. |
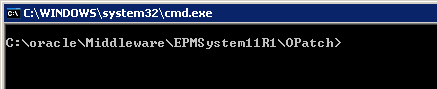
In a command prompt, navigate to [EPM_ORACLE_HOME]\Opatch.
|
. |
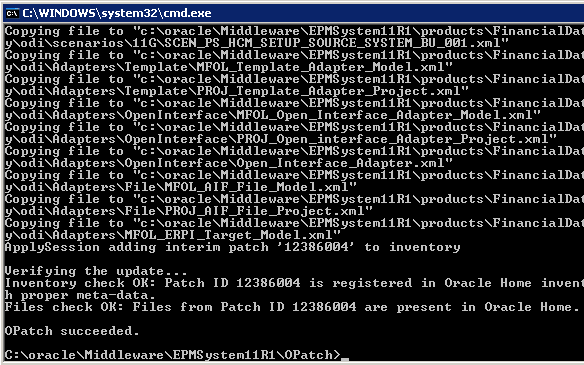
To apply the patch, enter the following command on one line: opatch.bat apply <EPM_ORACLE_HOME>\OPatch\12386004 -oh <EPM_ORACLE_HOME> -jre <MIDDLEWARE_HOME>\jdk160_21 Note: The default for <EPM_ORACLE_HOME> is C:\Oracle\Middleware\EPMSystem11R1. The default for <MIDDLEWARE_HOME> is C:\Oracle\Middleware.
|
. |
Verify that the following message is displayed: OPatch succeeded.
|


Updating the ERP Integrator Web Application
After you install the ERP Integrator PSU, you update the ERP Integrator web application by clearing the ERP Integrator Oracle WebLogic temporary directory.
. |
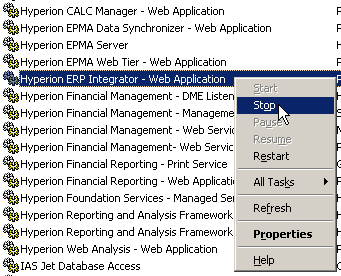
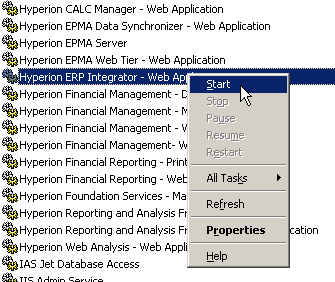
In Windows Services, stop the Hyperion ERP Integrator - Web Application service.
|
|---|---|
. |
In a command prompt, navigate to the following directory: <MIDDLEWARE_HOME>\user_projects\domains\EPMSystem\servers\ErpIntegrator0\ tmp\servers\ErpIntegrator0\tmp\_WL_user
|
. |
Clear the directory and all sub-directories by entering the following command: "rd /s .".
|
. |
At the prompt to confirm, enter Y (Yes).
All files and subdirectories are deleted.
|
. |
In Windows Services, start the Hyperion ERP Integrator - Web Application service.
|


Updating the Database
In this topic, you run a script to update the ERP Integrator database.
. |
In SQL Developer, perform the following actions:
|
|---|---|
. |
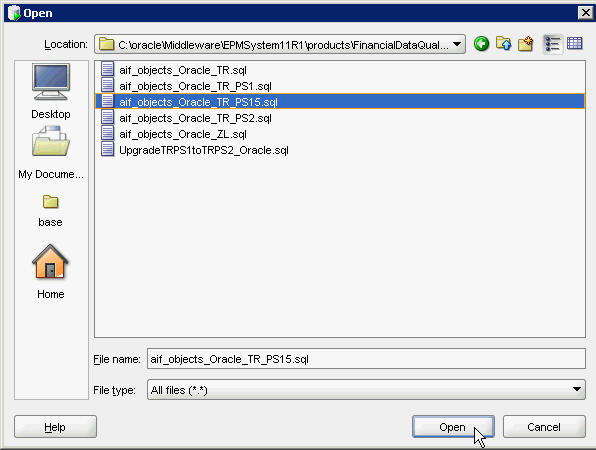
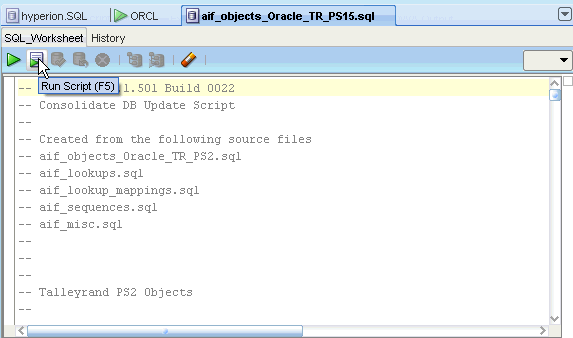
Click the Run Script button.
|
. |
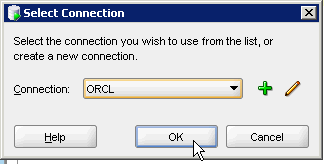
Select your database connection, and click OK.
|
. |
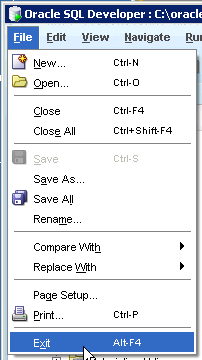
Select File, and then Exit to close SQL Developer.
|
Updating the Oracle Data Integrator Project and Scenario
In this topic, you update the Oracle Data Integrator project and scenario by using Oracle Data Integrator Studio.
. |
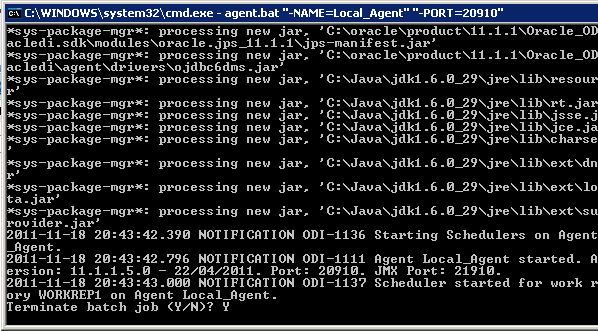
Stop the Oracle Data Integrator agent. In this tutorial, you stop the agent by terminating the batch file that runs the agent. Note: If you configured Oracle Data Integrator Agent to run as a Windows Service, you stop the agent in Windows Services.
|
|---|---|
. |
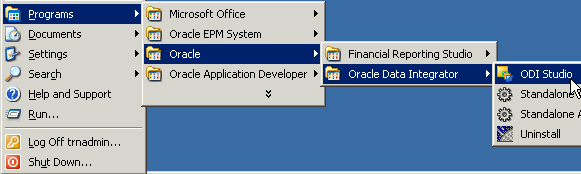
Select Start, then Programs, then Oracle, then Oracle Data Integrator, and then ODI Studio.
Oracle Data Integrator Studio is displayed.
|
. |
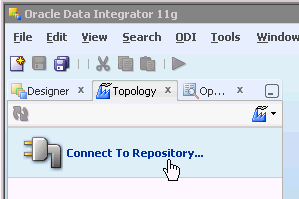
Click Connect to Repository.
|
. |
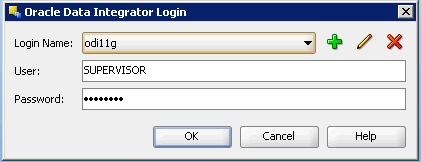
Enter the repository connection details, and click OK.
|
. |
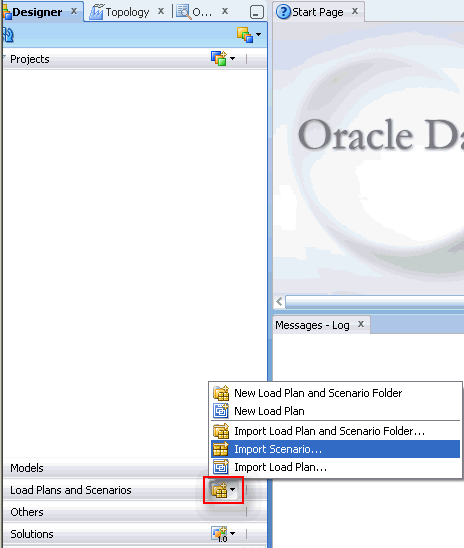
On the Designer tab, click the New Load Plan and Scenario Folder button, and click Import Scenario.
The Import Scenario dialog box is displayed.
|
. |
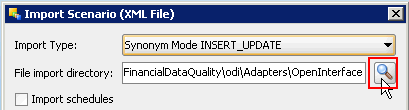
In the File import directory field, click the Browse button.
|
. |
Navigate to [EPM_ORACLE_HOME]\products\FinancialDataQuality\odi\scenarios\11G, and click Open.
|
. |
Select all of the files, and click OK.
|
. |
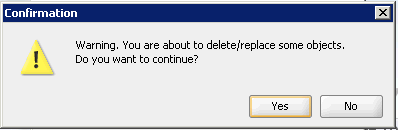
In the warning dialog box, click Yes.
|
. |
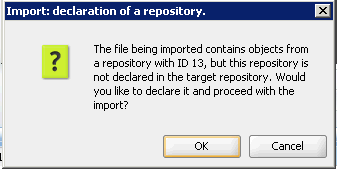
In the declare-a-repository dialog box, click Yes. If multiple messages are displayed, click Yes on each of them.
The scenario objects are imported.
|
. |
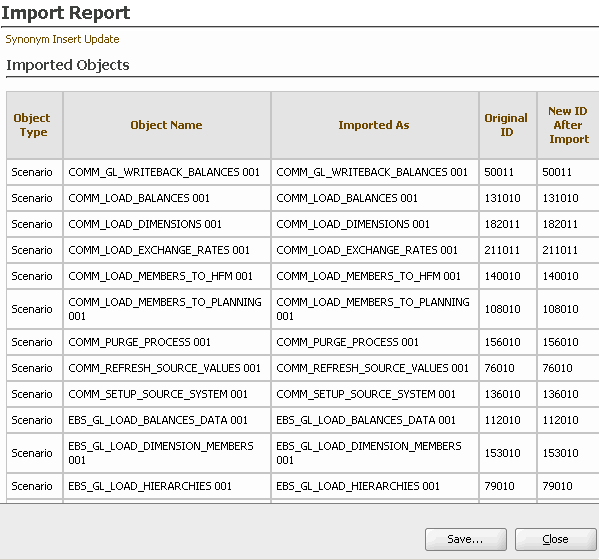
Review the import report, and click Close.
|
. |
Click the New Model Folder button, and select Import Model Folder.
|
. |
In the File import directory field, click the Browse button.
|
. |
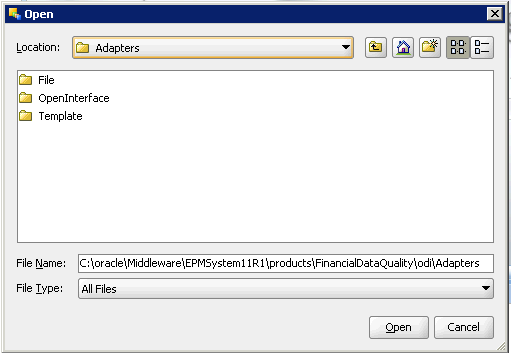
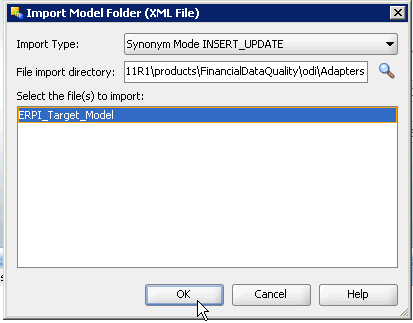
Navigate to [EPM_ORACLE_HOME]\products\FinancialDataQuality\odi\Adapters, and click Open.
|
. |
Select ERPI_Target_Model, and click OK.
|
. |
In the warning dialog box, click Yes.
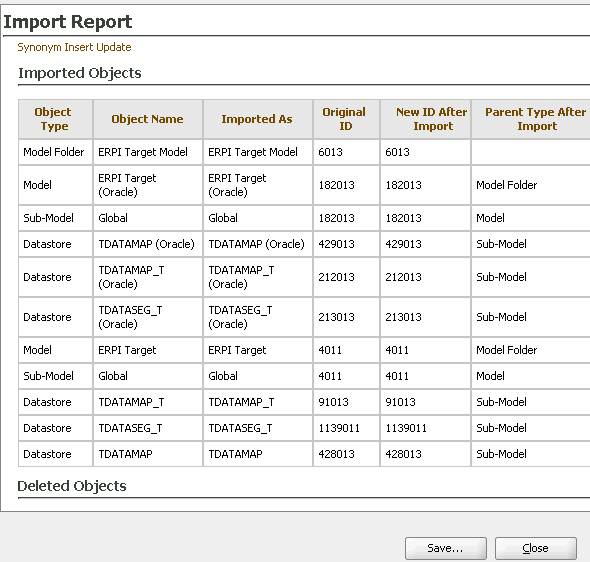
The ERPI Target Model adapter is imported.
|
. |
Review the import report, and click Close.
|
. |
Click the New Model Folder button, and select Import Model Folder.
|
. |
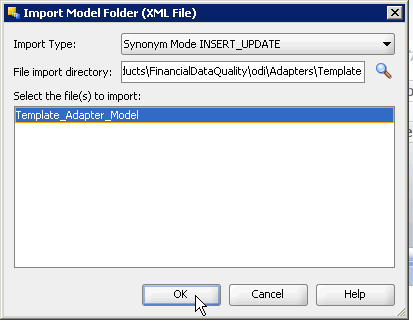
Navigate to [EPM_ORACLE_HOME]\products\FinancialDataQuality\odi\Adapters\Template, and click Open.
|
. |
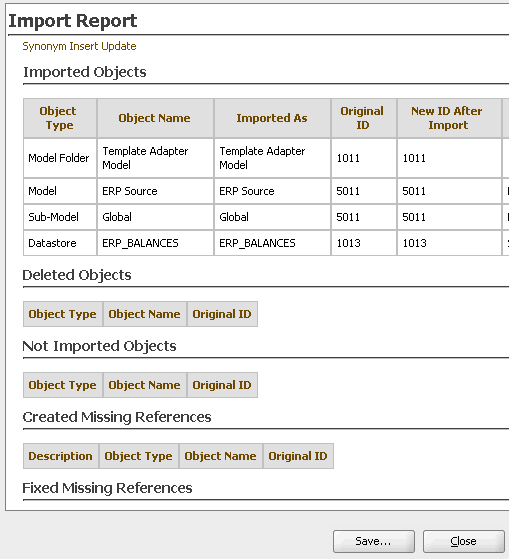
Select Template_Adapter_Model, and click OK.
|
. |
In the warning dialog box, click Yes.
The Template Adapter Model is imported.
|
. |
Review the import report, and click Close.
|
. |
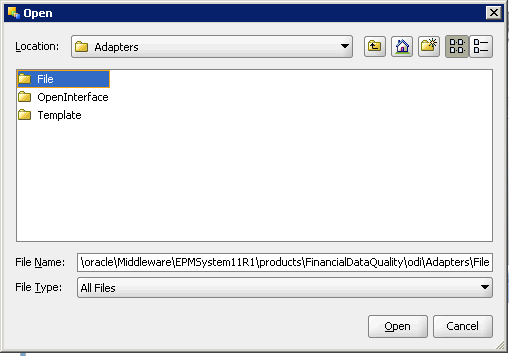
Click the New Model Folder button, and select Import Model Folder.
|
. |
Navigate to [EPM_ORACLE_HOME]\products\FinancialDataQuality\odi\Adapters\File, and click Open.
|
. |
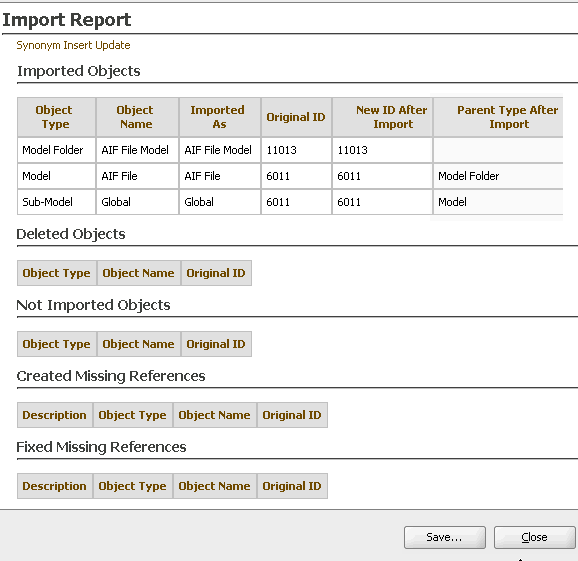
Select AIF_File_Model, and click OK.
|
. |
In the warning dialog box, click Yes.
The AIF File Model is imported.
|
. |
Review the import report, and click Close.
|
. |
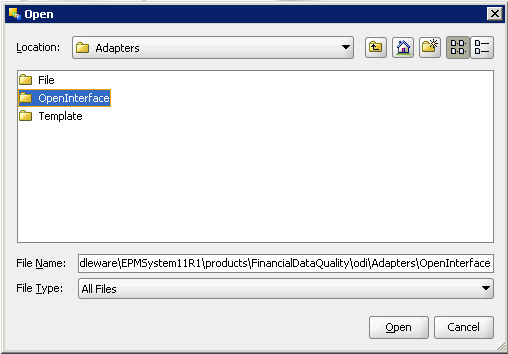
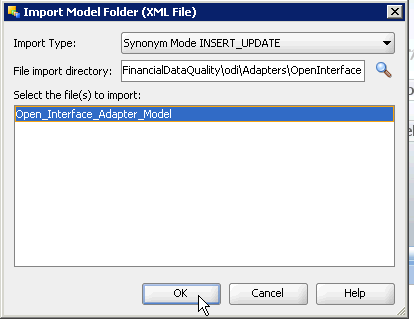
Click the New Model Folder button, and select Import Model Folder.
|
. |
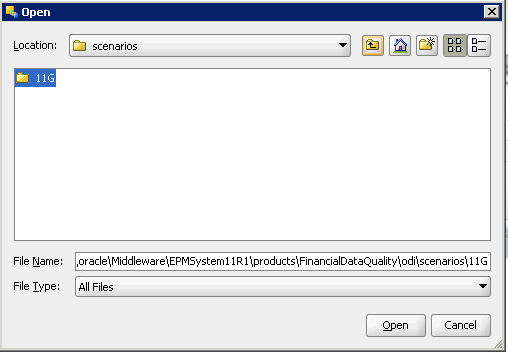
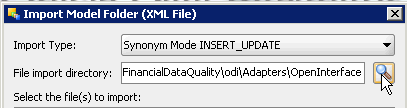
Navigate to [EPM_ORACLE_HOME]\products\FinancialDataQuality\odi\Adapters\OpenInterface, and click Open.
|
. |
Select Open_Interface_Adapter_Model, and click OK.
|
. |
In the warning dialog box, click Yes.
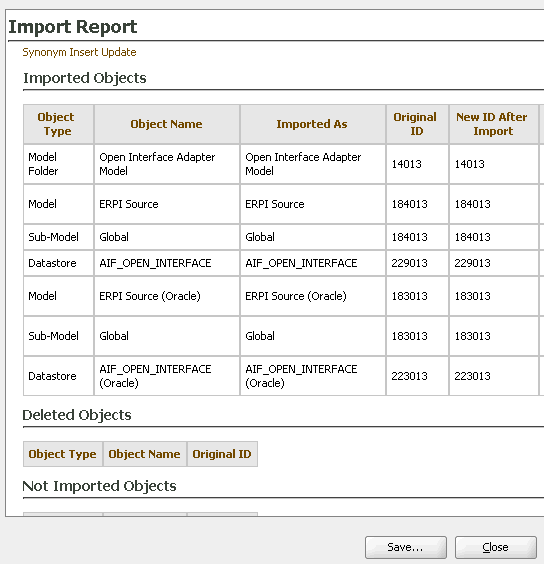
The Open Interface Adapter Model is imported.
|
. |
Review the import report, and click Close.
|
. |
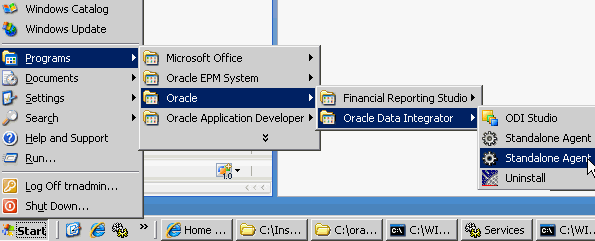
Select Start, then Programs, then Oracle, then Oracle Data Integrator, and then Standalone Agent_Local Agent to restart the agent. Note: If you configured Oracle Data Integrator Agent to run as a Windows Service, you restart the agent in Windows Services.
|


Setting Up the Oracle Data Integrator Topology for Fusion Financials
In this topic, you set up the Oracle Data Integrator logical schema, data server, physical schema, and context for Oracle Fusion Financials in Oracle Data Integrator Studio.
. |
Select Start, then Programs, then Oracle, then Oracle Data Integrator, and then ODI Studio.
Oracle Data Integrator Studio is displayed.
|
|---|---|
. |
Click Connect to Repository.
|
. |
Enter the repository connection details, and click OK.
|
. |
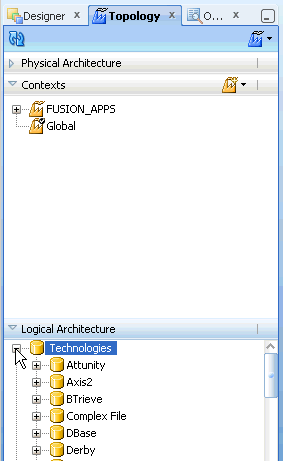
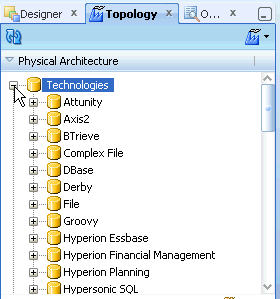
Under Logical Architecture, click Expand next to Technologies.
|
. |
Right-click Oracle, and select New Logical Schema. 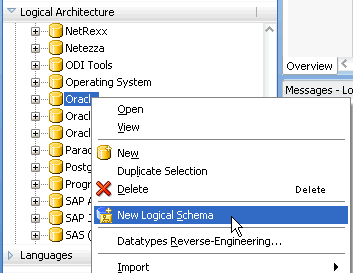
|
. |
On the Definition tab, enter FUSION_APPS in the Name text box. 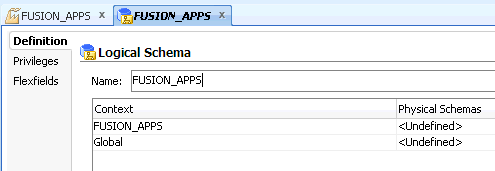
|
. |
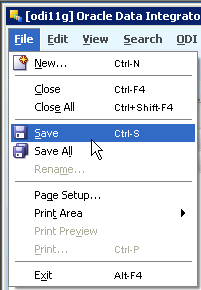
Select File, and then Save.
The logical schema is saved.
|
. |
Under Physical Architecture, click Expand next to Technologies.
|
. |
Right-click Oracle, and select New Data Server. 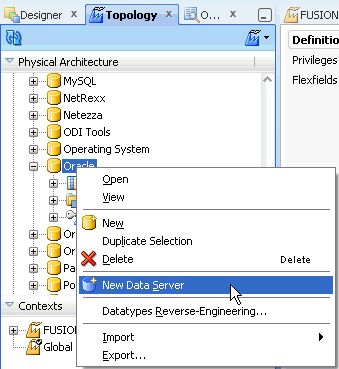
|
. |
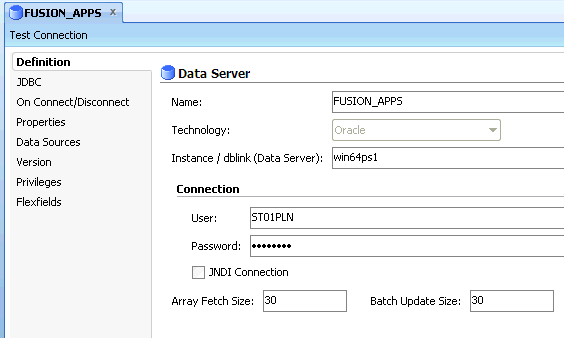
On the Definition tab, enter the following information:
|
. |
Click the JDBC tab. 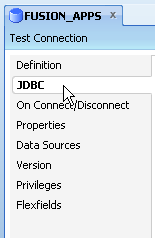
|
. |
Click the Browse button next to JDBC Driver. 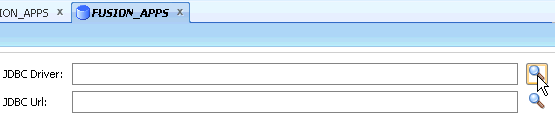
|
. |
Verify that Oracle JDBC Driver is selected, and click OK. 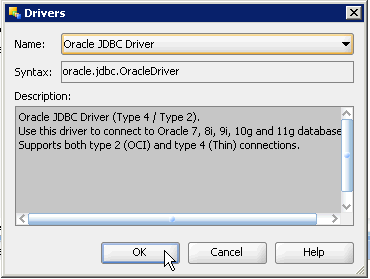
|
. |
Click the Browse button next to JDBC Url. 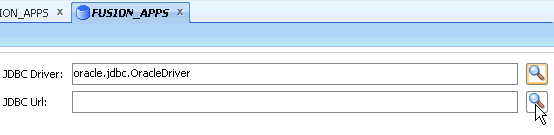
|
. |
Click OK. 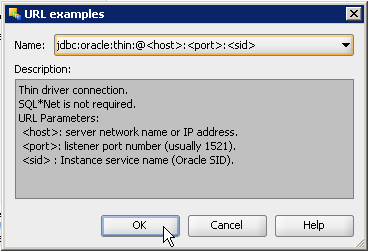
|
. |
In the JDBC Url text box, replace <host>, <port>, and <SID> in the connect string. In this example, you enter win64ps1:1521:ORCL. 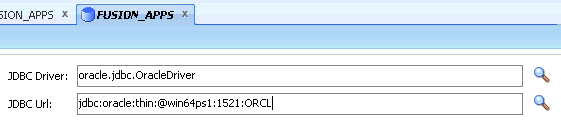
|
. |
Click Test Connection. 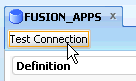
|
. |
In the Physical Agent drop-down list, select the name of your agent, and click Test. 
|
. |
Verify that the test was successful, and click OK. 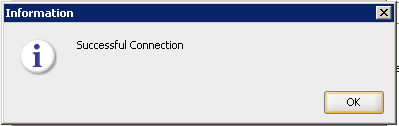
|
. |
Select File, and then Save.
The data server is saved.
|
. |
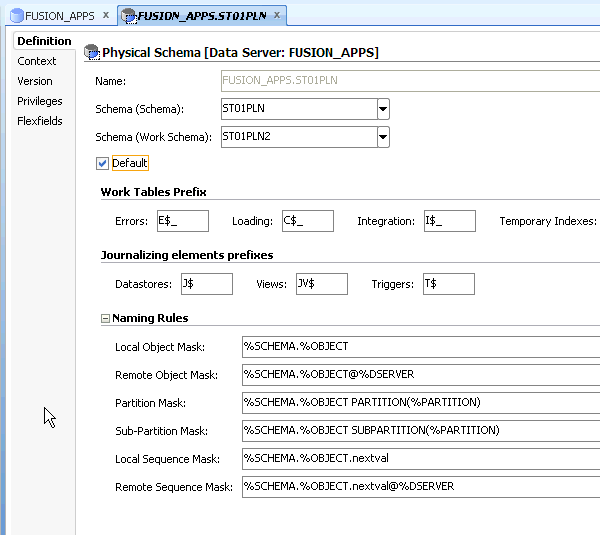
Under Oracle, right-click FUSION_APPS, and select New Physical Schema. 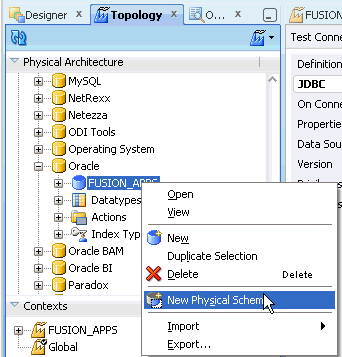
|
. |
On the Definition tab, perform the following actions:
|
. |
Select File, and then Save.
The physical schema is saved.
|
. |
Click the New Context button, and then select New Context. 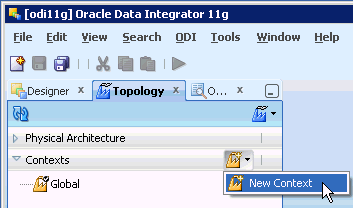
|
. |
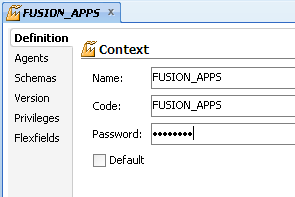
On the Definition tab, enter the following information:
|
. |
Select File, and then Save.
The context is saved.
|
Drilling Through to View Oracle Fusion Financials Data
In this topic, you drill through from a Financial Management data grid to view source data in Fusion Financials.
Note: For information and a demonstration about importing data and metadata by using ERP Integrator, refer to the ERP Integrator Overview tutorial.
. |
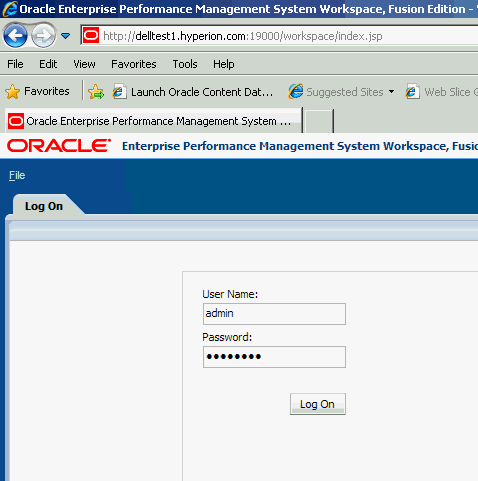
Log on to Workspace as a Financial Management user.
|
|---|---|
. |
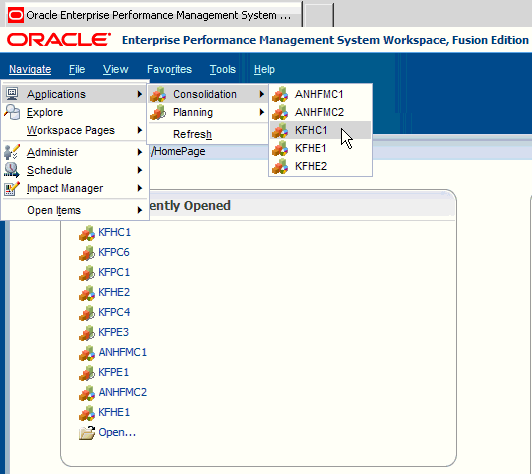
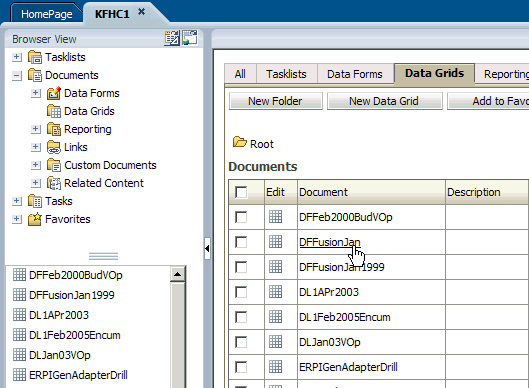
Select Navigate, then Applications, then Consolidation, and then the name of a Financial Management application that contains Oracle Fusion Financials data. In this example, you open the KFHC1 application.
|
. |
Open a data grid that contains data from Oracle Fusion Financials. In this example, you open the DFFusionJan data grid.
|
. |
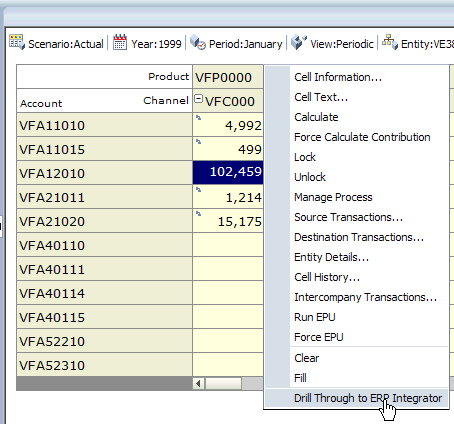
Right-click a data cell that contains data from Oracle Fusion Financials, and select Drill Through to ERP Integrator. Data cells that you can drill into are indicated by a blue icon in the upper-left corner of the cell.
|
. |
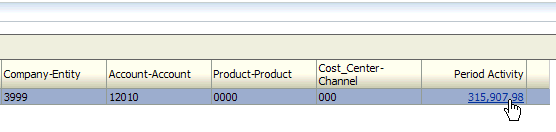
Verify that the Drill-Through Summary and Drill-Through Details panels are displayed.
|
. |
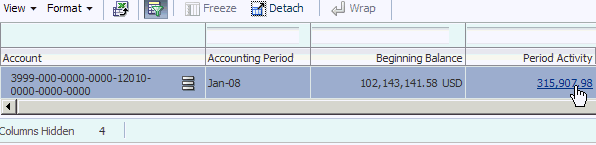
Click a hyperlinked data point. In this example, you click Period Activity.
The Oracle Fusion Applications Sign In screen is displayed.
|
. |
Enter the user name and password for Oracle Fusion Applications, and click Sign In.
|
. |
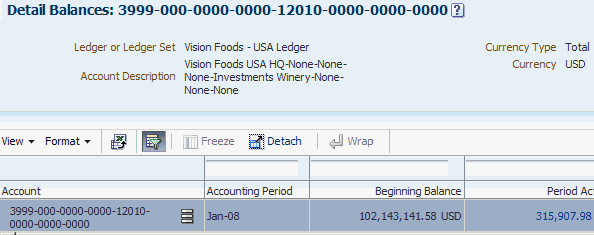
Verify that the ledger entry is displayed.
|
. |
Click Period Activity.
|
. |
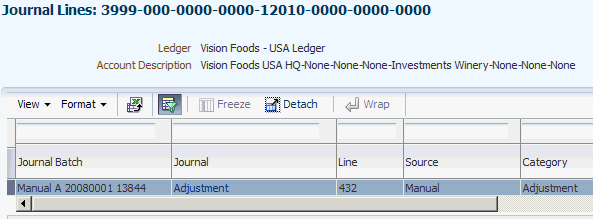
Verify that the journal entry is displayed.
|
. |
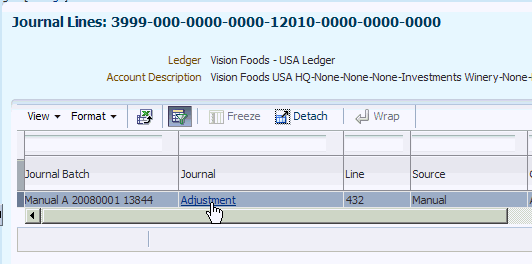
Click the Adjustment hyperlink.
|
. |
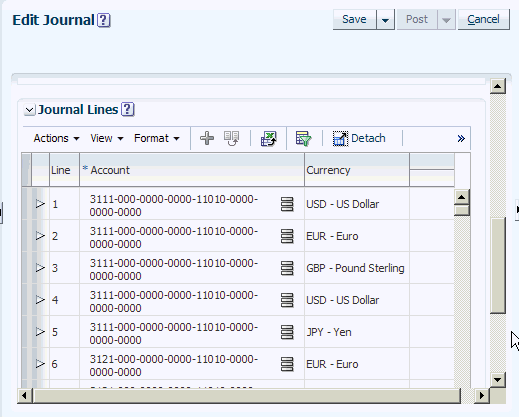
Verify that the journal details are displayed.
You successfully drilled through to view Oracle Fusion Financials source data.
|


Summary
In this tutorial, you have learned how to:
- Install ERP Integrator PSU 11.1.2.1.501
- Update the Oracle Data Integrator project and scenario
- Set up the Oracle Data Integrator topology for Oracle Fusion Financials
- Drill through to view Oracle Fusion Financials data from a Financial Management data grid
Resources
- To learn more about
ERP Integrator, refer to additional OBEs on the OLL website.
![]()
|
|
About
Oracle | Oracle and Sun | |