Creating Constraints
Purpose
This tutorial covers how to create reporting, display only, and regular constraints.
Time to Complete
Approximately 45 minutes.
Overview
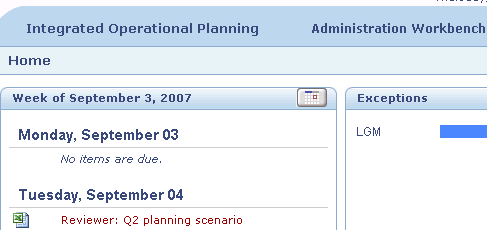
You can create constraints in order to monitor exceptions or violations to the business rules that you define for models. If critical violations occur, Planners can receive notifications on their Home page, perform immediate what-if analysis, and adjust data to resolve the exceptions. You can also track exceptions for informational purposes or for reporting in batch mode.
You can create three types of constraints:
- Reporting (Batch Only)—Business rule violations are evaluated only during batch calculations, and not during ad hoc analysis. Typically these constraints are used to create detailed reports for a wide variety of business rule violations. For example, you could create a reporting constraint for inventory demand.
- Display Only—Business rule violations are not evaluated up front; instead, IOP checks for violations at specific data intersections, and flags them in the user interface. Typically, these constraints are for non-critical exceptions, are tracked purely for informational purposes, and are not stored. For example, you could create a display-only exception for tracking inventory shortages.
- Regular (Batch and Interactive)—Business rule violations are evaluated for both batch and interactive calculations. Typically, these constraints are for critical exceptions that require immediate action by planners. For example, you could create a regular constraint to track when average sales prices are too high or too low.
When you analyze a scenario in excel, the data that meets the constraint criteria is displayed in the style that you specified when you created the constraint.
Scenario
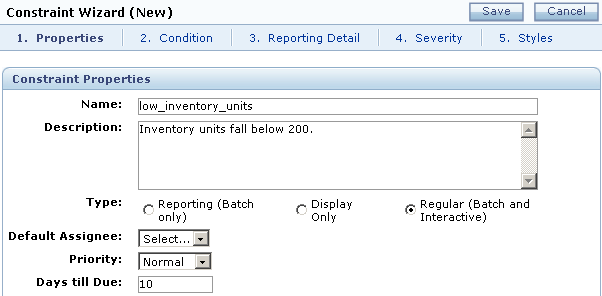
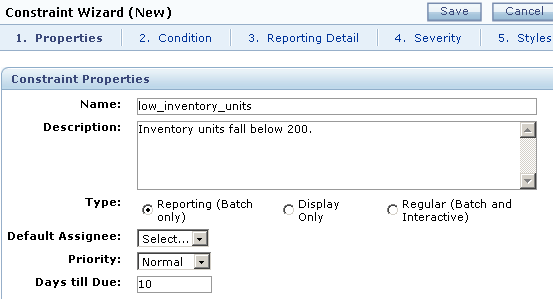
In this example, you create a reporting constraint to track when inventory units are low (under 200). The constraint is run in a batch process after hours. Planners review the exceptions discovered during the batch and act accordingly the day after the batch is run.
You also create a display-only constraint to track when products have unrealistically high forecasted numbers (100,000 or more). These constraints are not critical exceptions and are purely informational for Planners.
Finally, you create a regular constraint to track when gross margin numbers fall below 30 percent. This constraint alerts Planners immediately when an exception is encountered and requires their immediate attention.
Software and Hardware Requirements
The following is a list of software requirements:
- Adobe SVG Viewer
- Integrated Operational Planning 4.0.1
- Java Development Kit JDK 1.6.0_12 or later
- Microsoft Excel 2003 or 2007
- Microsoft Internet Explorer 6.x or 7.x
- Oracle 10.2.0.4 or 11.1.0.7 database
Prerequisites
Before starting this tutorial, you should:
| . | Load the Integrated Operational Planning model. |
|---|---|
| . | Start the Integrated Operational Planning server. |
| . | Define Integrated Operational Planning dimensions, row sources, and cubes. |
Creating Reporting Constraints
To create a reporting constraint, perform the following steps:
1. |
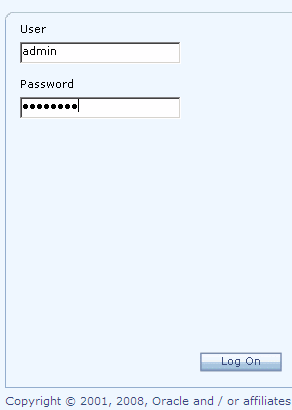
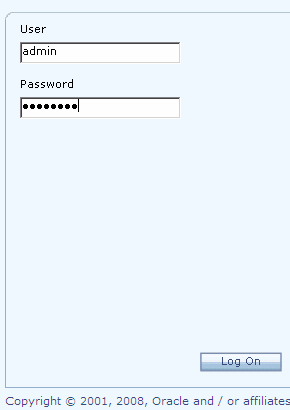
Log on to Integrated Operational Planning as the administrator.
|
|---|---|
2. |
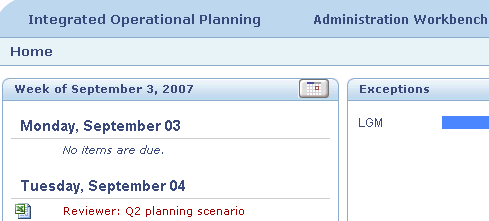
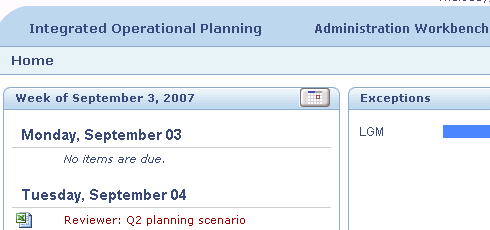
From Planning Workbench, click the Administration Workbench link.
|
3. |
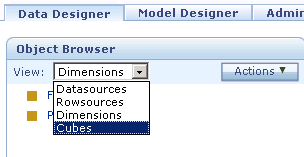
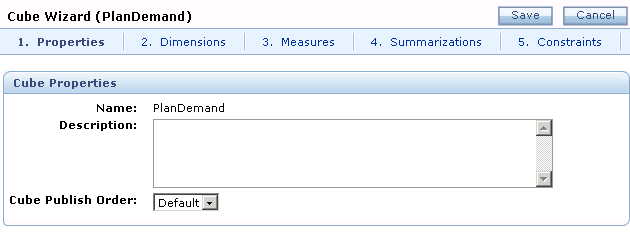
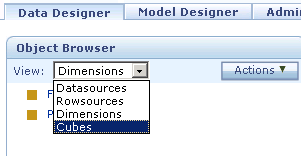
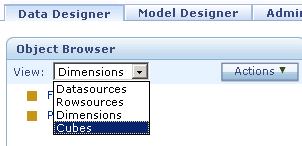
In the Object Browser section, from the View drop-down list, select Cubes.
|
4. |
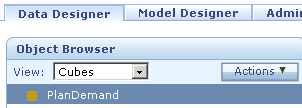
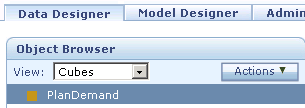
In the Object Browser section, click PlanDemand.
The PlanDemand cube is selected.
|
5. |
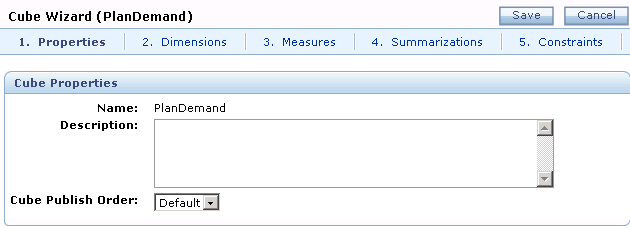
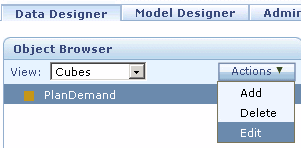
From the Actions drop-down list, select Edit to display Cube Wizard.
|
6. |
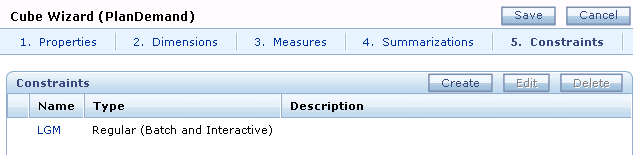
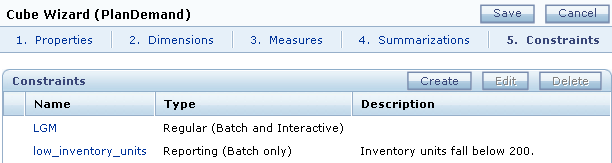
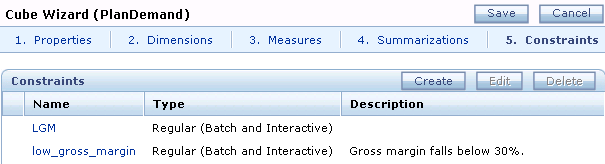
Select the Constraints tab.
|
7. |
Click the Create button to display Constraint Wizard.
|
8. |
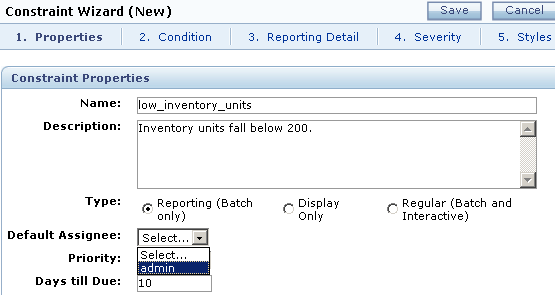
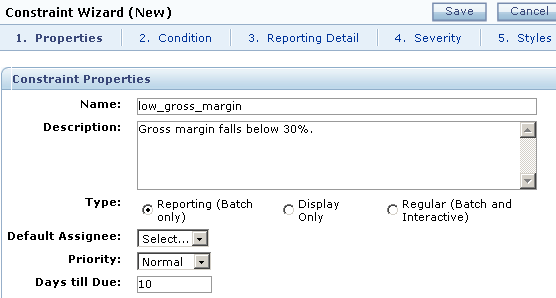
Enter the constraint name and description.
|
9. |
Select the Type option, Reporting (Batch only).
|
10. |
From the Default Assignee drop-down list, select admin.
|
11. |
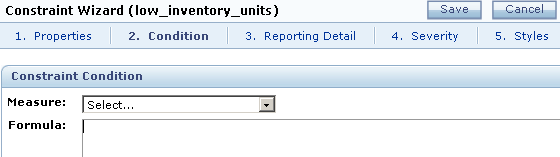
Select the Condition tab.
|
12. |
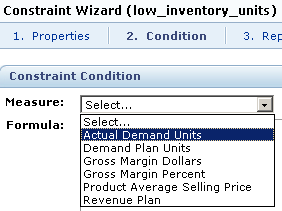
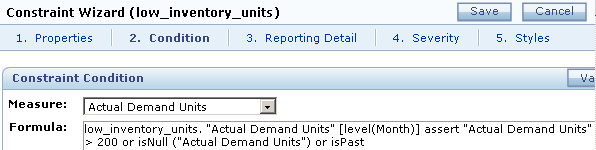
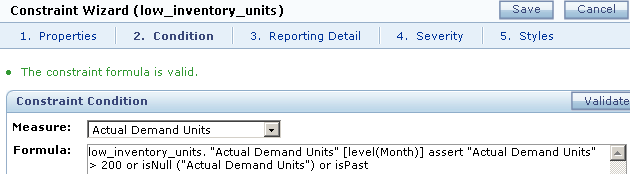
From the Measure drop-down list, select Actual Demand Units.
|
13. |
In the Formula box, enter the constraint condition formula. In this example, when inventory units fall below 200, exceptions are generated.
|
14. |
Click Validate. A formula validation confirmation message is displayed on the Condition page.
|
15. |
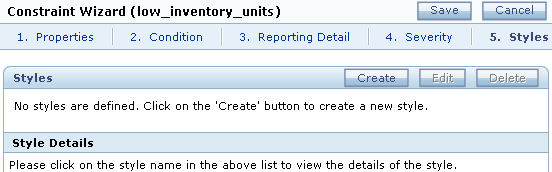
Select the Styles tab and click Create to display the Style Details section.
|
16. |
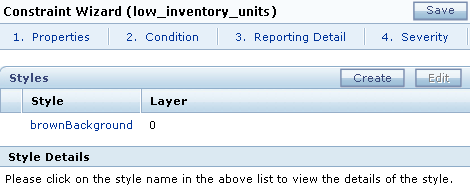
From the Style drop-down list, select brownBackground and click OK.
|
17. |
Click Save.
|
18. |
Click Save again to return to Data Designer.
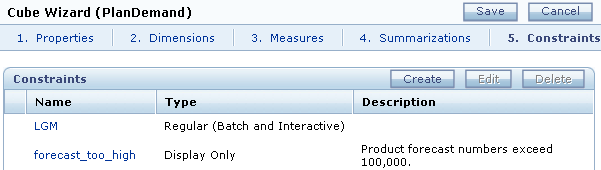
The reporting constraint is defined for the PlanDemand cube. Note: Be sure to republish the model before allowing your end users to work with it.
|


Creating Display-Only Constraints
To create a display-only constraint, perform the following steps:
1. |
Log on to Integrated Operational Planning as the administrator.
|
|---|---|
2. |
From Planning Workbench, click the Administration Workbench link.
|
3. |
In the Object Browser section, from the View drop-down list, select Cubes.
|
4. |
In the Object Browser section, click PlanDemand.
The PlanDemand cube is selected.
|
5. |
From the Actions drop-down list, select Edit to display Cube Wizard.
|
6. |
Select the Constraints tab.
|
7. |
Click Create to display Constraint Wizard.
|
8. |
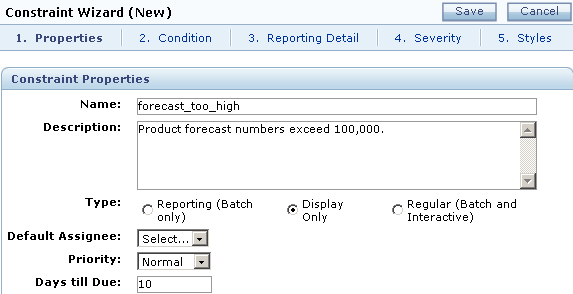
Enter the constraint name and description.
|
9. |
Select the Type option, Display Only.
|
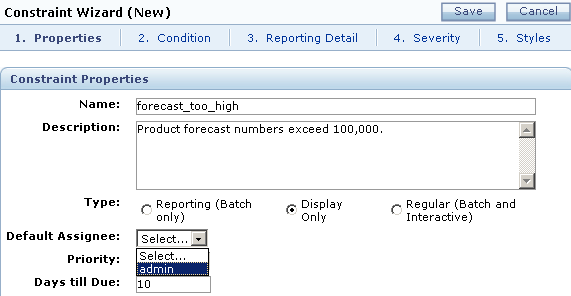
10. |
From the Default Assignee drop-down list, select admin.
|
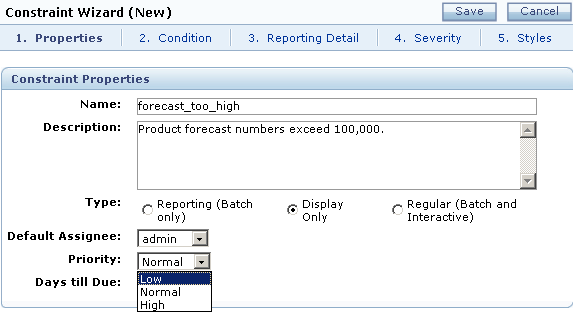
11. |
From the Priority drop-down list, select Low.
|
12. |
Select the Condition tab.
|
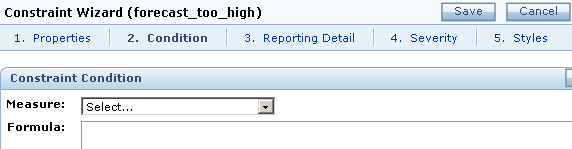
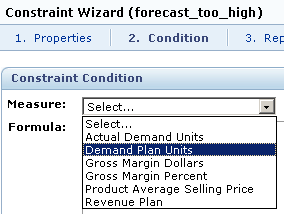
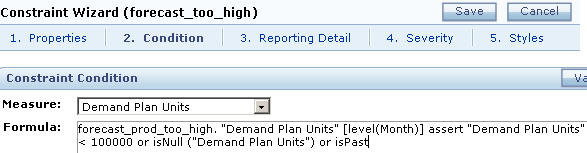
13. |
From the Measure drop-down list, select Demand Plan Units.
|
14. |
In Formula, enter the constraint condition. In this example, when forecasted product numbers reach an unrealistic number (over 100,000), exception reports are generated.
|
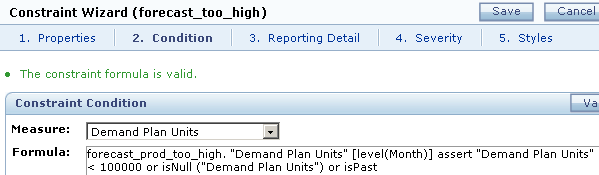
15. |
Click Validate. A formula validation confirmation message is displayed on the page.
|
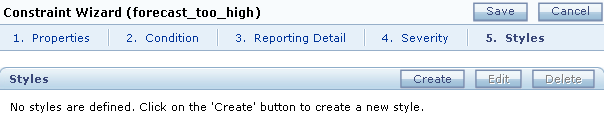
16. |
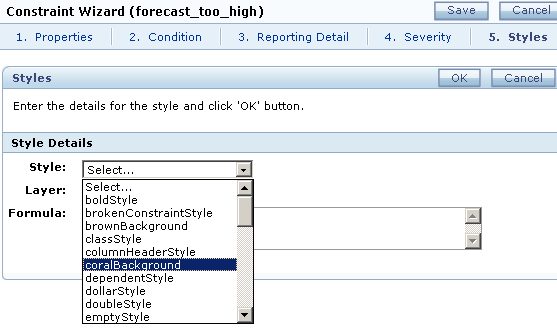
Select the Styles tab and click Create to display the Style Details section.
|
17. |
From the Style drop-down list, select coralBackground and click OK.
|
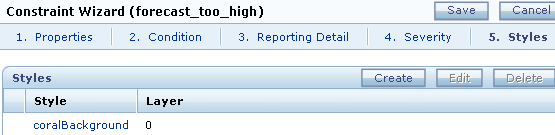
18. |
Click Save.
|
19. |
Click Save again to return to Data Designer.
The display-only constraint is now defined for the PlanDemand cube. Note: Be sure to republish the model before allowing your end users to work with it. |


Creating Regular Constraints
To create a regular constraint, complete the following steps:
1. |
Log on to Integrated Operational Planning as the administrator.
|
|---|---|
2. |
From Planning Workbench, click the Administration Workbench link.
|
3. |
In the Object Browser section, from the View drop-down list, select Cubes.
|
4. |
In the Object Browser section, click PlanDemand.
The PlanDemand cube is selected.
|
5. |
From the Actions drop-down list, select Edit to display Cube Wizard.
|
6. |
Select the Constraints tab.
|
7. |
Click Create to display Constraint Wizard.
|
8. |
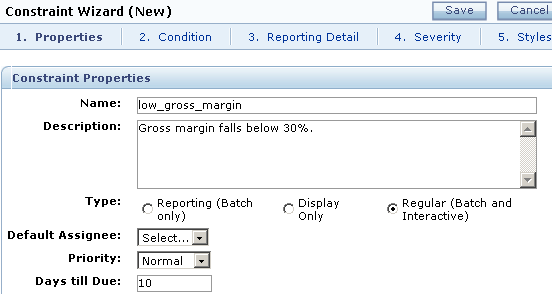
Enter the constraint name and description.
|
9. |
Select the Type option, Regular (Batch and Interactive).
|
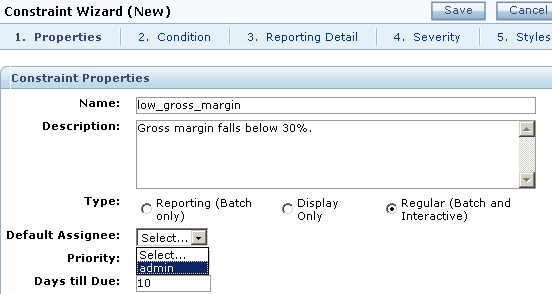
10. |
From the Default Assignee drop-down list, select admin.
|
11. |
Select the Condition tab.
|
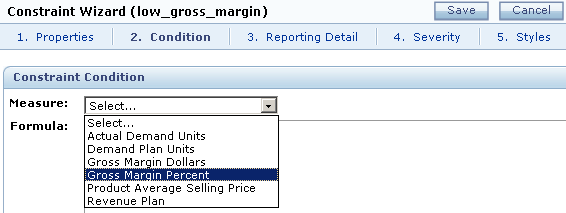
12. |
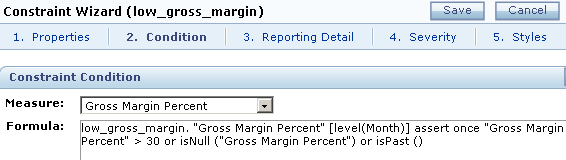
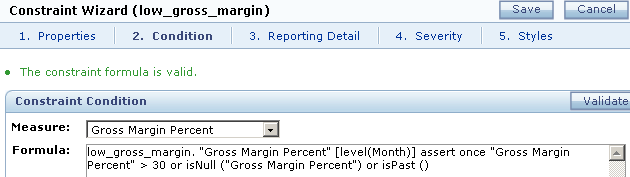
From the Measure drop-down list, select Gross Margin Percent.
|
13. |
In the Formula box, enter the constraint condition. In this example, when gross margin percent falls below 30 percent, exceptions are generated.
|
14. |
Click Validate. A formula validation confirmation message is displayed on the page.
|
15. |
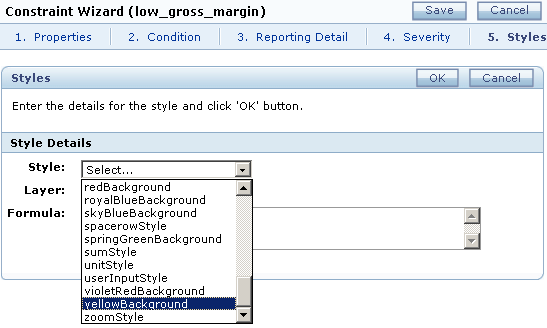
Select the Styles tab and click Create to display the Style Details section.
|
16. |
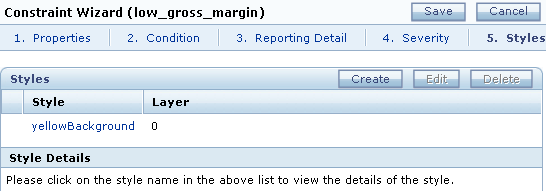
From the Style drop-down list, select yellowBackground and click OK.
|
17. |
Click Save.
|
18. |
Click Save again to return to Data Designer.
The regular constraint is now defined for the PlanDemand cube. Note: Be sure to republish the model before allowing your end users to work with it. |


Summary
In this tutorial, you learned how to create constraints.
Resources
- Oracle Integrated Operational Planning Release 4.0.1 User's Guide
- To learn more about Integrated Operational Planning, refer to additional OBEs and the Modeling in Integrated Operational Planning tutorial on the Oracle Technology Network Web site.
![]()