Using JLayer in Swing Applications in NetBeans 7
Purpose
This tutorial demonstrates usage of JLayer component in Java Swing applications.
Time to Complete
Approximately 30 minutes.
Overview
JDK 7 introduces a new Swing component, JLayer, that serves as a universal decorator for Swing components. This new component is implemented as the javax.swing.JLayer class and is based upon JXLayer, a part of the Swing Helper project from Swing Labs.
The JLayer class is a flexible and powerful decorator for Swing components. It enables you to draw on components and respond to component events without modifying the underlying component directly.
Using a JLayer, you can put a LayerUI together with any existing Component. You can also change the composition of LayerUIs and Components at runtime.
Software and Hardware Requirements
The following is a list of software requirements:
Prerequisites
Before starting this tutorial, you should have the software installed as listed under Software Requirements.
JLayer's support for Custom Painting
To demonstrate the custom painting feature of JLayer, you have to create a demo application, which reverses text entered into a texrfield when a button is pressed. The demo application uses JLayer to paint a wallpaper pattern behind the user interface. Perform the following steps.
|
. |
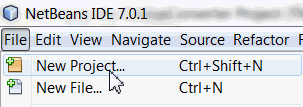
Create a New Project. Select File > New Project.
|
|---|---|
|
. |
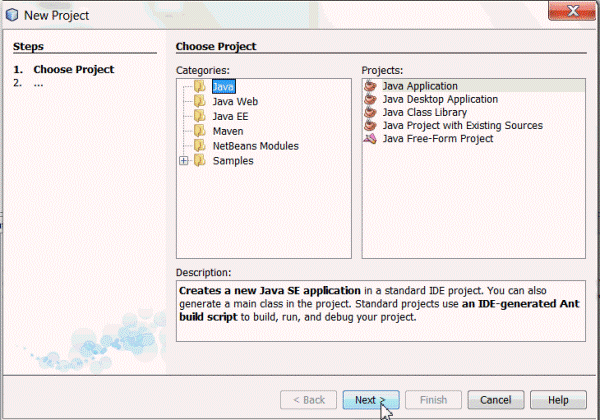
Select Java from the Categories column and Java Application from the Projects column and then click Next.
|
|
. |
Perform the following steps. a. Name the project JLayerDemo. b. Uncheck the Create Main Class check box. c. Click Finish.
|
|
. |
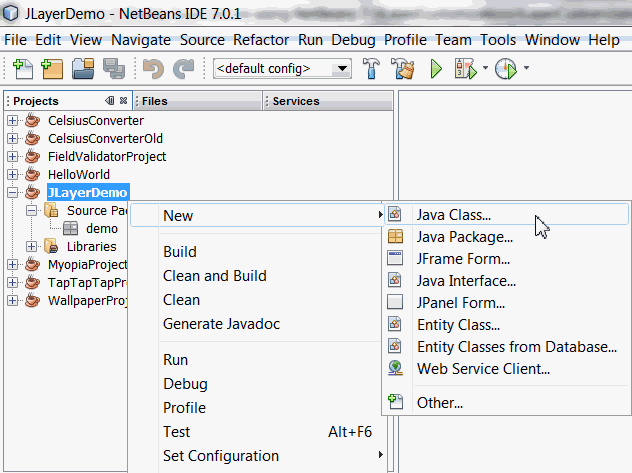
Right-click JLayerDemo Project and select New > Java Class .
|
|
. |
Name the class WallPaperDemo, package name demo, and then click Finish.
|
|
. |
Add the following import statements to the java class, WallPaperDemo.java
import java.awt.*;
|
|
. |
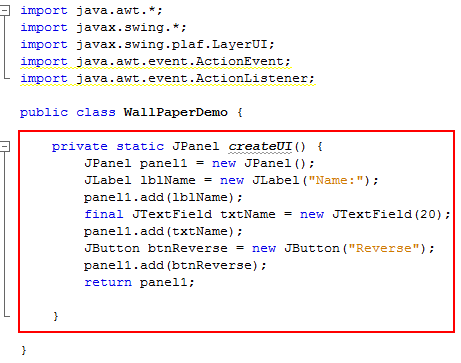
To create the UI, add the method createUI()to the class.
This method creates a UI with the follwing components -Jlabel, JTextField, and a JButton. These components are added to a JPanel and the panel is returned.
|
|
. |
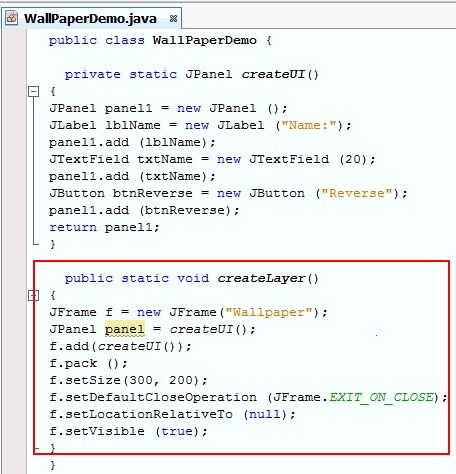
Next add the method createLayer() to the class. }
|
|
. |
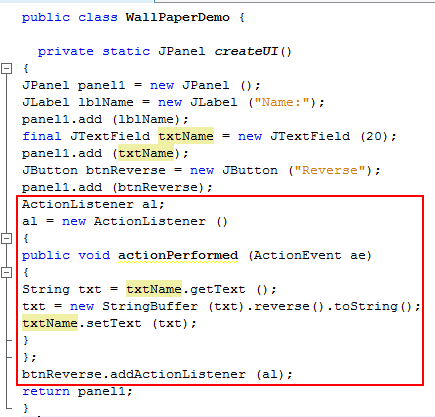
In the createUI() method, add event handling code to the Reverse button. ActionListener
al; The Reverse button responds to the click event and retrieves the text entered in the JTextField, txtName, reverses the String, and then displays it in the textfield.
|
|
. |
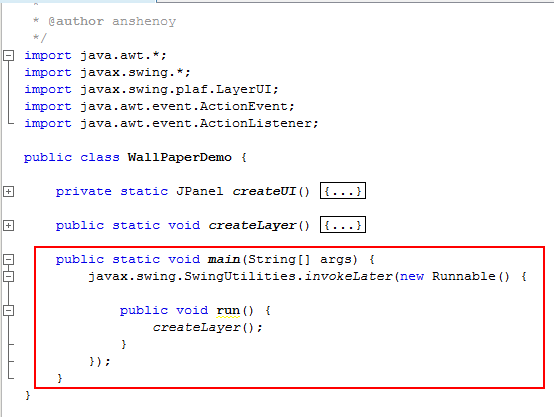
Next add the main() method to the class. In the main method, createLayer()is invoked.
|
|
. |
In the Projects pane, right-click WallPaperDemo.java and choose Run File.
|
|
. |
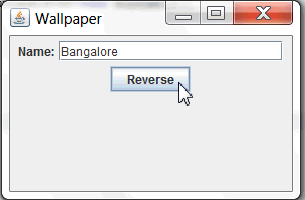
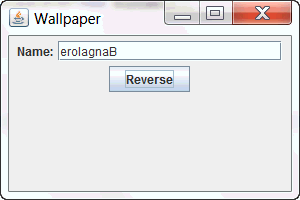
You can test the application by entering a String in the Name field and then clicking Reverse.
Output with the reversed String will be as in the below screenshot.
|
|
. |
To create a WallPaper using JLayer, add the following class to WallPaperDemo.java. Be sure to add the class after the last closing brace. class
WallpaperLayerUI extends LayerUI<JComponent> } } 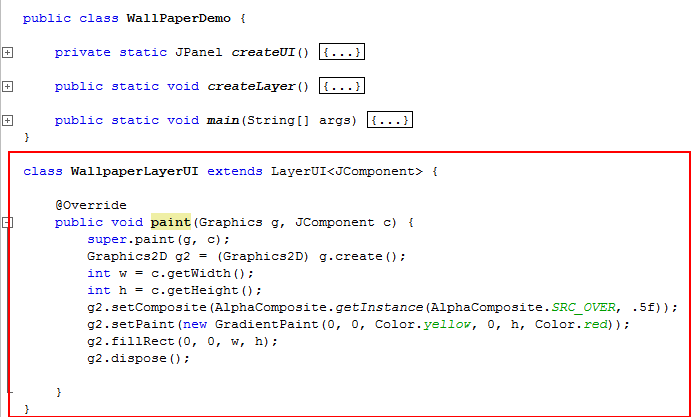
JLayer delegates the handling of painting and input events to a LayerUI object,
which performs the decoration. |
|
. |
To add the Wallpaper to the UI using JLayer, modify the createLayer() method as below. a. Add the following lines of code to the method as indicated in the screenshot below.
The first argument to the Layer constructor can be any
class extending the java.awt.Component
and is the Swing component you want to
decorate.
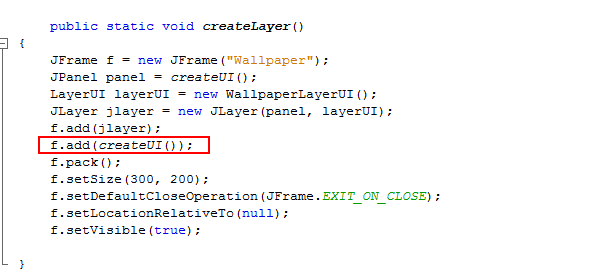
b. Delete the line of code shown below: f.add(createUI());
|
|
. |
In the Projects pane, right-click WallPaperDemo.java and choose Run File. |
|
. |
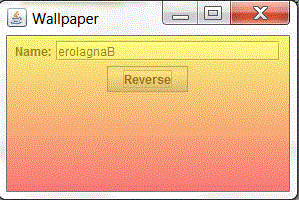
You can test the application by entering a String in the Name field and then clicking Reverse. Output with the reversed String and WallPaper applied to the UI will be as in the below screenshot.
|


Using JLayer for Validating Text Fields
The JLayer class can be used to decorate text fields to show if they contain valid data. The JLayer class is used to provide a visual indication for fields that have invalid data. When the ValidationLayerUI class paints the text field, it draws a red X if the field contents cannot be parsed. To demonstrate the Field Validation feature of JLayer, you have to create a demo application. Perform the following steps.
|
. |
Right-click JLayerDemo Project and select New > Java Class .
|
|---|---|
|
. |
Name the class FieldValidatorDemo, package name demo and then click Finish.
|
|
. |
Add the following import statements to the java class, FieldValidator.java . import
java.awt.*;
|
|
. |
To create the UI, add the createContent()method to the class.
private static JComponent createContent() JLabel dateLabel = new JLabel("Date:");
This method performs the following operations.
|
|
. |
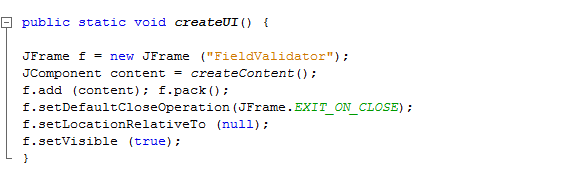
Next add the method createUI() to the class. public
static void createUI() {
The createUI() method performs the following:
|
|
. |
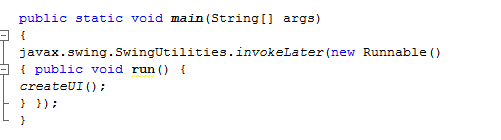
Next add the main() method to the class. In the main() method, createUI()is invoked.
|
|
|
To implement FieldValidation using JLayer, add the ValidationLayerUI class to FieldValidator.java. class
ValidationLayerUI extends LayerUI<JFormattedTextField> {
JLayer jlayer = (JLayer)c; //
Paint the red X. The class ValidationLayerUI is a LayerUI subclass and the paint() method is overridden to implement the FieldValidation.
|
|
. |
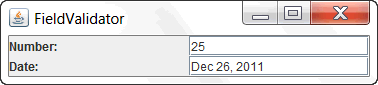
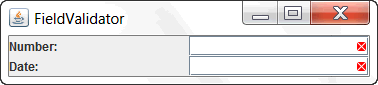
In the Projects pane, right-click FieldValidator.java and choose Run File.
The output will be as below
|
|
. |
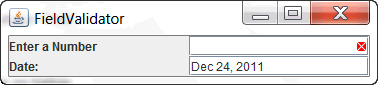
You can test the application for the following input conditions. a. Delete the initial value displayed in the Number Field. Output after FieldValidation will be as below.
b. Delete the initial date value displayed in the Date field. Output after FieldValidation will be as below.
|


Summary
This tutorial describes some of the capabilities of the JLayer class. JLayer’s support for custom painting, event detection, and Field Validation lets you improve the UI of individual components.
Resources
- Java Platform Standard Edition 7 Documentation
- How
to Decorate Components with the JLayer Class
- Video
-Using JLayer in Swing Applications
Credits
- Curriculum Developer: Anjana Shenoy
![]()
| |
Copyright © 2011, Oracle and/or its affiliates. All rights reserved |