 Access a Kubernetes Cluster using Oracle Cloud Infrastructure Cloud Shell
 Before You Begin
This 10-minute tutorial shows you how to:
- access an existing cluster using Cloud Shell
- deploy an nginx Helm chart on the cluster using Cloud Shell
Background
Oracle Cloud Infrastructure Container Engine for Kubernetes is a fully-managed, scalable, and highly available service that you can use to deploy your containerized applications to the cloud. Use Container Engine for Kubernetes when your development team wants to reliably build, deploy, and manage cloud-native applications. You specify the compute resources that your applications require, and Container Engine for Kubernetes provisions them on Oracle Cloud Infrastructure in an existing OCI tenancy.
Oracle Cloud Infrastructure Cloud Shell is a web browser-based terminal accessible from the Oracle Cloud Infrastructure Console. Cloud Shell provides access to a Linux shell, with a pre-authenticated Oracle Cloud Infrastructure CLI. In addition to the CLI, Cloud Shell provides the following commonly used Kubernetes tools:
- A preinstalled version of kubectl, a command line tool for controlling Kubernetes clusters.
- A preinstalled version of Helm, a package manager used to deploy applications to Kubernetes clusters.
In this tutorial, you set up the Kubernetes configuration file for the cluster (the cluster's 'kubeconfig' file) to enable you to use kubectl to access the cluster from the Cloud Shell environment.
Note that you can also set up the kubeconfig file to give access to the cluster from your local development environment (see the Setting Up Cluster Access topic in the Container Engine for Kubernetes documentation).
What Do You Need?
- An Oracle Cloud Infrastructure username and password.
- Within your tenancy, there must already be an existing Kubernetes cluster managed by Container Engine for Kubernetes. If such a cluster does not exist already, you will have to create it before starting this tutorial. For example, by following the Creating a Cluster with Oracle Cloud Infrastructure Container Engine for Kubernetes tutorial.
- To access a cluster using Cloud Shell, you must belong to one of the following:
- The tenancy's Administrators group.
- A group to which a policy grants the appropriate permissions to access the existing cluster using Cloud Shell.
For more details and examples, see the Policy Configuration for Cluster Creation and Deployment and Cloud Shell topics in the documentation.
 Start OCI
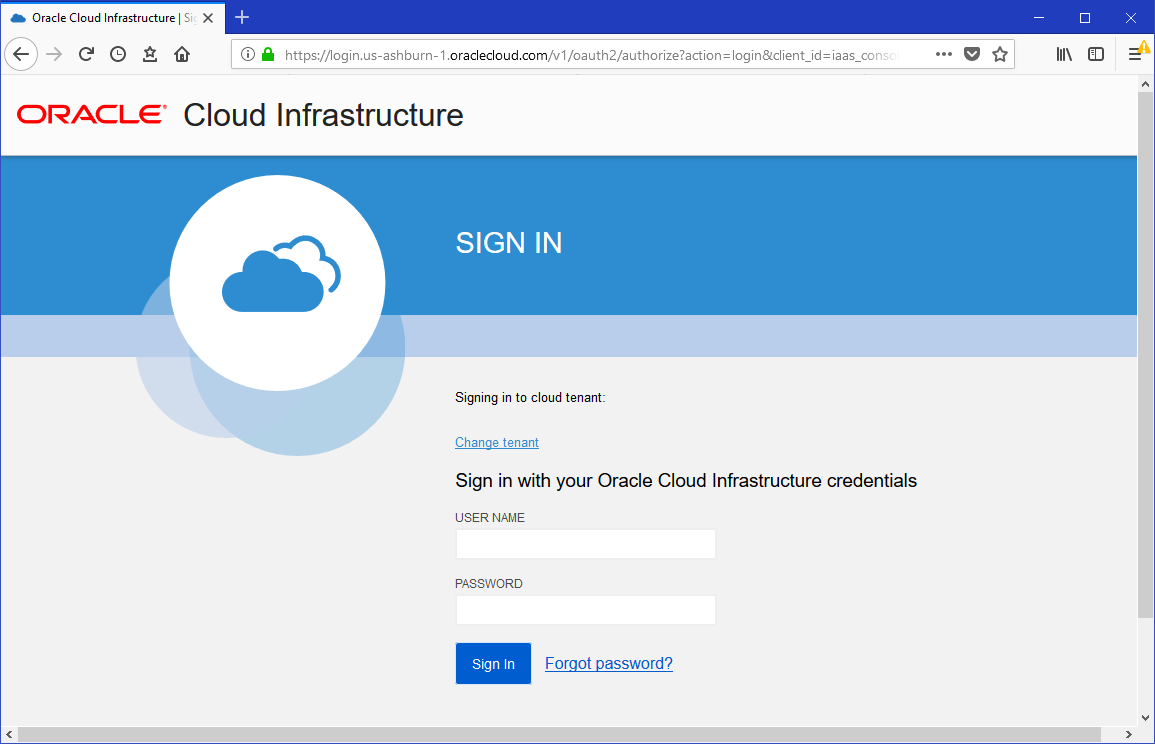
- In a browser, go to the url you've been given to log in to Oracle Cloud Infrastructure.
- Specify a tenant in which you have the appropriate permissions to access clusters using Cloud Shell, and to deploy applications. You inherit these permissions in one of the following ways:
- By belonging to the tenancy's Administrators group.
- By belonging to another group to which a policy grants the appropriate permissions, as listed in the What Do You Need? section.
- Enter your username and password.
 Select Cluster
- In the Console, open the navigation menu. Under Solutions and Platform, go to Developer Services and click Kubernetes Clusters.
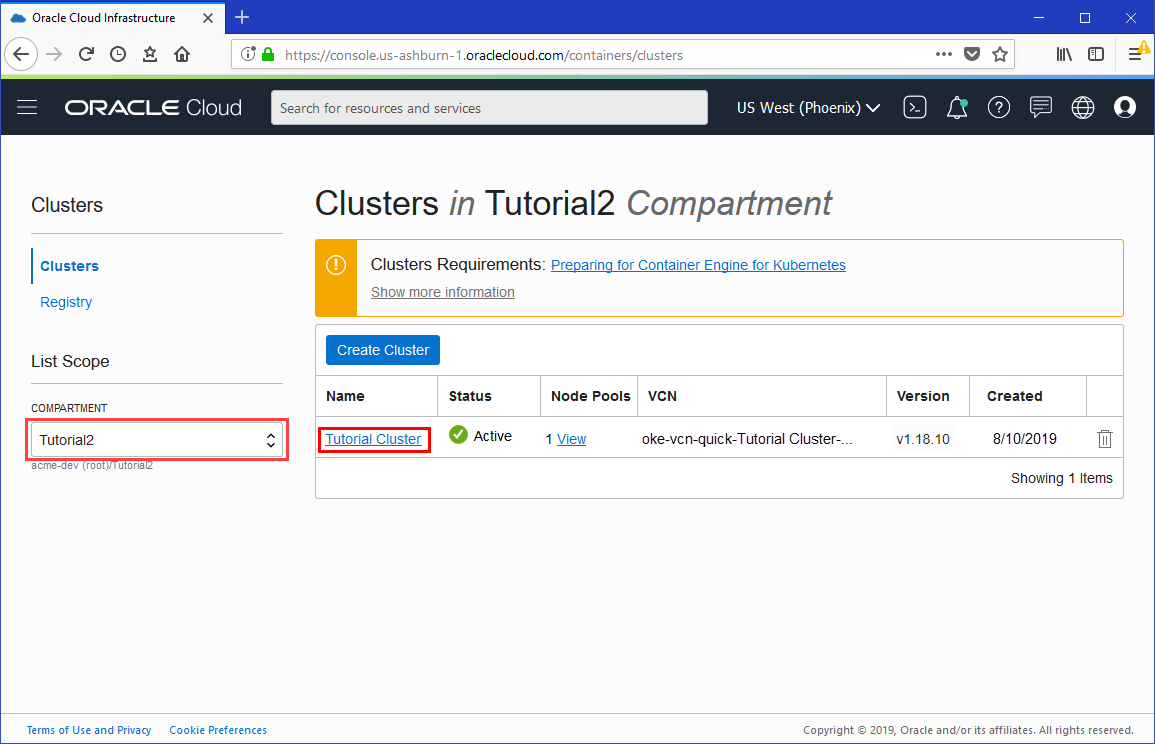
- Choose a Compartment that you have permission to work in, and that contains the cluster you want to access using Cloud Shell.
- On the Clusters page, click the name of the cluster you want to access using Cloud Shell.
 Set Up the kubeconfig File for the Cluster
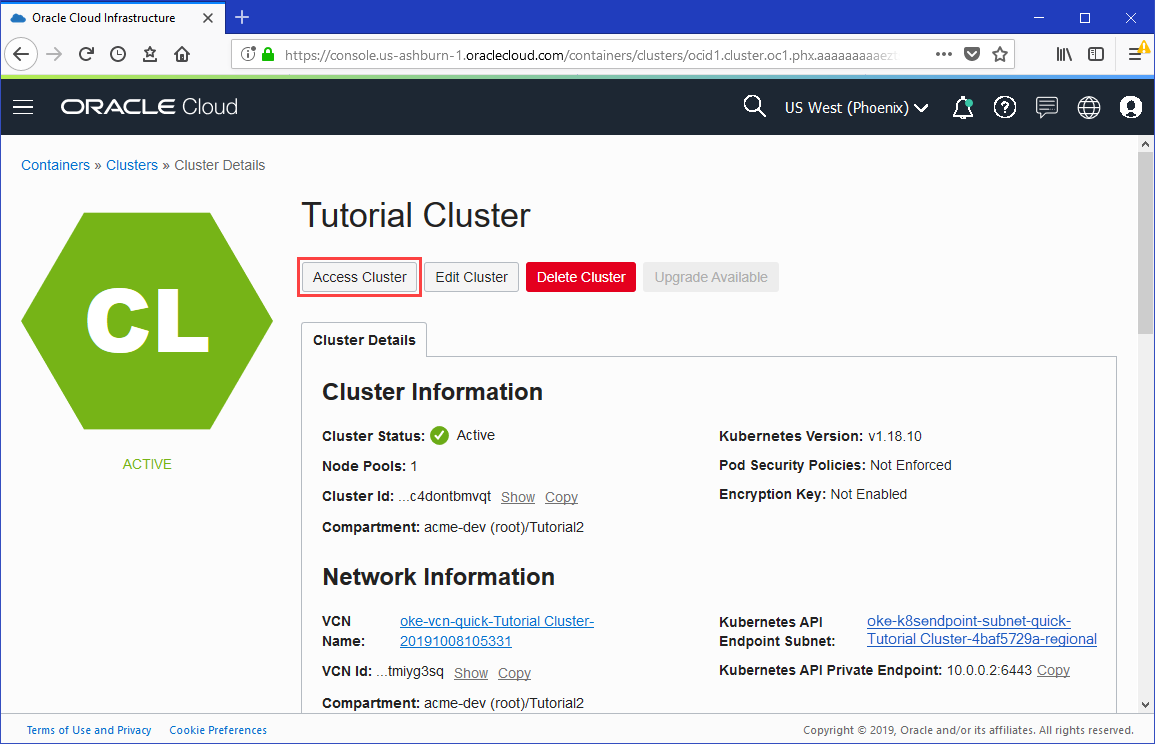
- With the Clusters page showing details of the cluster, click Access Cluster to display the Access Your Cluster dialog box.
- In the Access Your Cluster dialog box, click Cloud Shell Access.
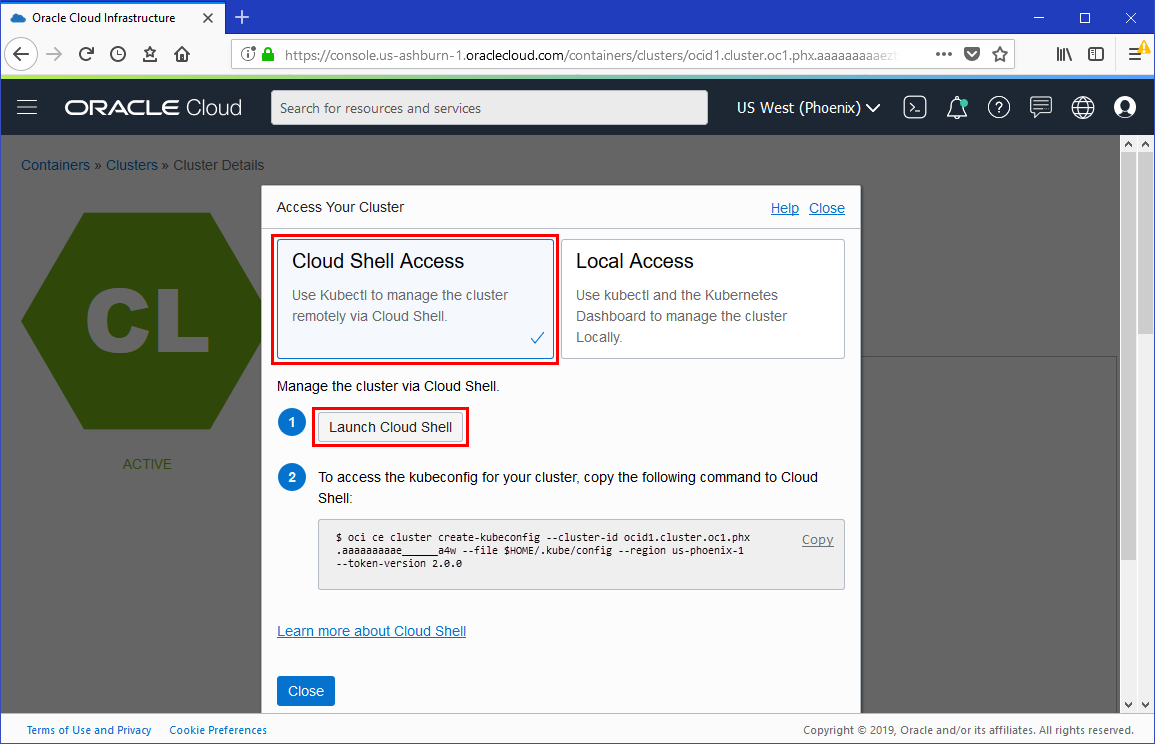
Description of the illustration - Click Launch Cloud Shell to display the Cloud Shell window.
Copy the Oracle Cloud Infrastructure CLI command (beginning
oci ce cluster) from the Access Your Cluster dialog box and paste the command into the Cloud Shell window.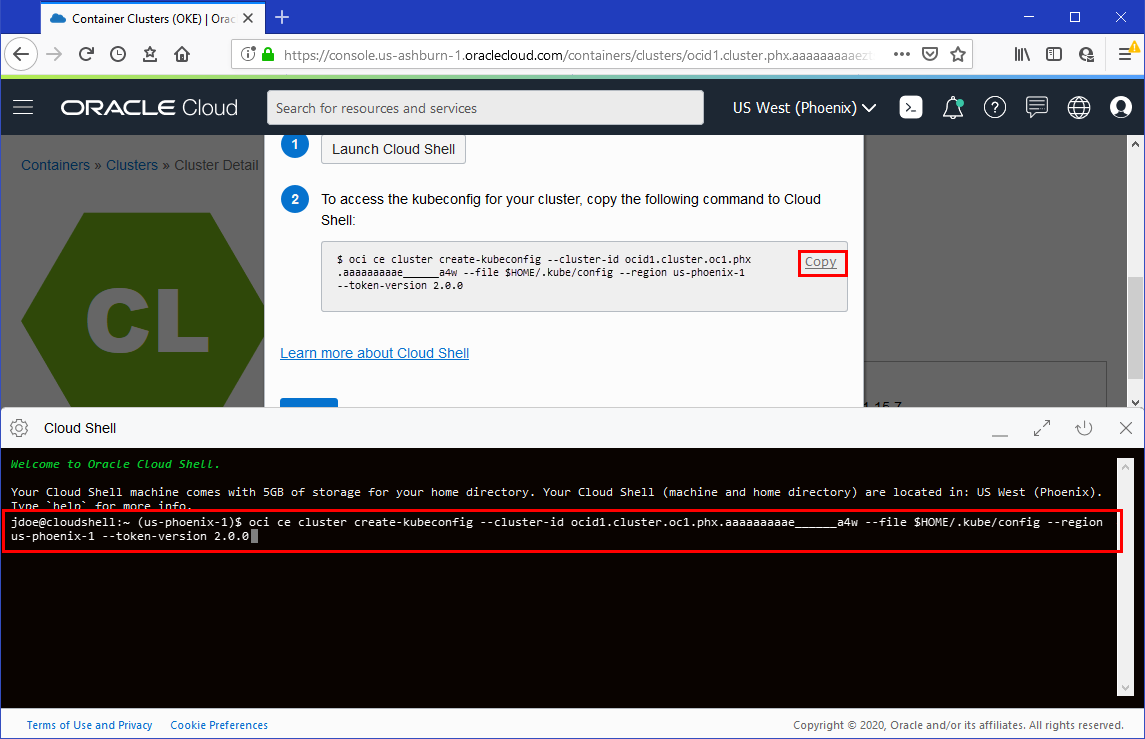
Description of the illustration The command sets up the kubeconfig file and saves it with the expected default name and location of
$HOME/.kube/config. This name and location ensures the kubeconfig file is accessible to kubectl running in Cloud Shell. The command is similar to:$ oci ce cluster create-kubeconfig --cluster-id ocid1.cluster.oc1.phx.aaaaaaaaae... --file $HOME/.kube/config --region us-phoenix-1 --token-version 2.0.0
where ocid1.cluster.oc1.phx.aaaaaaaaae... is the OCID of the current cluster. For convenience, the command in the Access Your Cluster dialog box already includes the cluster's OCID.
 Verify kubectl Access to the Cluster
- Verify that you can use kubectl to connect to the cluster. In the Cloud Shell window, enter the following command:
$ kubectl get nodes
You see details of the nodes running in the cluster. For example:NAME STATUS ROLES AGE VERSION 10.0.10.2 Ready node 1d v1.18.10 10.0.11.2 Ready node 1d v1.18.10 10.0.12.2 Ready node 1d v1.18.10
 Deploy Nginx Application
Add an nginx Helm repository. In the Cloud Shell window, enter the following commands:
$ helm repo add bitnami https://charts.bitnami.com/bitnami
$ helm repo update
Deploy the nginx application using the Helm 3.x client in Cloud Shell. In the Cloud Shell window, enter the following command:
$ helm install my-release bitnami/nginx
Verify that the nginx application has been deployed successfully. In the Cloud Shell window, enter the following command:
$ kubectl get pods,svc
You see details of the pods and services running on the cluster, including the nginx pod and load balancer service. For example:
NAME                                   READY    STATUS    RESTARTS   AGE
pod/my-release-nginx74c6ff88fd-5xx22   1/1      Running   0          189s

NAME                       TYPE           CLUSTER-IP     EXTERNAL-IP      PORT(S)                      AGE
service/kubernetes         ClusterIP      10.96.0.1      <none>           443/TCP                      23h
service/my-release-nginx   LoadBalancer   10.96.80.158   129.146.147.91   80:32375/TCP,443:31668/TCP   109s
 Verify the Nginx Application is Working Correctly
- Open a new browser window
Enter the LoadBalancer External-IP address (as returned previously) in the browser's URL field. For example, http://129.146.147.91.
The Welcome to nginx! page is displayed, confirming the nginx application has been deployed.

Description of the illustration
Congratulations! You have succesfully deployed an nginx Helm chart on an existing cluster using Cloud Shell.
 Housekeeping (optional)
Having completed the tutorial, you can now delete the nginx application you deployed on the cluster.
Uninstall the nginx Helm chart. In the Cloud Shell window, enter the following commands:
$ helm uninstall my-release
Confirm that the nginx Helm chart has been removed. In the Cloud Shell window, enter the following command:
$ kubectl get pods,svc
The nginx pod and load balancer service are no longer shown.