In this step, you will import a Web application that incorporates the database connection, entities, and Spring classes you have created in this tutorial. This application includes JPA entities, Spring service beans, DAO classes, JSPs, and servlets. After importing the application, you will create a new server and run the application.
The tasks you will complete in this step are:
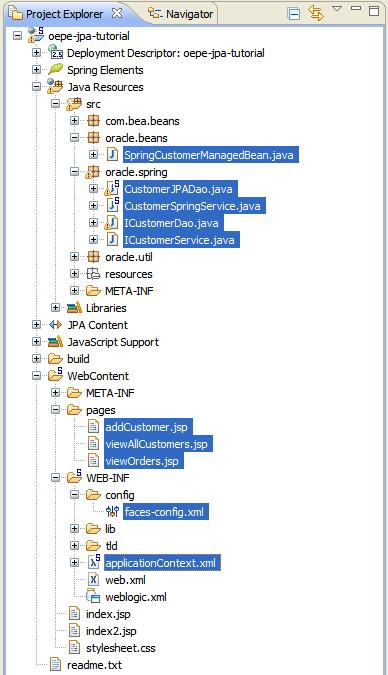
The imported application includes a JSP page and a managed bean. The project also contains a faces-config.xml file, which manages the navigation of the application and the JSPs that comprise the user interface.
Now, let's review the MVC connection strategy, which is to use Spring DAO through a JSF Managed Bean.
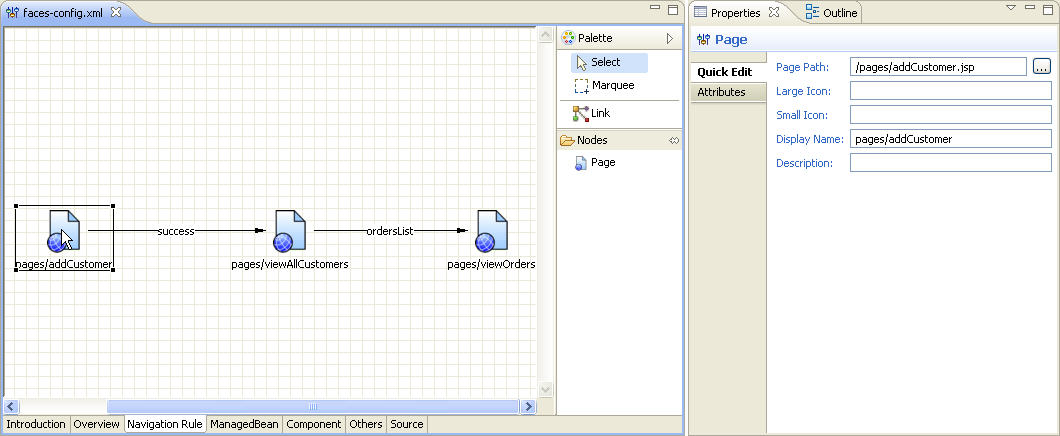
The web/WEB-INF/config folder contains the faces-config.xml file that configures the Managed Bean configurations and Navigation Rules for the Web application.

Now you will create a server to use to run your completed sample application. If one exists already in the Servers tab, delete it.
C:\<middleware home>\wlserver_10.3\samples\domains\wl_server
Oracle WebLogic Server does not support the deployment of projects with the same name from two different locations on disk.
For this reason, any time you deploy a sample or run through a tutorial, you should check your server for previous deployments of the same code. If your server already has a deployment of the sample or tutorial code, you should undeploy any previous code.
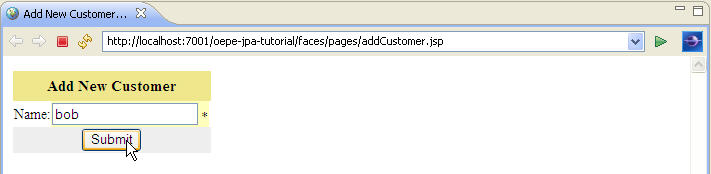
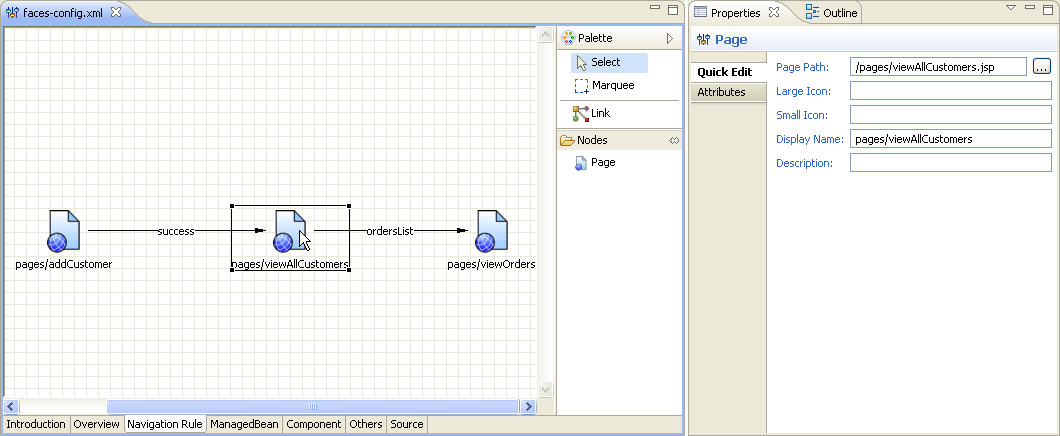
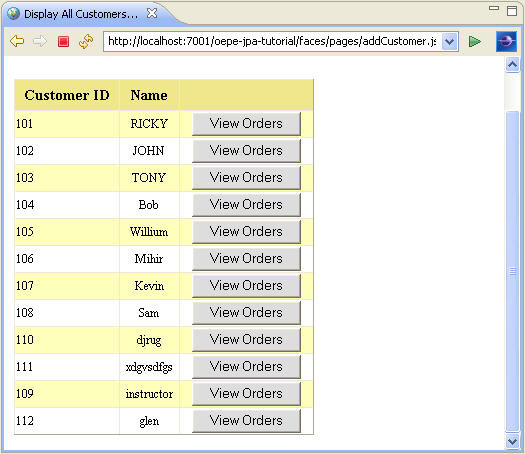
The application calls addCustomer( ) action method of the CustomerManagedBean and forwards the request to viewAllCustomers.jsp,
if the customer is added successfully. The viewAllCustomers.jsp gets the customers
list using the <h:dataTable> component and displays it as shown below.
Caused by: javax.persistence.RollbackException: Transaction rolled back because transaction was set to RollbackOnly.
	at org.eclipse.persistence.internal.jpa.transaction.EntityTransactionImpl.commitInternal(EntityTransactionImpl.java:92)
	at org.eclipse.persistence.internal.jpa.transaction.EntityTransactionImpl.commit(EntityTransactionImpl.java:63)
	at org.springframework.orm.jpa.JpaTransactionManager.doCommit(JpaTransactionManager.java:456)
Please make sure the database connection properties in persistence.xml are correct.
javax.persistence.PersistenceException: No Persistence provider for EntityManager named unitK:  The following providers:
org.eclipse.persistence.jpa.PersistenceProvider
kodo.persistence.PersistenceProviderImpl
org.apache.openjpa.persistence.PersistenceProviderImpl
Returned null to createEntityManagerFactory.
Please make sure the persistence unit name referenced in Spring applicationContext.xml is same as the one defined in JPA persistence.xml, e.g. "oepe-jpa-tutorial."
Click the arrow to navigate to the previous step in the tutorial:
|
|