Before You Begin
Purpose
This tutorial shows you how to provision an Oracle API Manager Cloud Service instance.
Time to Complete
25 minutes
Note: After creating the Oracle API Manager Cloud Service instance, it takes some time to get it configured and ready to use.
Background
Oracle API Manager Cloud Service helps you create Application Programming Interfaces (APIs) that expose the functionality of backend systems and services.
As a component of Oracle SOA Cloud Service, Oracle API Manager Cloud Service leverages the following functionality to overcome common challenges and fundamentally change the way application developers work by building and publishing APIs that share enterprise services and data in the cloud:
- Automated provisioning
- Create and secure APIs
- Edit and publish APIs
- Discover, understand, and subscribe to APIs
- Control API access at runtime and monitor API performance
- Reduced ongoing maintenance
What Do You Need?
- A subscription or trial subscription to Oracle API Manager Cloud Service
- The following prerequisite tasks completed
for the instance configuration:
- Get a subscription to Oracle Database Cloud Service.
- Get a subscription to Oracle Storage Cloud Service. See Creating Containers Using the REST API
- Create a secure shell (SSH) public/private key pair. See Creating SSH Keys for Use with Oracle Cloud Services.
- A supported browser:
- Microsoft Internet Explorer: version 9 or 10; set Browser Mode to IE9 or IE10
- Mozilla Firefox: version 24 and later
- Google Chrome: version 29 and later
- Apple Safari: version 6
Creating an Oracle API Manager Cloud Service Instance
In this section, you create an Oracle API Manager Cloud Service instance using the existing configurations of your cloud service instance.
-
Open a browser window and go to Oracle SOA Cloud Service by entering the URL following this format:
https://hostname.domain:7103/soaadministration -
On the Oracle SOA Cloud Service Login page, provide your user name, password, and the Identity Domain, and then click Log In.
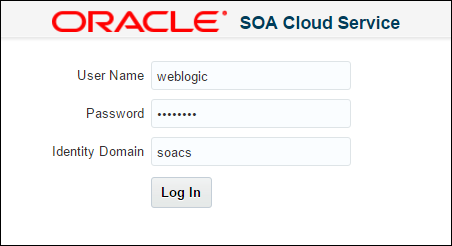
Description of this image -
On the Oracle SOA Cloud Service page, click Create Instance.

Description of this image -
On the Domain Types page, select API Manager and click Next.
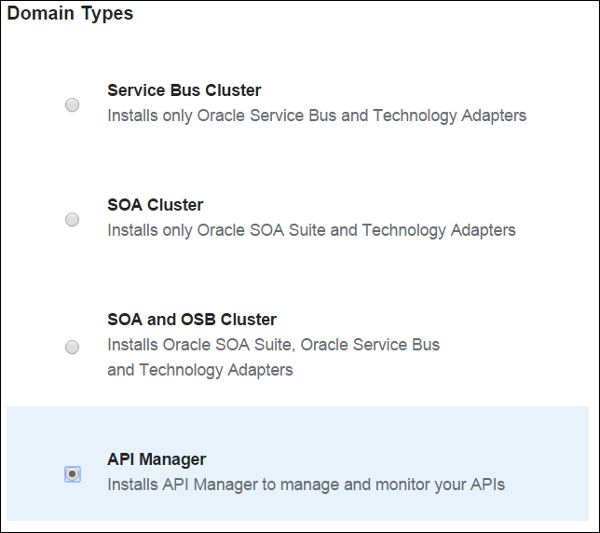
Description of this image -
On the Software Image page, select Oracle API Manager 12.1.3 and click Next.
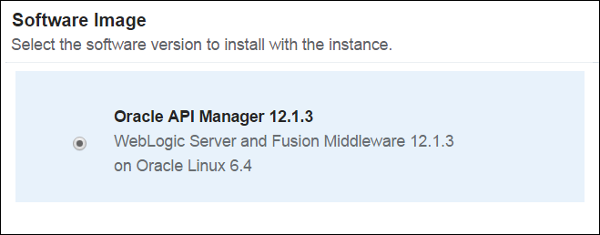
Description of this image -
In the Instance Configuration section, enter or select the information for the following fields:
- Instance Name: Enter a descriptive name that starts with a letter and contains a maximum of 30 characters
- Description: Enter a meaningful description for your instance
- Cluster Size: Select the cluster size
- Compute Shape: Select
OC1M
                                    - 1 OCPU, 15 GB RAM
x - VM Public Key: Select a file that contains the VM public key of your instance
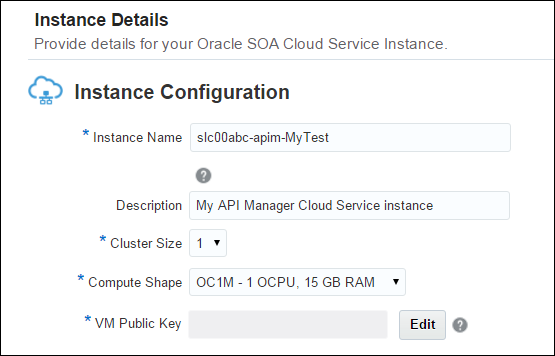
Description of this image Note: If the cluster size that you selected is greater than one, you may have to provision a load balancer.
-
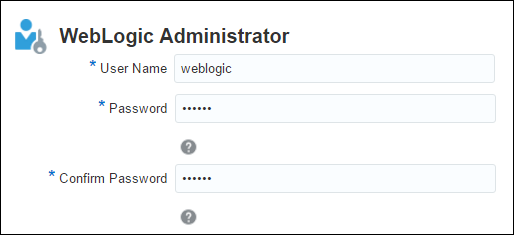
In the WebLogic Administrator section, enter the your user name and password, and then confirm your password.
Description of this image -
In the Database Configuration section, select your configuration from the list, enter an optional pluggable database name (PDB Name) and the administrator user name and password.
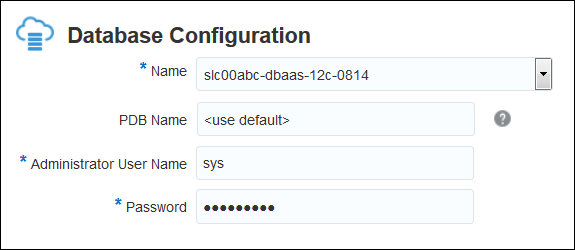
Description of this image Note: If a pluggable database name is not specified, then the pluggable database name specified during Oracle Cloud Database Service provisioning is used as the default.
-
If you don't need a provisioned load balancer, then in the Load Balancer section, select No.
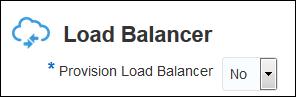
Description of this image Note: If the cluster size that you selected is greater than one, you may have to provision a load balancer.
-
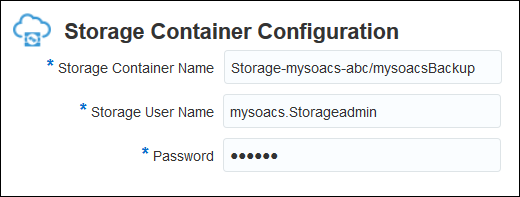
In the Storage Container Configuration section, enter your previously configured store container name, storage user name, and password.
Description of this image -
On the Instance Details page, click Next.

Description of this image If you get the Incorrect values entered dialog box, review the list of incorrect values and click OK to fix them.
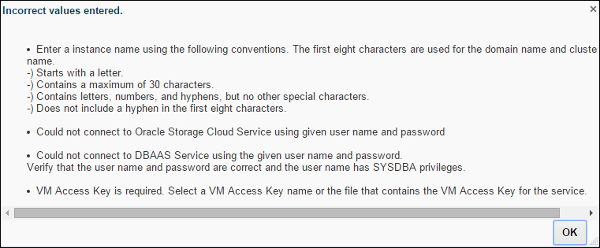
Description of this image -
On the Confirmation page, verify your instance selections.
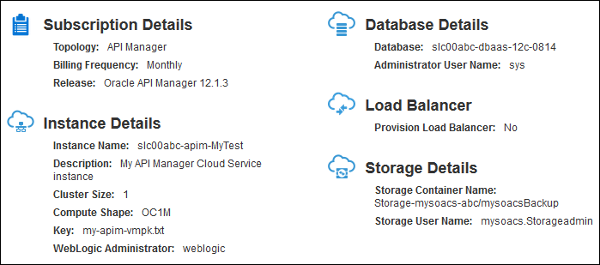
Description of this image -
If your selections are correct, then in the Confirmation page, click Create.

Description of this image -
To complete the instance creation request, in the Information dialog box, click OK.
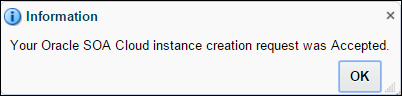
Description of this image -
On the Instances page, verify that the status of your recently created Oracle API Manager Cloud Service instance is In Progress.
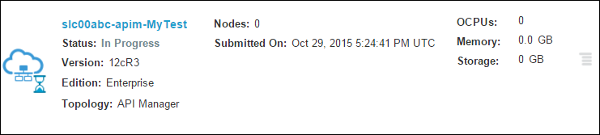
Description of this image Note: The instance configuration takes some time to complete.
After your Oracle API Manager Cloud Service instance is configured, the In Progress status disappears and the Menu
 for the service instance gets enabled.
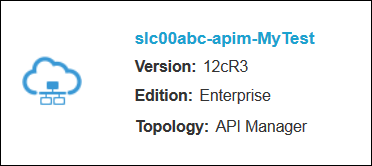
Description of this image
Verifying Your Oracle API Manager Cloud Service Instance
After your Oracle API Manager Cloud Service instance is created and configured, it's ready to use. In this section, you test all of the required tools to deploy your applications, manage the user access, and publish and manage your APIs in Oracle API Manager Cloud Service.
Opening the WebLogic Server Console
-
Open a browser window and go to Oracle SOA Cloud Service by entering the URL following this format:
https://hostname.domain:7103/soaadministration -
On the Oracle SOA Cloud Service Login page, provide your user name, password, and the identity domain, and then click Log In.
Description of this image -
On the Oracle SOA Suite Cloud Service page, click the Menu
for your recently created service instance
and click Open WebLogic Server
Console. 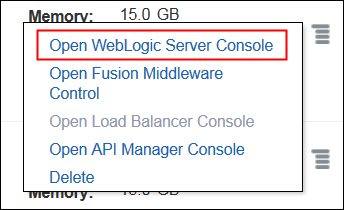
Description of this image -
On the WebLogic Server Console page, enter your user name and password, and click Login.
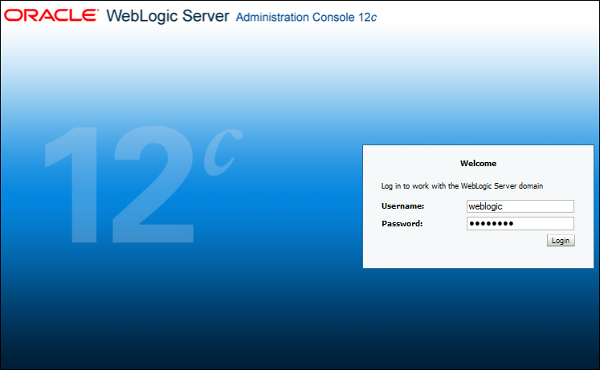
Description of this image
Opening the Oracle Fusion Middleware Control Console
In this section, you learn how to open the Oracle Fusion Middleware Control Console. Oracle Fusion Middleware is used to create your API Manager groups, roles, and users. Using the Oracle Fusion Middleware Control Console, you can manage the access to the Oracle API Manager Cloud Service Portal.
-
Open a browser window and go to Oracle SOA Cloud Service by entering the URL following this format:
https://hostname.domain:7103/soaadministration -
On the Oracle SOA Cloud Service Login page, enter your user name, password, and the identity domain, and then click Log In.
Description of this image -
On the Oracle SOA Suite Cloud Service page, click the Menu
for your recently created service instance,
and click Open Fusion Middleware
Control. 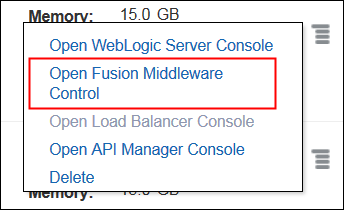
Description of this image -
On the Oracle Enterprise Manager page, enter your user name and password, and click Login.
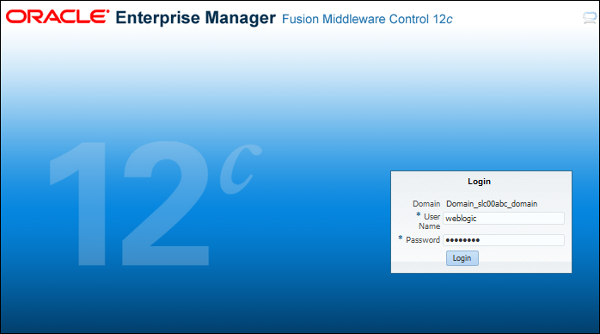
Description of this image
Opening the API Manager Console
In this section, you learn how to open the Oracle Service Bus. You use Oracle Service Bus to create and import your project configurations and then publish your APIs.
-
Open a browser window and go to Oracle SOA Cloud Service by entering the URL following this format:
https://hostname.domain:7103/soaadministration -
On the Oracle SOA Cloud Service Login page, enter your user name, password, and the identity domain, and then click Log In.
Description of this image -
On the Oracle SOA Suite Cloud Service page, click the Menu
for your recently created service instance
and click Open API Manager Console.
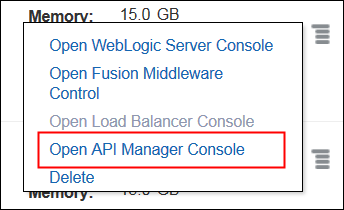
Description of this image -
On the Service Bus Console page, enter your user name and password, and click Sign In.
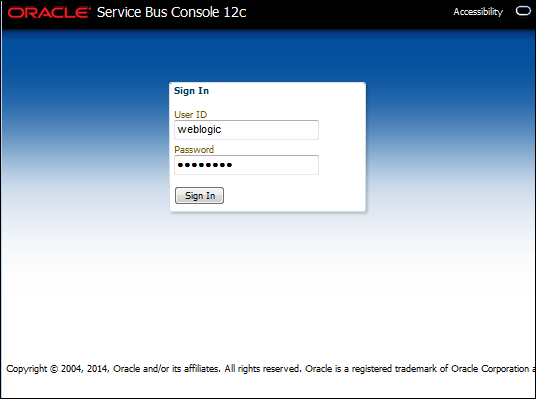
Description of this image
Opening the Oracle API Manager Cloud Service Portal
In this section, you learn how to open the Oracle API Manager Cloud Service Portal. You use the API Manager Cloud Service Portal to manage the subscriptions to your published APIs.
-
Open a browser window and go to the Oracle API Manager Portal by entering the URL following this format:
https://public.ip.address:7002/apimanager -
On the API Manager Cloud Service Portal page, enter your user name and password, and click Sign In.
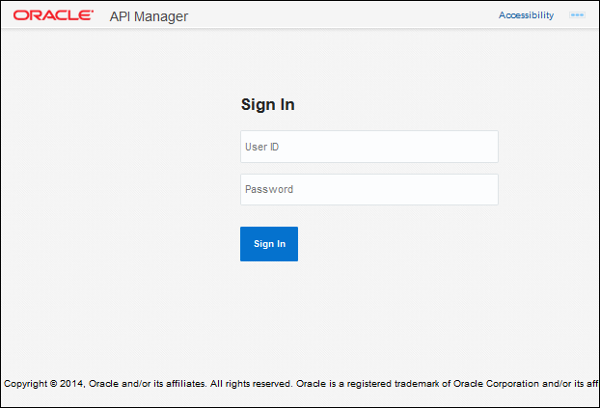
Description of this image
Want to Learn More?
-
Using Oracle SOA Cloud Service in the Oracle Help Center
-
Using Oracle API Manager Cloud Service in the Oracle Help Center
-
Curating, Publishing, and Tracking APIs in Oracle API Manager Cloud Service