Adding Additional Components to your Existing Database Application Using Oracle Application Express 4.1
Purpose
This tutorial shows you how to add additional components to your existing database application.
Note: Some screenshots in this tutorial may be slightly different depending on what browser you use.
Time to Complete
Approximately 30 minutes.
Prerequisites
Before you perform this tutorial, you should:
- Perform the Manipulating Database Objects Using Application Express 4.1 tutorial.
- Perform the Creating and Running a Database Application Using Application Express 4.1 tutorial.
Adding a Flash Chart
You want to create a flash chart. First, you create a 2D pie chart that shows the number of tasks per project. Then, you convert this 2D pie chart into a 3D pie chart. Perform the following steps:
|
. |
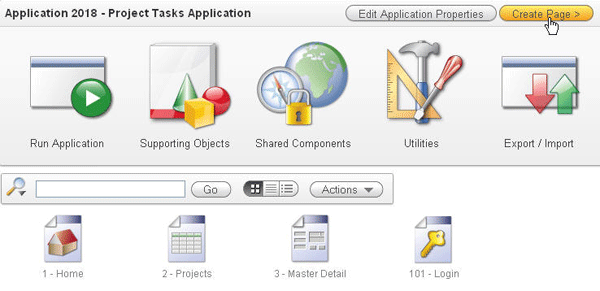
Click Create Page in the Project Tasks Application home page.
|
|---|---|
|
. |
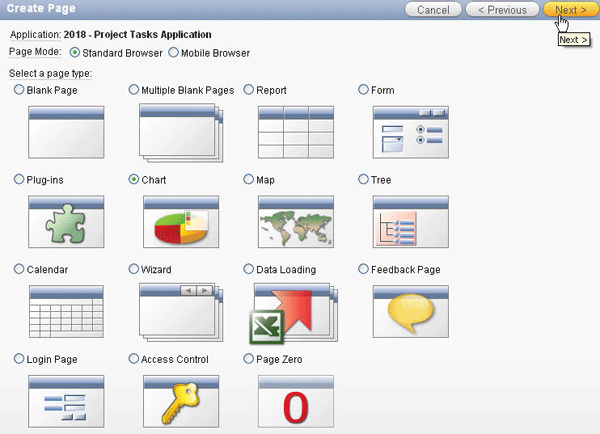
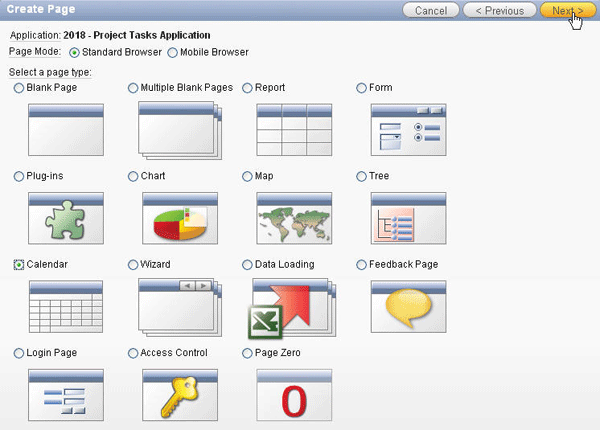
Select the Chart Page Type and click Next .
|
|
. |
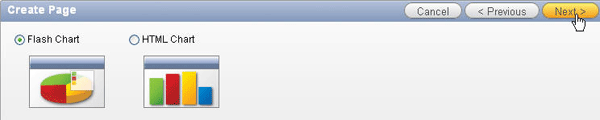
Select the Flash Chart radio button and click Next .
|
| . |
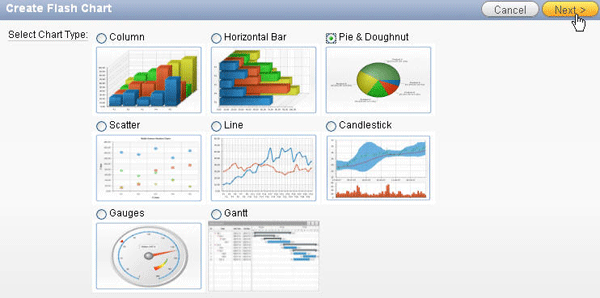
Application Express provides different types of Flash Charts. Select Pie & Doughnut and click Next .
|
| . |
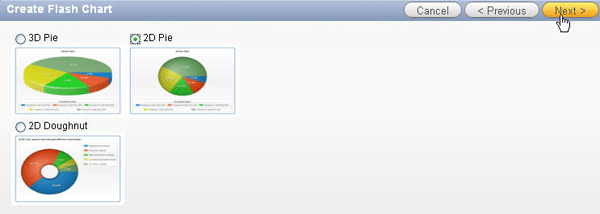
You can create a 3D Pie, 2D Pie, or a 2D Doughnut chart. Select 2D Pie and click Next .
|
|
. |
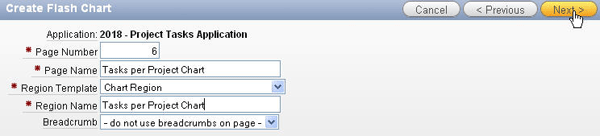
Enter Tasks per Project Chart for the page name and region name, accept other default values, and click Next .
|
|
. |
Select the Do not use tabs option and click Next .
|
|
. |
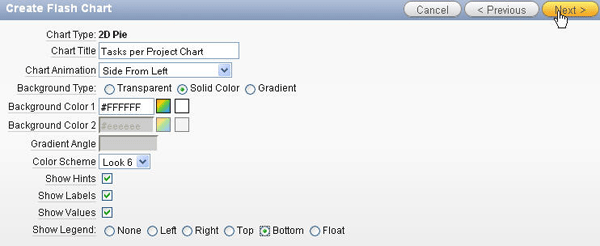
Select the following chart attributes.
Observe the Application Express provides five positions for a legend on your chart. Make sure the Show Hints, Show Labels, and the Show Values boxes are selected and click Next .
|
|
. |
Copy and paste the following query into the query field. Click Next . select null link,
p.project label,
t.task_count value
from (select project_id,
count(*) task_count
from obe_tasks
group by project_id) t,
obe_projects p
where t.project_id = p.project_id
|
|
. |
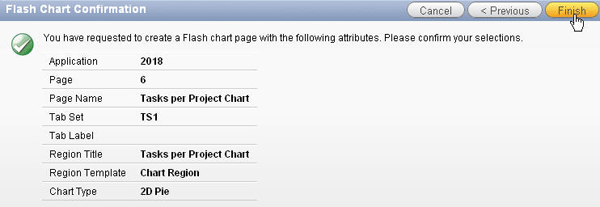
Click Finish to create the chart.
|
|
. |
Click Run Page.
|
|
. |
You may receive the login window. Enter your login information and click Login.
|
|
. |
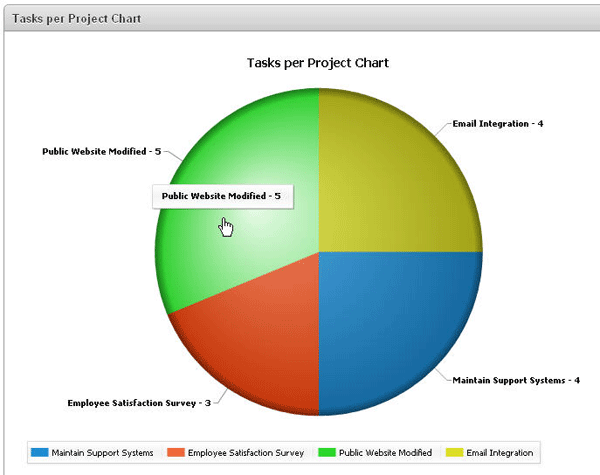
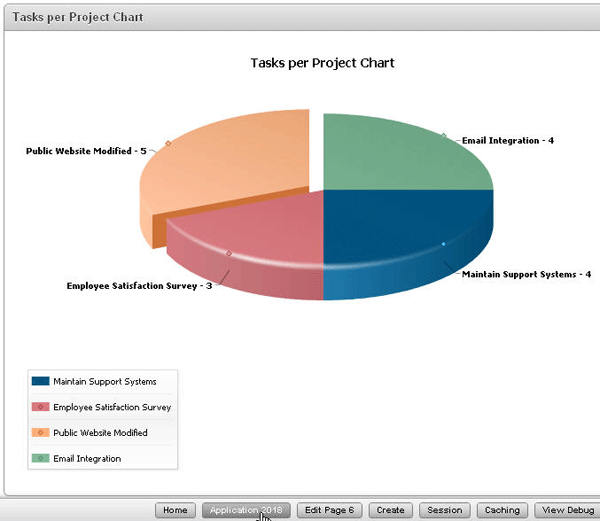
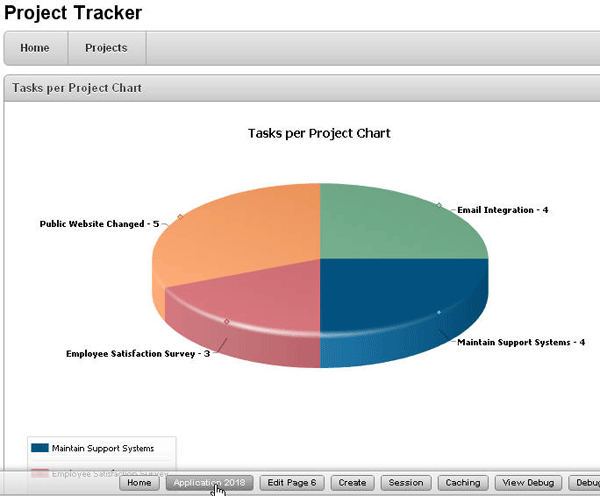
Observe the animation as the chart is loaded, appearing from the left side of the page. The flash chart shows the number of tasks per project. Keep your mouse over the pie to display the tooltips for the chart data.
|
| . |
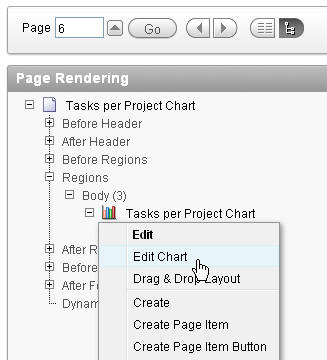
Click on any slice of the pie to see the effect of exploding slides. You want to change the 2D Pie to a 3D Pie chart. Click Edit Page <n> .
|
| . |
In the Page Rendering section, under Regions, locate Tasks per Project Chart. Right-click Tasks per Project Chart and select Edit Chart.
|
. |
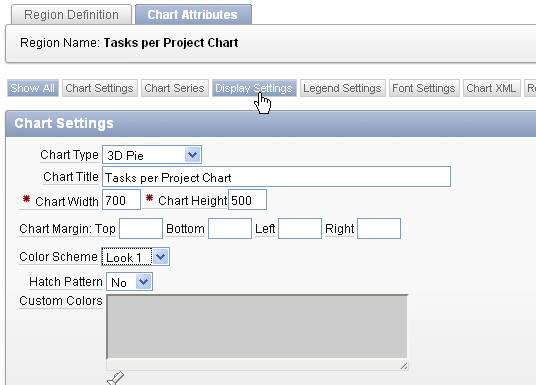
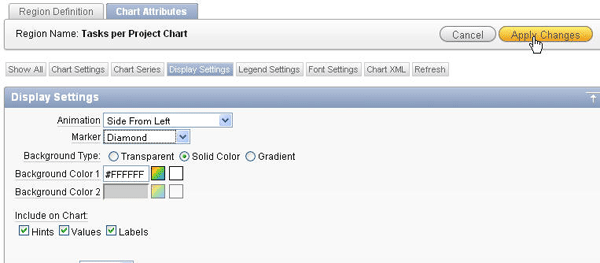
Under Chart Settings, select 3D Pie for Chart Type, Look 1 for Color Scheme, and click Display Settings.
|
| . |
Under Display Settings, select Diamond for Marker. Click Apply Changes.
|
| . |
Click Run.
|
. |
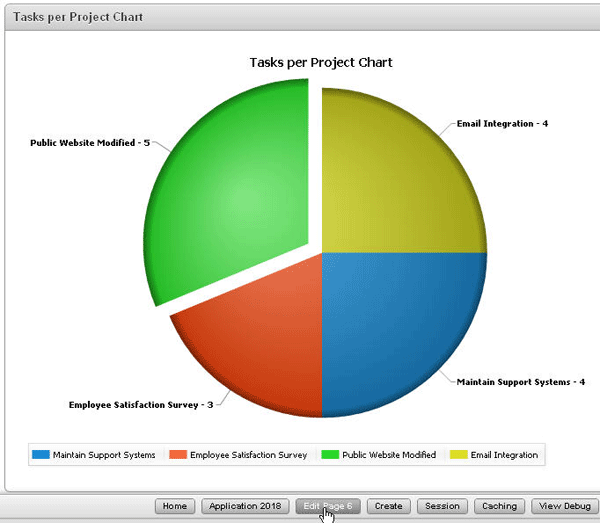
The 3D Pie chart is displayed. Click any slice of the pie to see the effect of exploding slides. Click the Application <n> link in the developer tool bar.
|


Adding a Calendar
You want to add a calendar that shows the deadlines of each project and then
add a button on the projects report to link to the Calendar. Perform the following
steps:
|
. |
Click Create Page in the Project Tasks Application home page.
|
|---|---|
|
. |
Select the Calendar Page Type and click Next .
|
|
. |
Select the Easy Calendar radio button and click Next .
|
|
. |
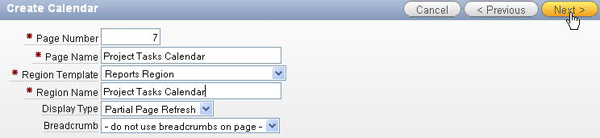
Enter Project Tasks Calendar for the Page Name and Region Name field.Then, click Next .
|
|
. |
Select the Do not use tabs option and click Next .
|
|
. |
Select OBE_PROJECTS for the Table / View Name field and click Next .
|
|
. |
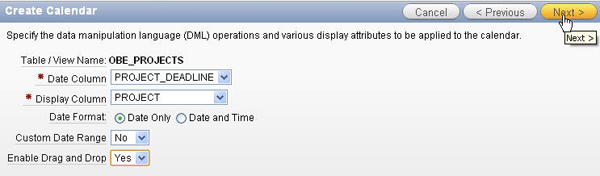
Ensure that PROJECT_DEADLINE is selected for the Date Column and PROJECT is select for the Display Column.Select Date Only radio button for Date format and Yes for Enable Drag and Drop .Then click Next.
|
|
. |
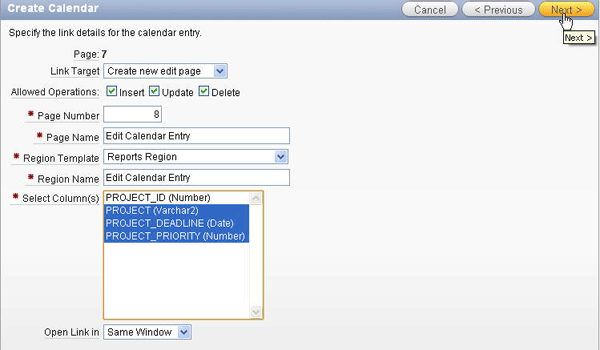
Select Create new edit page for Link Target field to add a calendar entry in a new page, shift+select all columns expect PROJECT_ID in the Select Column area and then click Next.
|
|
. |
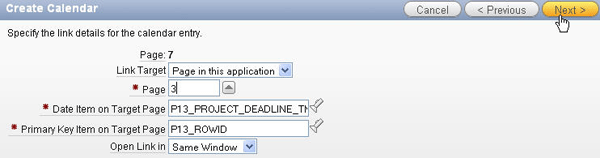
Accept the default and click Next.
|
|
. |
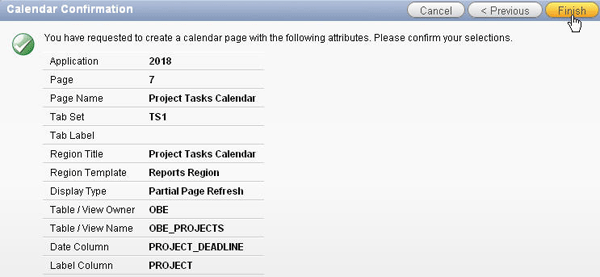
Click Finish to create a calendar.
|
|
. |
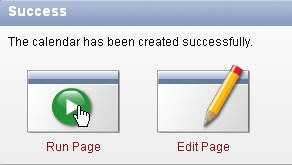
The calendar has been created. Click the Run Page icon to view the calendar.
|
|
. |
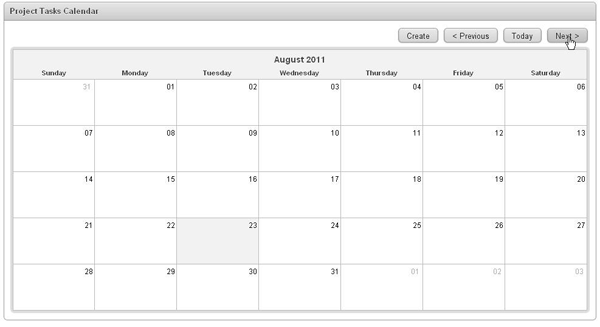
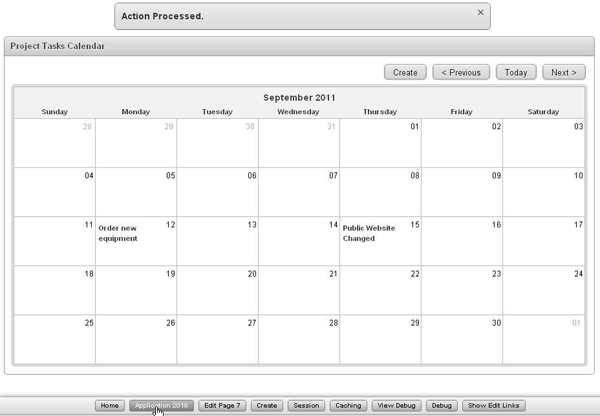
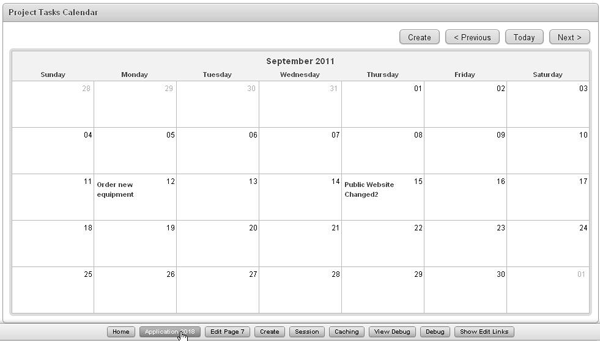
The calendar shows the projects on the date due. Note: If you do not see your tasks in the displayed month, click Next till you see it.
|
|
. |
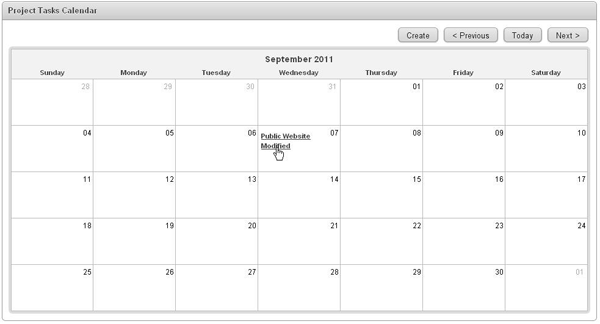
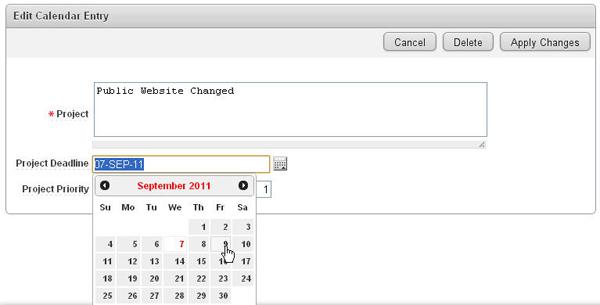
Select a project on the calendar. In this case, select Public Website Modified.
|
| . |
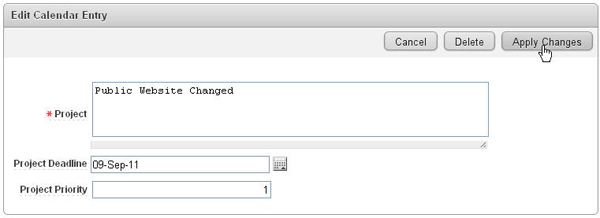
The Edit Calendar Entry window is displayed. Change the name to something else and change the Project Deadline to two days later than the current date of the project.
|
| . |
Click Apply Changes.
|
| . |
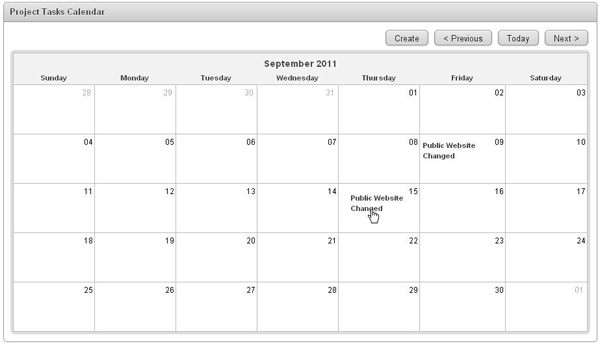
Notice that the Project is now contained on the calendar for the date you specified. You can also drag and drop the project to the desired date. Drag the project to another day.
|
| . |
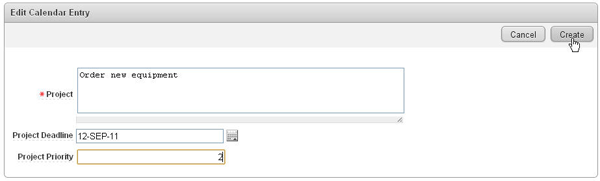
The project deadline has changed to the date you dragged the project to. You can also create a new project from the calendar. Click the day you want to create a project on.
|
| . |
Enter your project information and click Create.
|
| . |
The new entry has been created and now appears on the date specified. Select the Application <n> link in the developer toolbar.
|
|
. |
You want to create a button on the Projects page that will redirect to the calendar. Click the Projects page.
|
|
. |
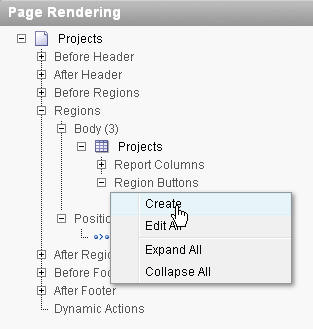
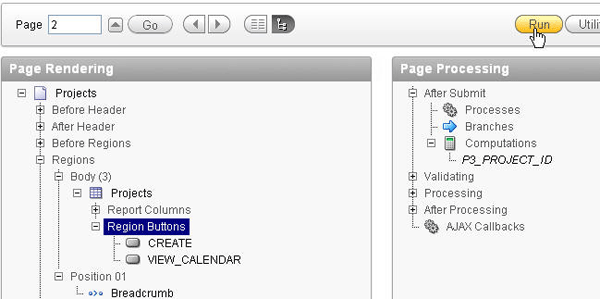
In the Page Rendering section, right-click Region Buttons and select Create.
|
|
. |
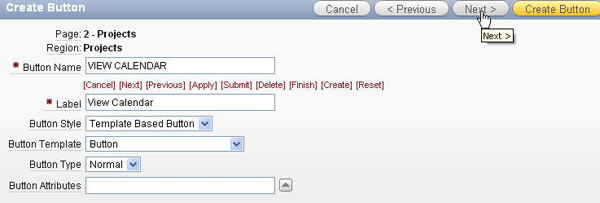
Enter VIEW CALENDAR for the Button Name and click Next .
|
|
. |
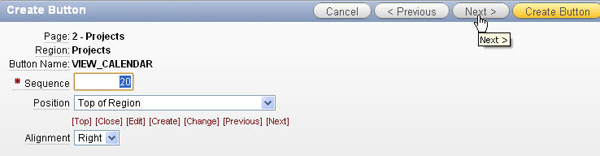
Accept the defaults and click Next .
|
|
. |
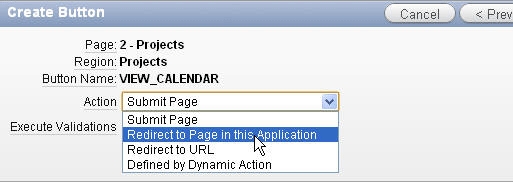
Select Redirect to Page in this Application for Action.
|
|
. |
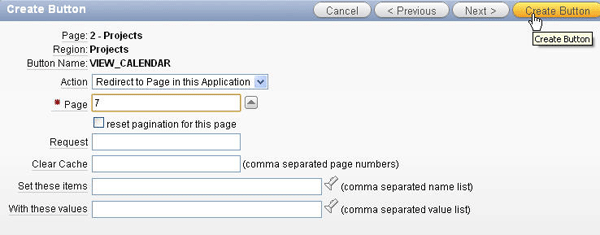
Click the up button to select the Project Tasks Calendar (7) page and click Create Button.
|
|
. |
The button gets created. Observe VIEW_CALENDAR button listed under the Region Buttons node. Move your mouse over VIEW_CALENDAR. The text for Button Action should say Redirect to page 7.
|
|
. |
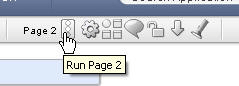
Click Run to view the Report with the button.
|
|
. |
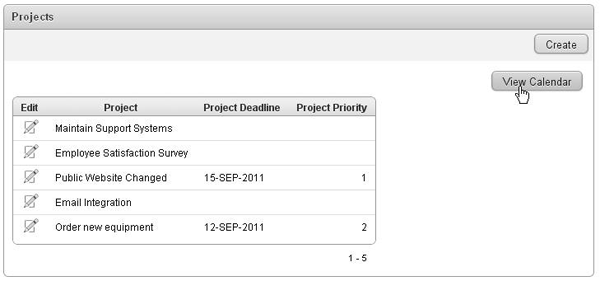
Click View Calendar.
|
|
. |
The calendar is displayed. Click the Application <n> link in the developer tool bar.
|


Adding a Logo
You can very easily add a text or image logo to the application. In this case, you add a text logo. Perform the following steps:
|
. |
Click Edit Application Properties.
|
|---|---|
|
. |
Click the Logo tab.
|
|
. |
Select Text for the Logo Type. Enter Project Tracker for Logo and select Black Text from the list of Logo Attributes. Then click Apply Changes.
|
|
. |
To see the logo, click the Projects page.
|
|
. |
Click Run .
|
|
. |
The Logo text is displayed. Select the Application <n> link in the developer toolbar.
|

Adding a Navigation List
In the home page, you can create a navigation list with links to the various components of your application. To add a Navigation List on the Home Page,
perform the following steps:
| . |
Select the Home page.
|
|---|---|
|
. |
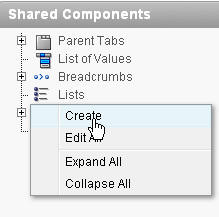
Under Shared Components, right-click Lists and select Create .
|
|
. |
Accept the default and click Next.
|
|
. |
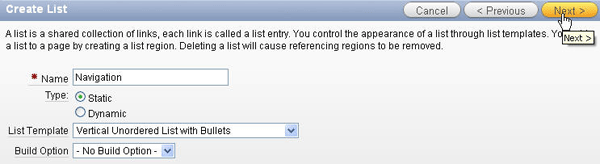
Enter Navigation for the name field and click Next.
|
|
. |
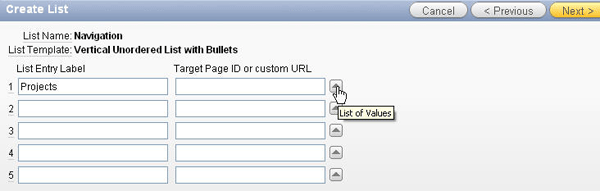
Enter Projects in the List Entry Label and click the up arrow to select the Target Page ID.
|
|
. |
Select 2 Projects from the dialog box.
|
|
. |
Enter Tasks per Project Chart and Project Tasks Calendar in the List Entry Label and 6 and 7 respectively for Target Page ID and click Next.
|
|
. |
Select Create list region on current page from dropdown box for Create List Regions field, Page Template Body (3. items above region content) for Region Position and Navigation Region for Region Template field and click Create.
|
|
. |
Your list was added to Page 1. Click Run.
|
|
. |
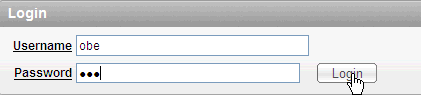
You may receive the Login window. Enter your login information and click Login.
|
|
. |
The Home page now contains the Navigation list. Click Projects.
|
|
. |
The Projects report is displayed. Click the Home link.
|
|
. |
Click Tasks per Project Chart.
|
|
. |
The page is displayed. Click the Application <n> link from the developer tool bar.
|


Applying a New Theme
When you created the application, you selected the theme 21. You can change the look and feel of the application by changing the theme. You first create a new theme by selecting one from the Oracle Application Express Repository. To apply a new theme, perform the following steps:
|
. |
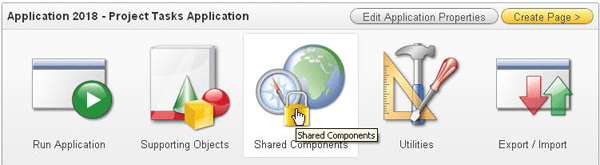
Click Shared Components.
|
|---|---|
| . |
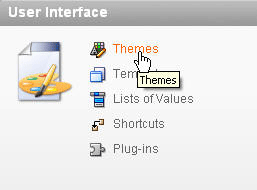
Under User Interface, click Themes.
|
|
. |
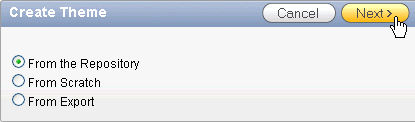
To create a new theme, click Create.
|
|
. |
Accept the default From the Repository and click Next .
|
|
. |
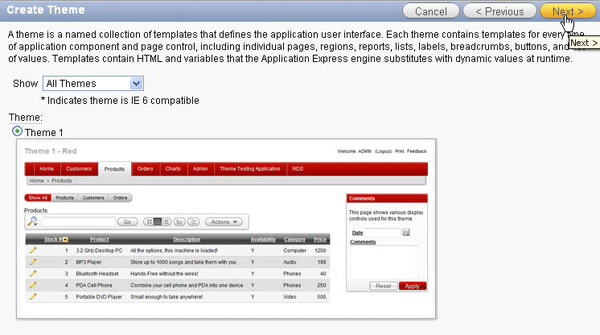
Select the Theme 1 radio button and click Next.
|
|
. |
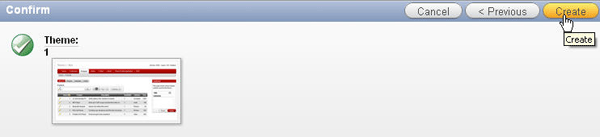
Click Create.
|
|
. |
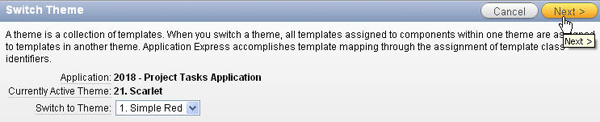
To use Theme1 in your application, you need to make it the current theme. Click Switch Theme.
|
|
. |
For Switch Theme, make sure 1. Simple Red is selected. Click Next .
|
|
. |
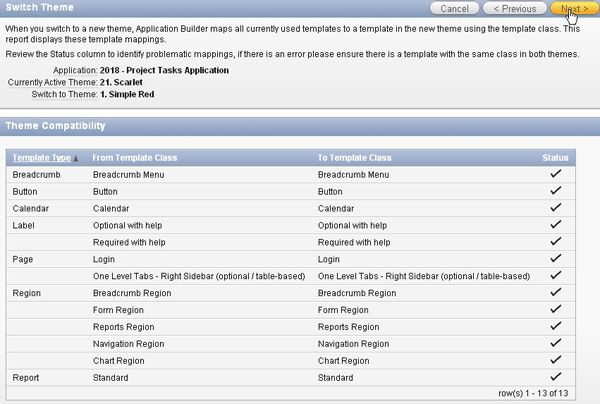
Notice that the page displays the compatibility between the two themes. This utility checks whether there is a template in the new theme to replace each of the templates in the current theme. The check marks in the Status column indicate that the templates are compatible. Click Next .
|
|
. |
To confirm the theme switch, click Switch Theme.
|
|
. |
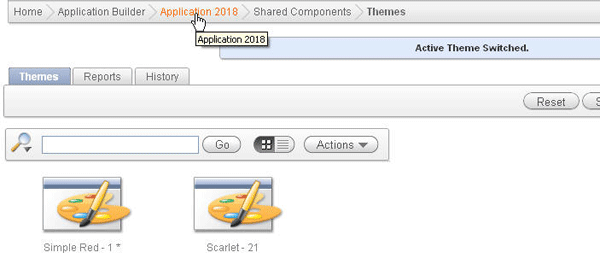
To see the new theme, click Application <n> breadcrumb.
|
|
. |
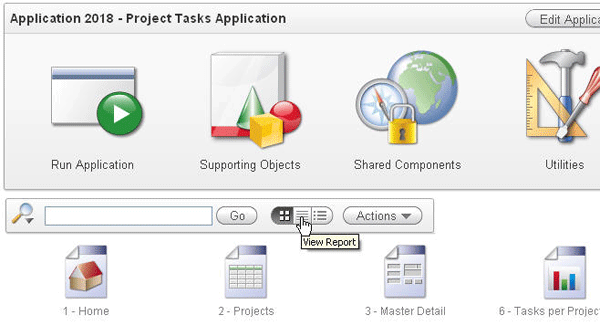
Select the View Report
|
|
. |
Select the Run
|
| . |
You may receive the login window. Enter your login information and click Login.
|
|
. |
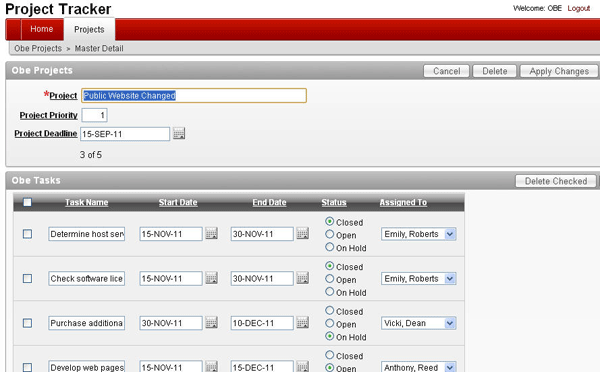
Notice that the entire appearance of your application has changed. The color scheme has changed. Edit one of your projects.
|
| . |
The Master Detail page has also changed to the new theme.
|


Summary
In this tutorial, you have learned how to:
- Add and modify a report, form, chart, and calendar
- Add a logo
- Add a navigation list
- Apply a new theme
Resources
- Oracle Application Express homepage on OTN.
- Oracle Learning Library
- Oracle University
![]()
| Copyright © 2011, Oracle and/or its affiliates. All rights reserved | |