Before You Begin
Purpose
This tutorial covers installing OEMM version 12.1.3.0.2 on a Windows PC.
Time to Complete
Approximately 15 minutes.
Introduction
This Oracle By Example (OBE) is first in a series of seven OBEs. The recommendation is to do them in order. The series is:
- Installing OEMM, on a Windows PC (you are currently viewing this OBE).
- Harvesting Metadata from Various Sources: DB, ODI, OBIEE, and others.
- Managing the Configuration and Metadata Stitching with OEMM, including backup and restore.
- Configuring Data Lineage Analysis, graphically and exporting to Excel.
- Using Impact Analysis, the "opposite" of data lineage.
- Creating a Business Glossary in OEMM, using the enterprise edition.
- Administering OEMM, creating users, roles, and scripts.
OEMM stores metadata repository in an Oracle DB which can be anywhere (Linux or Windows). However, if the referenced VM is used (see Software below) then there is an OEMM repository existing in the VM (which happens to be Linux) which will be used in this tutorial. There is also an ODI repository in the VM which will be used for harvesting ODI metadata.
Scenario
Your company has several data integration products from several vendors and you want a single place to go to look for repository metadata. You decide to install Oracle Enterprise Metadata Manager (OEMM) on your Windows PC to read from Linux Oracle Databases and from ODI.
Software and Hardware Requirements
The following is a list of software and hardware requirements used in this Oracle By Example (OBE):
- Software
- Oracle Database 11.2.0.4.0 or higher
- Oracle Business Intelligence Enterprise Edition (OBIEE) was installed at one time, but no longer is installed.
- Oracle Enterprise Metadata Manager (OEMM) 12.1.3.0.2 or higher. The OEMM Install and Setup Guide is available online and in the product itself.
- Oracle Data Integrator (ODI) 12.1.3 or higher. At least one copy of ODI for Windows must be on the same machine as OEMM. (ODI is not a requirement for OEMM, but is a requirement for parts of this OBE.)
- Alternatively, the VM contains Database, ODI, and OEMM sample repositories (but not OEMM software) pre-installed with Oracle Enterprise Linux (OEL) 6.4. The VM (approx 7 GB) requires Oracle VirtualBox to run. The VM is available in either of two places (both are the same VM):
- internally for employees only
- externally on OTN for all students and customers
- Hardware
- At least 2 GB RAM for each target (database or ODI)
- At least 5 GB RAM for the VM (if you are using that)
Prerequisites
Before starting this tutorial, you should:
- Have an account to download Oracle software.
- Have access to or have installed the sample lab artifacts
- Have attended ODI 12c training, [D82167GC10] Oracle Data Integrator 12c: Integration and Administration, or equivalent experience. (ODI is not a requirement for OEMM, but is a requirement for parts of this OBE.)
Typographic Conventions
These are the conventions used throughout this practice to indicate who types what.
-
Filenameor/path/subdirectory/. Often you can navigate to a destination without having to type it. - Command or value that you type, such as gedit .bashrc. Be mindful of periods at the end of sentences that are not part of the command.
- Click this such as or .
- Some variable or
<variable>as something you replace. Often prefixed with "my" such as<myName>or<myHost>. - A Menu Item or dialog Field Prompt or Tab name. For example, "click the Designer tab and select Models > New Model".
- Generally a red rectangle in the graphics is not part of the original image, but added to draw your attention to an item.
1. Download Software
The software can be obtained from several different locations. Choose ONE location from which to fetch the software, either eDelivery OR OTN. They should contain the same images, but occasionally one delivery venue will get ahead or behind another in terms of patches and version releases. Double check to be sure. Both methods require signing in with an Oracle account.
1.1 Download from eDelivery
The Oracle Software Delivery Cloud (a.k.a. eDelivery) requires you to have an Oracle account. If you do not have an account, create one first.
-
Go to http://edelivery.oracle.com. Sign in to Oracle Software Delivery Cloud.
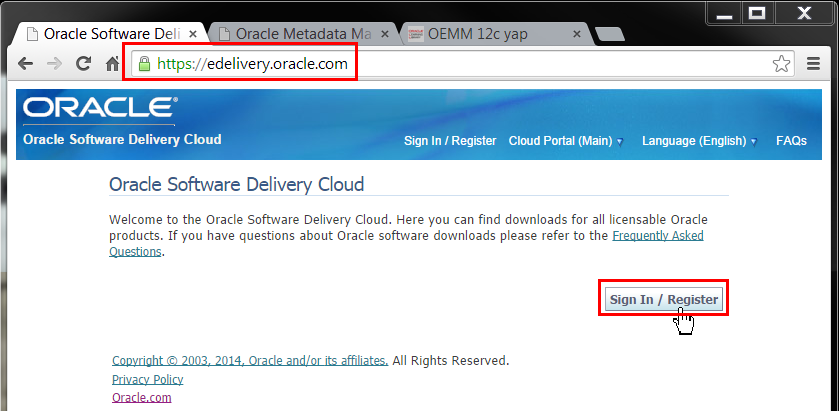
Description of this image Click .
-
Enter your account name and password.
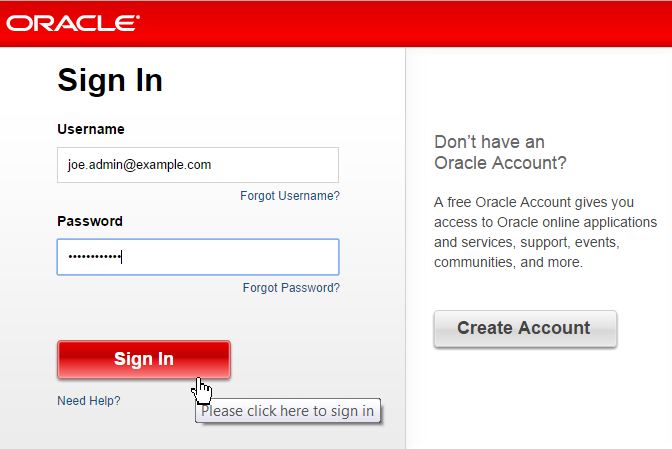
Description of this image Click .
-
Read and accept the Terms and Restrictions. Select in two places that you accept.
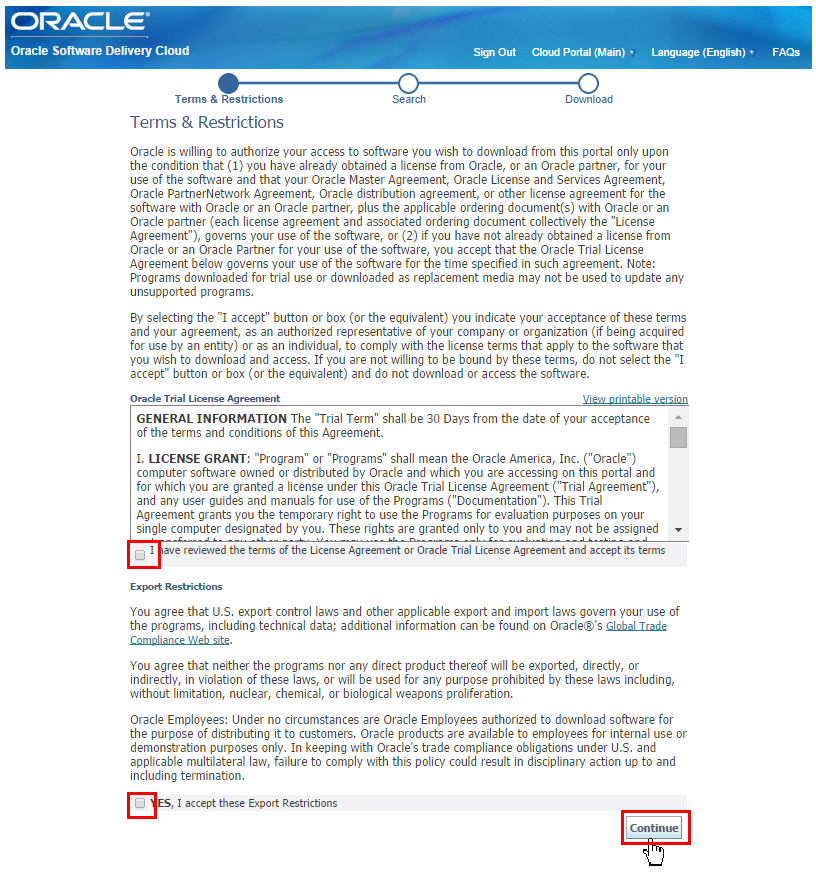
Description of this image Click .
-
Select Product Pack: Oracle Fusion Middleware, and Platform: Microsoft Windows x64 (64-bit).
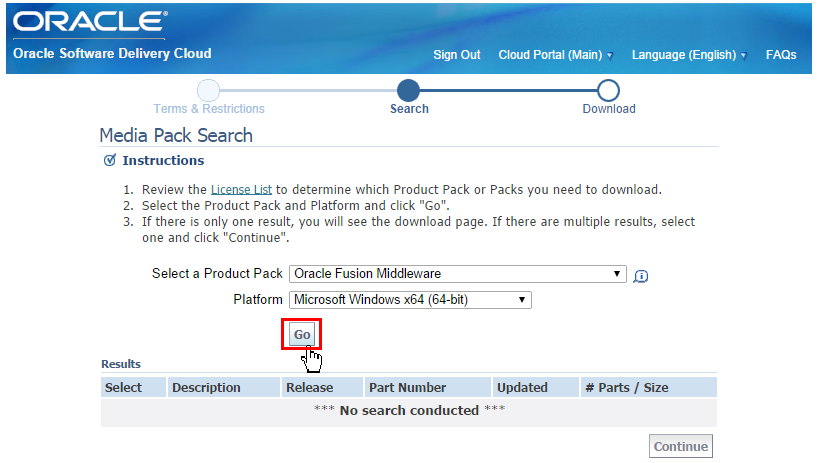
Description of this image Click .
-
Scroll down and select Oracle Fusion Middleware 12c Media Pack.
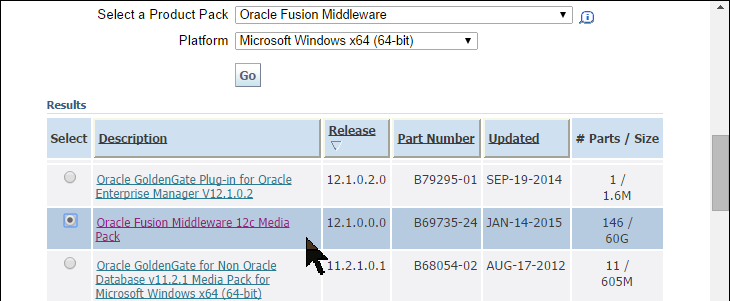

Description of this image Click .
-
Scroll down and select Oracle Enterprise Metadata Manager.
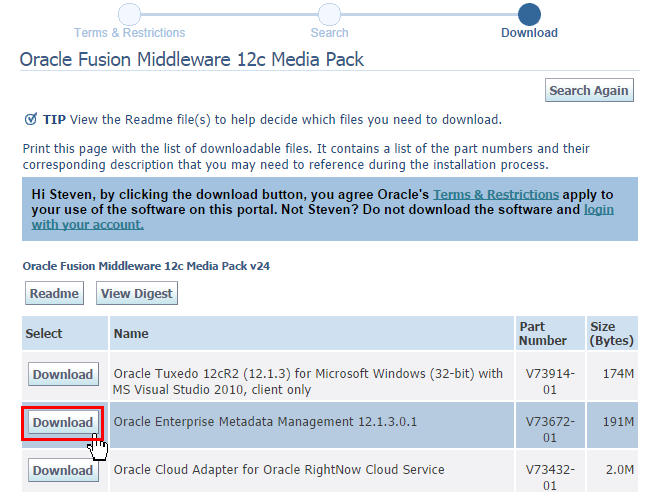
Description of this image Click .
This will download the software from Oracle eDelivery to your PC. Alternatively, you could have used OTN.
1.2 Download from OTN
-
Go to http://www.oracle.com/technetwork/middleware/oemm/downloads/index.html and click Accept.

Description of this image - Click
 for Microsoft Windows.
-
Enter your account Username and Password.
Description of this image Click .
This will download the software from OTN to your PC. Alternatively, you could have used eDelivery.
You have downloaded the software to your PC. Make a note of where your browser downloaded the file.
2. Install Software
This is just installing the client on the Windows PC. This assumes that you have a suitable database to act as a repository. The repository could be Windows or Linux, there are several supported platforms. This also assumes you have targets installed, such as ODI or OBIEE.
2.1 Unzip
- Unzip the file into any temporary directory using your unzip tool-of-choice, such as PKZip or 7-Zip.
It will create a file named
OMM-win32-801-20141203.exe, approximately 200 MB. (If you have a later release, the last part of the filename will be the later date.)
The installation software is now ready to run.
2.2 Install Wizard
-
Navigate to the temporary directory where you unzipped your download. Double-click
OMM-win32-801-20141203.exeto start the install wizard. Select OEMM (the default).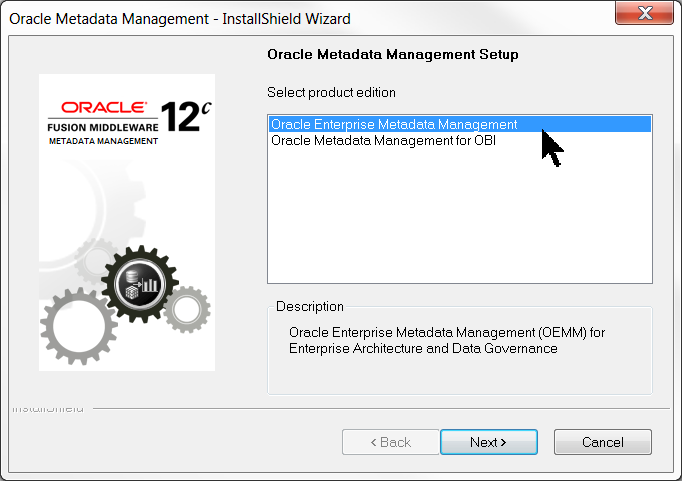
Description of this image Click .
-
The installation instructions are available here. You can view and save or print them at this point.

Description of this image Click .
-
Decide where you want to store the executables and the data. This is NOT the repository data, it is only temporary data such as logs and history, and Tomcat classes and libs. Note that this does not use
oraInventorynororaInstas other Oracle products might.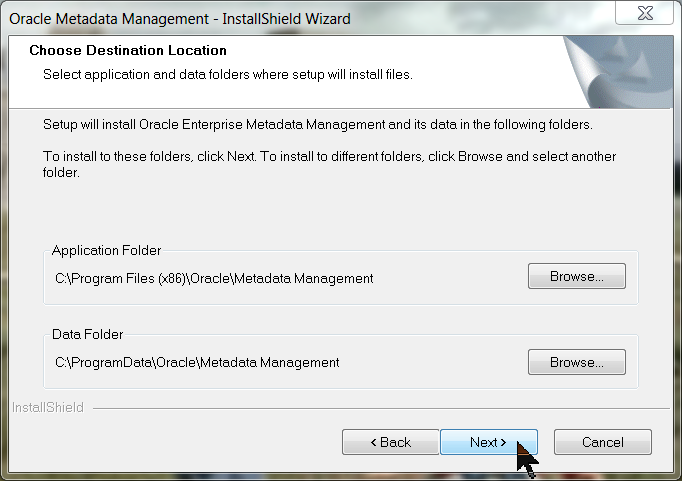
Description of this image Click .
-
Enter the ports that will be used by the local Tomcat application server. If you change them here you will need to change Tomcat as well. The recommendation is to leave them as the defaults unless you plan to run multiple instances of Tomcat (or if the port is in use by some other program). Note that this does not use WebLogic Server.
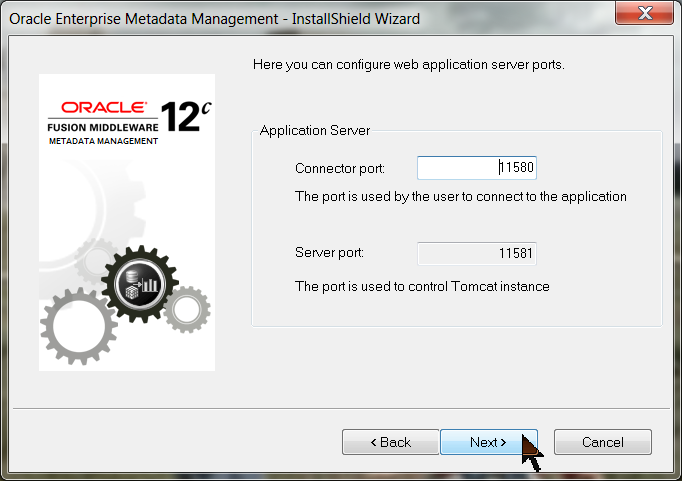
Description of this image Click .
-
Review your current installation choices.
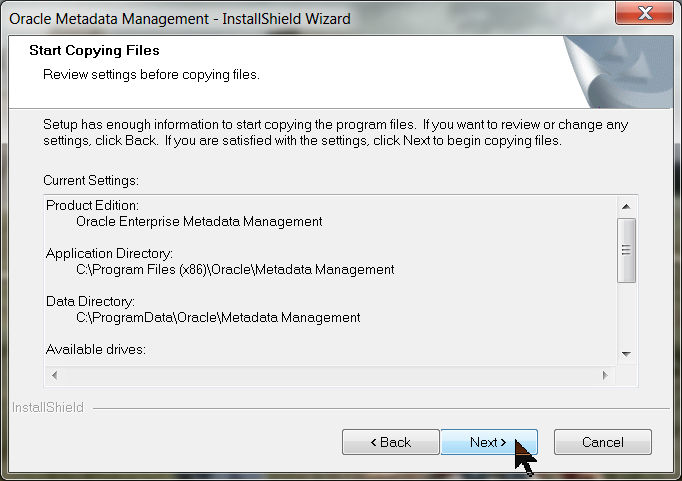
Description of this image Click .
-
Make sure the progress bar does not stall.
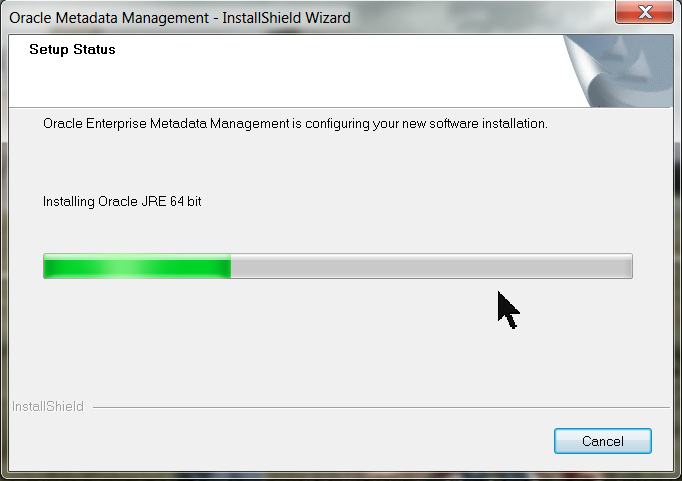
Description of this image Nothing to do here, just watch. Note that it installs its own JRE (Java Runtime Environment, version 1.6 from 2013), it does not presume you have the latest one installed.
-
You will need to reboot at some point before using OEMM. You can do it now or later.
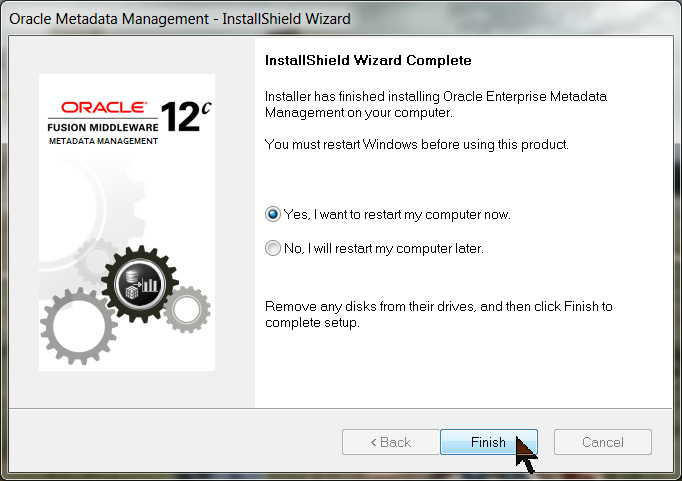
Description of this image Click .
-
After your PC finishes rebooting, you should have a Desktop icon that can be used to start OEMM.
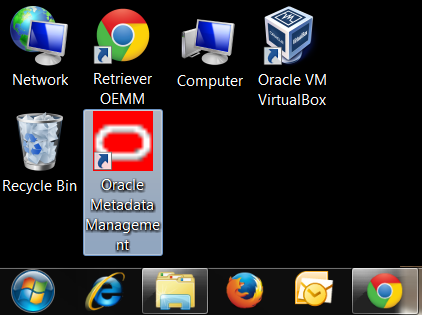
Description of this image It can also be started from the Start Menu.
The Installation Wizard has installed the binaries for OEMM.
The software is installed, but services need to be started before you can run OEMM.
3. Start Services
If you only use OEMM once in a very rare while, you can manually start the Windows Tomcat service each time. If you use OEMM constantly, you may want to autostart the Windows Tomcat service so that it is always running. You can do this directly through WIndows Services, or through menu options. PICK ONE of the options below.
3.1 Manually Start Services
-
Right-click Computer and click Manage.
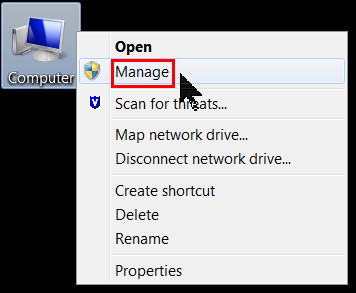
Description of this image Go to Services and Applications > Services.
-
Scroll down and highlight Oracle Metadata Management.

Description of this image Click Start the service. (There are alternate ways to start the service). There is no harm in trying to start it twice, if it is already started.
- A progress bar will display briefly and then the Status should change to Started.
The OEMM service is now started for the duration of this Windows session. However, if you restart Windows you will have to restart OEMM again.
3.2 Automatically Start Services
-
Right-click Computer and click Manage.
Description of this image Go to Services and Applications > Services.
-
Scroll down and highlight Oracle Metadata Management.
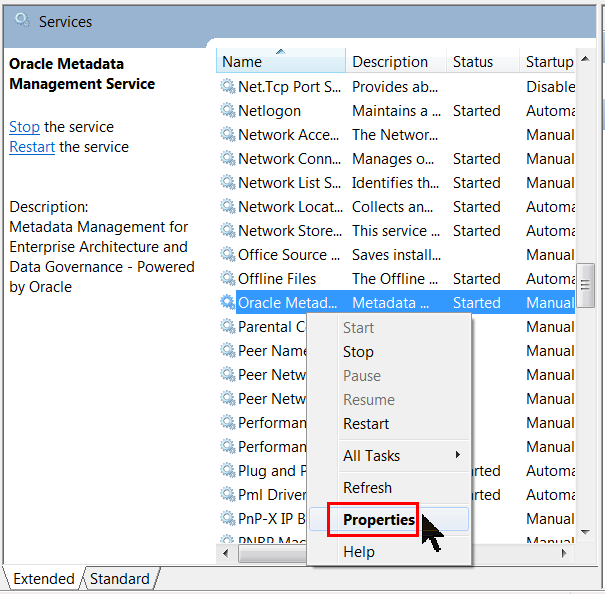
Description of this image Click Properties.
-
Change Startup Type: Automatic (Delayed Start).
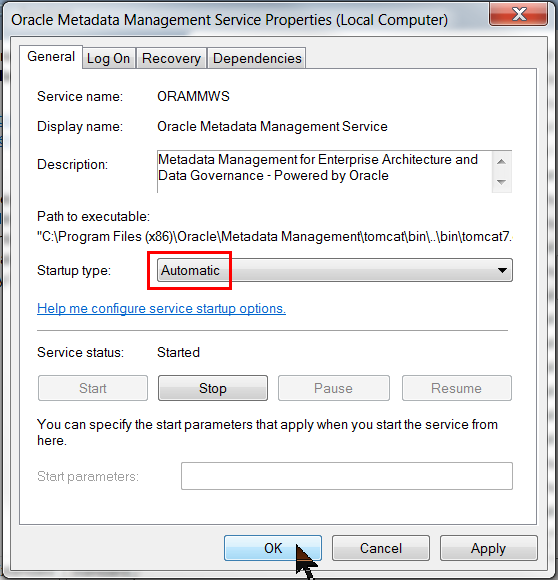
Description of this image Click .
The OEMM service is now started permanently. You can always stop it from this panel.
3.3 Windows Start Menu to Start Services
-
From the Windows Start menu, you have several options to temporarily or permanently start Tomcat, or to launch the web browser.
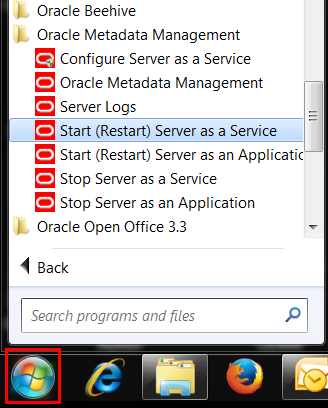
Description of this image Pick one.
The OEMM service is now started or restarted, temporarily or permanently.
OEMM Windows Tomcat service is now running.
4. Create Database Schema
If you are using the VM, this topic has already been done for you. The database should be configured to use codepage AL32UTF8. To create the database user on a new system, perform the following steps:
4.1 Run Script to Create OEMM Administrator User
The specific minimum permissions for the database user are listed in the OEMM Install and Setup Guide, check there for exact requirements.
-
You can use the script contained in the file here. Copy the file to your host where the database is, and run a command similar to sqlplus / as sysdba @create_oemm_admin.sql to create the schema. You may choose to give your admin user more privileges (but not less).
-
...or you can run these one at a time by hand in SQL*Plus:
 create user oemmadmn identified by Welcome1;
 set echo on;
 grant EXECUTE on CTXSYS.CTX_DDL to oemmadmn;
 grant EXECUTE on SYS.DBMS_LOCK to oemmadmn;
 alter user oemmadmn QUOTA unlimited on USERS;
 grant CREATE SESSION to oemmadmn;
 grant CREATE PROCEDURE to oemmadmn;
 grant CREATE SEQUENCE to oemmadmn;
 grant CREATE TABLE to oemmadmn;
 grant CREATE TRIGGER to oemmadmn;
 grant CREATE TYPE to oemmadmn;
 grant CREATE VIEW to oemmadmn;
Description of this image These get entered at the
SQL>prompt. Instead of a userid/password ofoemmadmn/Welcome1, the VM uses a userid/password ofMITIREP_1203/MITIREP_1203.
This database user is not the same as the OEMM Administrator, which is a Windows user. See steps 5.1.1 versus step 5.1.2.
The database repository user is now created.
5. Start Browser
To access the OEMM web pages, perform the following steps:
5.1 Login
-
Go to http://localhost:11580/MM/ (the "MM" is case-sensitive). You can do this manually or by clicking the OEMM desktop icon. The first time you start OEMM, it will prompt for Database Connection information.
The sample VM is expecting the following information:
- Database Type: Oracle
- Database User Id: MITIREP_1203 (the "1203" is the release date, that is, Dec 3rd)
- Password: MITIREP_1203 (non-display)
- Database Url: jdbc:oracle:thin:@localhost:1530/orcl
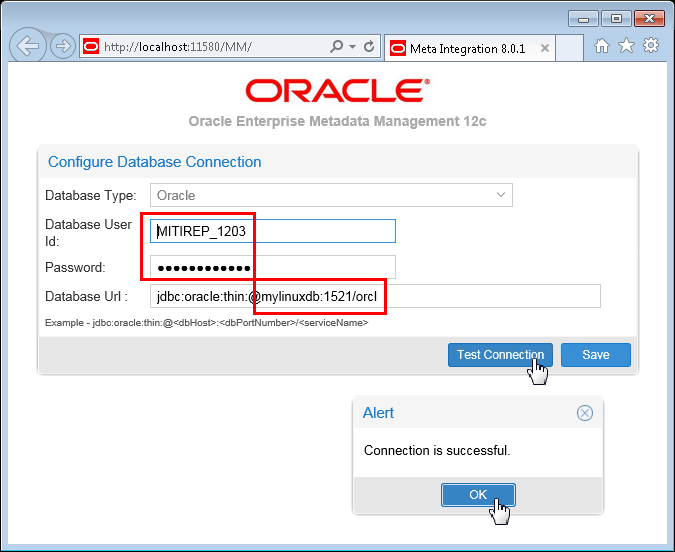
Description of this image The Database Url
hostname:portdepends on whether you are running the database and OEMM on the same host or not. If so, then use localhost:1530. If not, then use the actual host IPaddress:portof the database (your address will be different than themylinuxdb:1521shown here, and may be different each day if using DHCP).If the database is running in the virtualbox VM, then the port is probably 1530 instead of the default of
1521.Click . If it is successful, click , then . Subsequent logins should remember this information.
If you connect to a new repository (instead of the VM), then it will create the repository if connected to the DB schema for the first time. For the VM, the repository is already created, therefore it will simply connect to the existing repository in the VM.
If connecting to an existing 12.1.3.0.1 repository, OEMM will upgrade the repository content to 12.1.3.0.2.
-
After the connection test, and all subsequent logins, OEMM simply asks for the User Name configured in the repository. The sample VM is expecting the default User Name: Administrator, and Password: Administrator.
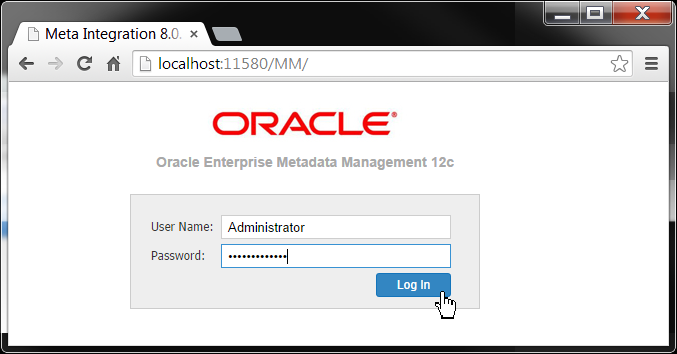
Description of this image Click . Later in the Administering OEMM OBE, you can add/remove more users, roles, and change the default password for the Administrator.
You are now connected to a given OEMM repository. From here you can see either Metadata Management and/or Metadata Explorer pages.
5.2 Metadata Manager
-
This is the Home page for OEMM. Initially shown is a shrunken page (it is quite long) and you have the option in this OBE to view the full-size page.
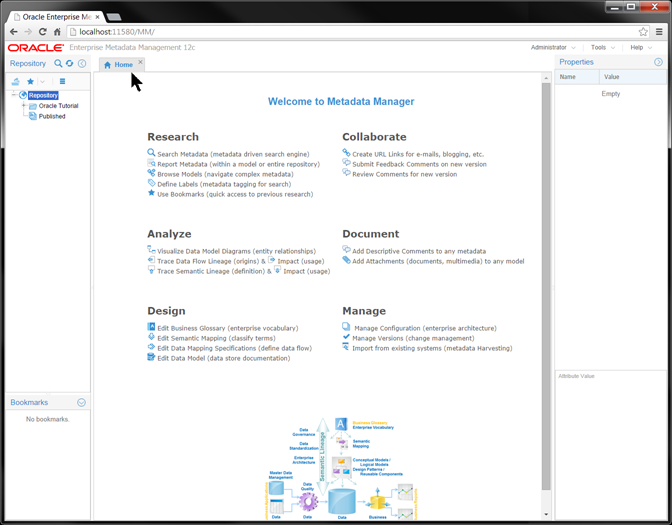

Description of this image You can also click the busy picture in the bottom middle of the home page to enlarge a good flow diagram of OEMM.
- All of the later steps presume that you have configured access to other targets such as ODI and OBIEE.
The Metadata Manager is a tab in the browser. If you open the Metadata Explorer, that starts a new tab.
5.3 Metadata Explorer
The Metadata Manager is a tab in the browser. If you open the Metadata Explorer, that starts a new tab.
-
In Metadata Manager, on the top tool bar, click Tools > Metadata Explorer.
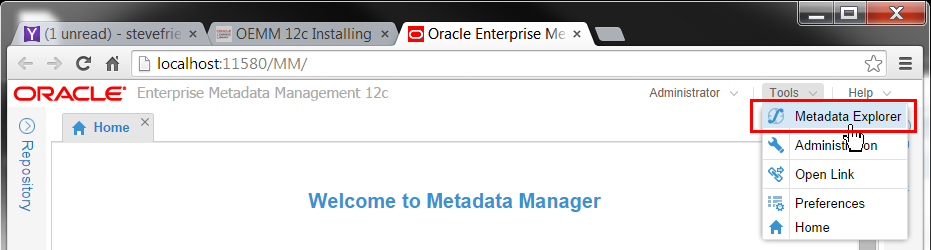
Description of this image That starts a new tab.
-
If you have previously viewed configurations, you have the option of picking up where you left off. Pick one.
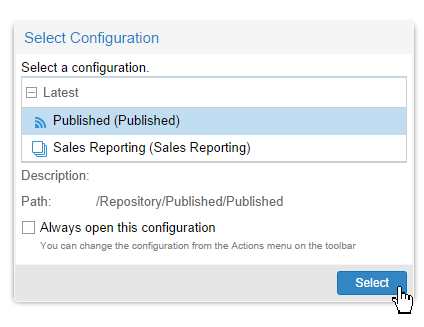
Description of this image Click .
-
Metadata Explorer opens as a tab, and Metadata Manager remains open on the other tab.
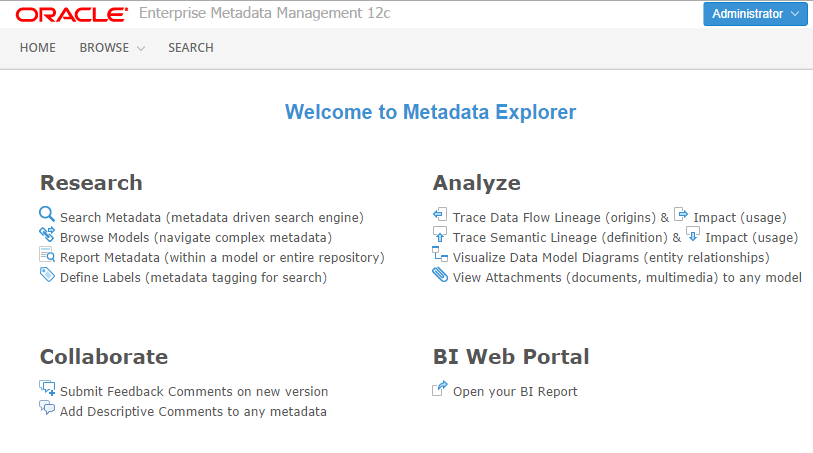
Description of this image The two screens are very similar.
You have now opened Metadata Explorer.
The browser interface is started. You can view Metadata Manager and/or Metadata Explorer as tabs in the browser.
Want to Learn More
OEMM is a stand-alone Windows-based product that provides a web-based interface into many vendors' data integration products such as Oracle database and ODI. It requires a database to store its information. In this lesson, you downloaded and installed and configured OEMM.
In this tutorial, you learned to:
- Download the OEMM software from one of two locations
- Install the Windows client software
- Start the Windows Tomcat services
- Start the browser to view either Metadata Manager and/or Metadata Explorer
- Create the DB schema on an Oracle database needed for the OEMM repository
Resources
Following is a list of conceptual or procedural Help topics relevant to the topic of this tutorial:
- Product marketing information
- Product documentation in PDF format.
- Virtual Machine demo environment on OTN
- Internal (employee) resources:
- MetaIntegration, the owner of the OEM version of this product.
- To learn more about OEMM, refer to additional OBEs in the Oracle Learning Library <can link to a specific set of OBEs on the subject or product(s)>
Credits
- Lead Curriculum Developer: Jayant Mahto
- Other Contributors: Steve Friedberg